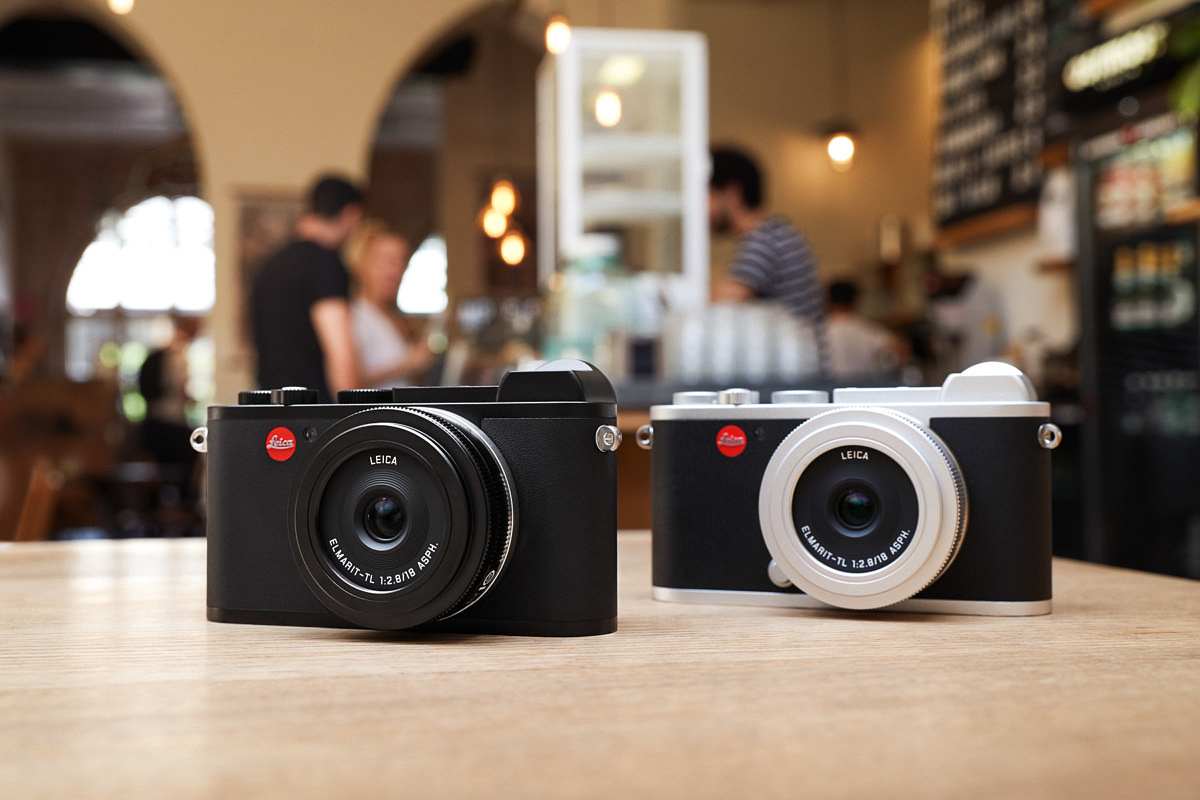
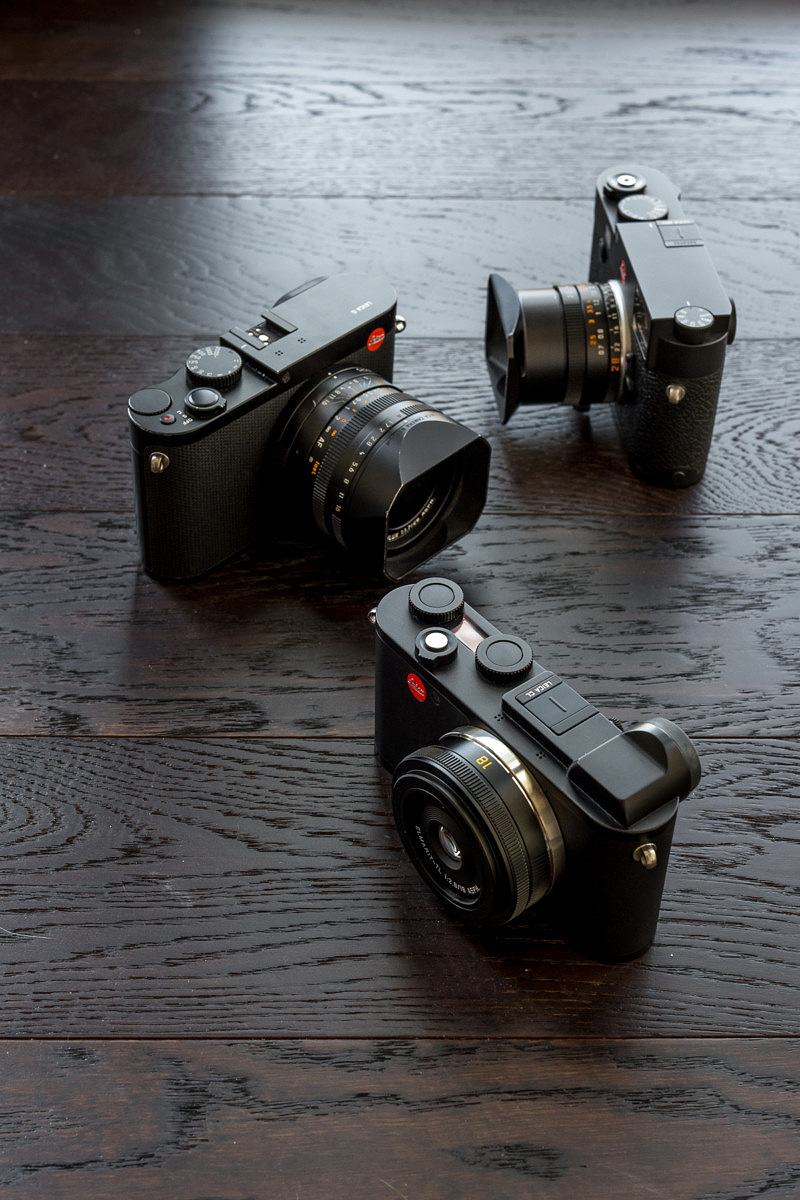
When the Leica CL was introduced a little over a year ago, the APS-C mirrorless camera joined an already full Leica roster, sharing many similarities with its siblings. Functionally equivalent to the then very recently launched TL2, but with familiar design elements of the more traditional M, the CL is an amalgam of classic and modern. While the TL2, with its sleek unibody construction and touchscreen UI, embodies minimal and futuristic, both in form and function, the CL reminds us of Leica’s past, albeit with a contemporary twist. Even though the CL evokes nostalgia of the Leica screw mount cameras from the 1930s, it also bears unmistakable resemblances to its modern-day kin, the Q and M10.
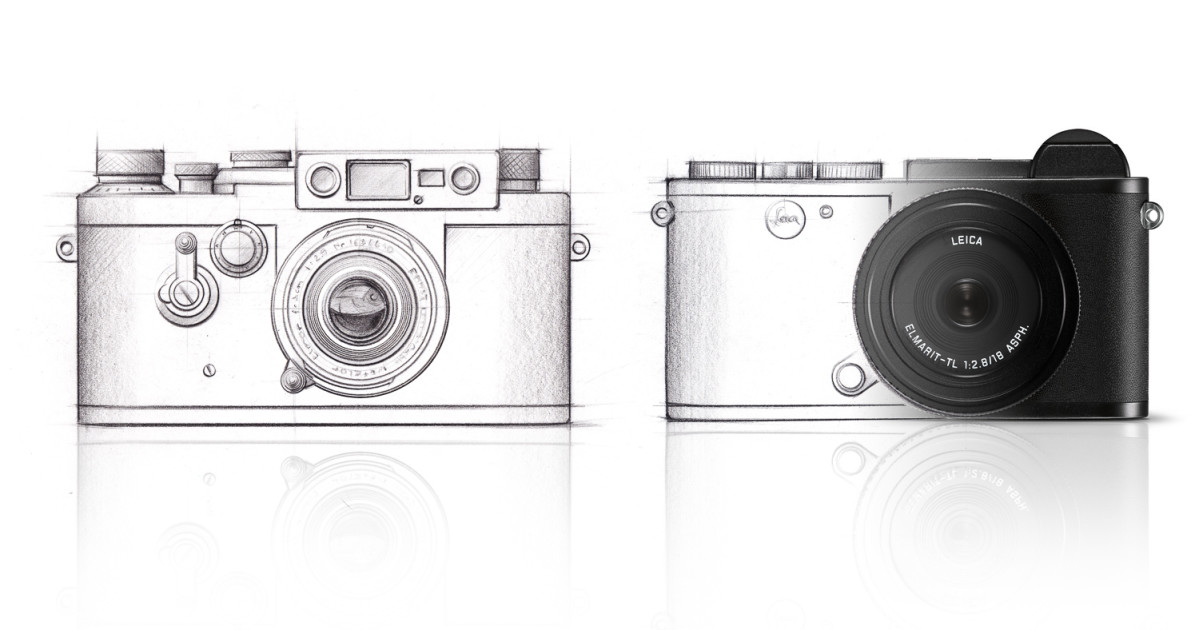
Sporting the same excellent 24-megapixel APS-C sensor, Maestro II processor and L mount found in the TL2, the CL goes the more traditional body design route with three rear buttons and direction pad like its big brother, the M10. Its machined aluminum top and bottom plates, rounded sides and smooth leatherette covering, all contribute to the Leica iconic aesthetic. And, instead of needing an add-on EVF like the TL2, the CL has one built-in, with the same resolution as the external 2.4 MP Visoflex 020 that’s used on the M10, as well as the TL2.
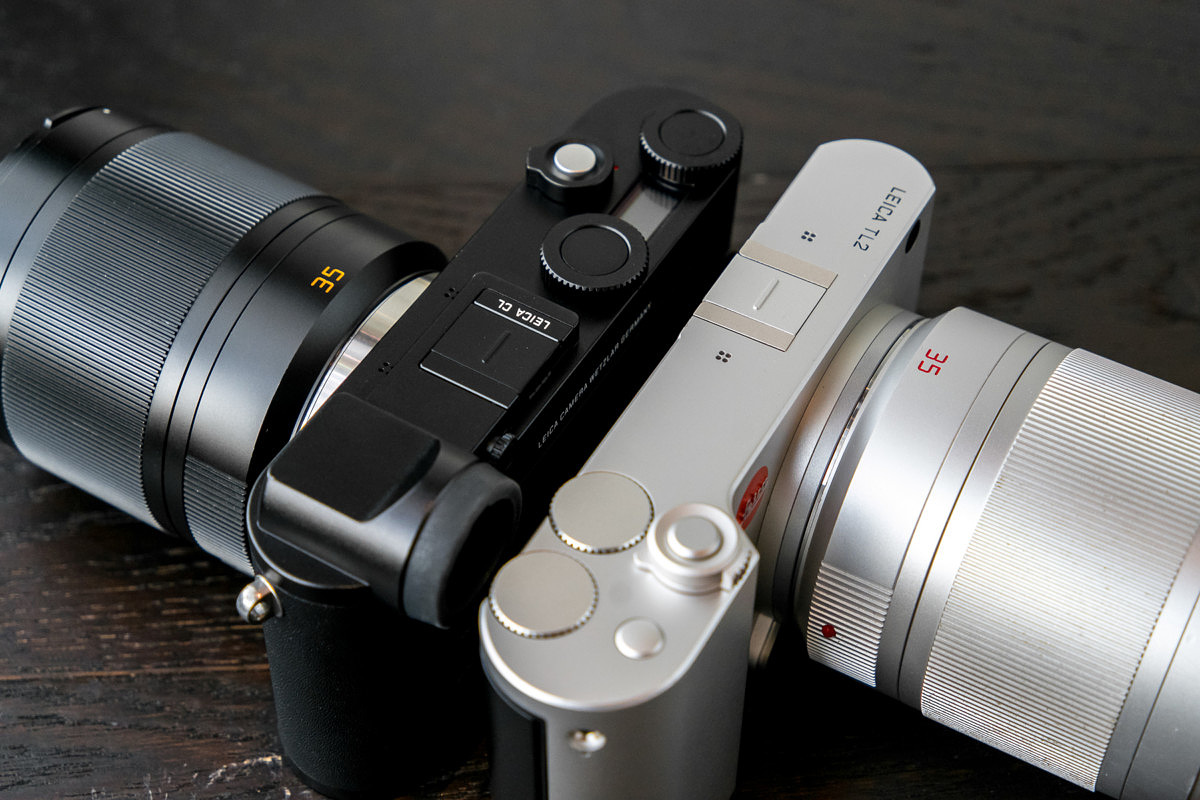
All in all, the CL seems like a natural evolution for Leica. And, perhaps for the first time, Leica finally has an entry level, at least for Leica, interchangeable lens system camera. At $2,795, the CL is less than half the price of an M or SL. This is an area where Leica has historically struggled, namely, to have a more mainstream, more affordable offering to bring new users into the Leica fold, while at the same time appealing to existing owners.

1/100th @ f/7.1, ISO 6400
To me, as a long-time Leica user and frequent globetrotter, the CL looked like it might be the perfect travel camera. Of course, to be sure, I’d have to put it through its paces. And that ended up taking much longer than I could have imagined when I first set out to do so.
When the camera first arrived, I was extremely excited to dig in and get hands on. So, to share that experience as quickly as possible, I posted an unboxing and first look video on our Red Dot Forum YouTube channel. But without ample time or opportunity to shoot with the CL, my full review would have to wait.
A longer term review
I’ve reviewed almost every Leica digital camera going back to the M8. Usually my review process follows a general timeline. I shoot intensively with the camera for anywhere from a few days to a couple weeks, often traveling specifically to test cameras so that my photography remains fresh and simulates real world shooting. In my opinion, uninspired shots in an office, or down the street, don’t really show off the range of capabilities, or the limitations of a camera. And, generally, a couple hours aren’t long enough to develop a well-formed opinion.
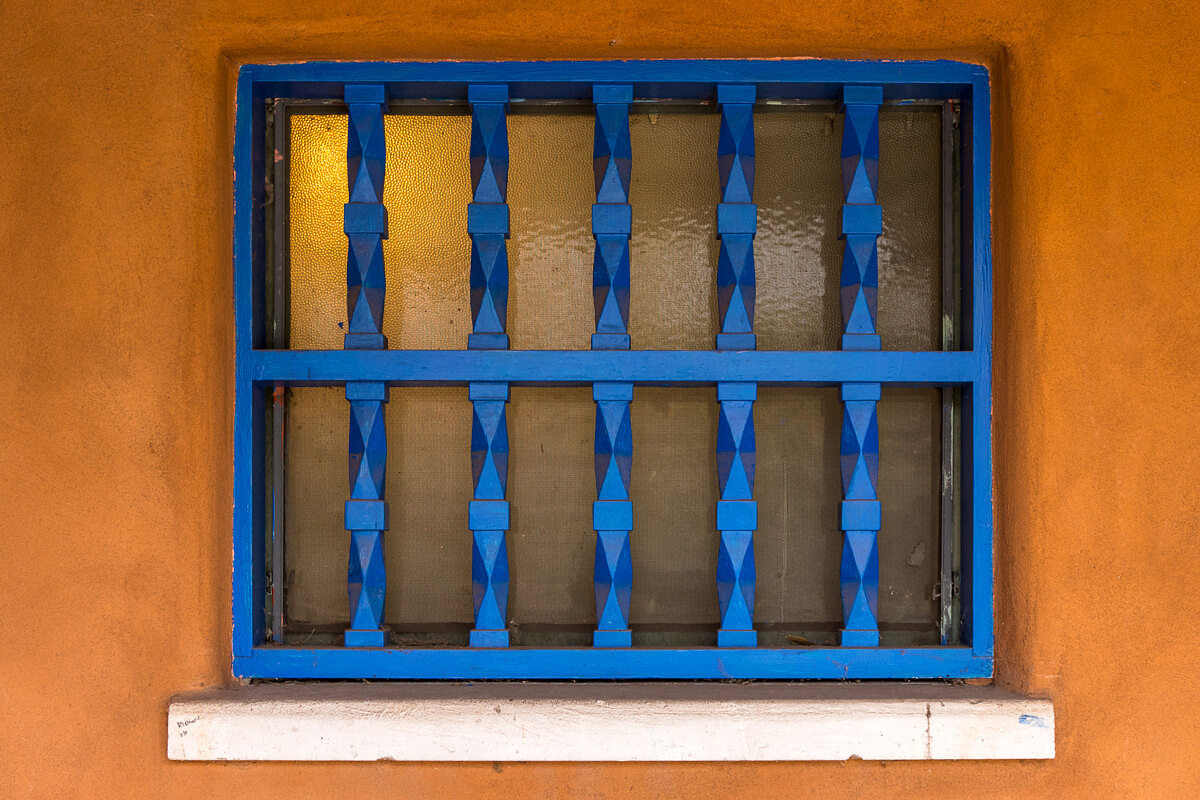
1/100th @ f/4, ISO 640
The ensuing weeks are dedicated to processing and evaluating image quality, color, dynamic range, file malleability and overall results. Once I’ve considered the shooting experience, assessed the subsequent post processing, and worked on forming my analysis, I then sit down to write and edit the actual article. The entire undertaking usually requires around a month. Sometimes more, sometimes less. This review was different.

1/3200th @ f/2.8, ISO 100
I traveled an enormous amount this past year. Between leading photography workshops around the world, the usual family vacations, and multiple trips to Germany covering Photokina and the Leitz Park III opening, I haven’t been home for more than a couple weeks at a time before taking off again. And, when time is so short, daily priorities often take precedence over more involved projects like this review.
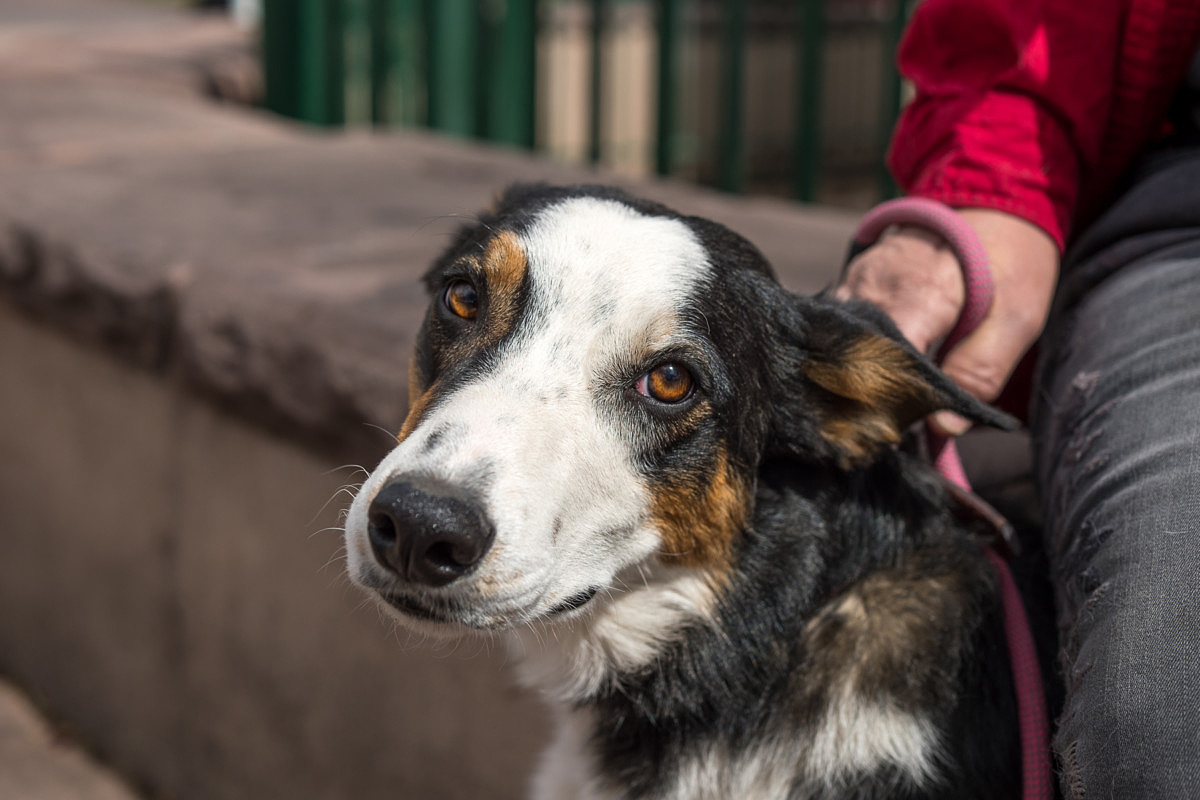
1/3200th @ f/3.2, ISO 100
So, on the one hand, I regret not being timelier to align closer to the launch of the CL, but, on the other, the additional time has given me an opportunity to settle in with the camera and use it on more occasions. And, a bit of a spoiler alert here, I’ve been using the CL as my daily driver for the past year.
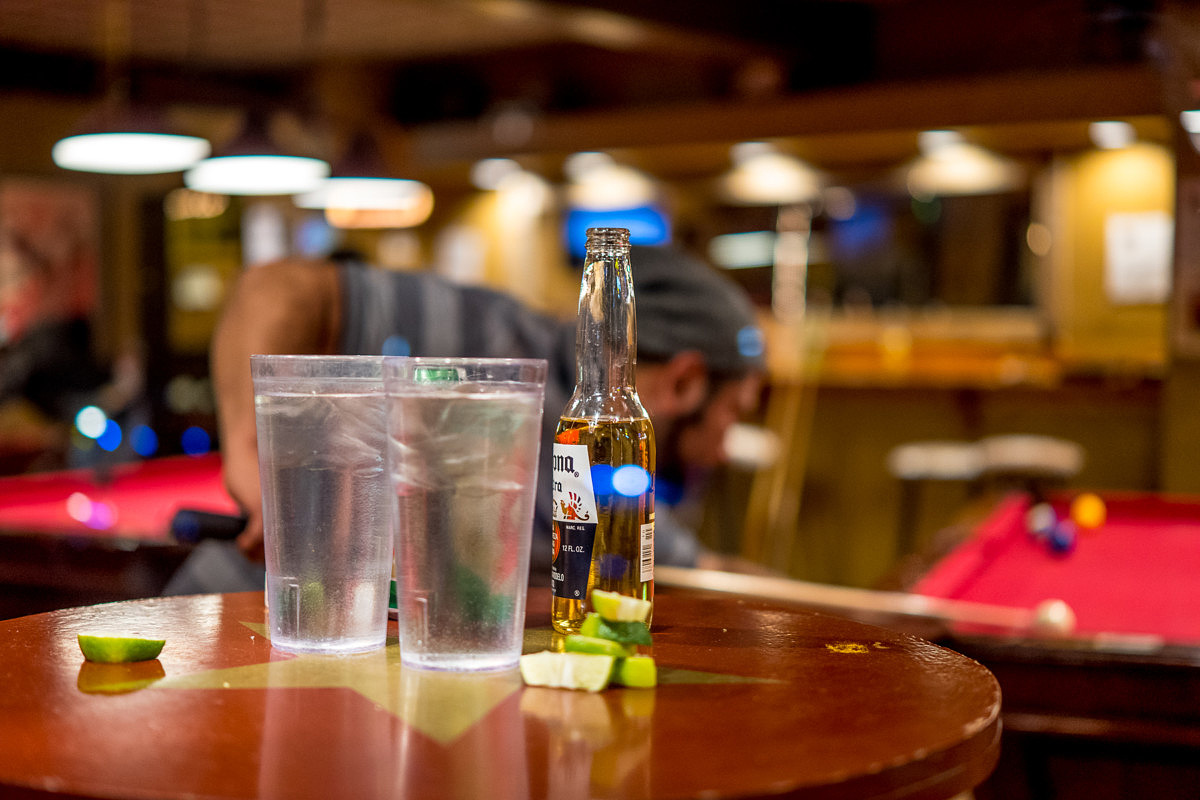
1/100th @ f/1.4, ISO 1250
Leica APS-C System – A brief history
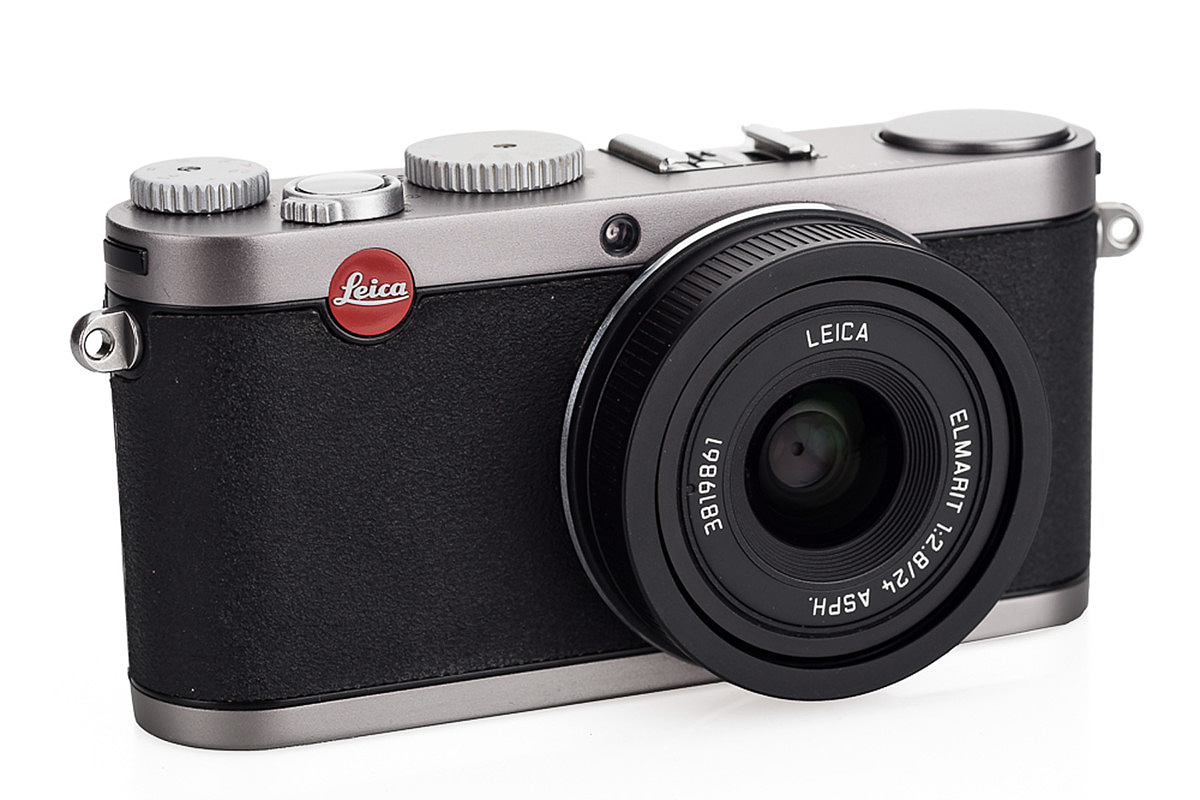
To fully understand Leica’s approach to APS-C in general, and the CL specifically, we need to look back ten years and see how the concept came to be. Leica started the large sensor in a small camera movement in late 2009 when they shoehorned a DSLR-sized APS-C sensor inside the body of a compact camera and coupled it with a high quality 35mm (equiv.) prime lens. The Leica X1, while not a runaway success for the company that created it, set the stage for larger sensor, compact cameras. Prior to Leica’s foray, most mainstream camera manufacturers were using much smaller sensors, ranging in size from 2/3 inch to Micro Four Thirds. At the time, only full-featured DSLR cameras used the larger APS sensors.
X1 – 2009
The original X1 featured an APS-C 12 MP CMOS sensor paired with a 35mm f/2.8 (equiv.) lens. With a body size and design reminiscent of the original screw mount Leica cameras of the 1920, 30 and 40s, the X1 was an incredible first effort. And while image quality was quite good for the time, the X1 fell a bit short with AF performance and overall speed.
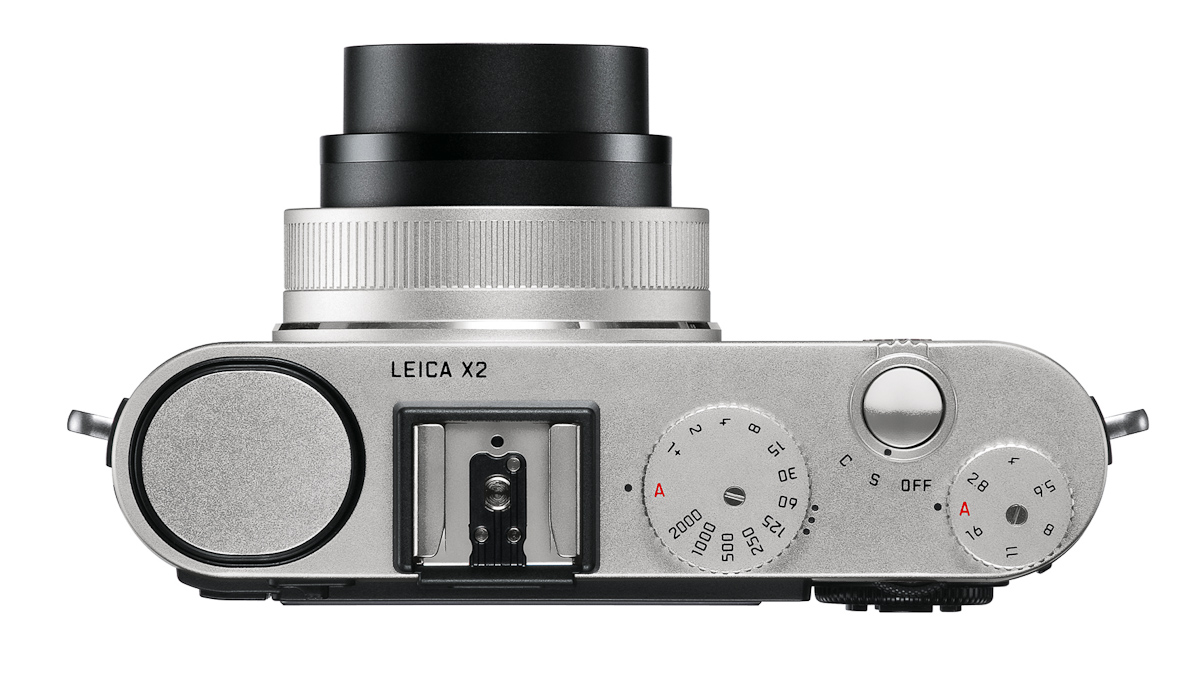
X2 – 2012
Three years later, the X2 launched and was a vast improvement over its predecessor. A newer, higher resolution 16.1 MP sensor took the place of the original 12 MP and offered superior performance in just about every category. When I reviewed the camera, I found the X2 to be incredibly versatile, with just a few shortcomings. You can read my review here: Leica X2 Review: A Weekend in Berlin
X Vario – 2013
Despite the X2’s improvements, users overwhelmingly requested that Leica incorporate a zoom offering into the X line. So, just a year after the X2 introduction, in mid-2013, they did. The X Vario featured one of the best zoom lens designs to ever come out of the optics department at Leica.
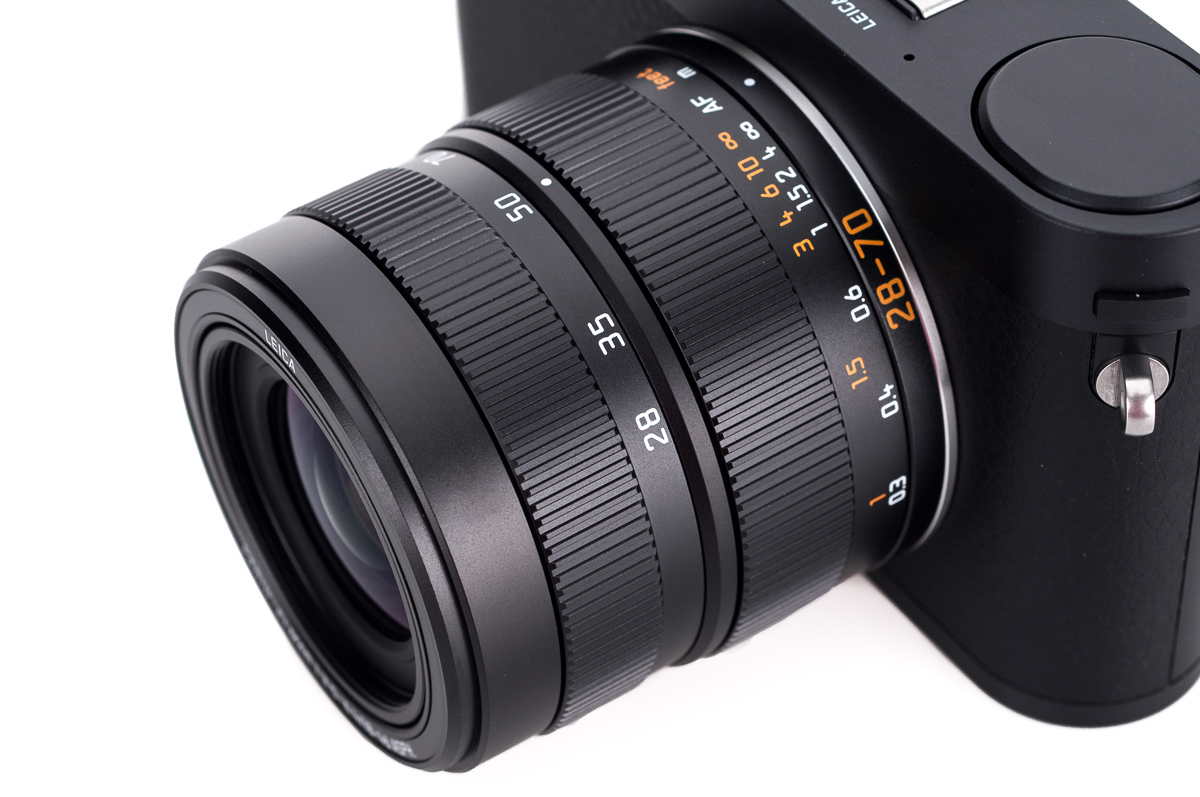
But the otherwise exceptional 28-70mm lens was hampered by its modest f/3.5-6.3 maximum variable aperture. Would-be users were put off by the slow zoom, and decades of mass-market conditioning that slow apertures meant low quality kept many away. I too was guilty of initially holding a less-than-wonderful opinion of the camera when it was first announced.
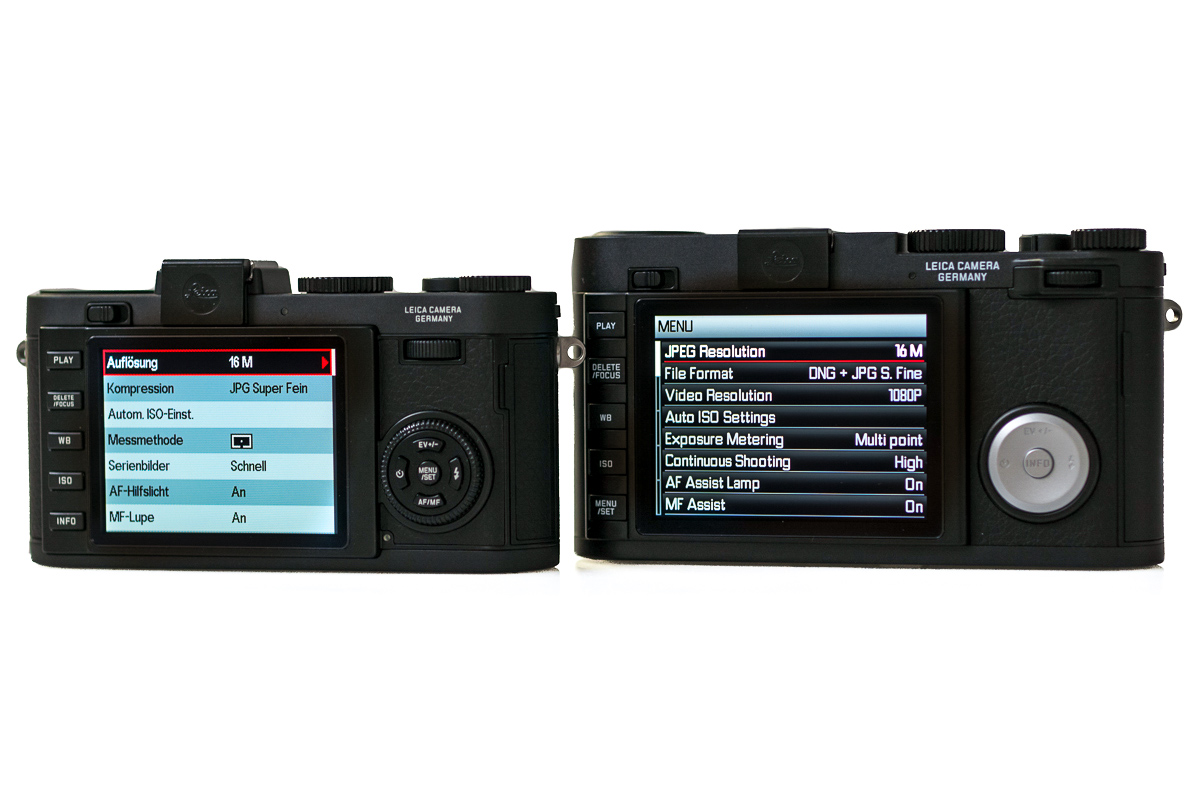
The X Vario, though, brought significant improvements including a larger and higher resolution LCD screen with a UI that was more in line with the then-current M240, along with lovely manual zoom and focus rings on the lens. After some real-world usage, I changed my tune on the X Vario, and ended up carrying one in my everyday bag as a go-to for a couple years. You can read my review here: Leica X Vario (Typ 107) Review: Looking Beyond the Specs
X113 – 2014
Even after the X Vario developed somewhat of a cult following, the pendulum had already swung back the other way. Users decided that they didn’t really want a zoom after all, if doing so meant settling for a slow variable aperture. So, in 2014, the X saw another significant update. The X (Typ 113) adopted the X Vario’s body, UI design, and the same well-regarded 16.1 MP Sony chip. But, adorning the front of the camera was a faster, 35mm f/1.7 (equiv.) Summilux. While I didn’t get around to a full review of the X113, my wife used one as her main camera until last year, when she traded up to a Leica Q. Truth be told, she still misses her X sometimes.
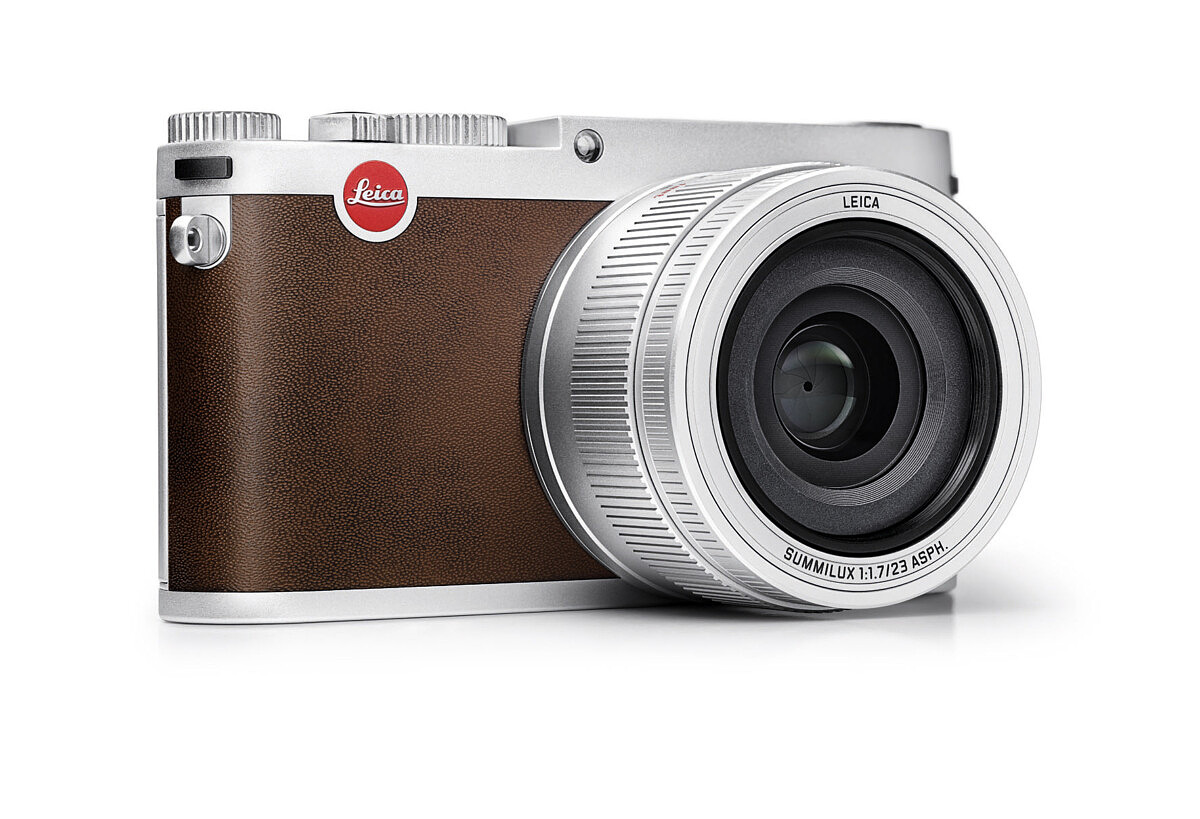
Anyone that claims Leica doesn’t listen, or respond, to user input, would be completely off-base. In fact, if anything, Leica could be faulted for being too responsive. Even with the continued and rapid development of the X line, the X113 still struggled with the limitations of an average off-the-shelf processing chip, plaguing generation after generation with somewhat sluggish performance. And despite the super-fast 35mm prime lens, pleas for interchangeable lenses started to become increasingly persistent in the Leica user community.
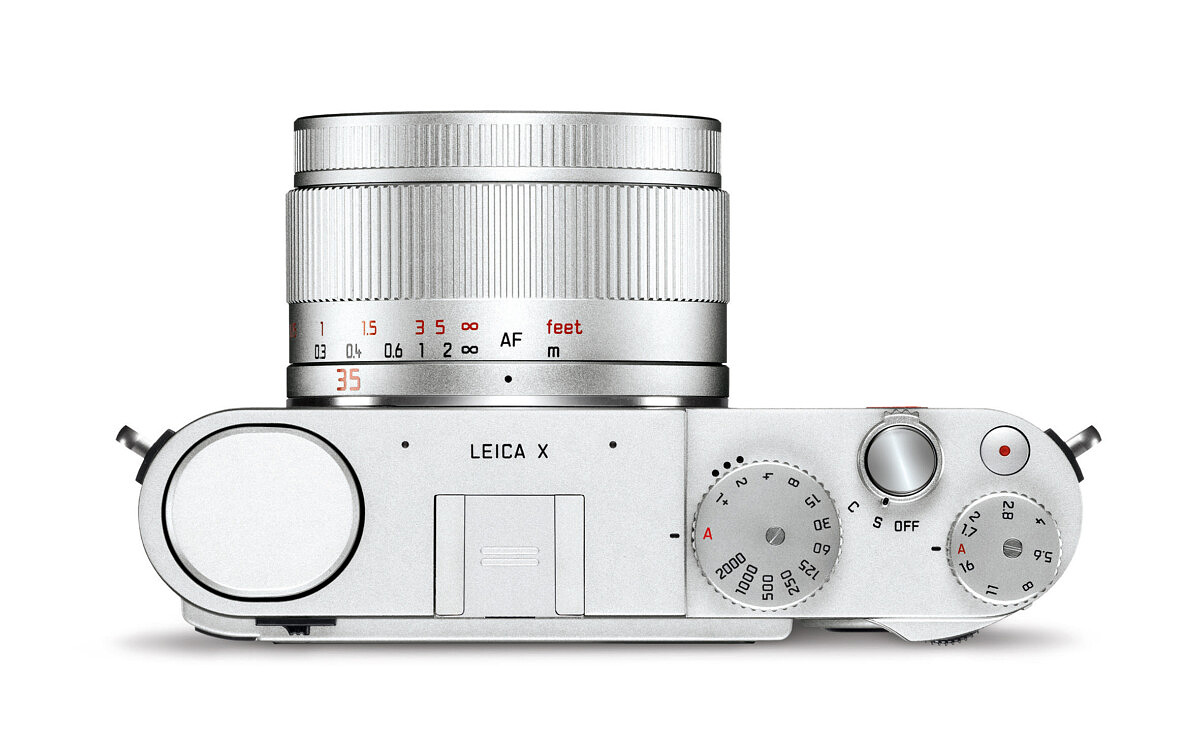
T 701 – 2014
All the while, the APS team at Leica was hard at work behind the scenes. Around the same time as the X113 came to market, the T (Typ 701) made its debut. A dramatic departure from the iconic and classic designs of the past, the T was a work of industrial art.
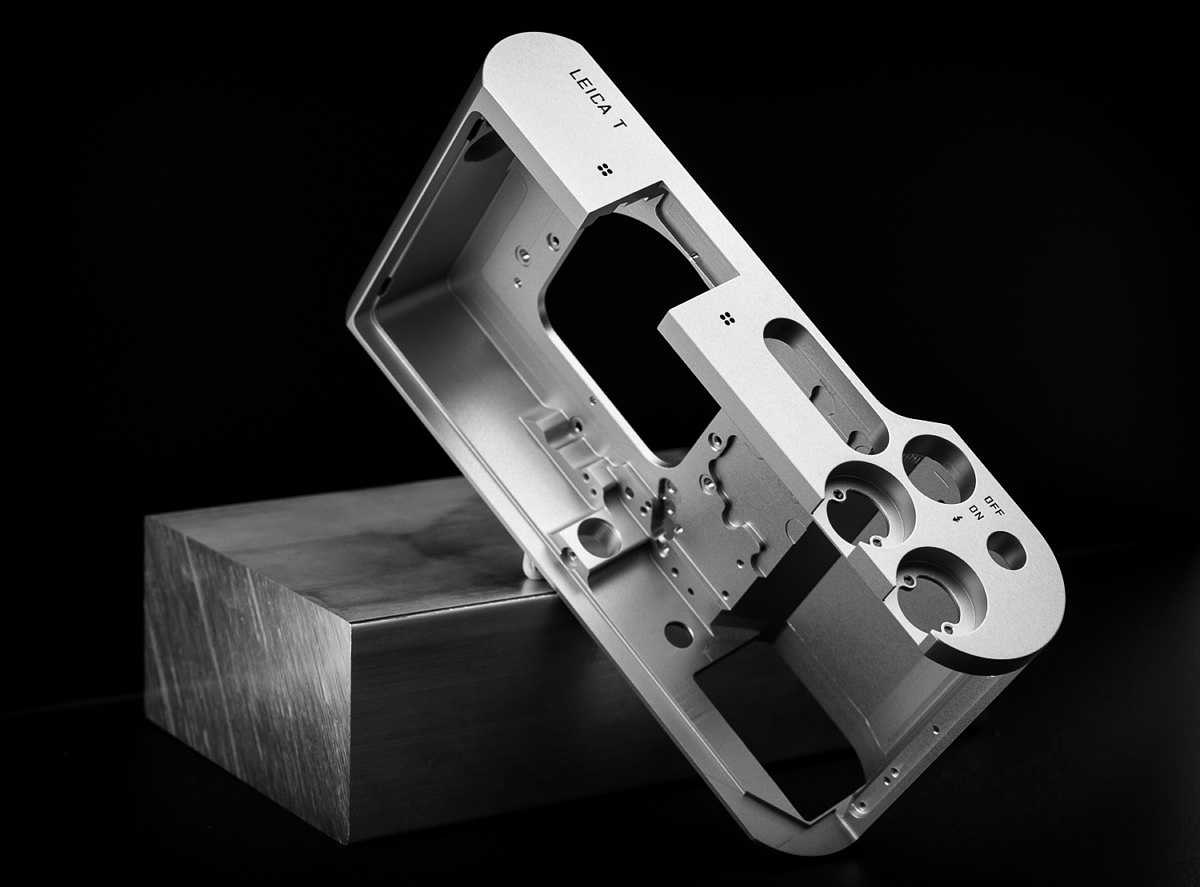
With its sleek machined aluminum unibody shell and giant touchscreen occupying the entire back of the camera, the T looked like the lovechild of a MacBook Pro, a smartphone and a Leica camera.
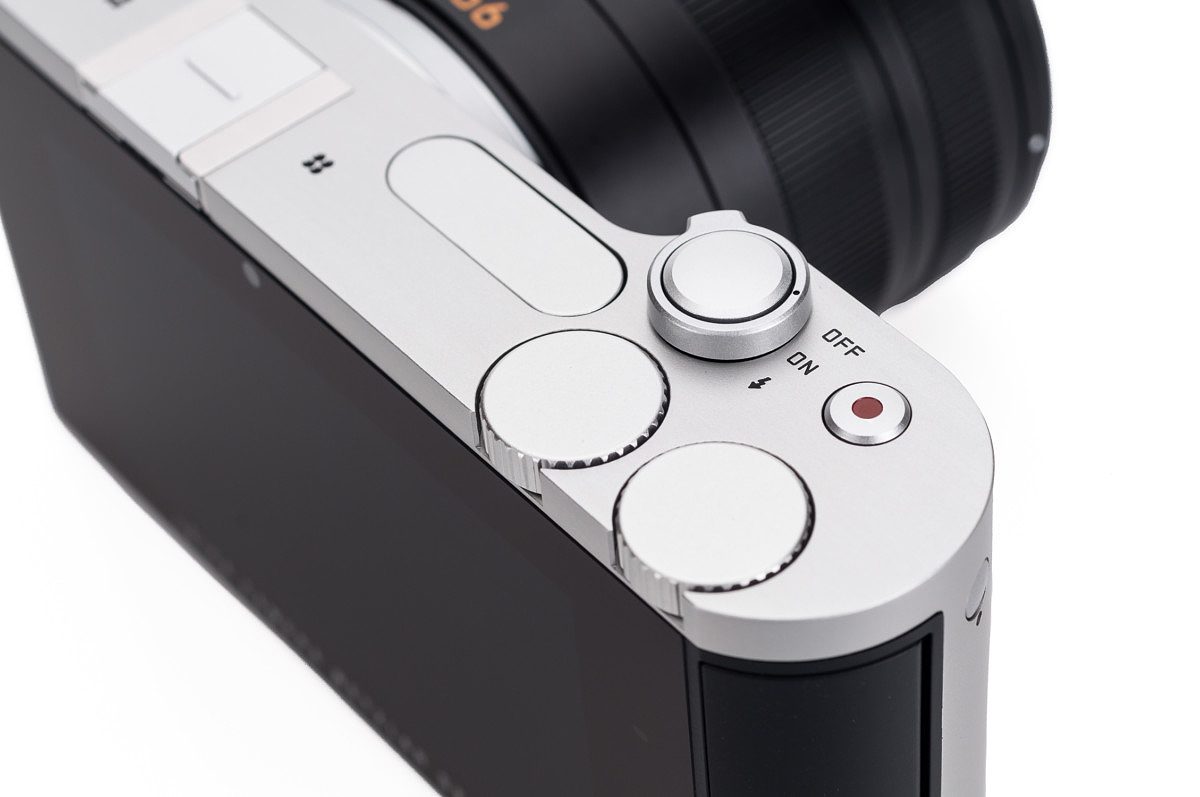
Under the hood, many of the same internals from the X113 found a new home, including the 16.1 MP CMOS chip. With a near-identical imaging chain, the T offered up image quality equal to the X113 but opened the door for interchangeable lenses with a brand-new mount. You can read my review here: Leica T (Typ 701) Review
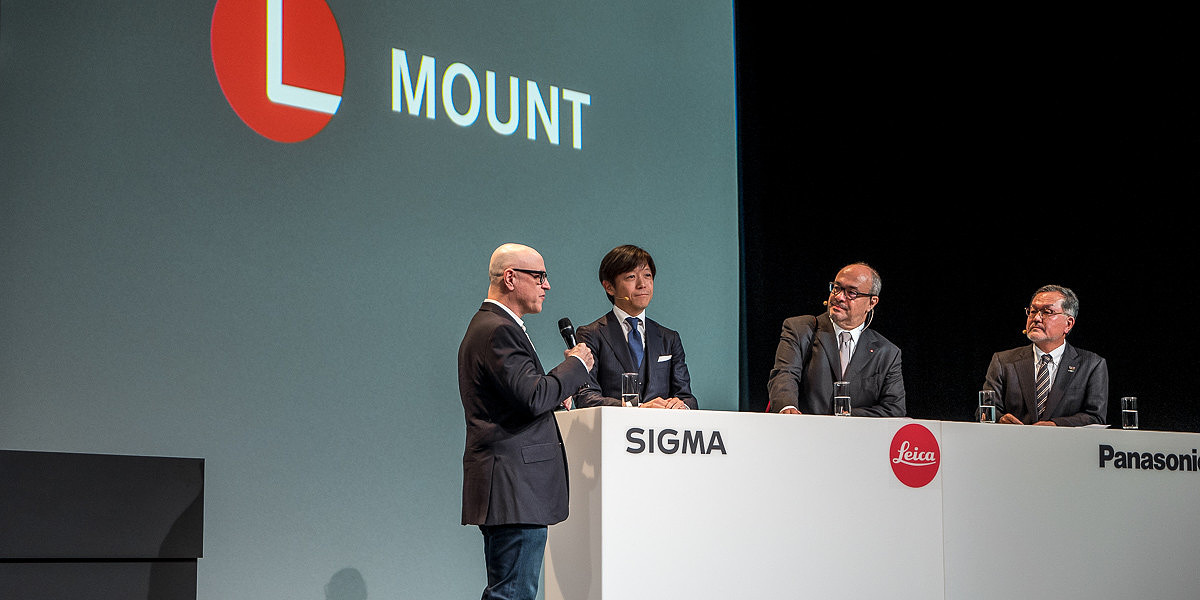
At the time, the move was a bit surprising, especially for a small company like Leica. Between the M, S and new T mount, Leica would be developing and producing optics in three separate mounts. Little did we know at the time, that a fourth line of full frame lenses for the SL system were around the corner, or that the T/L mount was developed with full frame cameras in mind from its inception. Nor did we know that the development would eventually lead to the recently announced L-Mount alliance with Panasonic and Sigma.
Once again, the T represented an amazing first effort for an interchangeable mirrorless camera. Innovative touchscreen UI, ultra-clean and original design, excellent lenses, and solid image quality all seemed to indicate a big potential hit for Leica.
And yet, the T never really hit its stride. The camera’s complete departure from the traditional Leica design language was both immediately intuitive and somewhat unrelatable. Besides the ergonomic considerations of a buttonless camera, there were grumblings of Leica continuing to use the same 16MP sensor from the X2, which was no longer cutting edge.
Q – 2015
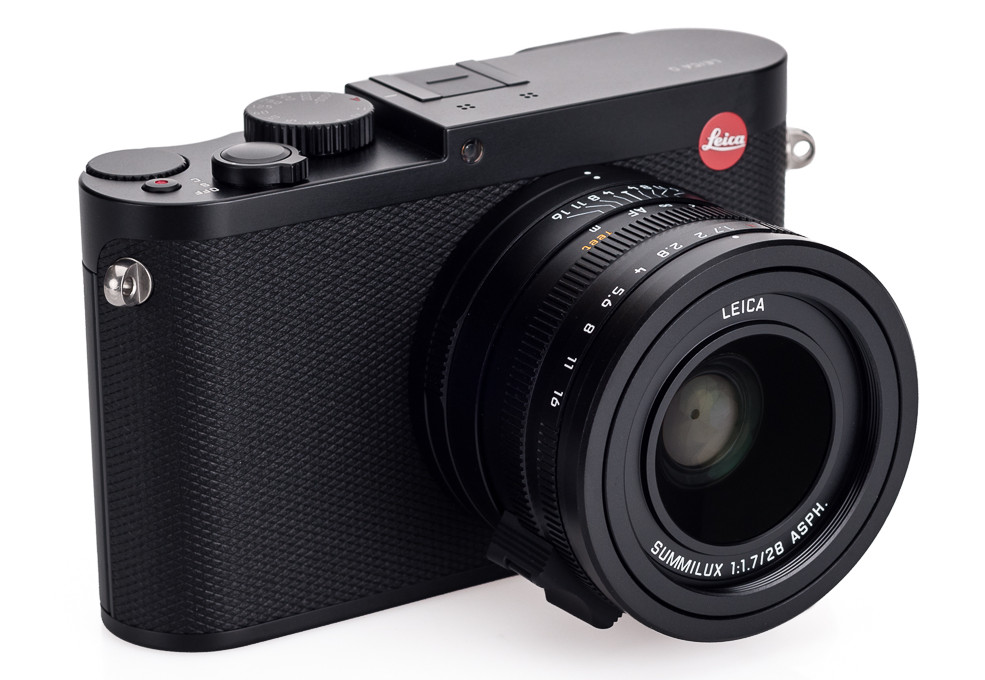
The following year, in 2015, Leica launched the Q (Typ 116) and everything seemed to fall into place. Full frame 24 megapixel sensor, Maestro II processing, built-in high-res EVF, touchscreen, manual controls and fast 28mm f/1.7 lens hit all the right notes. The camera has become one of Leica’s most popular releases ever. You can read my review here: Leica Q (Typ 116) Review: A Full-Frame Mini M
Meanwhile, the APS system, which laid so much of the groundwork necessary for the creation of the Q, languished. Leica APS system product manager Maike Harberts and her team wasn’t sitting still, or throwing in the towel. They continued to evaluate user needs and build upon prior efforts. And as a result of that hard work, 2017 was going to be the year of the Leica APS system’s triumphant return.
TL2 – 2017
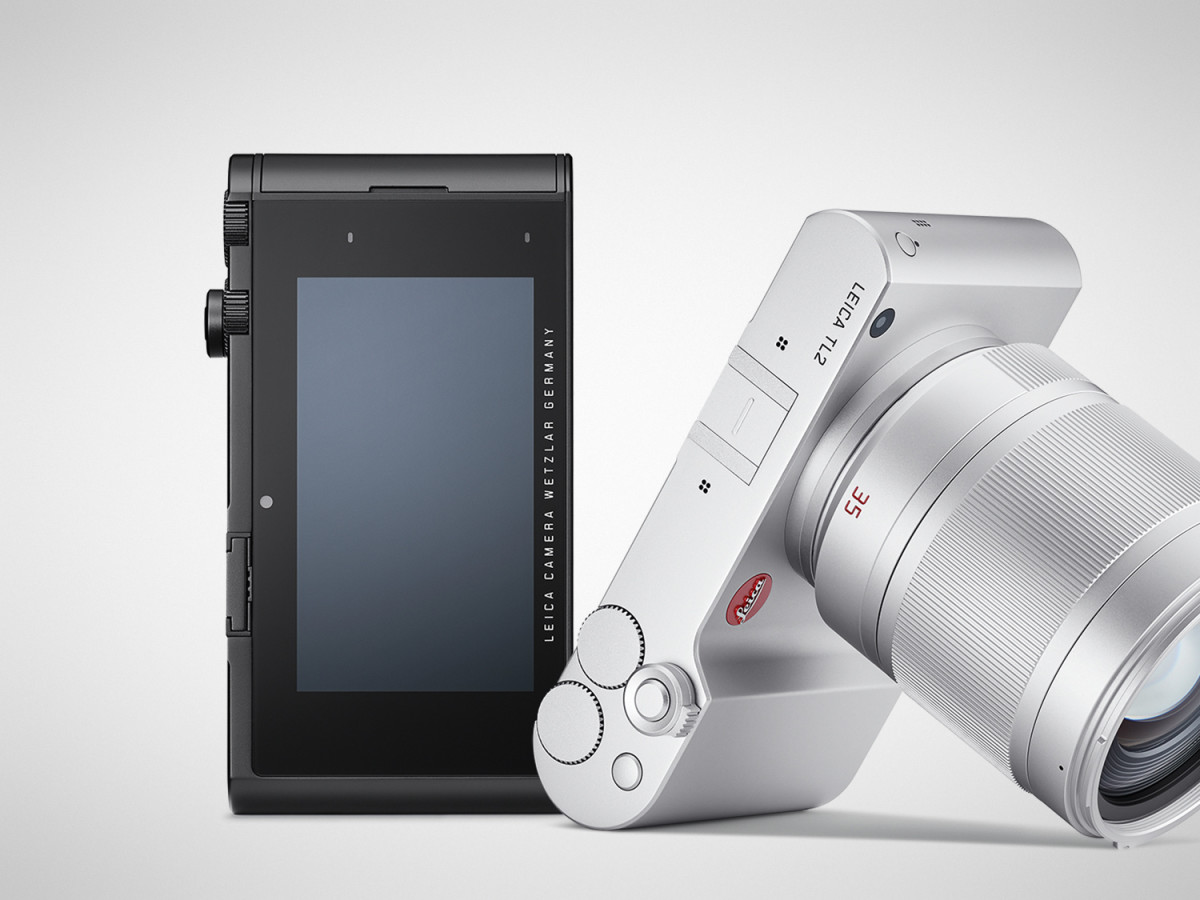
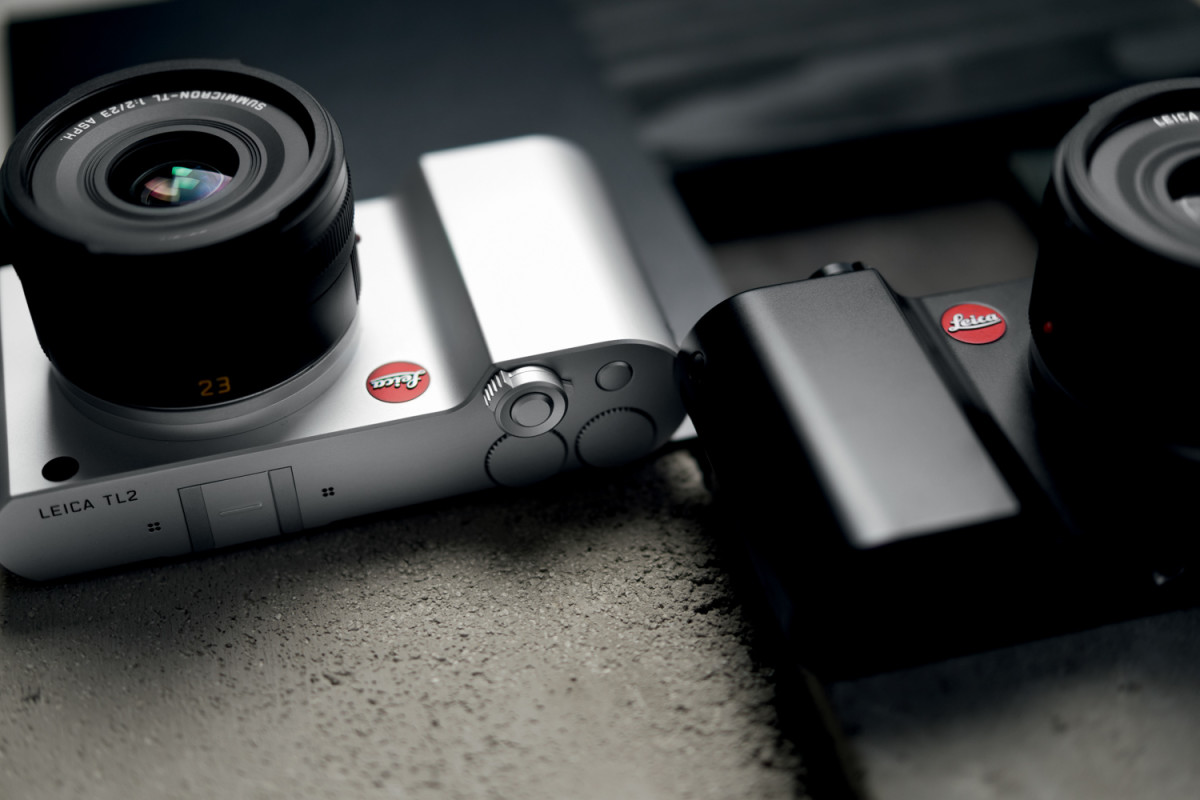
First came the TL2, a massive upgrade from the first-generation T and the 2016 TL refresh/rebrand. A brand new 24MP CMOS sensor coupled with Leica’s speedy Maestro II processor brought the needed image quality and responsiveness to make the TL2 what many wanted in the first go-around. During my testing of the TL2, I was extremely impressed with camera. But the minimalist design hadn’t caught on in a big way. Users still weren’t completely satisfied. They wanted a return to a traditional interface. And a built-in EVF, not the add-on option of the TL2.
CL – 2017
As 2017 came to an end, a completely new design launched. The CL, a product of continued innovation and relentless chasing of evolving customer tastes, seemed to finally achieve a magical mix of features, interface, image quality, ease of use and iconic design.
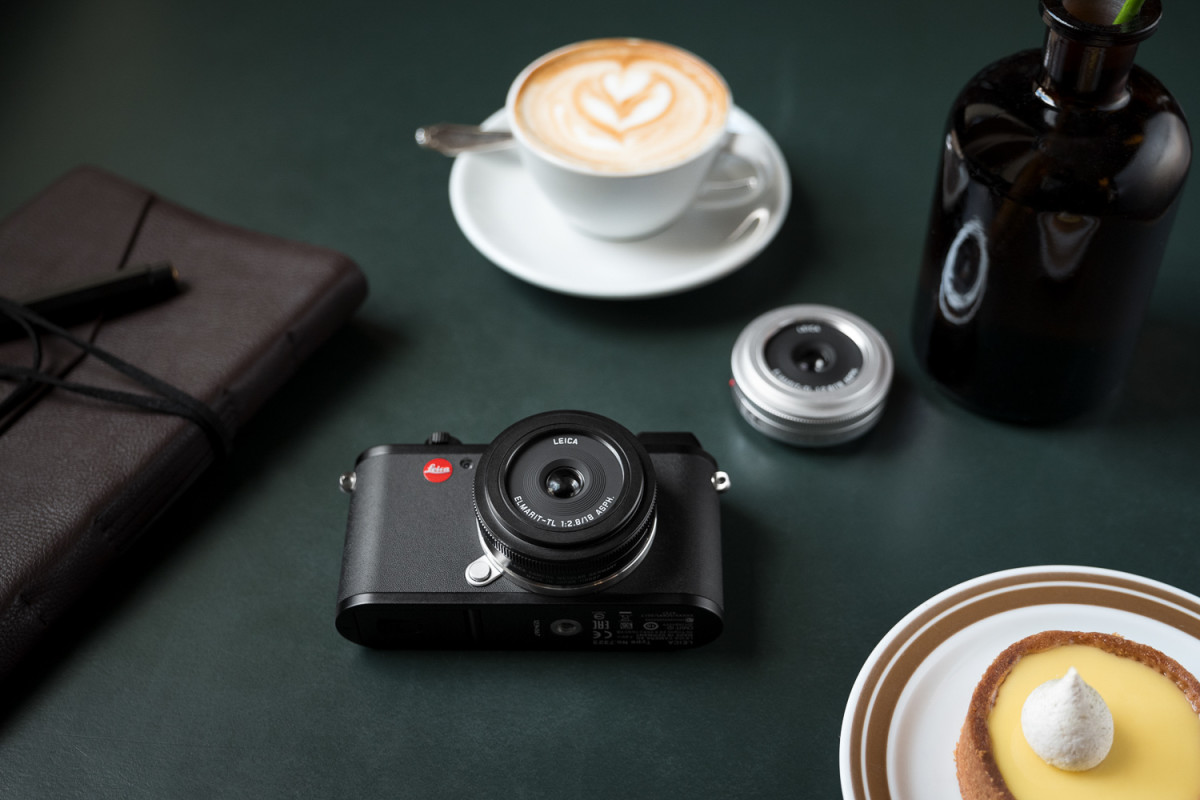
Now that we’re all caught up, let’s dive a bit deeper into the details. First, a look at the specifications in detail, then at the control concept and how the camera is designed to be operated.
Physical overview
The CL shares identical body dimensions with the X113 and the X Vario, which in turn are the same size as the original Leica screw mount cameras like the Leica I, II and III. The body is thick enough to be held comfortably, with pleasant rounded ends, but certainly not chunky. Some mirrorless cameras on the market err on the side of being too thin, or too tiny in general, making them uncomfortable to hold and leading to front-heaviness with larger lenses.
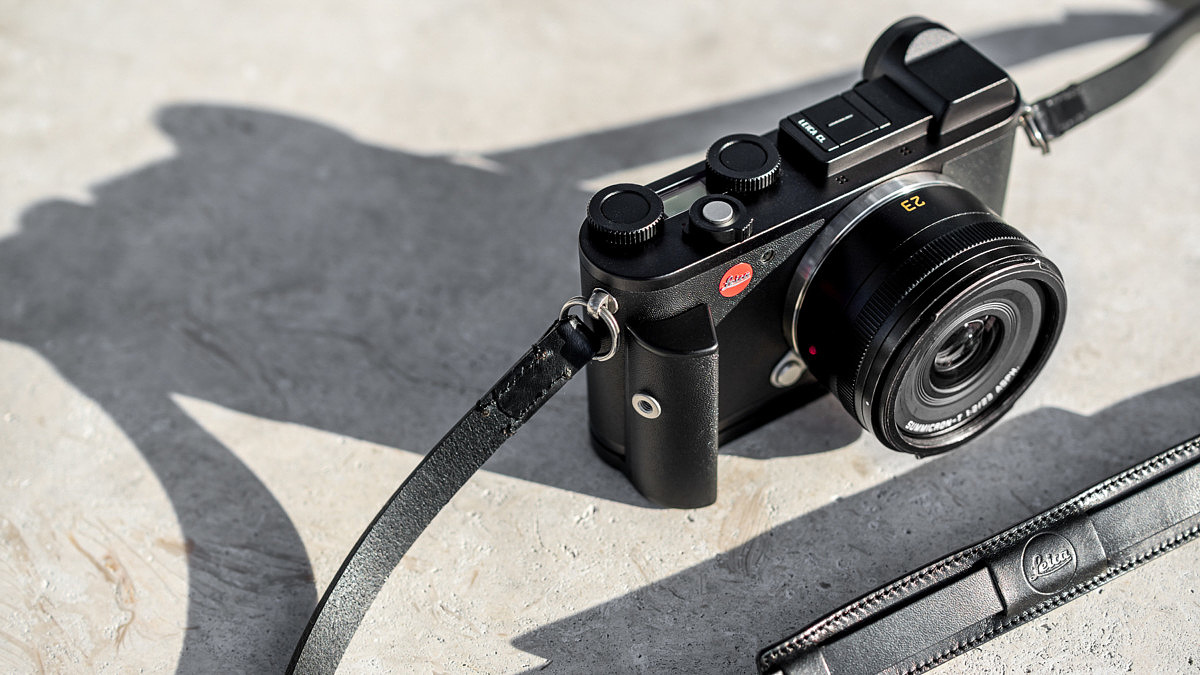
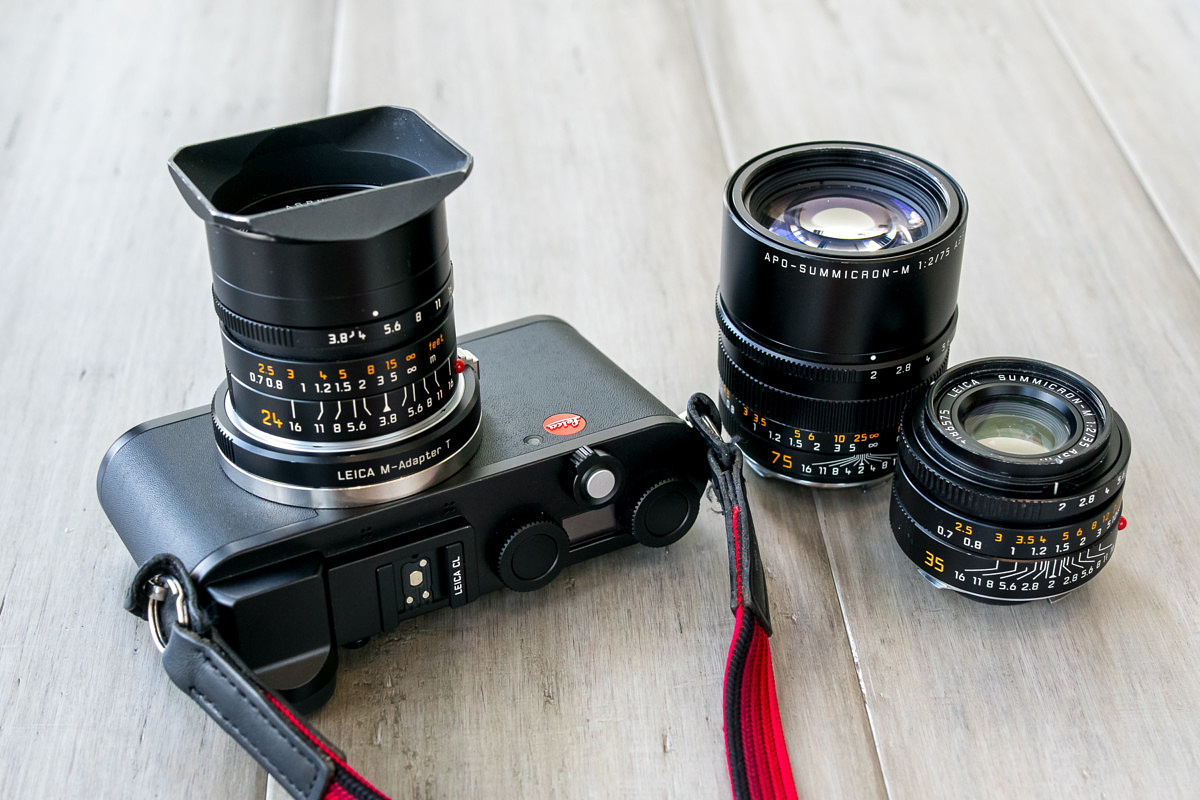
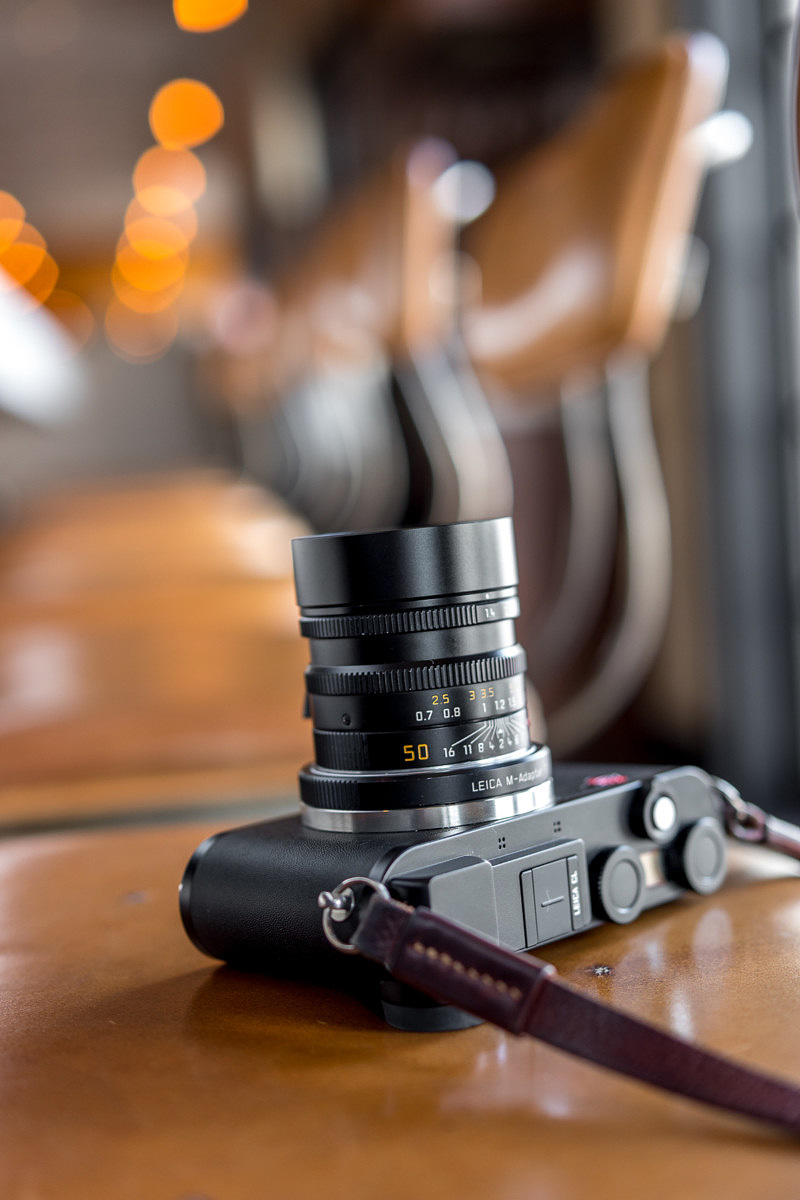
Leica has avoided these pitfalls. Rather, the TL/CL lenses balance nicely, as do M lenses when used with the M Adapter-L. Smaller SL lenses like the new range of Summicron-SLs work nicely too. The SL zooms, which offer full functionality on the CL, dwarf the camera. Unless you have a very specific reason for using the SL zooms on the CL, which I’ll cover a bit later, I wouldn't recommend using them.
The top and bottom plates are made of machined aluminum, finished in either silver chrome or black anodized depending on the model. Both look and feel wonderful. The magnesium chassis is wrapped in luxurious, yet durable black leatherette, providing a solid grip even in wet conditions.
Spec Overview
- 24MP APS-C Sensor
- Maestro II processor
- Leica L mount
- 10 frames per second max burst
- ISO 100 – 50,000
- 1/8,000 sec mechanical shutter
- 1/25,000 sec electronic shutter
- 2.36 MP internal EVF
- 3-inch touchscreen
- Wi-Fi
Resolution
A quick look over the specs shows a capable and modern camera. Twenty-four megapixels is more than enough for most photographic applications and still allows for a bit of cropping. In my year-long usage, I’ve never felt held back by the resolution like I had in the past with some of the earlier X cameras.

1/160th @ f/8, ISO 500
Frame Rate
At 10 frames per second, the CL is quick shot-to-shot, with minimal viewfinder blackout and no hesitation when snapping the shutter release. That high FPS also allows fast refresh in the EVF and quick autofocus. Both are highly dependent on how quickly the sensor data can be read out and processed.
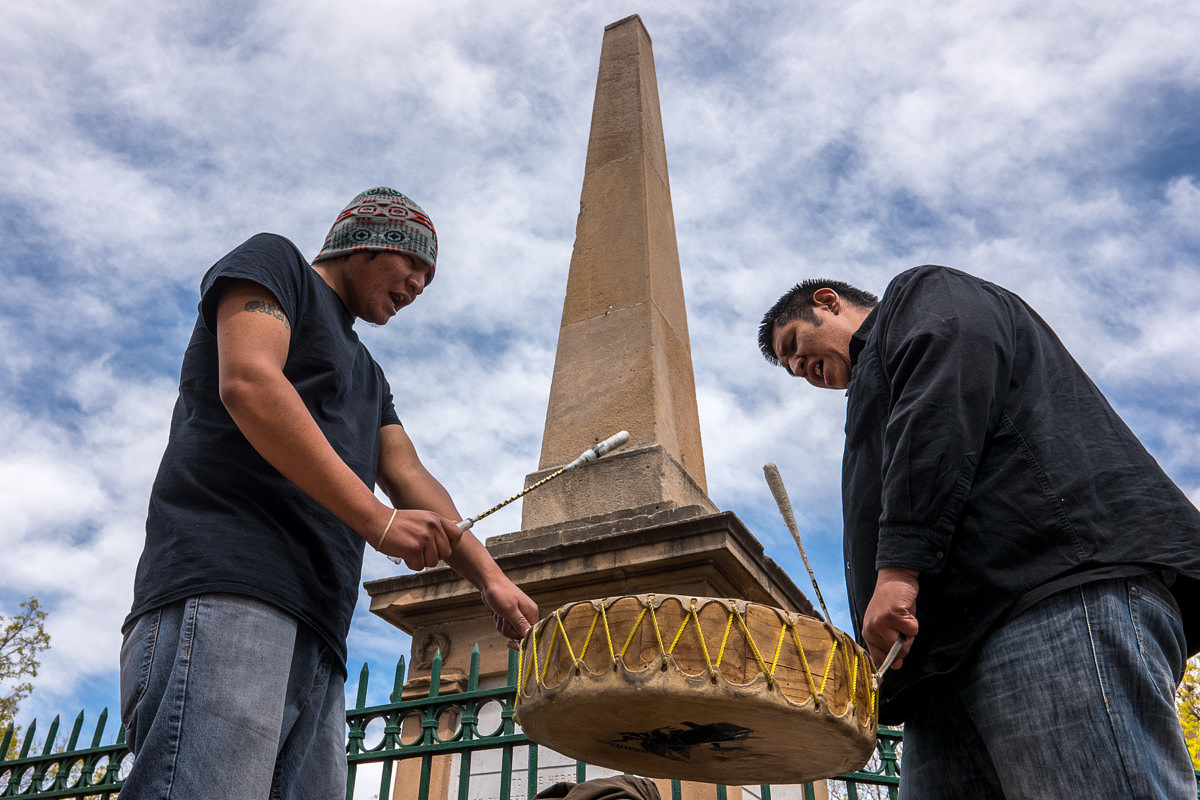
1/400th @ f/8, ISO 100
Shutter
The 1/8,000 sec mechanical shutter is welcome here, especially for a compact APS-C camera, but the 1/25,000 sec electronic shutter is downright awesome. Even back in my film days, I tended to tune out the race to higher and higher max shutter speeds, as I just didn’t see much utility there. Ah, how times have changed. After having taken advantage of higher speeds, I’ve realized this is a must-have feature. It’s enabled me to use the 35mm f/1.4 TL lens wide open much of the time, even in extremely bright light, without fiddling with a front-mounted ND filter.
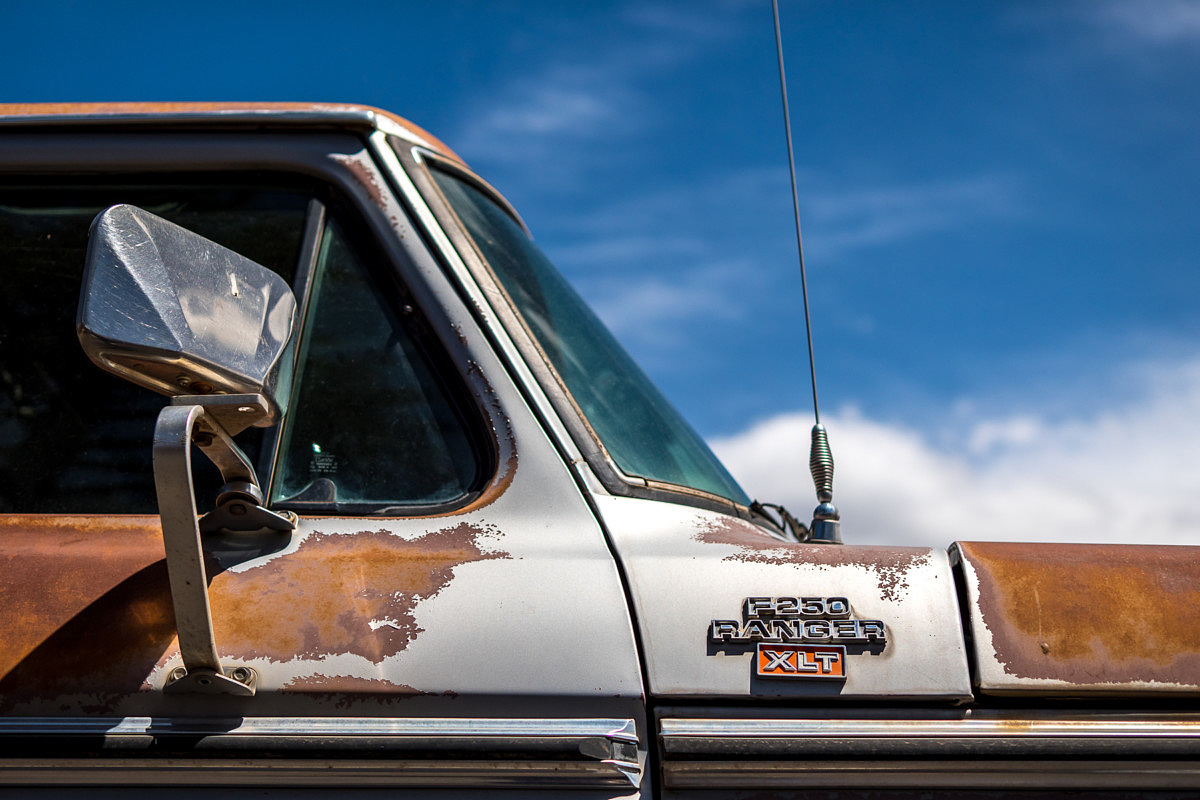
1/16,000th @ f/2, ISO 100
The shutter is user selectable. For just about all my shooting, I leave it set to Extended mode, which uses the mechanical shutter up to its max speed then seamlessly switches to electronic when higher speeds are required.
Do be aware that you’ll want to avoid shooting quickly-moving subjects with the electronic shutter. Otherwise, even with the rapid refresh rate of the sensor, you might end up the victim of the rolling shutter effect, with verticals magically transforming into diagonals. I’ve yet to see this in my year of shooting, but my photography is largely static.
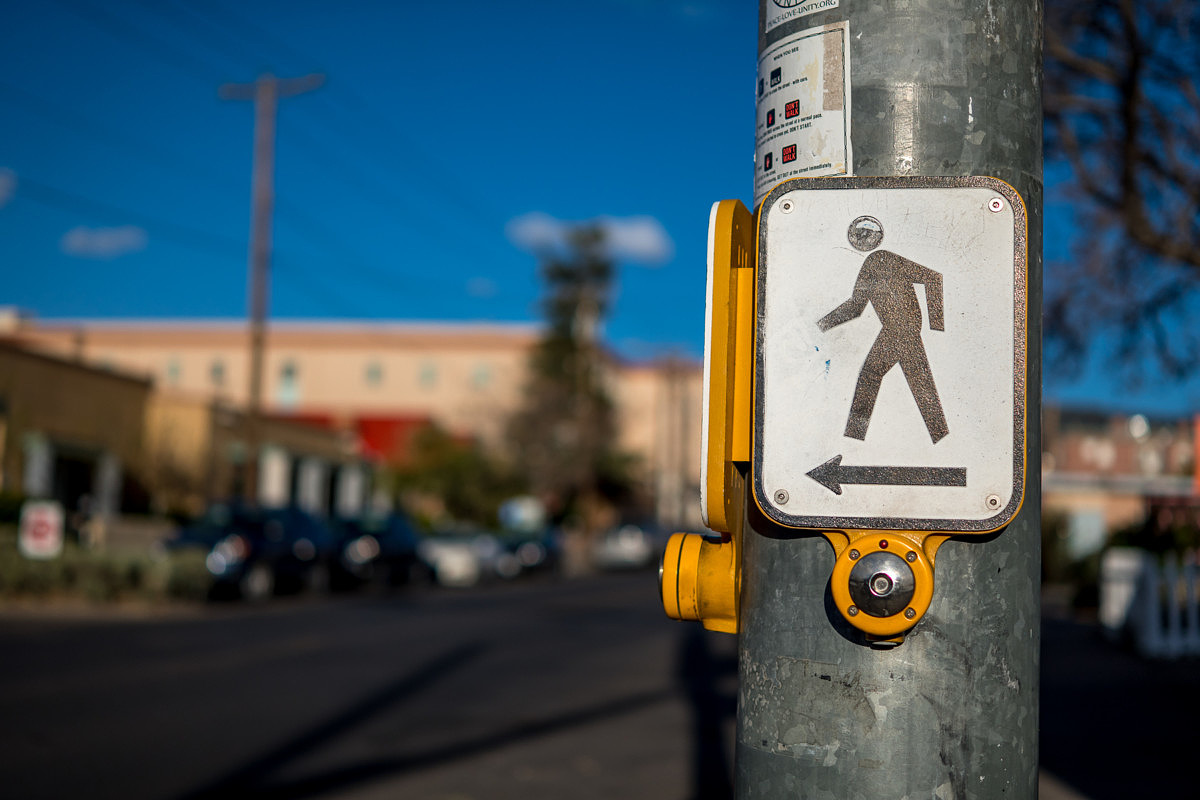
1/12,000th @ f/1.6, ISO 100
ISO Range
The ISO range of 100 to 50,000 is adequate. Given my frequent use of the 35mm f/1.4, I’ve rarely found myself wishing for a broader ISO range. And, as a quality junkie, I’ve shied away from using the very top of the range. Most everything has been under 6400. I’ll get into low light performance and noise later in more detail.
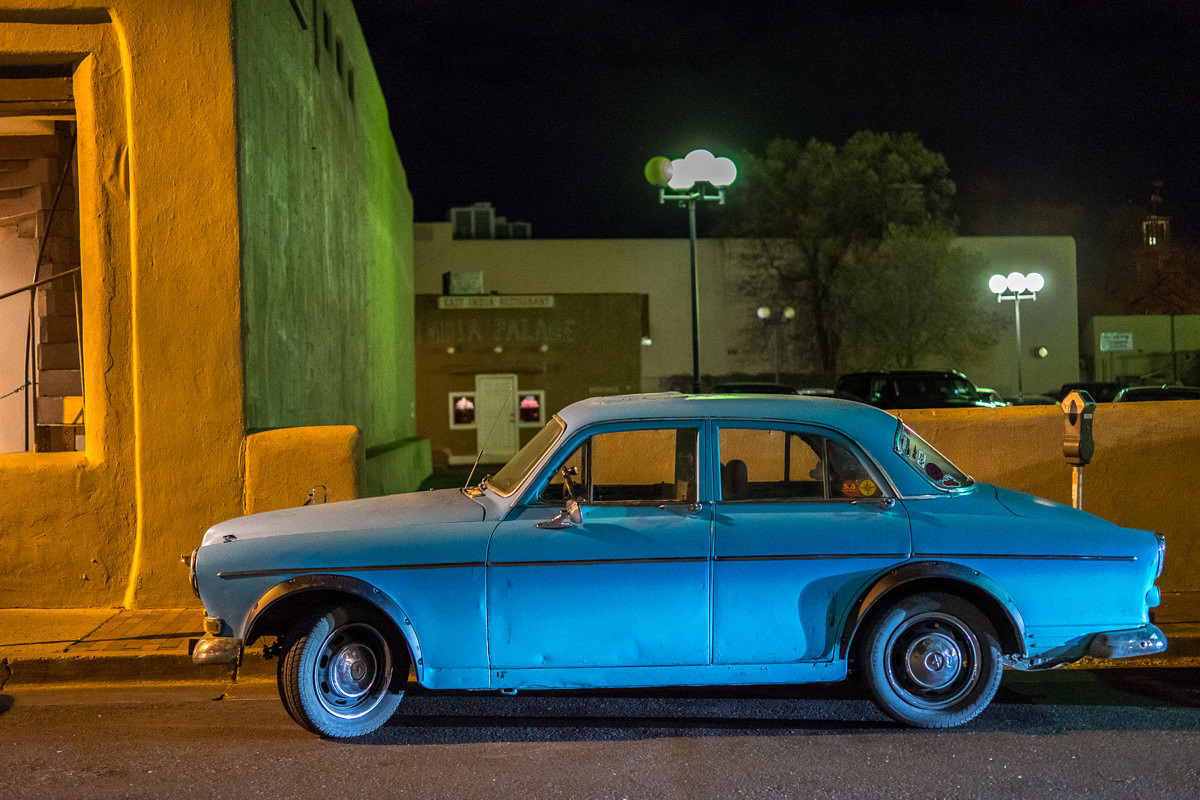
1/100th @ f/1.4, ISO 4000
EVF
A mirrorless camera’s user experience relies heavily on the EVF and the CL doesn’t disappoint. The 2.36 megapixel EVF is large, bright and clear. The generously sized eyecup offers plenty of eye relief and even with my glasses, I never had any issues with losing visibility into the corners. Objectively, I like this EVF better than the higher resolution EVF found in the Q. Likewise, I’d rate it better than the Visoflex 020 used on the TL2 and M10. Currently, out of the entire Leica lineup, I’d only consider the SL’s 4.4 MP EVF superior. It’s a very good EVF.
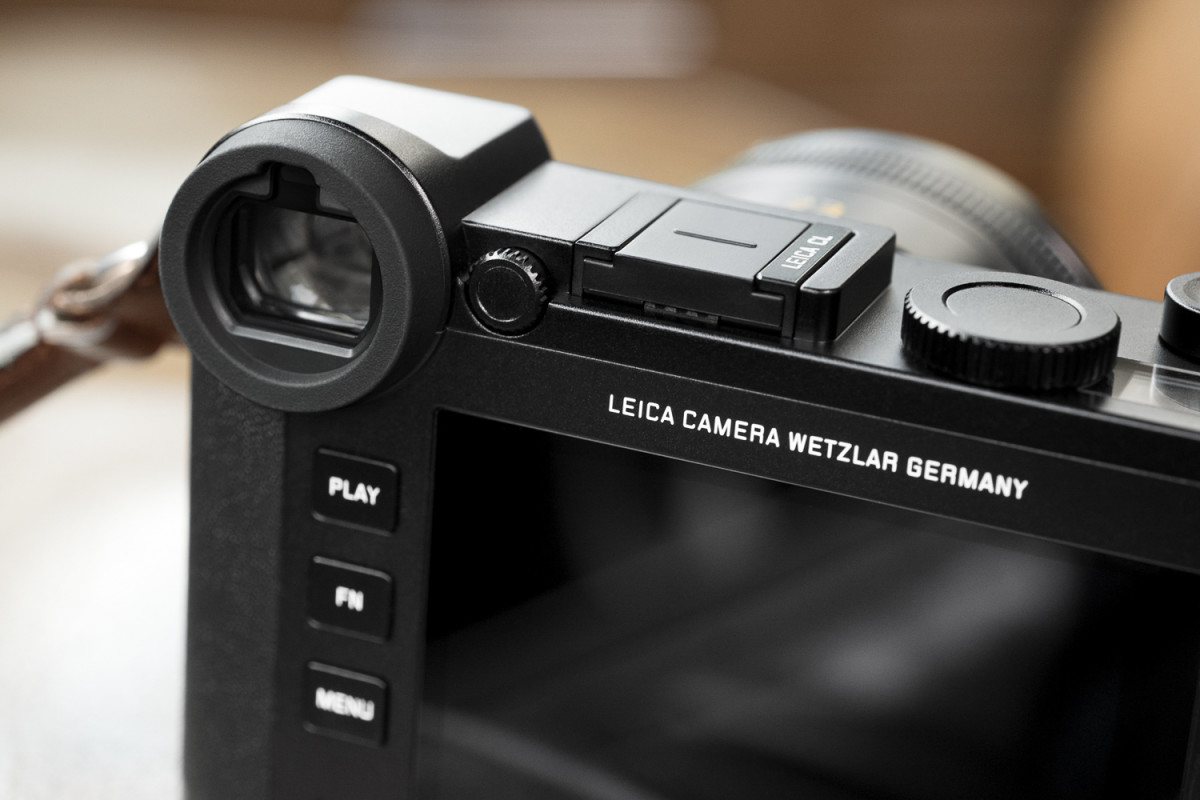
For those with mild prescriptions wanting to shoot without glasses, there’s an adjustable diopter control, to the right of the viewfinder. The small wheel pulls out to dial in your setting, then clicks back to lock in place. For anyone who has inadvertently knocked the diopter correction out on their EVF2 or Visoflex 020 (meekly raises hand, while seeing everyone else doing the same), the lock is a welcome addition.
The eye sensor switches quickly and effortlessly between LCD and EVF.
Rear LCD
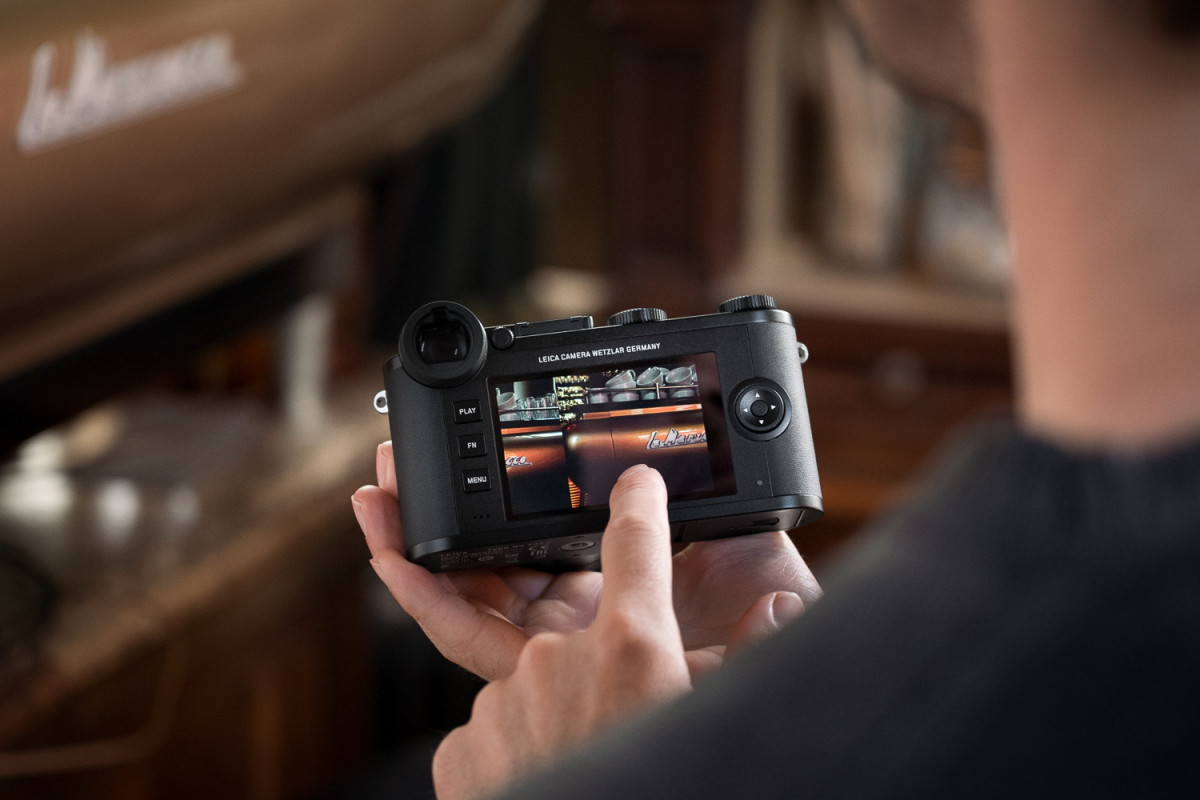
The 3-inch rear LCD is about the same as the ones on the Q and SL. It’s got about a million pixels. It’s a touchscreen. Not really much else to say here, except that I recommend one of the Leica display protector sets for $25. For most of my own shooting, the EVF just offers such a wonderful experience that I rarely use the screen at arms’ reach. But for review and menu navigation, it works quite well.
Battery
The CL utilizes the Leica BP-DC12 rechargeable lithium ion battery, which is also used in the Q and the V-Lux 114. Battery life is decent. Expect to get a few hundred shots on average. I usually carry one or two extra in my camera bag.
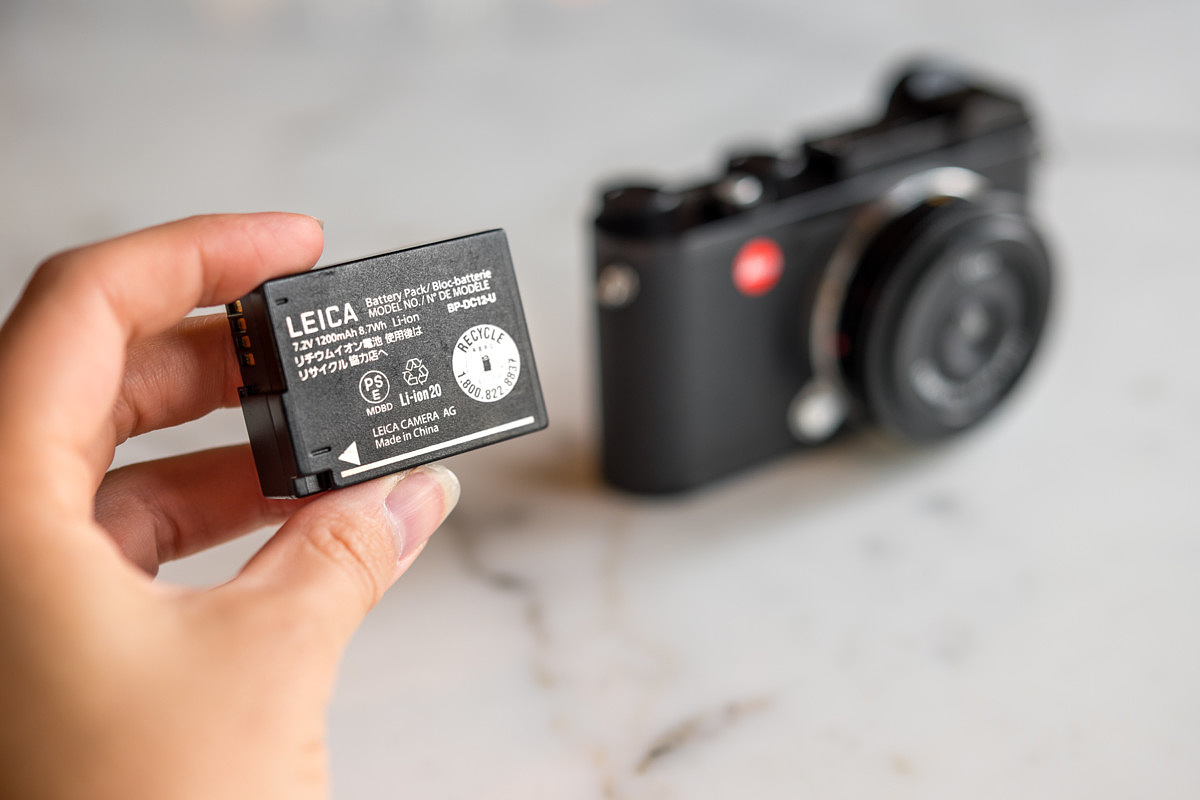
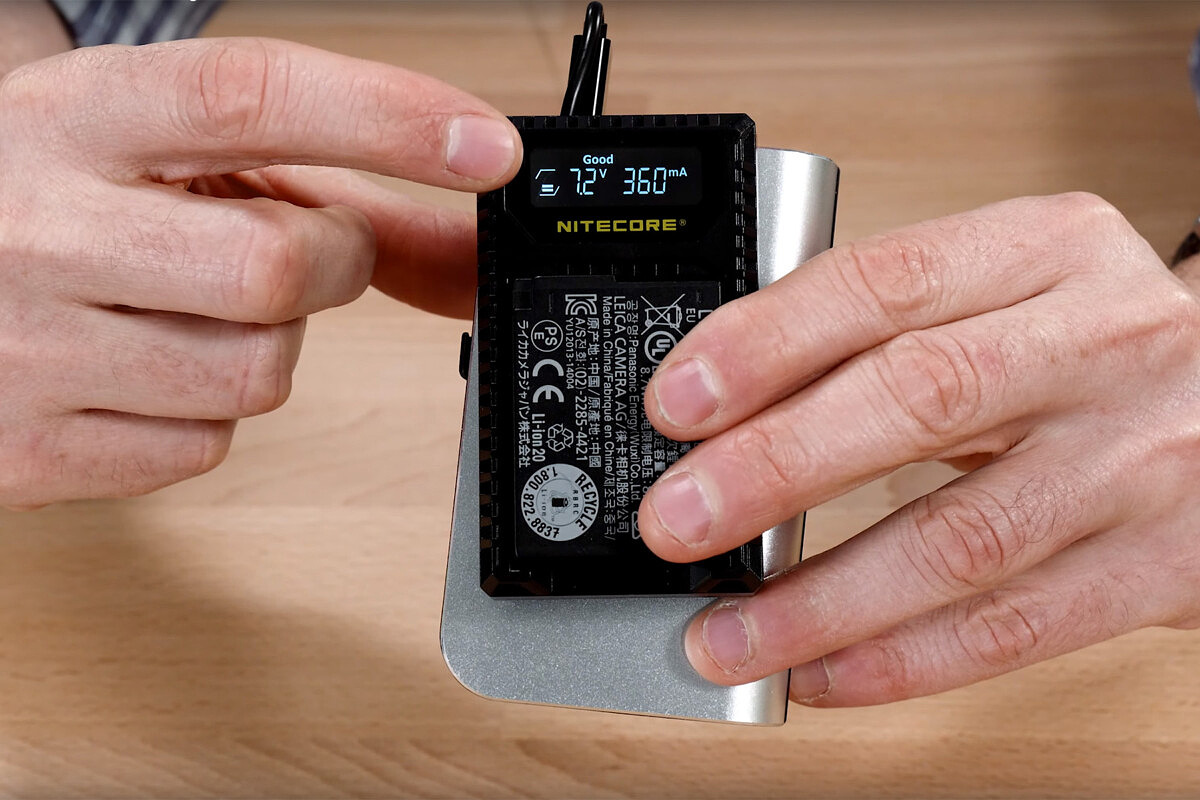
And with a Nitecore ULQ USB charger, I’m even able to charge my spare battery while walking around, by using a USB power bank. My favorite is the MyCharge HubPlus 6700mAh. I can charge up the CL battery and my iPhone at the same time, then just flip out the AC power prongs and plug into a wall outlet to recharge. At $60 for the charger and $70 for battery bank, this combo will run you just a bit more than the cost of an extra BP-DC12 battery. And, you can charge your phone at the same time.
Wi-Fi and Compatibility with Leica FOTOS App
Like all modern Leica digital cameras, the CL comes standard with built-in Wi-Fi capability. The camera creates its own network and SSID, so you don't have to worry about being near a hot spot. Pairing the two is simple with Quick Connect. Just scan the QR code displayed on the LCD screen in the WLAN menu and the Leica FOTOS app takes care of everything.
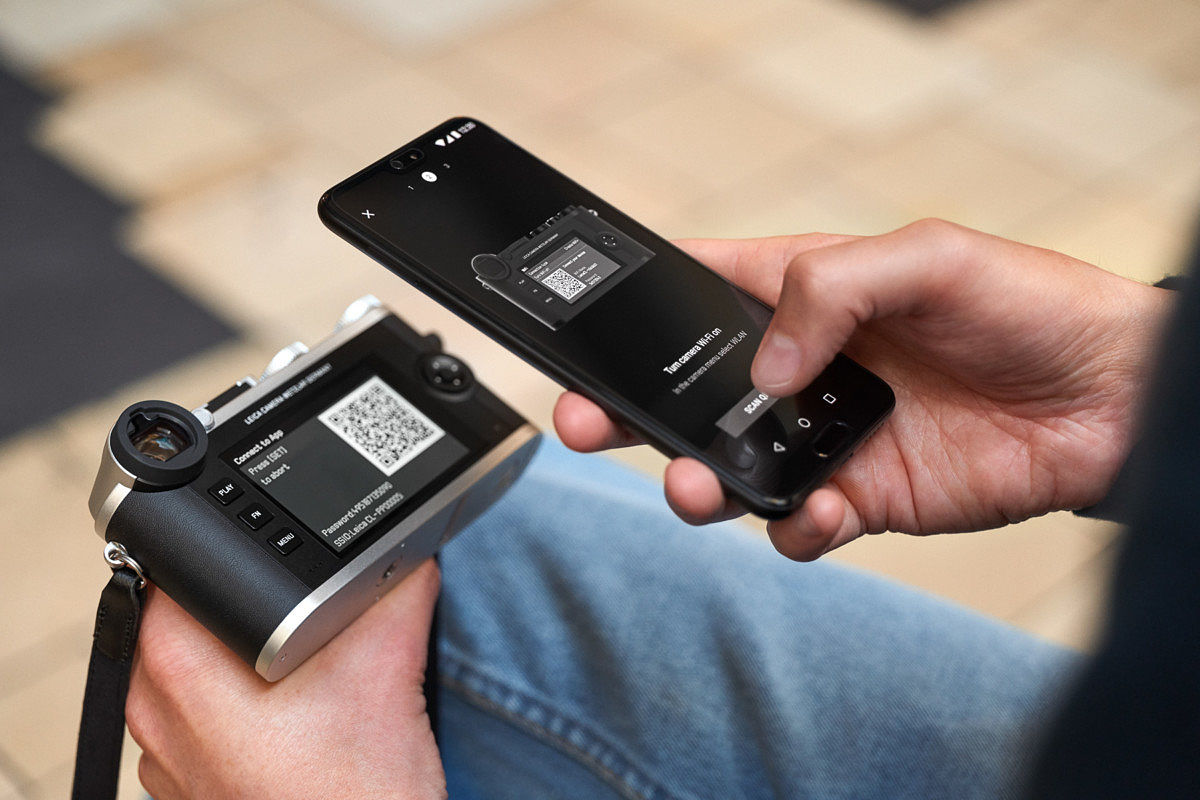
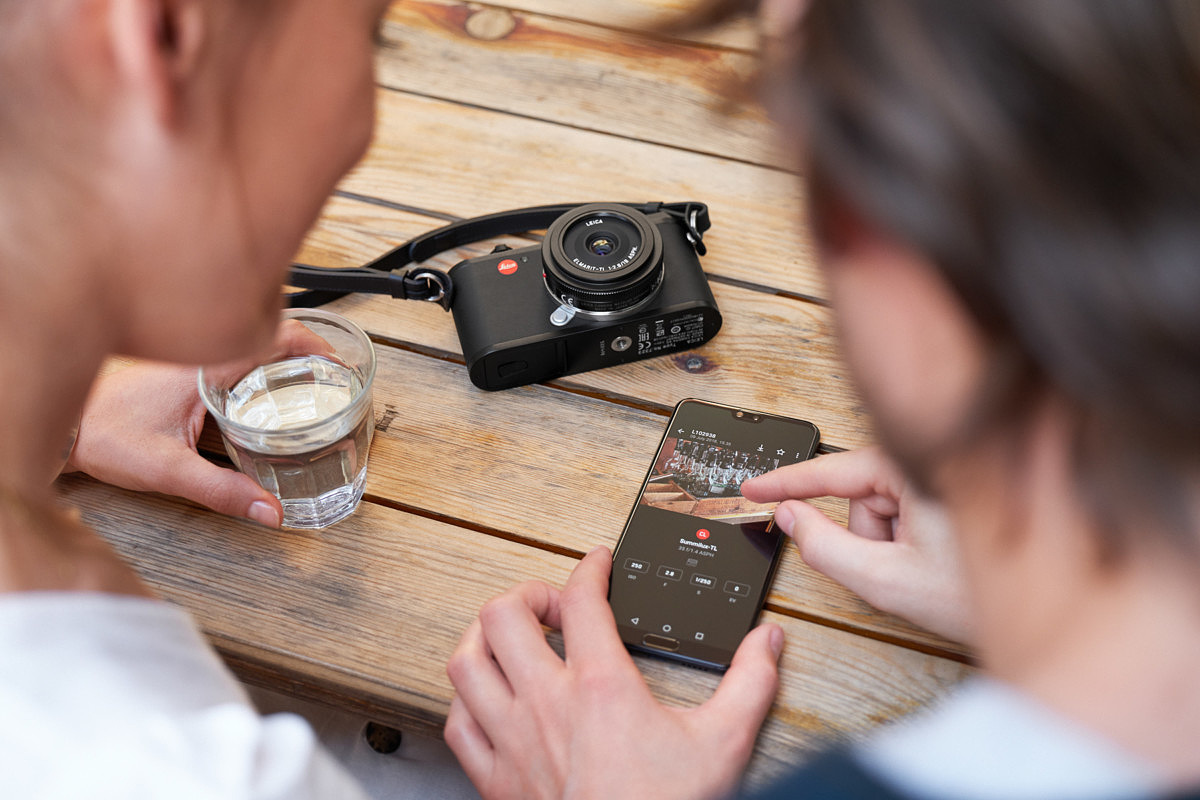
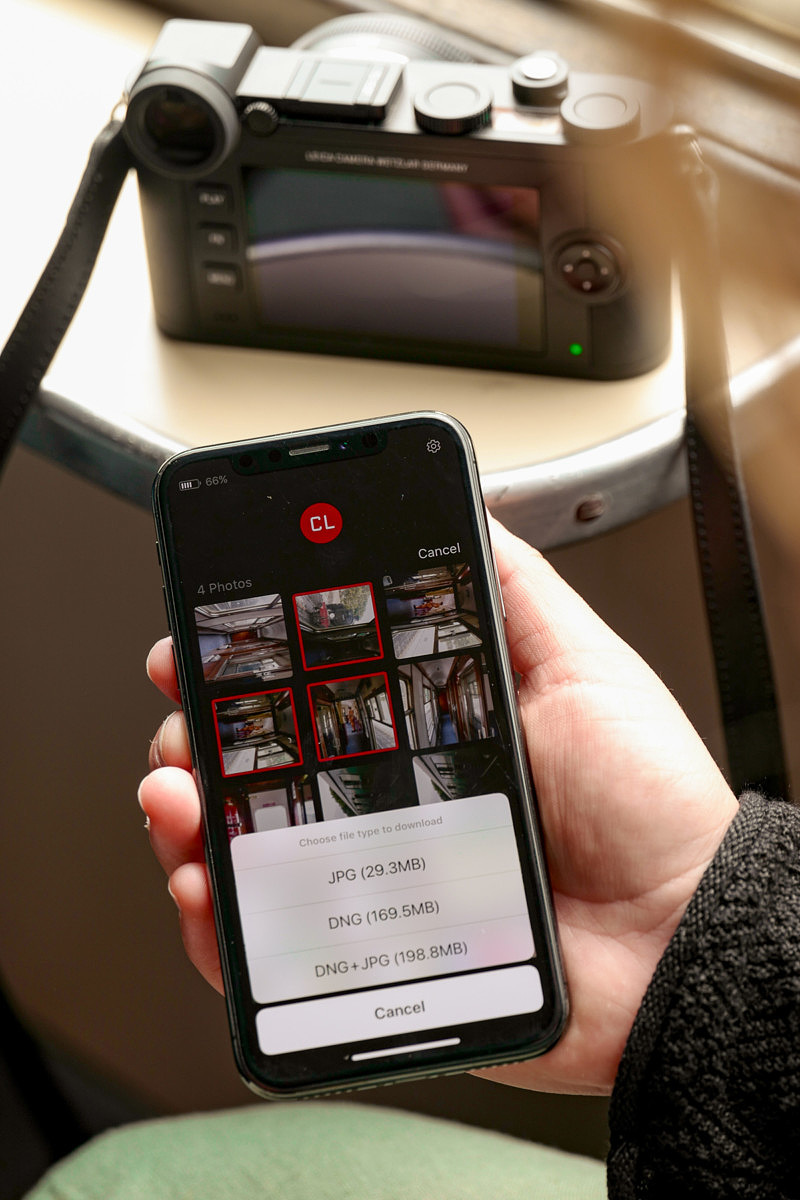
In addition to offering remote camera control, the Leica FOTOS app allows you to browse photos on your SD card and download DNGs or JPGs directly to your phone. Combine with Adobe Lightroom CC Mobile, and you’re able to process images on the go, without needing a computer or card reader. The mobile version fully supports DNG files from the CL.
I wouldn’t recommend this workflow for an entire trip or outing, as transferring over Wi-Fi is much slower than working off the physical media. But, let’s say you’re waiting for your lunch in a café. Launch the FOTOS app, pick out a few keepers, do a quick edit in LR Mobile, and share them on social media before your meal arrives.
Simplicity – Das Wesentlichte
As with all Leica cameras in recent history, the designers strive to deliver Das Wesentlichte, or the essentials. To that end, you won’t find extraneous buttons and switches on the CL. Minimalism and intuitive operation abound in a clean and functional design.
And in practice, I find the CL extremely easy and fun to use. Sure, there are a few interface elements that you need to understand when starting out, but once the concept clicks, the rest is smooth sailing.
Control concept
The CL is a certainly a blend of operational concepts. Part M10, part TL2, part Q, all working together flawlessly and intuitively. Leica has taken what could have very likely been a hodgepodge and made something easy and fun to use.
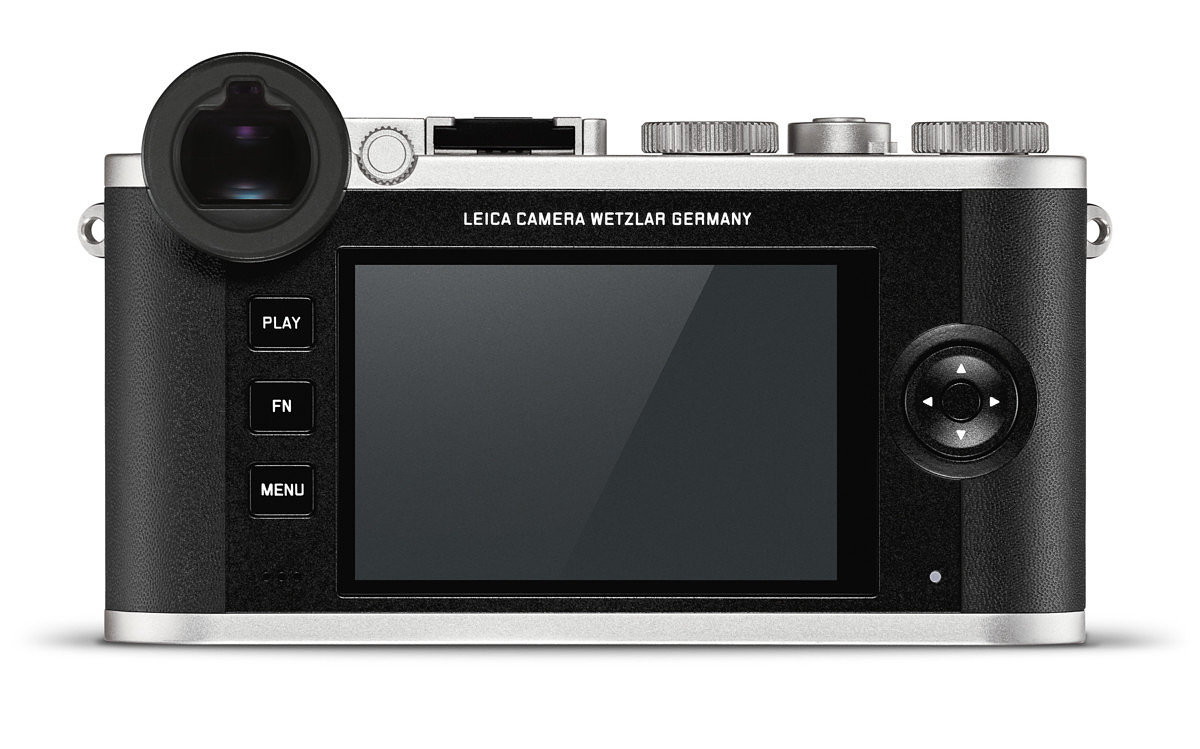
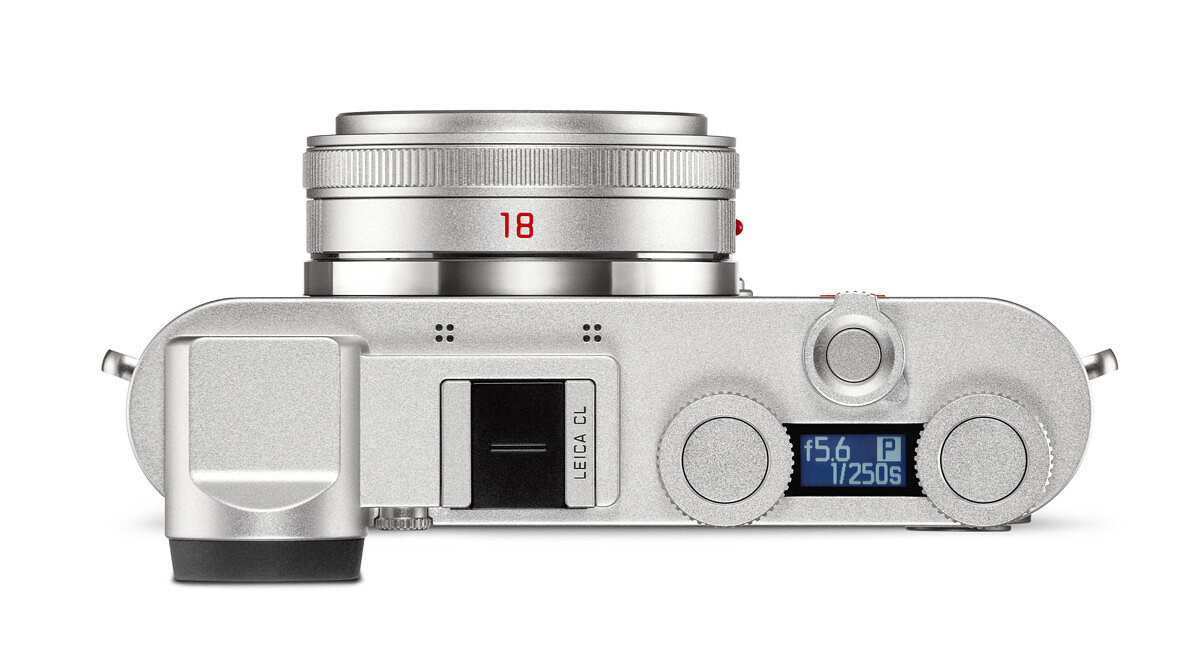
Button layout
Akin to what the M team was able to accomplish with the M10, the CL isn’t overloaded with buttons. Rather, flanking the rear LCD you’ll find only three buttons to the left and a D-pad to the right. Running from top to bottom, we’ve got labeled buttons for PLAY, FN, and MENU. The first is self-explanatory. Press the PLAY button to review your images.
FN button
The FN button works just like on the Q. A long press (press and hold) brings up a list of assignable choices, while a short press activates the selected function. The list itself can be curated in the Customize Control -> FN button menu. Toggle the options you’d like to access to On and the ones you never use to Off.
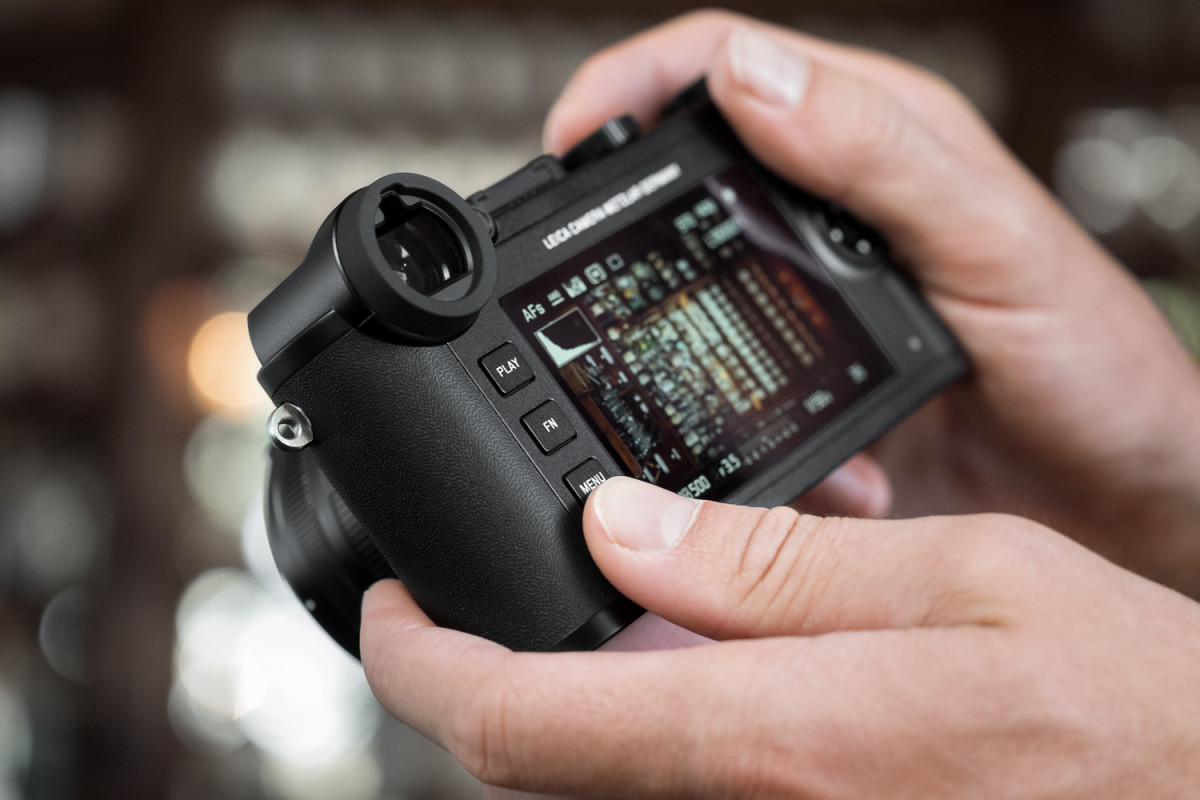
MENU button
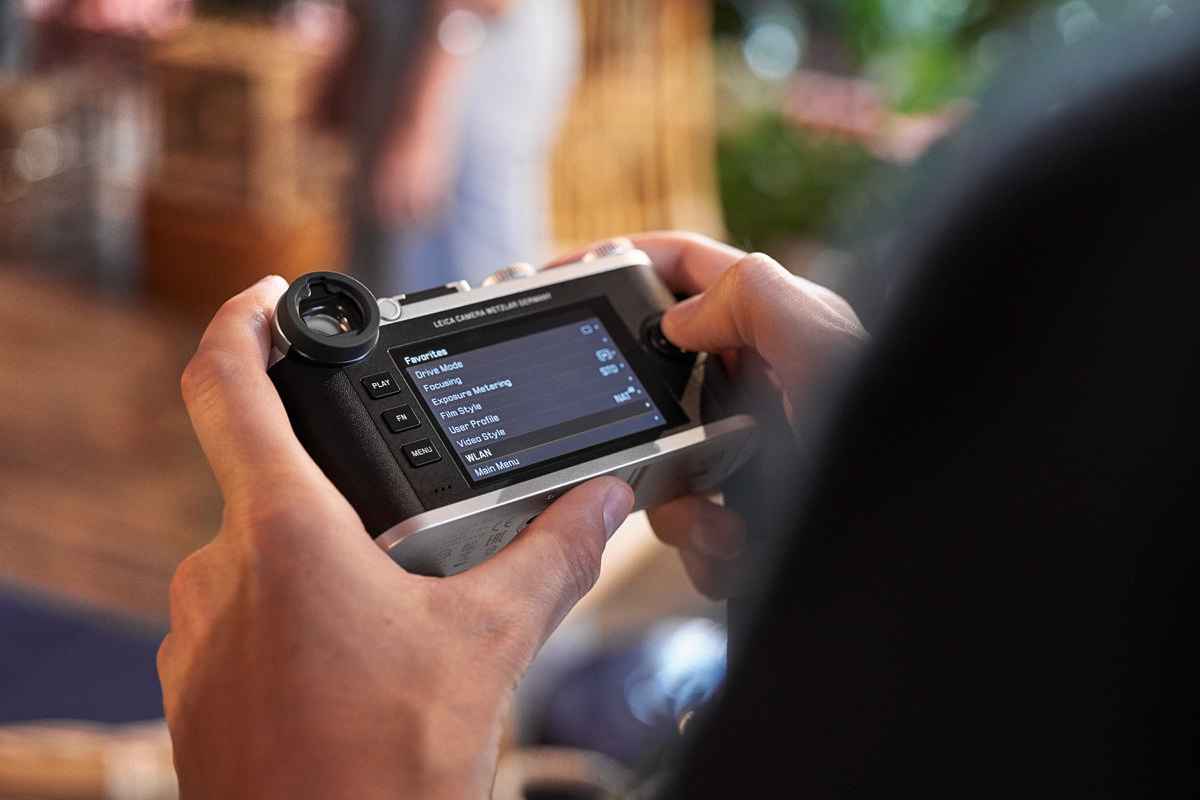
The MENU button does what it says. Press once and you’re taken to the Favorites menu. Press again or select the Main Menu option at the bottom of this screen and you’ll get to the full menu, broken into five pages for easier navigation. And while the Favorites menu is standard across the Leica range these days, if you want to bypass it completely, just set all the options under Customize Control -> Edit Favorites to Off. Personally, I’ve grown to appreciate the convenience of having just the handful of controls that I actually interact with easily at hand and on one screen.
Top deck
The top deck sports two dials, each with a button at its center. In between the dial sits a small monochrome status LCD, which shows shooting mode in the upper right, along with pertinent camera data depending on the selected mode. For M (manual), both shutter speed and aperture are displayed. In A (aperture priority), exposure compensation takes the place of shutter speed. The reverse is true in S (shutter priority) with shutter speed and EV.
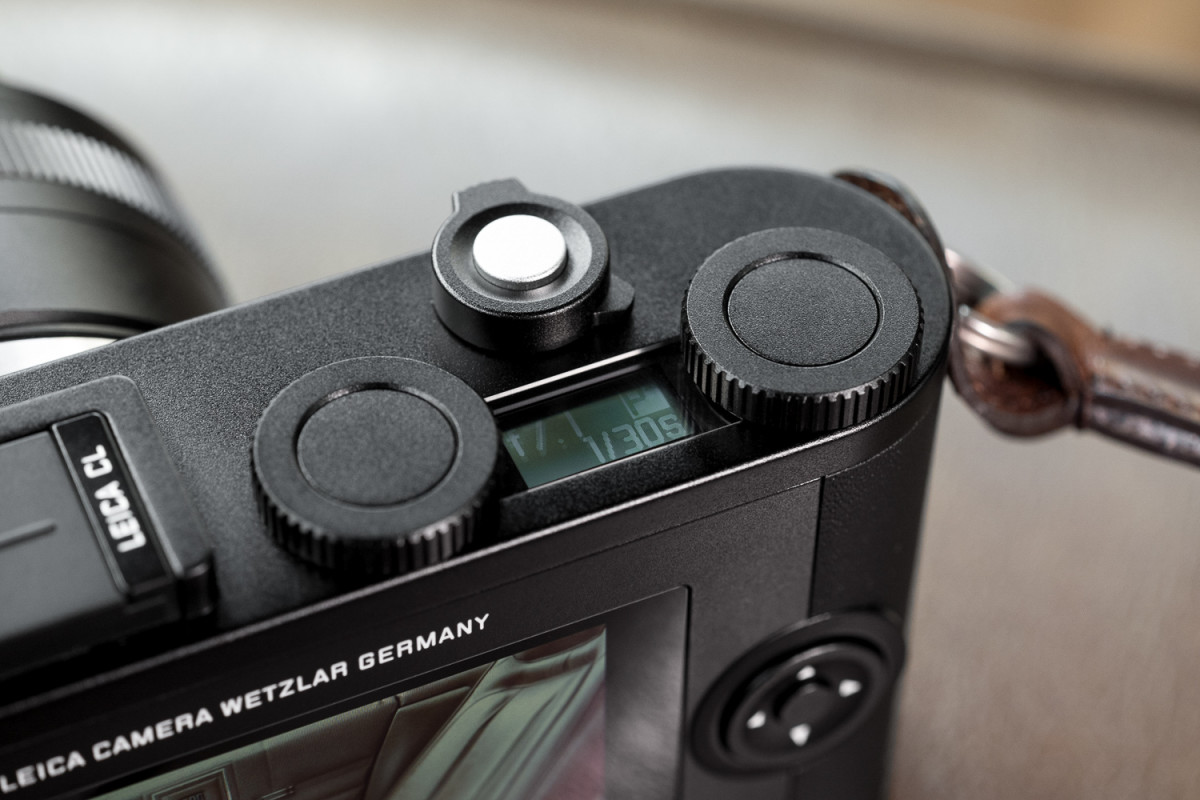
When you press the top left wheel’s center button, a virtual sideways scrolling mode list comes up on the LCD. Select the mode by rotating the dial. A long press here toggles Key Lock, which deactivates every single dial and button on the camera, except for the shutter release. So, if you think your camera is broken because nothing works, odds are good that you’ve accidentally activated Key Lock when you meant to change your shooting mode. Thankfully, this setting isn’t persistent, so a quick power cycle (aka turning the camera off and on again) and you’re back to normal.
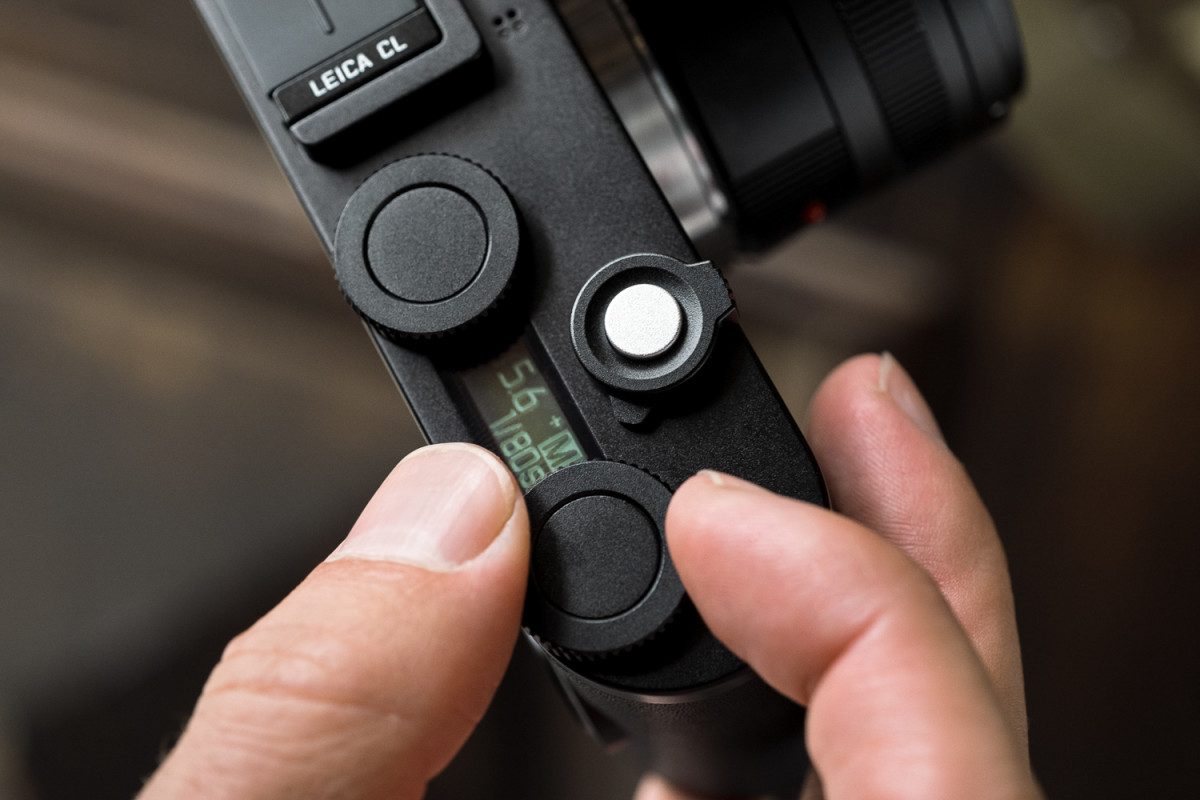
The right button serves as a second customizable function button. To assign, a long press brings up choices on the rear LCD. Just like the FN button on the back of the camera, to control what is displayed in the list, make your own selections in the Customize Control -> Right Wheel Button menu.
I love the flexibility and ability to personalize the camera. If you take just a couple minutes to go through the Customize Control menu, you’ll have three entirely customizable control pathways and will rarely, if ever, need to go into the full menu. Nor will you be bogged down scrolling past options you’ll rarely use, like in my case, White Balance or Scene Mode selection.
Controlling aperture and shutter speed
In lieu of traditional shutter speed and aperture controls like those found on the M10 and the Q, the dual wheel concept adapts based on shooting mode. By default, the right wheel controls exposure compensation in P and S, and aperture in A and M. The left wheel is responsible for shutter speed in S and M, program shift in P and exposure compensation in A. And yet again, all these default behaviors can be switched in the Customize Control -> Wheel Assignment menu. Personally, I almost always work in A mode and have quickly adapted to the standard EV comp / aperture combo.
Shutter release / on-off switch
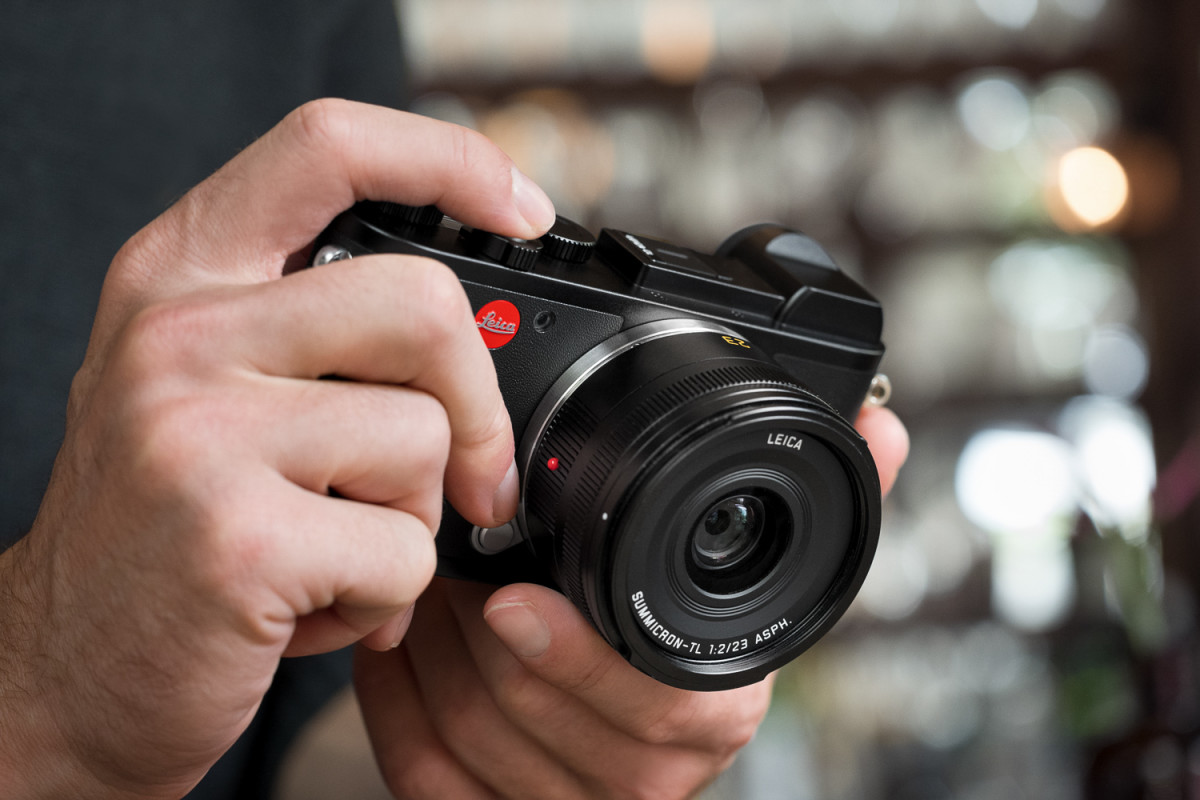
The only remaining controls to cover are the shutter release button with on/off switch at its base and the rear LCD touchscreen. The shutter release feels great. Very nice weighting and clickiness with short, but discernable travel. The half press point is easily detectable and can be held comfortably for focus-and-recompose, or while awaiting the decisive moment.
Touchscreen
The touchscreen complements the physical controls nicely. My most often used interaction is simply double-tapping to view images at 100% percent in playback and quickly dragging the image around. Like other cameras with touch, don’t bother with pinch-to-zoom. It works, just not well. Some of the overlay menus are touch compatible, but dials are usually faster. Touch AF works well, though, and is often quicker than using the D-pad to move the focus point.
No AF-On button
My one gripe, and it’s nitpicking here, is the lack of a rear AF-On button. I’ve adapted my shooting style on AF cameras like the SL and S to decouple focus from the shutter release, and do miss this functionality on the CL. Of course, I see the value in maintaining a clean, uncluttered interface. One more joystick or button on the back of an already small camera could ruin this aesthetic. A potential workaround might be for Leica to add AF-On functionality as a selectable option for the rear FN button in a future firmware update. Since most users will hold the camera with two hands (proper shooting technique here, people.), your thumb is perfectly positioned to press the button without any finger gymnastics. There’s precedent, too. The Q’s rear button, which was originally used only to toggle digital zoom, can now be assigned to AF-On, care of recent firmware update. So, it’s certainly possible.
TL/CL lenses
The TL lens ecosystem has grown considerably since its introduction just four years ago. A full zoom range across three lenses, covering 16mm (equiv.) up to 200mm (equiv.) provides tons of flexibility. Four exceptional primes round out the line. Standouts for me are the 35mm f/1.4, which is equivalent to a 50mm, and the 60mm f/2.8 APO-Macro, which fills the role of a 90mm. These lenses are flat-out stunning and have covered most of my shooting with the CL. And really, all the native TL lenses are excellent performers across the board.
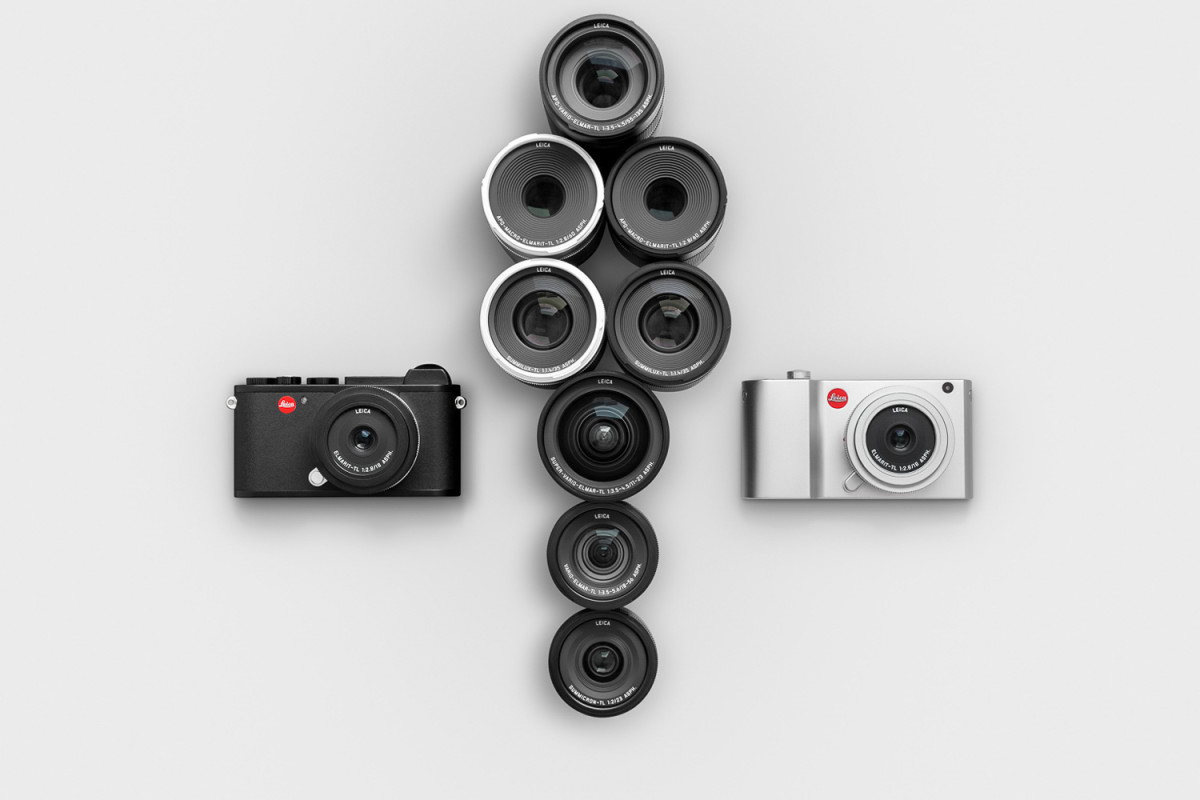
Lens Adaptability – Leica M, Leica SL, Leica R, Nikon F, Canon EF, PL (cine)
The CL shares the same Leica L mount as its big brother, the SL. And this means that adapting lenses is a snap. TL and SL lenses fit natively. While native TL lenses offer excellent performance in small packages, SL lenses make for an interesting hybrid approach. Considerably larger and heavier than TL glass, the full frame SL optics are reference class across the board. Throw a 75 APO-Summicron-SL on the CL and you’ve got a killer 100mm (equiv.) f/2 APO portrait or landscape lens.
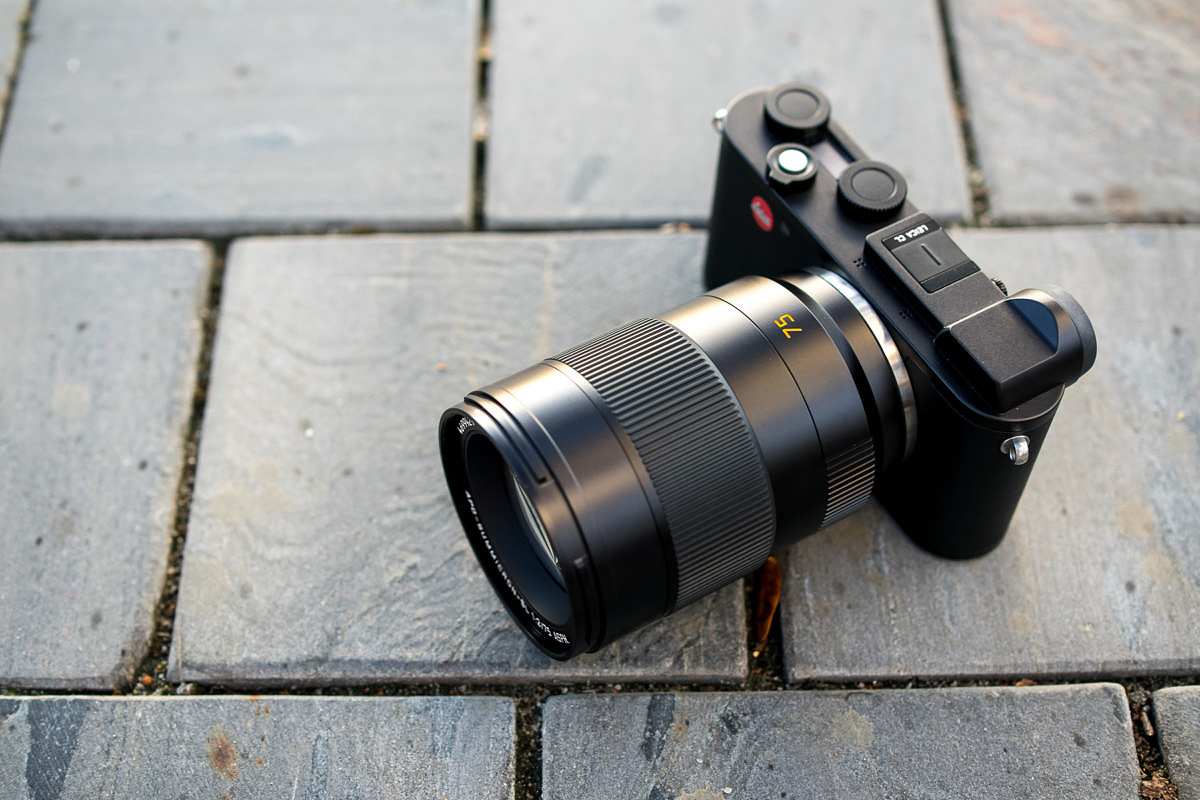
The 50 Summilux-SL offers up a 75mm (equiv.) f/1.4 super bokeh monster. And for those seeking maximum reach, the 90-280 SL converts to a fast focusing, fully image stabilized 135-420mm (equiv.) f/2.8-4.
M lenses are another easy option with the M-Adapter L. In fact, my colleague Luis wrote a great piece on doing just that. You can check it out here: Using M Lenses on the Leica CL: New City, New Camera, Familiar Glass
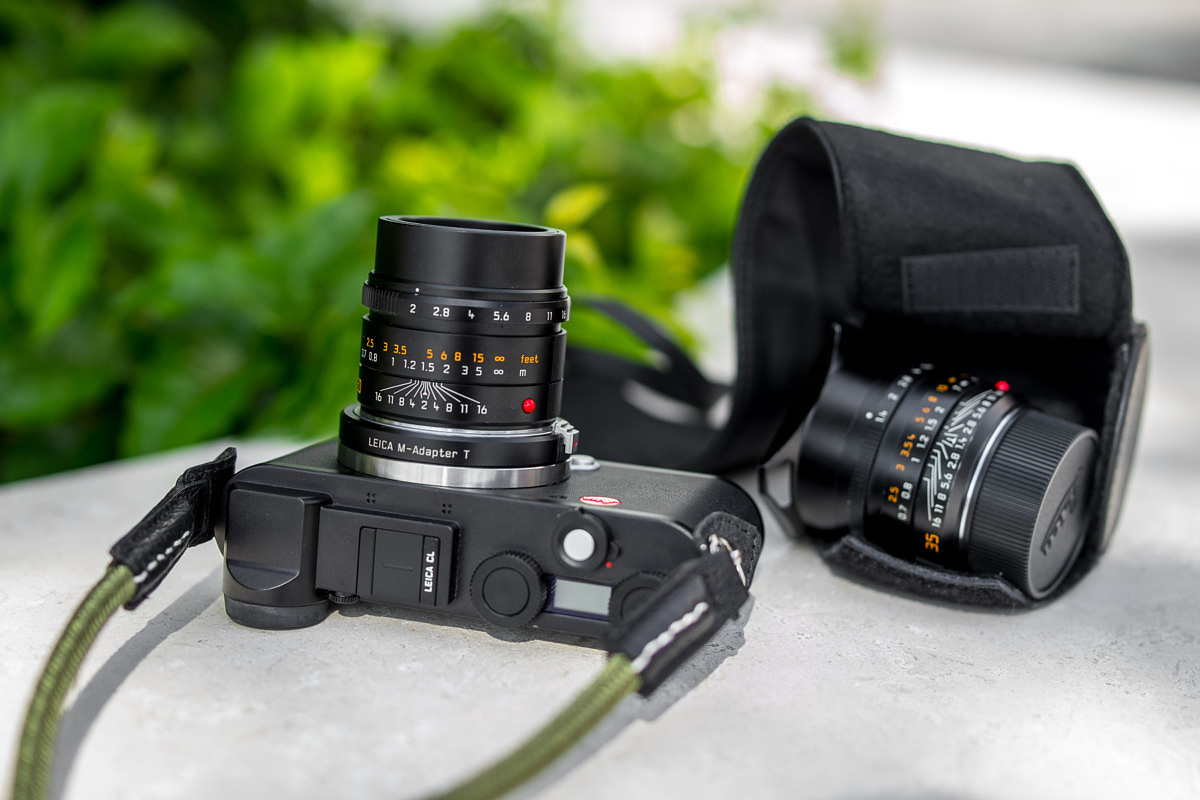
Shooting with the CL in the real world
The camera launched in November 2017, but my first go around with the CL didn’t come until February 2018, where I took a basic kit along for our family ski trip to Park City, Utah. Obviously, most of our time was spent skiing, cooking meals, going to the movies, or relaxing in the hot tub. So, I really didn’t have too many opportunities to get out and really shoot.

1/400th @ f/1.4, ISO 100
I did manage a few portraits of my daughter playing in the snow and grabbed some shots when we hit up Main Street one night for dinner. The CL seemed to handle various lighting conditions quite well.
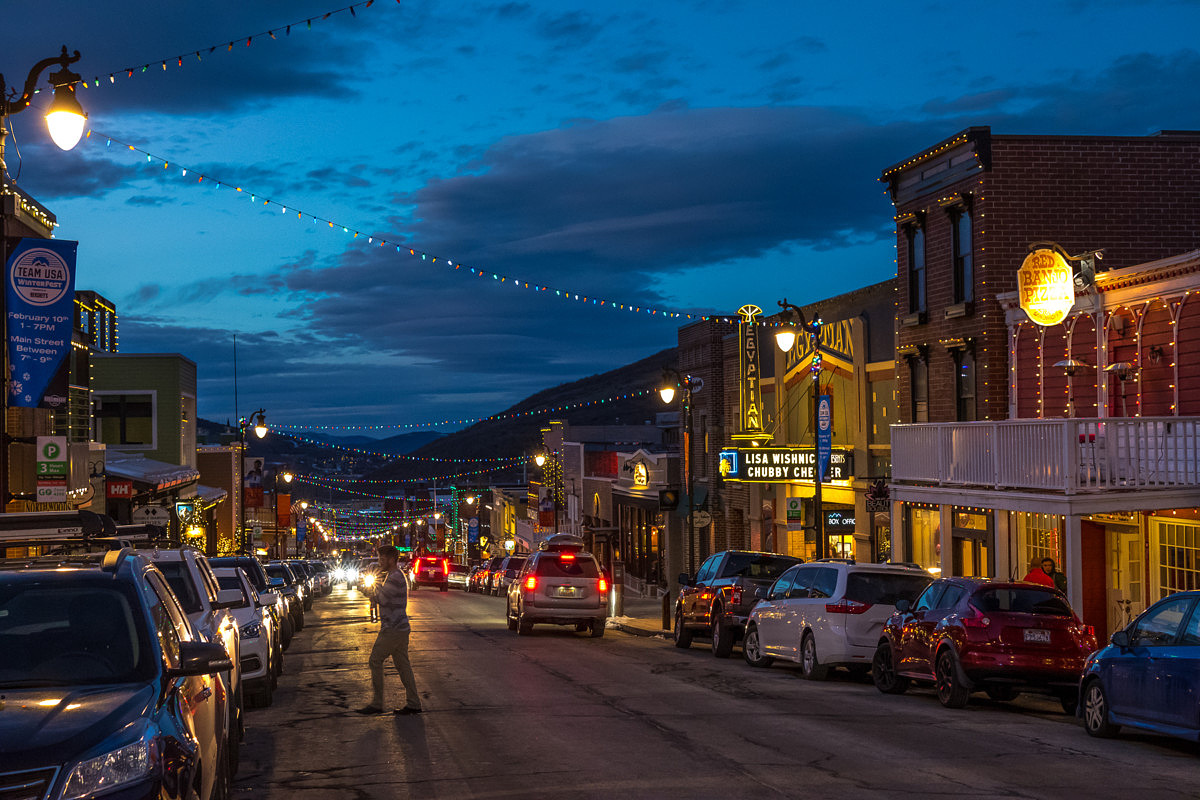
1/100th @ f/4, ISO 6400
I also carried the camera with me one day skiing. Truthfully, despite being one who believes in photographing everything, all the time, I’m not a huge fan of carting a camera around on the slopes. I ski aggressively on more challenging terrain and am concerned about taking a nasty fall with a camera on my person, both for my own sake as well as the camera’s. Tumbling on packed powder isn’t as soft as it looks and a bulky object around your midsection could potentially lead to some gnarly bruising or even broken ribs. Not to mention, the camera would be toast.

1/400th @ f/8, ISO 100
My approach was to stash the CL with a 35 in my small Osprey ski backpack, which I mainly use to hold a hydration reservoir, some snacks and an extra layer. Every time I wanted to use the camera, I had to remove a shoulder strap, swing the backpack around, remove my bulky ski gloves, get to the camera, take my shot, then repeat the process in reverse. I managed to do this a few times riding the lift and on flat spots on easier runs, but the technique wasn’t ideal by any measure.
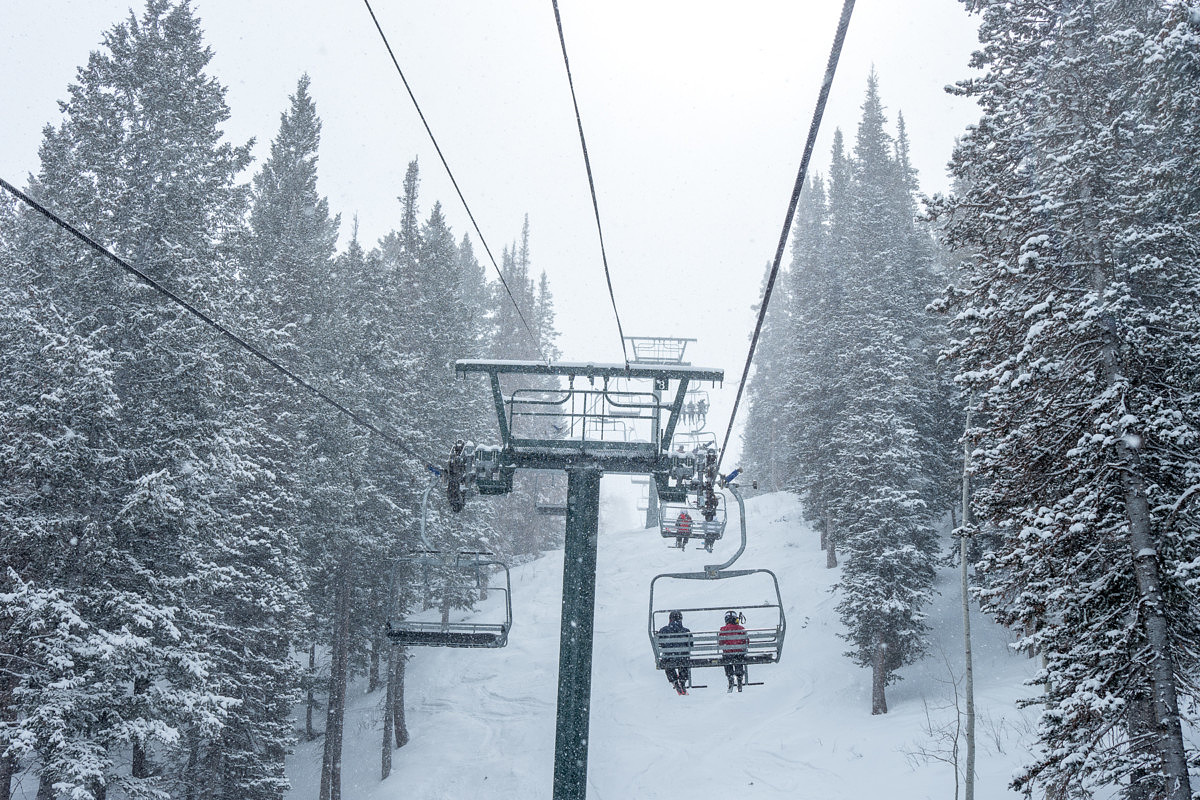
1/800th @ f/5.6, ISO 100
Suffice it to say, this had very little to do with the CL and more to do with me and my focus on skiing over photography. I quickly realized I needed a different testing scenario.

1/320th @ f/1.4, ISO 100
Heading West Again
The LHSA Spring Shoot was slated to take place in Santa Fe just a few months later. Seeing as I had never been anywhere in New Mexico before, several days in the high desert looked to be a perfect place to test out the CL in a proper photocentric environment, on a photocentric trip, no less.
Now that I was committed to working with the CL with the goal of a review, I moved on to how I’d piece together a kit.
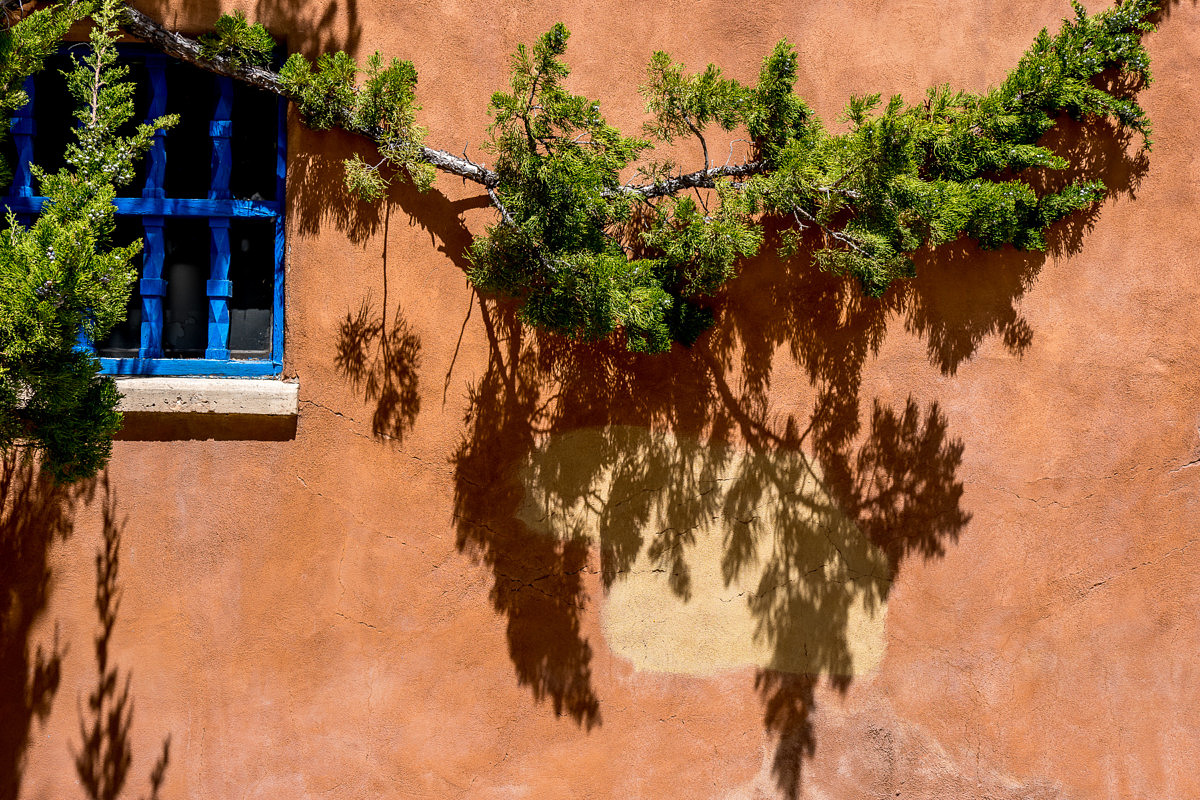
1/250th @ f/5.6, ISO 100

1/160th @ f/6.3, ISO 125
What I packed
Staying true to my philosophy of “bring everything” I literally brought all the things. I loaded my trusty Think Tank Retrospective 7 shoulder bag with every single TL/CL lens that Leica makes: 11-23, 18-56, 55-135, 18, 23, 35, 60. Remarkably, all these lenses fit with little fuss and the entire bag, with the camera and all seven lenses, weighed less than 9 lbs.
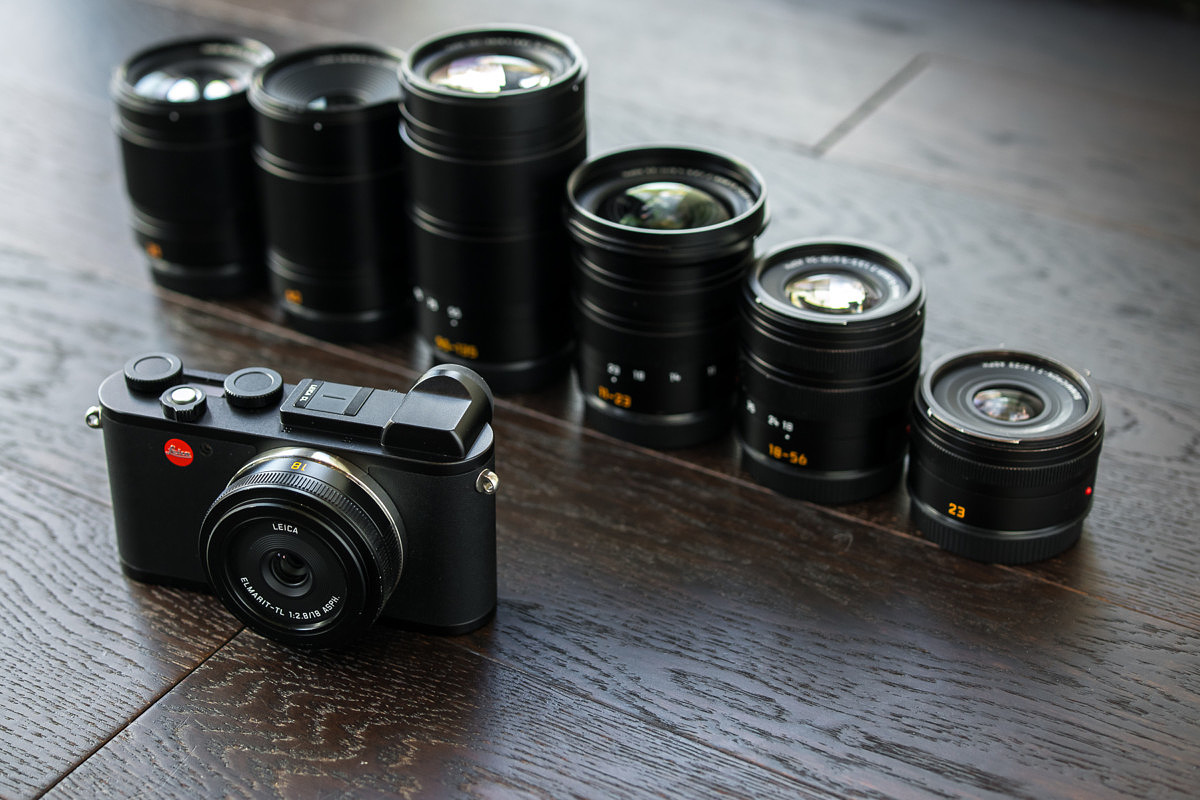
Obviously, I didn’t need to bring every single lens as there was a fair amount of overlap in focal lengths. But, because I was actively reviewing the CL and wanted an opportunity to test every option, nothing got left behind. The total bag weight was under my personal cutoff of 10lbs-or-less, so I didn’t have to make any compromises there either.
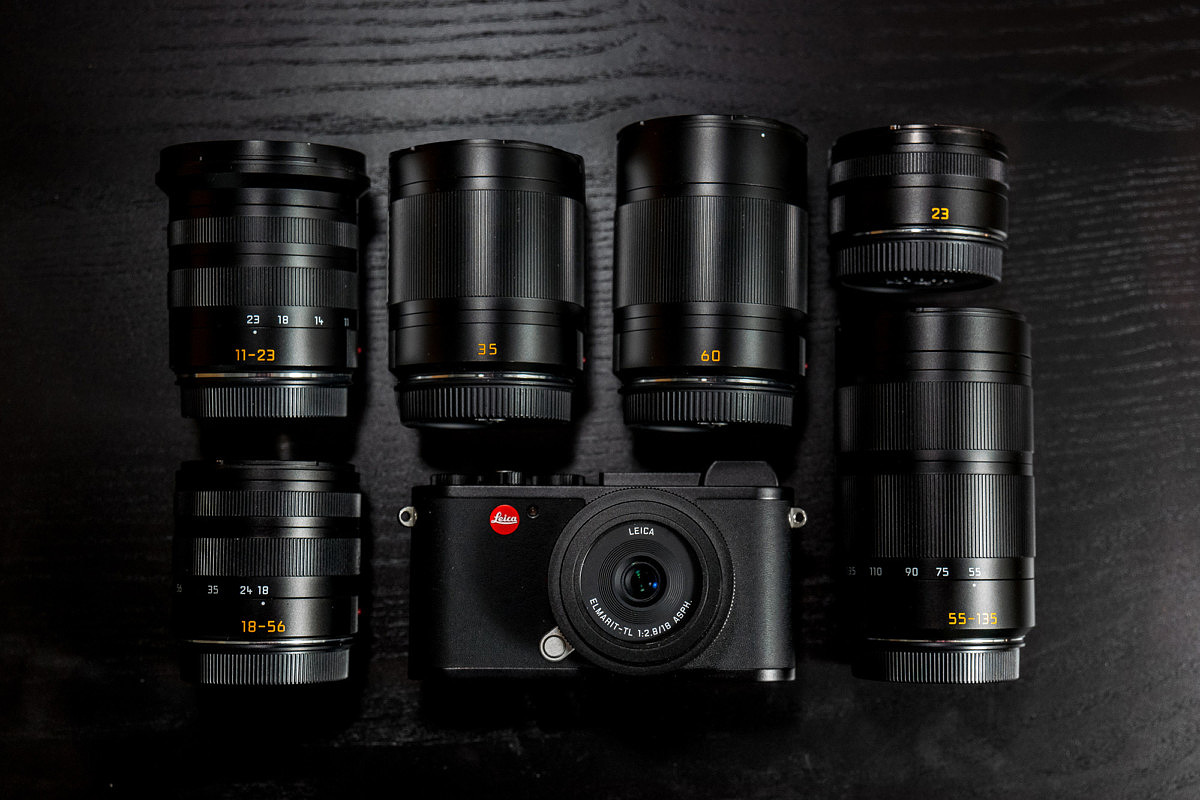
I decided against taking along M lenses or SL lenses. These would have created another layer of complexity, not to mention weight and bulk. Moreover, I really wanted to evaluate the CL system by itself, using native optics.
My testing goals
When testing any camera, I try to leverage the strengths of the system and choose applications that I feel suit the intended use scenario. My hypothesis was that the CL could be the perfect travel camera. Small and light like the Q, but more flexible due to interchangeable lenses. So, that’s what I aimed for.
Travel photography to me is quite simple. I strive to capture the ambiance and flavor of a place. Many different styles of shooting fall under this somewhat wide umbrella, but basically, I’m on the hunt for details, vignettes, architecture, personalities and colors. It’s not street photography, nor is it documentary.

1/100th @ f/1.4, ISO 500
The M has usually served as my primary travel photography camera, but the SL, Q and X have all filled that role as well. Each has its own advantages as well as compromises. My goal was to capture nice images, of course, but also see how the CL compared to my experiences with other cameras.
How I used the camera
I never viewed the CL as a camera not to be taken seriously. That might sound like a strange way to describe a Leica. But in my regular photography during workshops, I’m using larger, higher-end systems. And when you become accustomed to a certain echelon of equipment, often picking up a much smaller and lighter camera, your first inclination is to treat it as a toy, or simply dismiss it out of hand.
So, I always thought about the CL as more than a point and shoot or snapshot camera. Rather, I made every effort to shoot it as I would an M or SL.
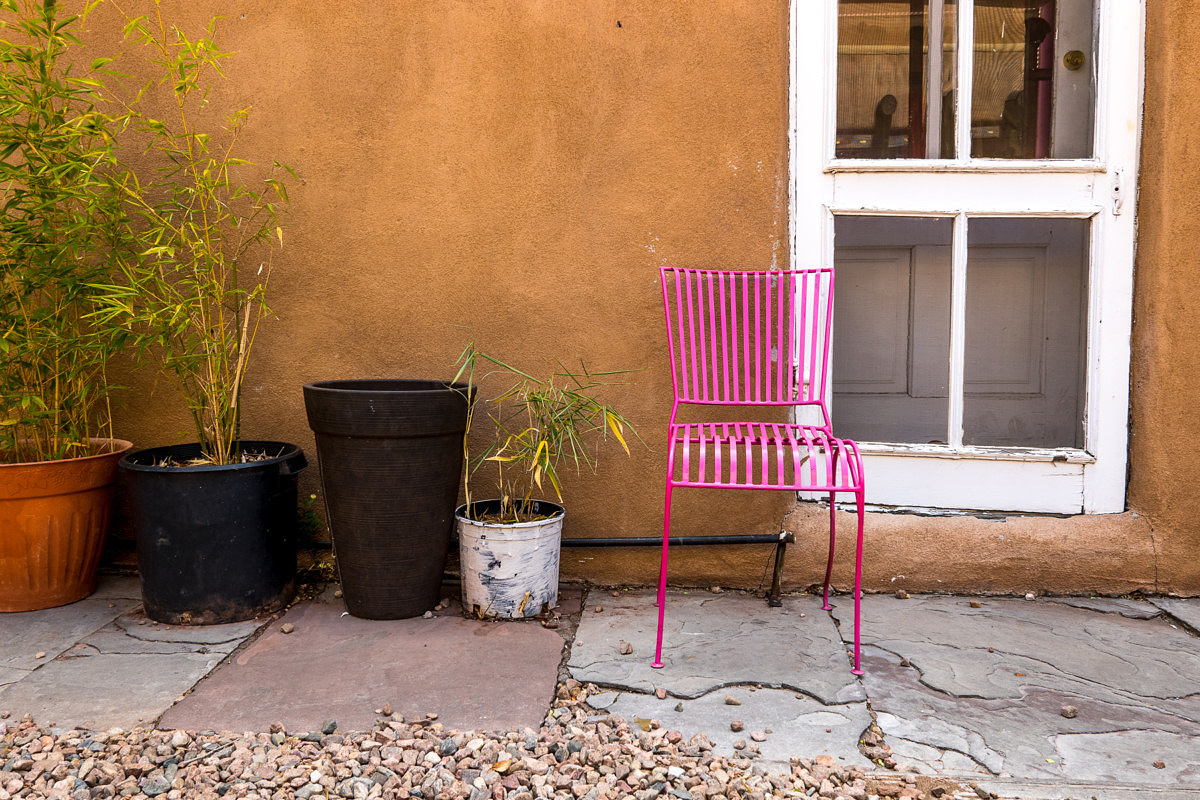
1/50th @ f/8, ISO 125
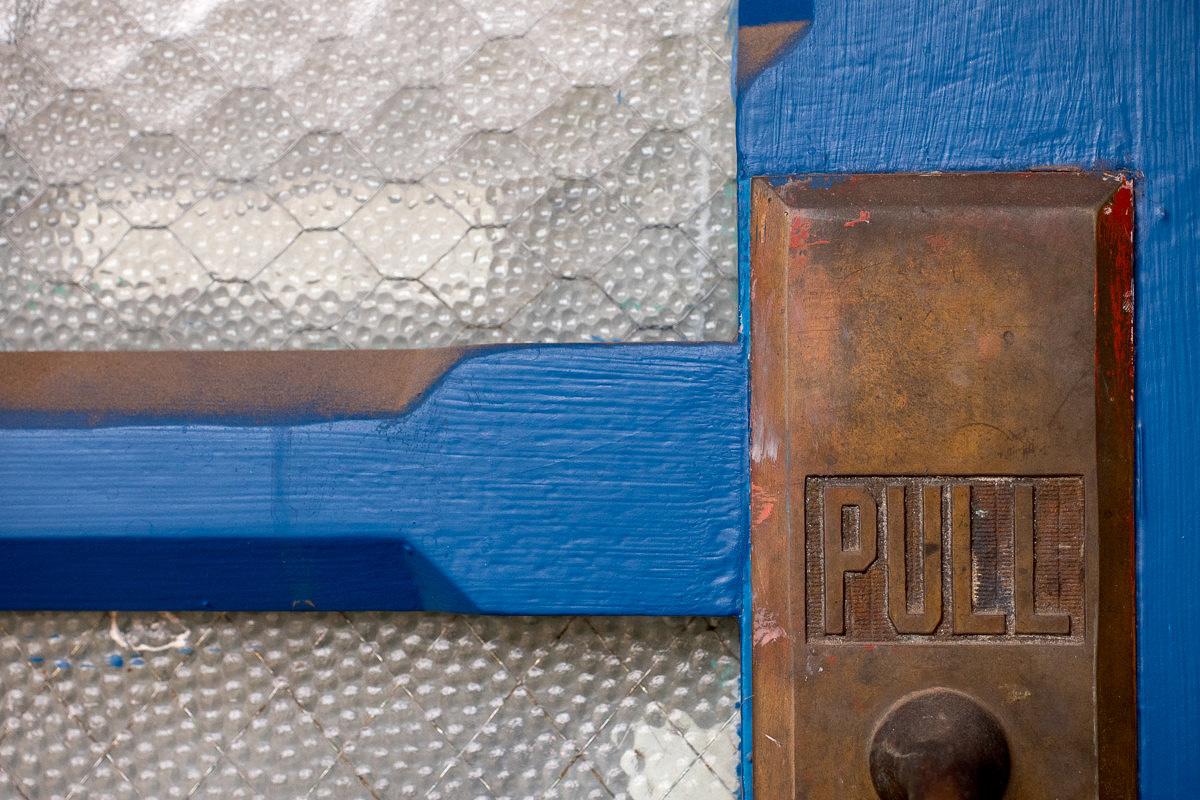
1/160th @ f/5.6, ISO 640
Taking the CL for a spin in New Mexico
This was my first time to Santa Fe, or anywhere in New Mexico for that matter. New destinations are often some of my favorite shooting locations. The camera and I experience everything together for the first time and can carry that sense of heightened observation into the results.
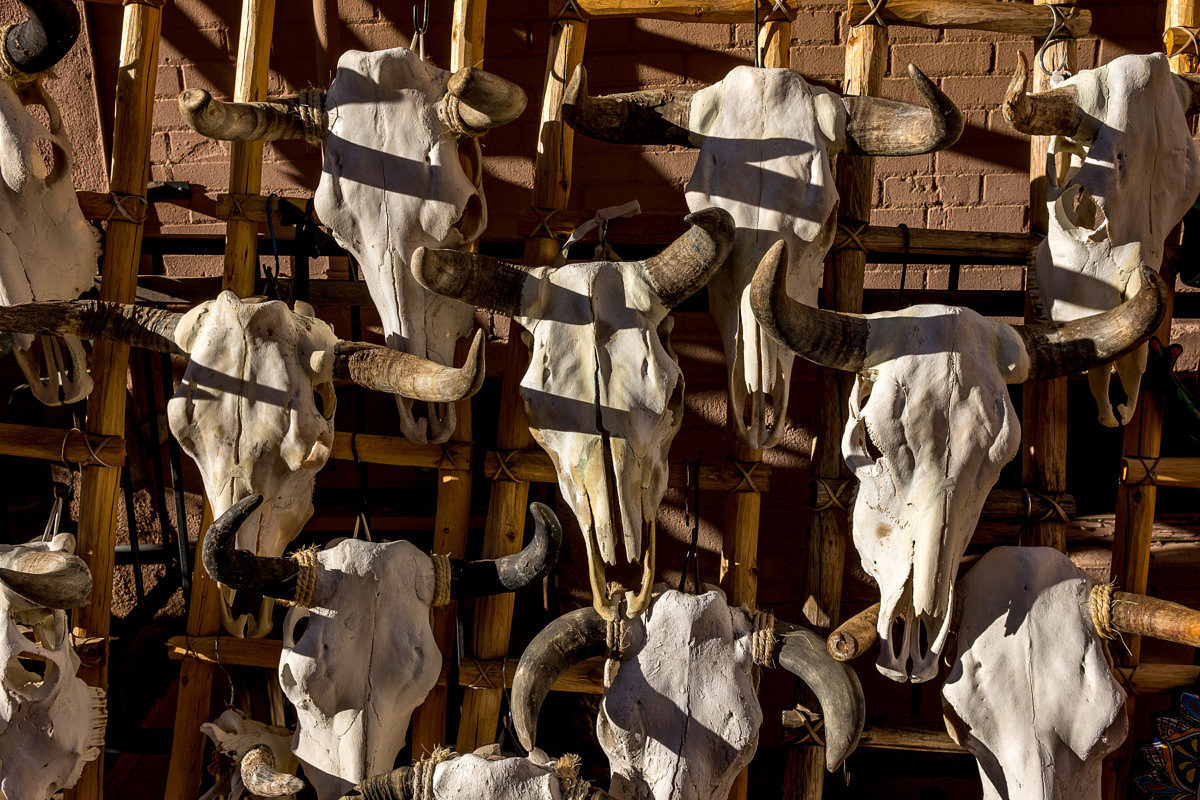
1/640th @ f/5.6, ISO 100
Familiarity with a locale can certainly be an advantage, especially for landscape photography, but I find the novelty of a new place works extremely well for me when approaching travel photography. Always on the hunt for patterns, shapes, and color, I’m taking everything in with fresh eyes and a sense of wonder.
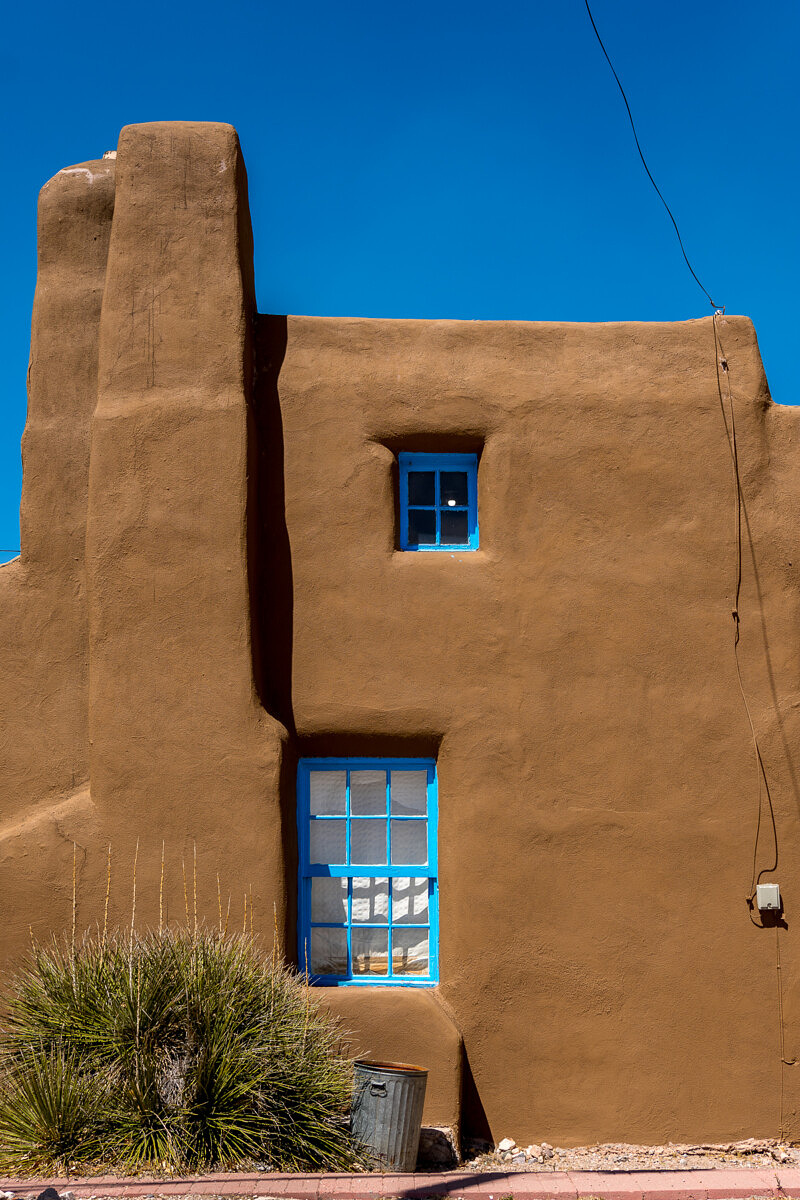
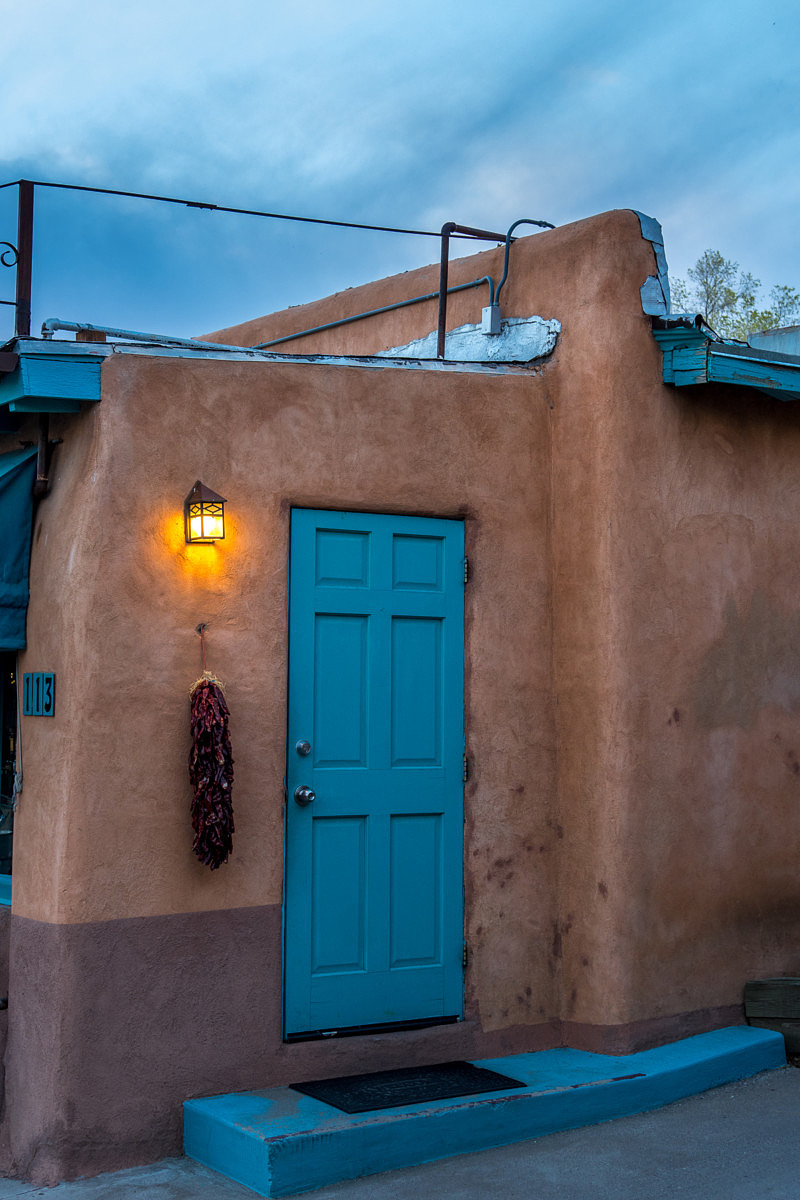
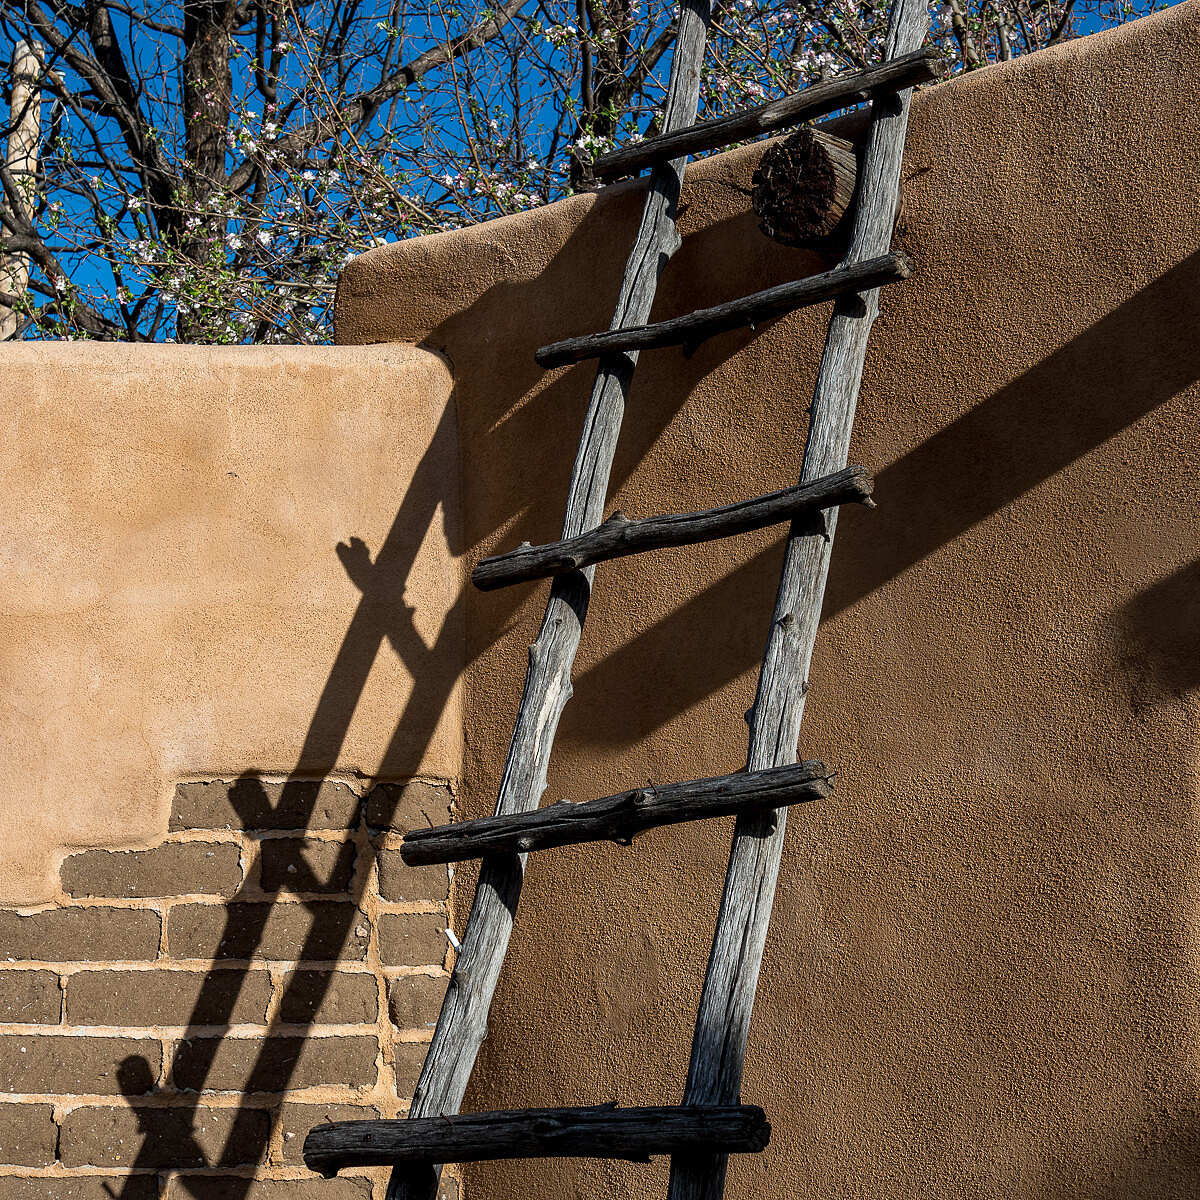
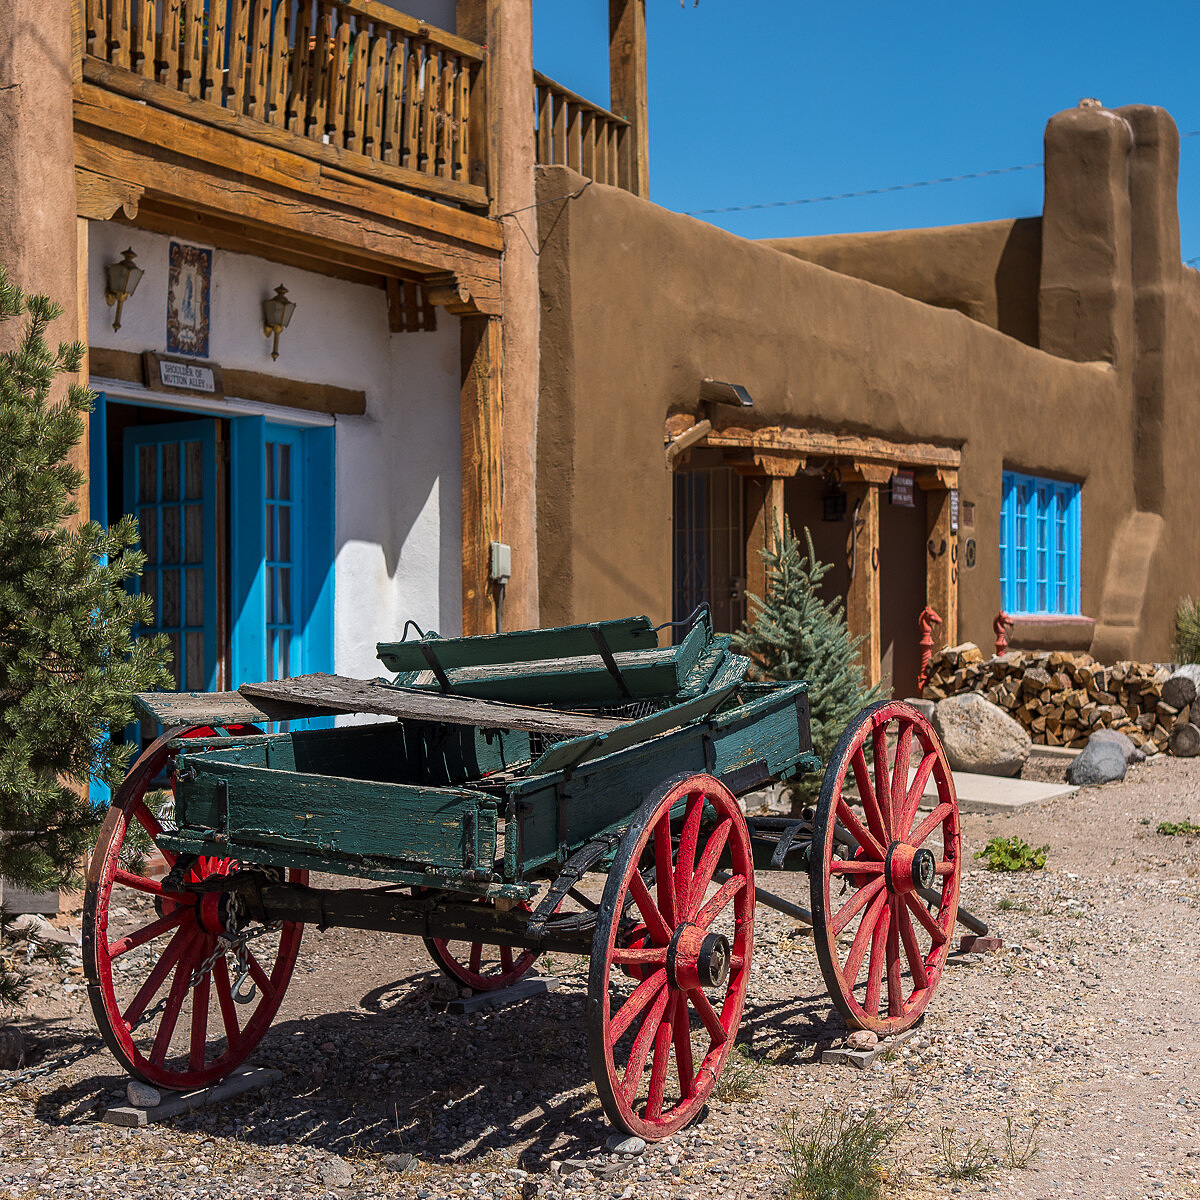
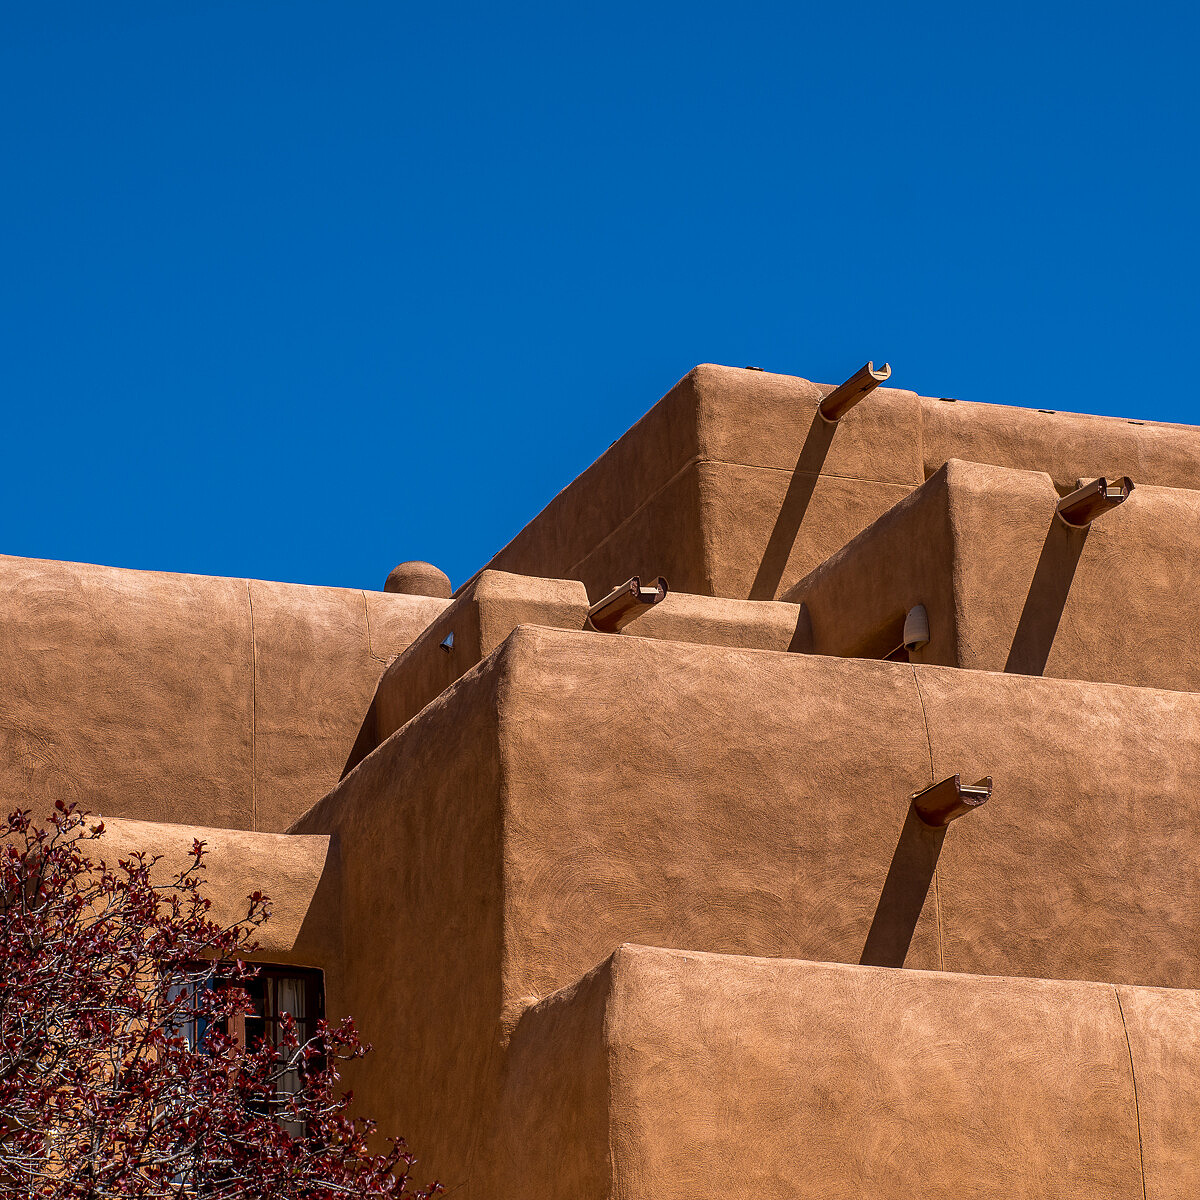
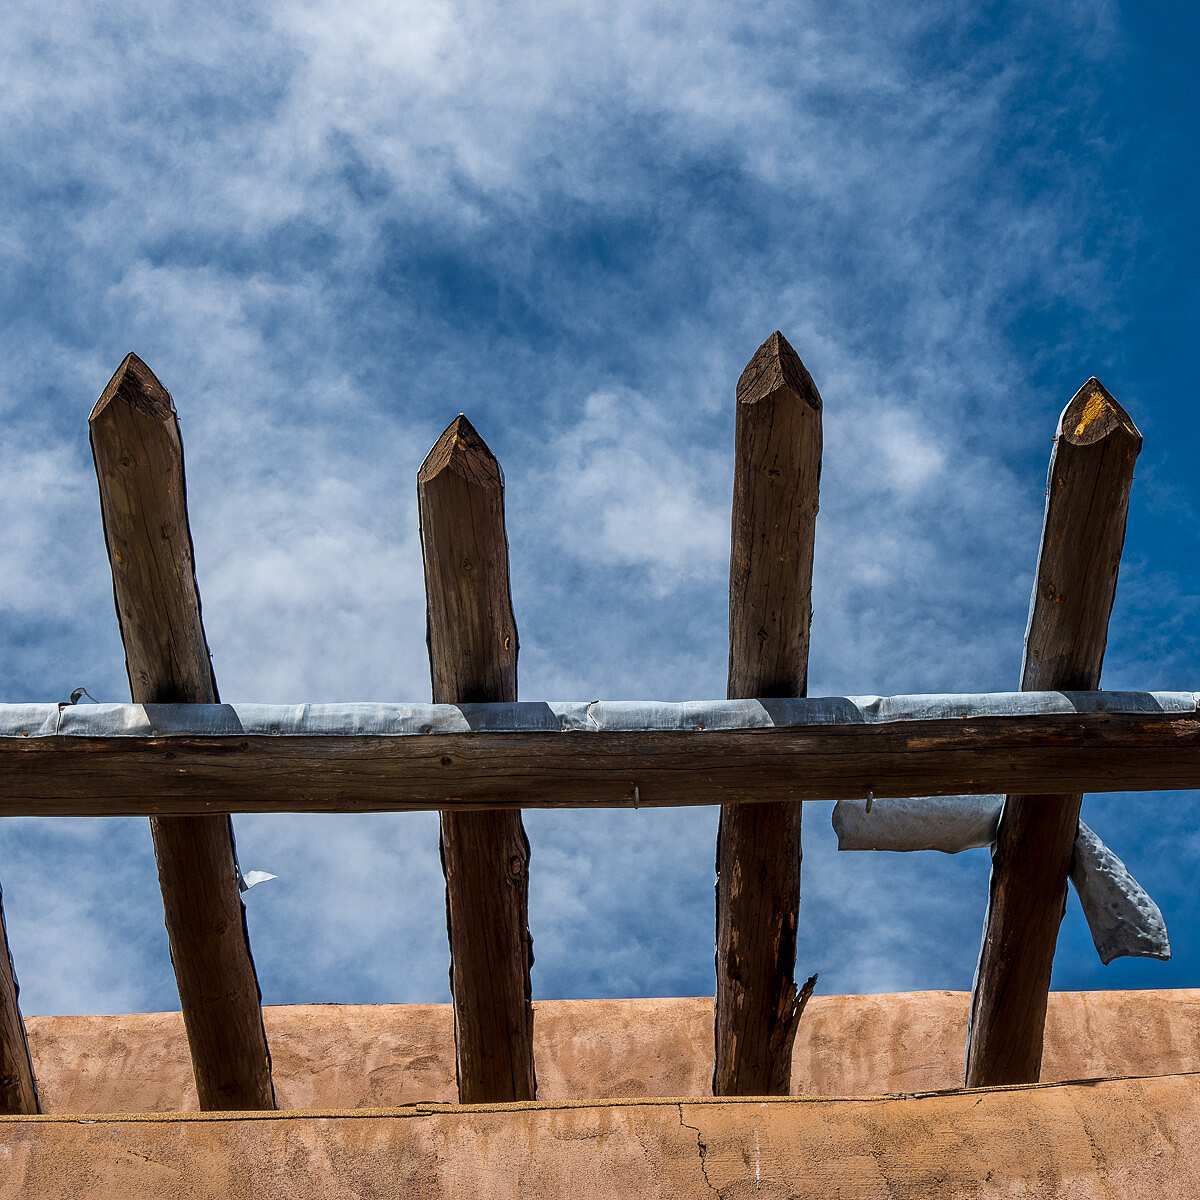
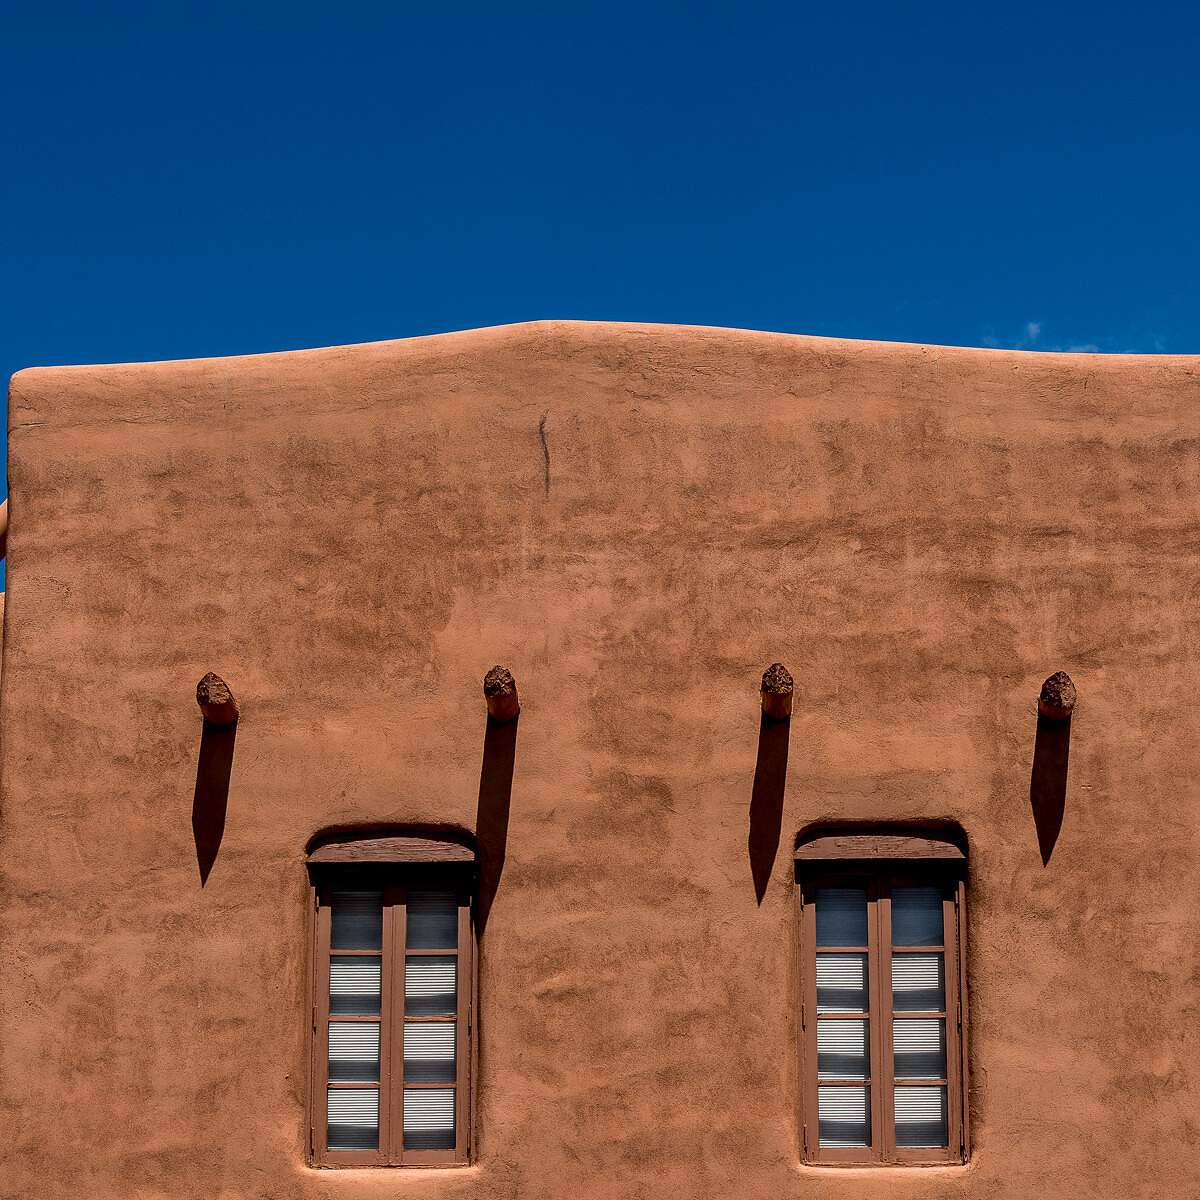
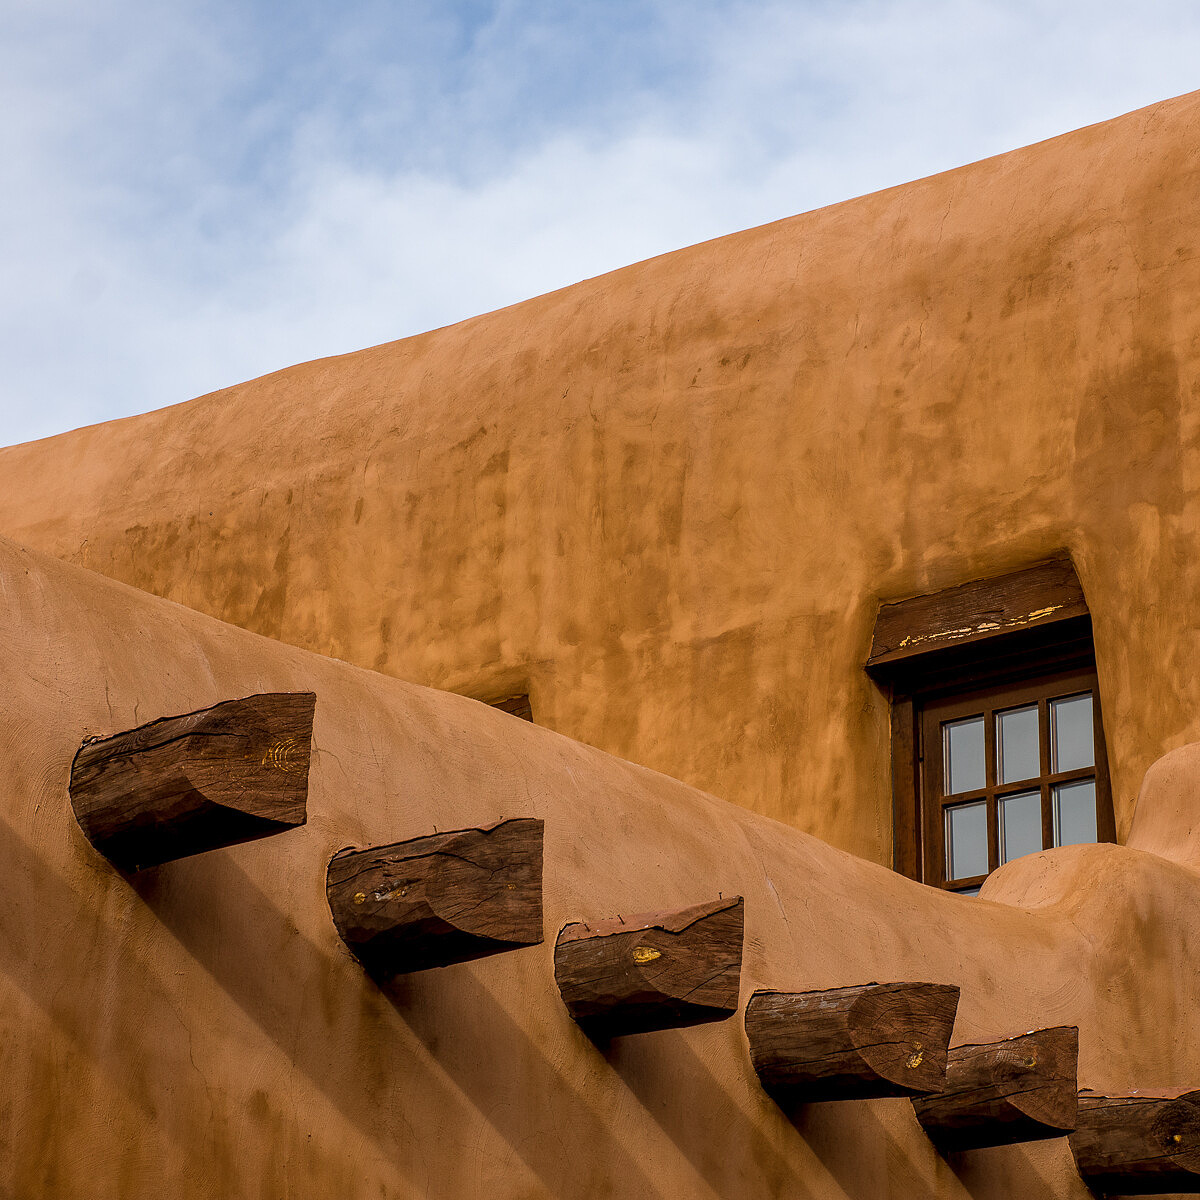
Situated at over 7,000 feet elevation, the light in Santa Fe is simply incredible, especially in early Spring. Rich, azure blue skies. Directional, yet low angle light emphasizes textures, creates rich, deep shadows and makes colors pop. The ubiquitous muted reddish-brown adobe sets off nicely against the largely cloudless skies. I also really appreciated the use of turquoise and blue as accents in the local architecture.
And even though situated in a desert, Santa Fe abounds with a surprising amount of greenery and plant life. Much more than I’m used to seeing in Arizona, for example.
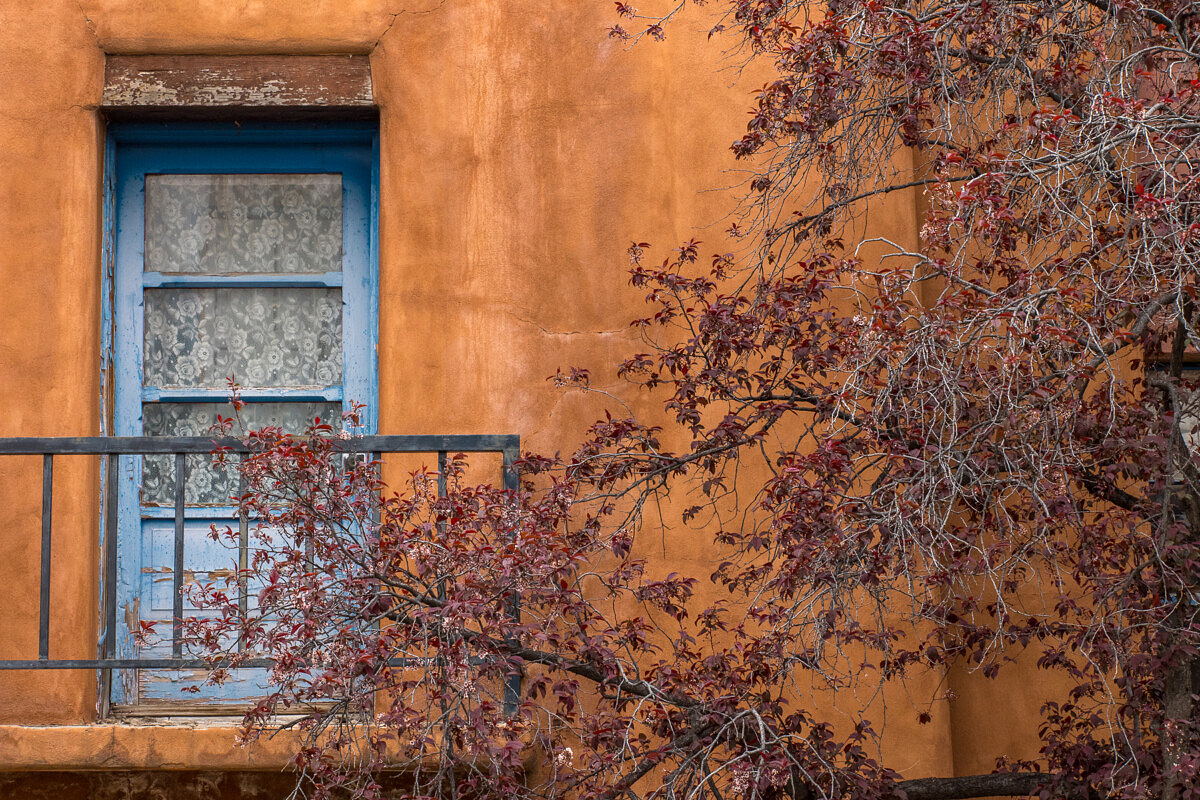
1/160th @ f/11, ISO 800
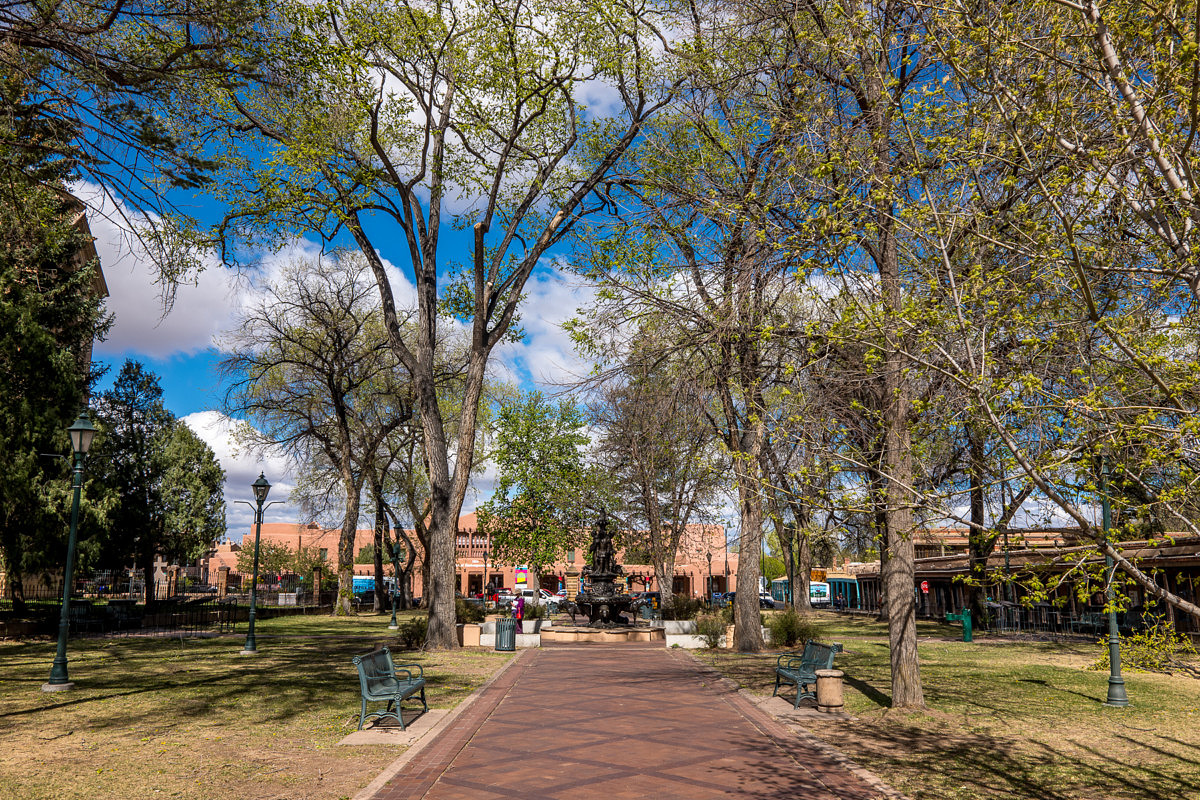
1/160th @ f/9, ISO 100
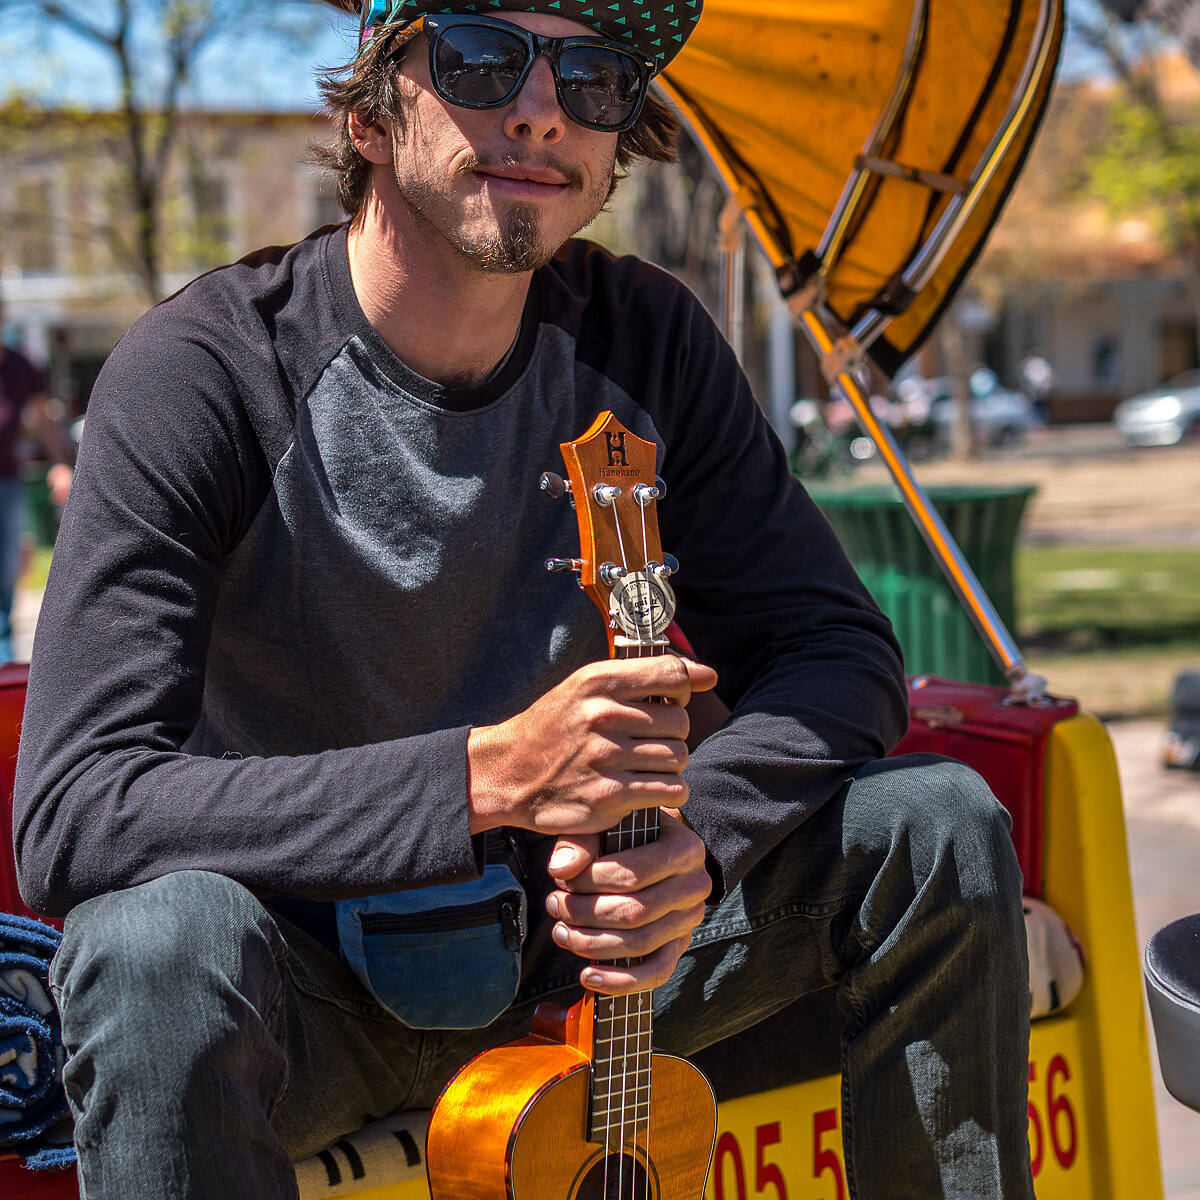
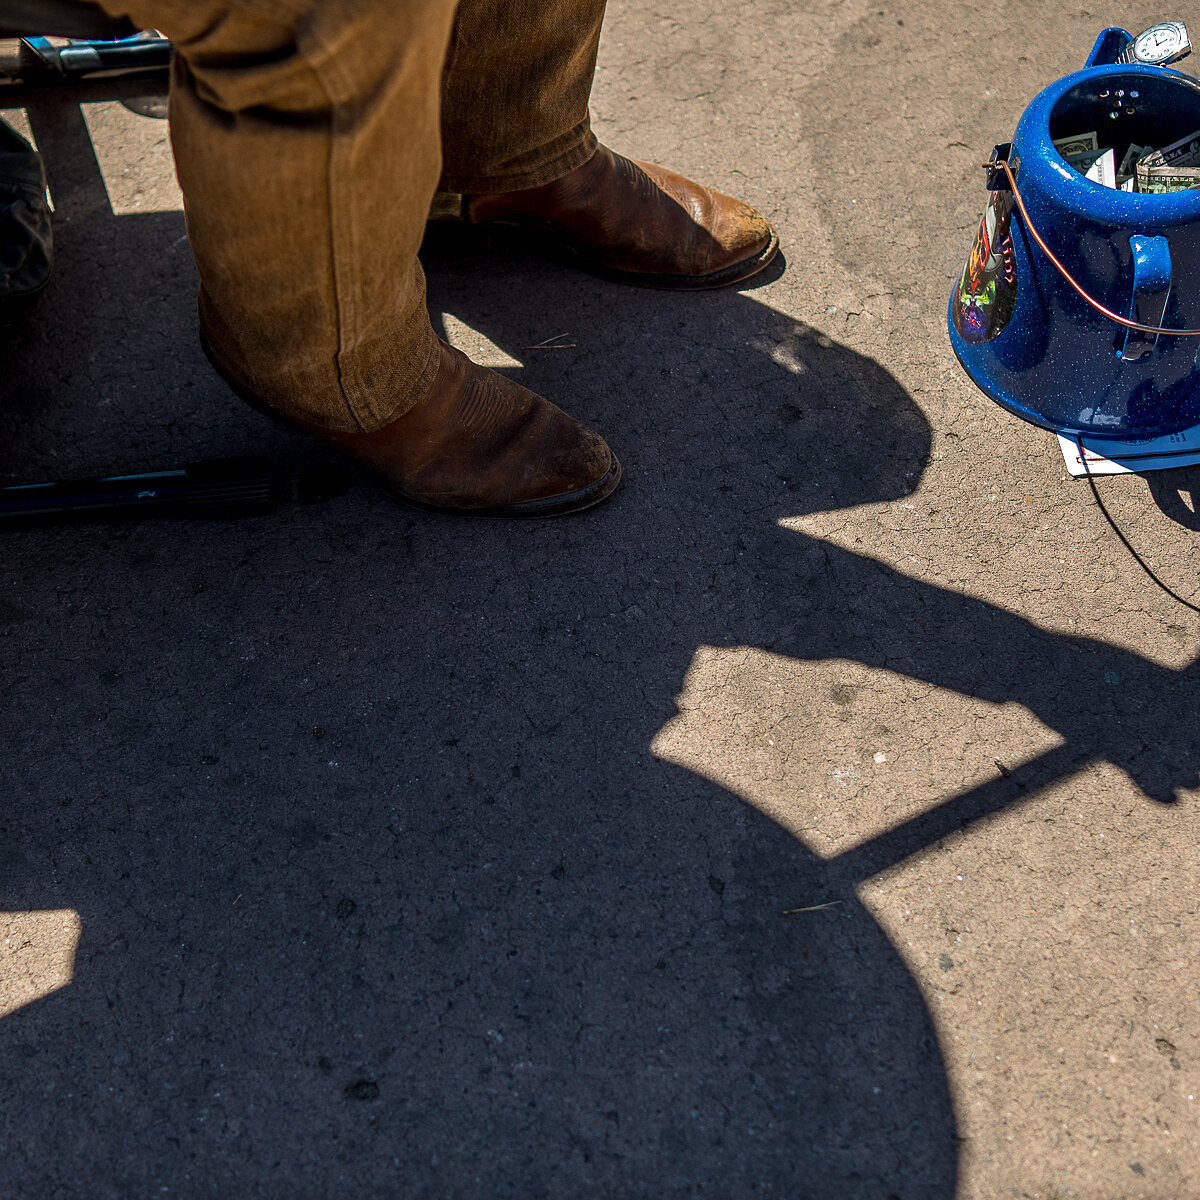
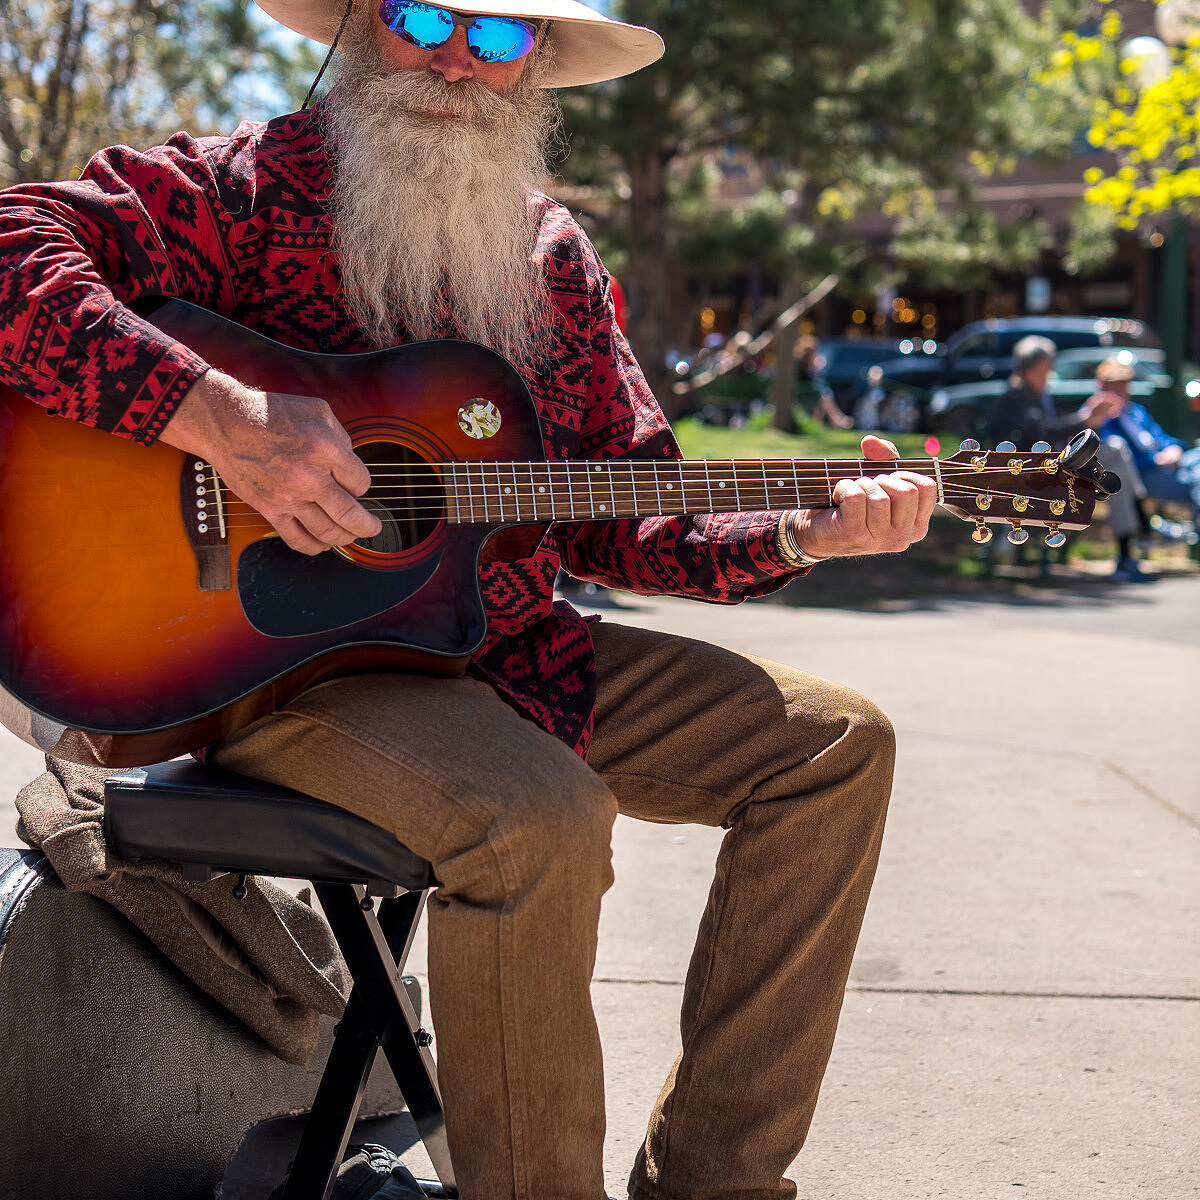
Originally founded in 1610 by Spanish Colonists, Santa Fe is the oldest state capital in the country. With its population of around 69,000 full-time residents, the city feels more like a small town, especially in the historic old town. There, the central plaza buzzes with activity, especially as each day gets closer to the weekend. Street performers, vendors, and tourists fill the plaza and surrounding streets.
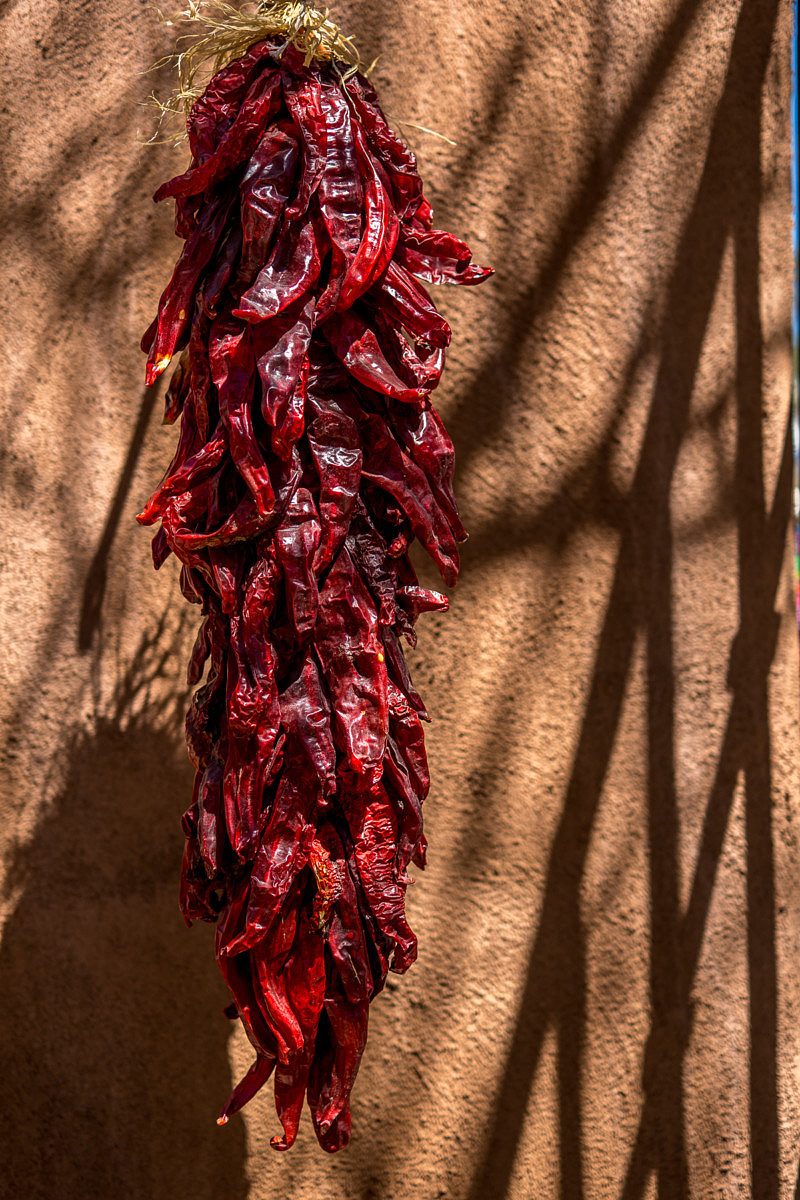
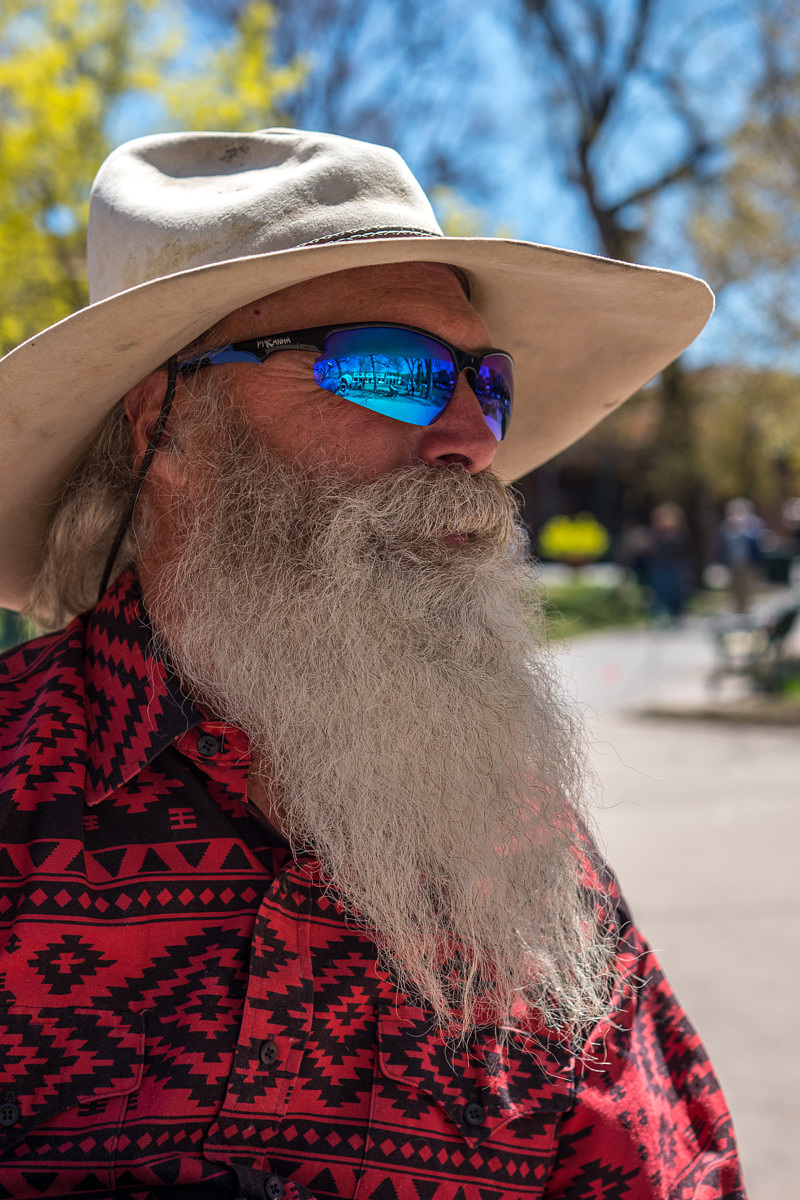
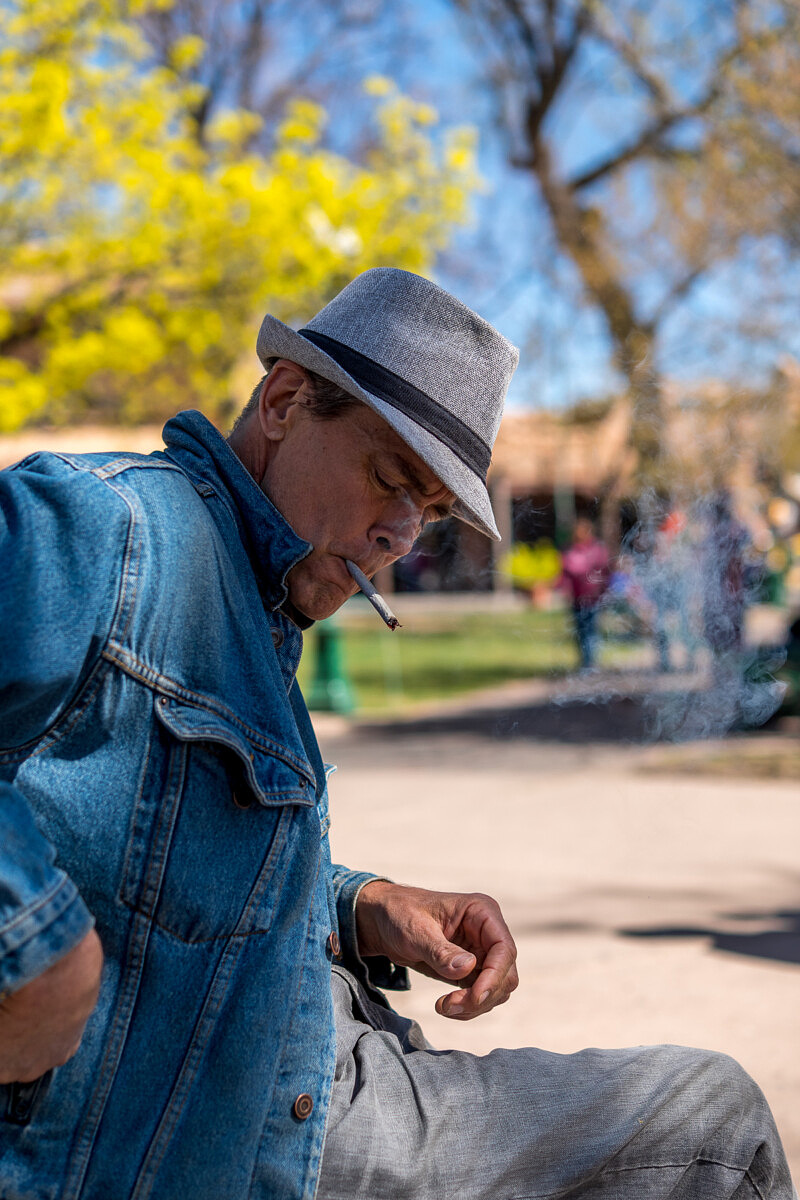
No shortage of subject matter here, with boldly colored woven blankets, dried red chilis, bleached white cow skulls, hand carved figurines, traditional pottery and more, around every corner. Not to mention the people. Sure, it’s painfully obvious that tourism plays a large role in the economy and ecosystem here, but I still think there is authenticity to be captured.
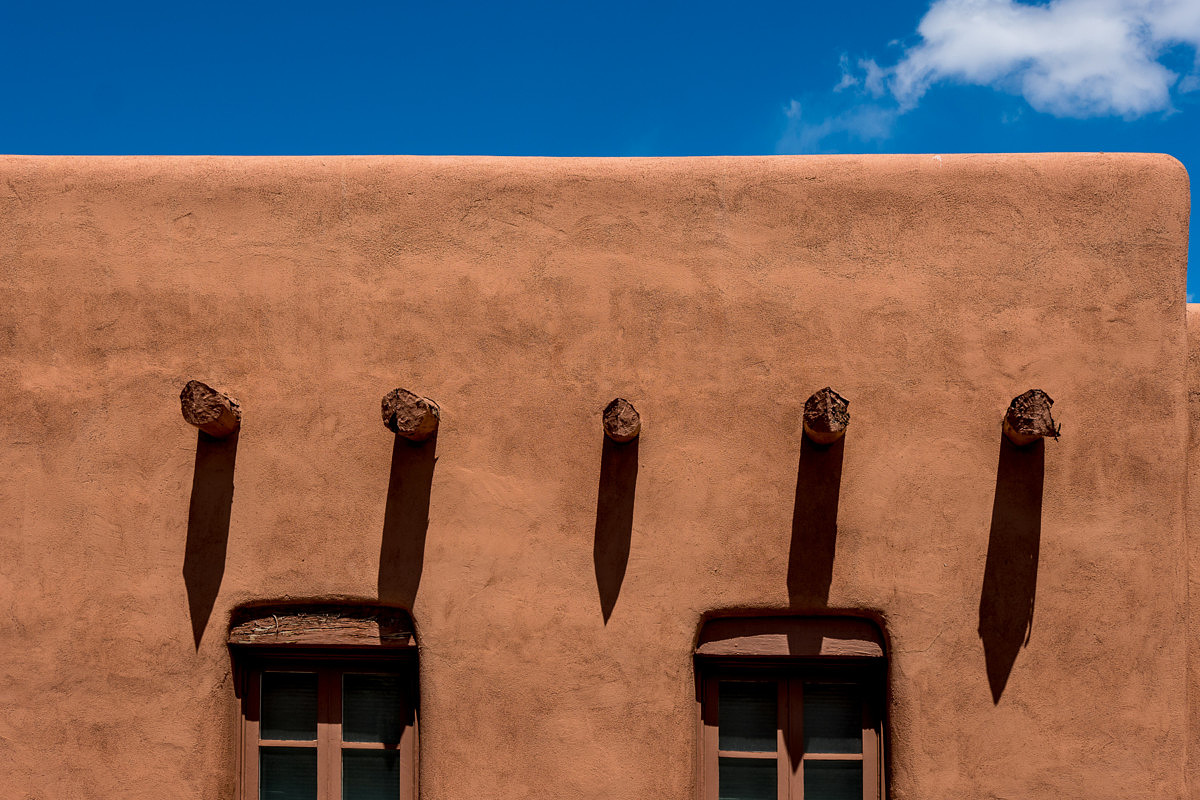
1/500th @ f/8, ISO 100
Road tripping with the CL
Most LHSA meetings go through Sunday morning, with a banquet or get-together on Saturday evening. So, I scheduled my flight home for early Monday morning. This would allow me to make my way back to Albuquerque on Sunday afternoon, stay at an airport hotel and catch my crack of dawn flight back east. But this time, the program ended Saturday afternoon with nothing scheduled for Sunday morning at all. Seems like I had an unplanned free day.
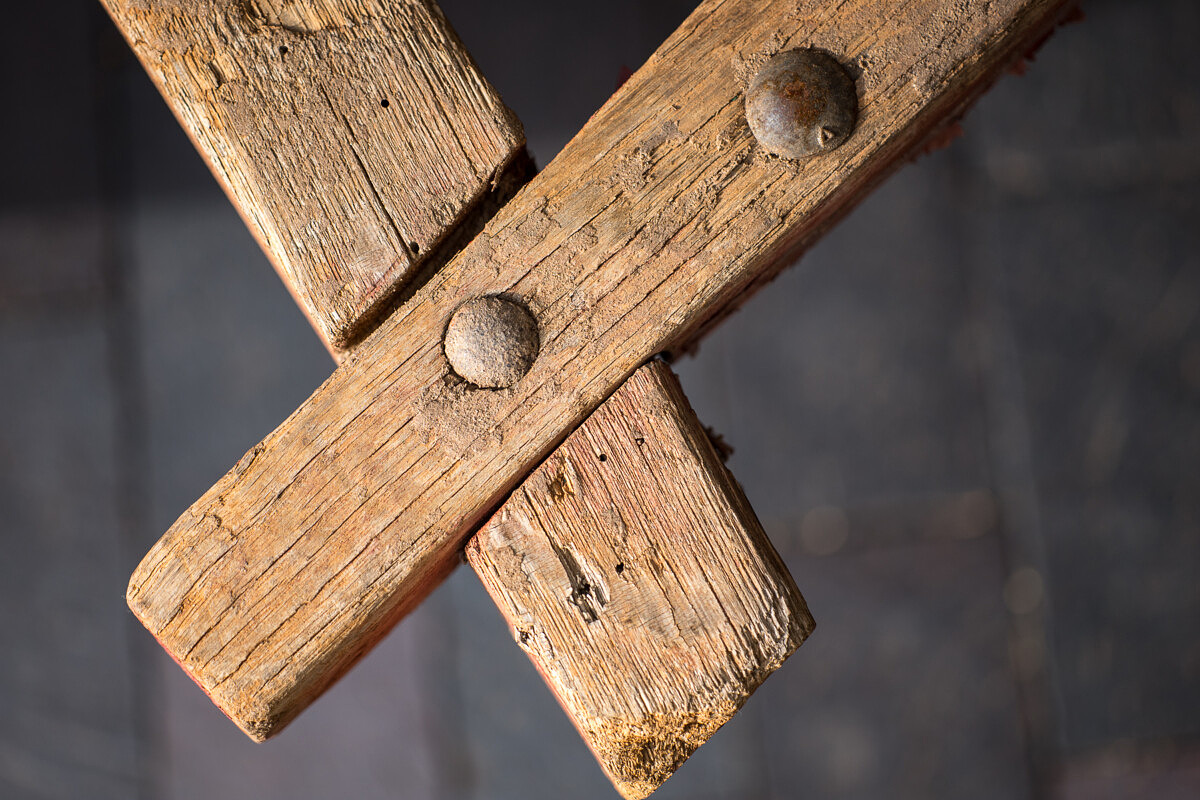
1/500th @ f/2.8, ISO 100
Tom Smith, who runs Leica Akademie North America and whom I’ve known for years, was at the event to hand out loaner gear. I asked him about his travel plans and turns out that he did the same. Neither of us had anywhere to be all day on Sunday. So, we decided to take a road trip north to Taos and see what we could find, and photograph, along the way.
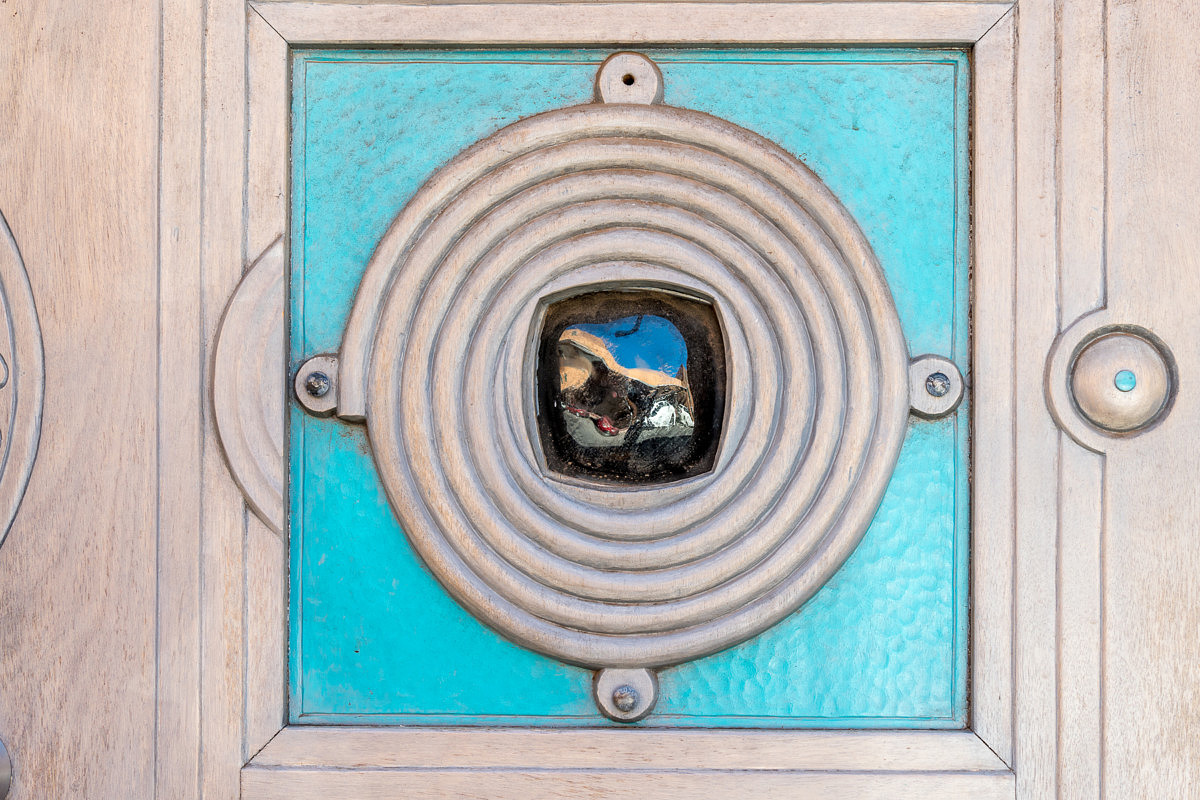
1/100th @ f/5.6, ISO 250
That Sunday, Santa Fe was in full swing. I shot around town while we waited for a table at Pasqual’s, one of the local hotspots for New Mexican cuisine. Our brunch was good, but I was ready to get back out and take some pictures.

1/125th @ f/1.4, ISO 100
Tom might have had to drag me to the car, as I could have easily just continued to photograph the plentiful subject matter in Santa Fe. After all, in the few days I was there, I had barely scratched the surface. There was just so much left to explore.
Frankly, I didn’t want to stop. But I did. Reluctantly. Sometimes you should work a good location to death and sometimes you need to have faith in what the road ahead holds.

1/500th @ f/8, ISO 100

1/1000th @ f/2, ISO 100
With Santa Fe in the rearview, I stopped lamenting the missed shooting opportunities back in town and was up for adventure. The open road was calling, and we were answering. With a general idea of a few choice spots, we definitely had a destination. But that didn't mean that we weren't also on the lookout for any good shooting opportunities.

1/2000th @ f/2.8, ISO 100
Española, NM
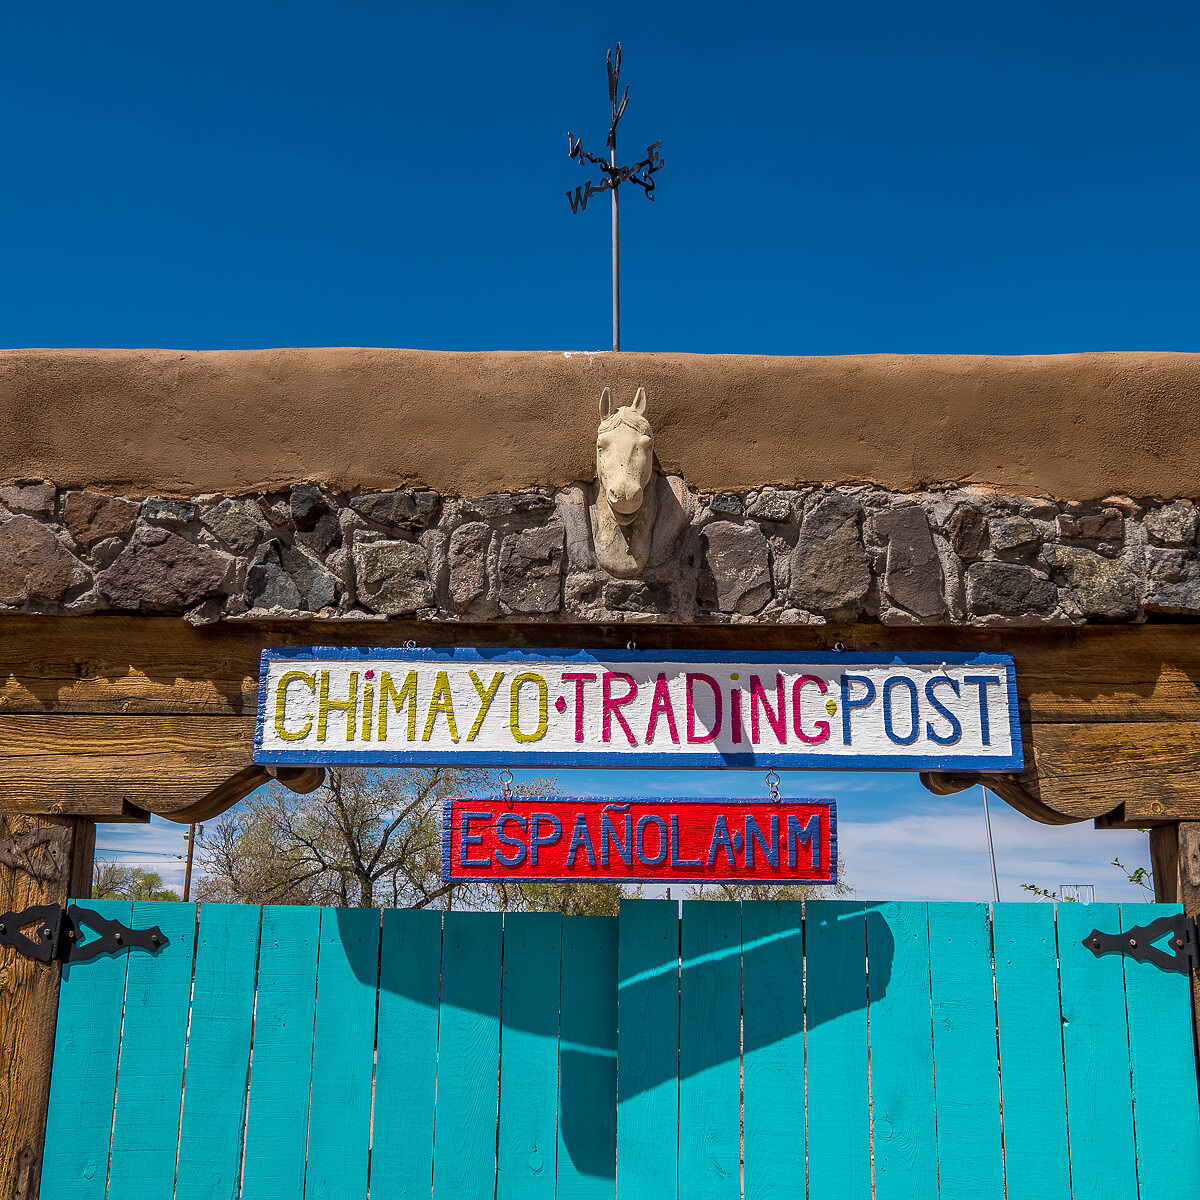
Our first stop was about halfway to Taos, at the crossroads town of Española. We saw a cool drive-in diner, hung a quick U-turn and decided to park and explore. As always, you just see so many more details on foot. Once out of the car, there was no shortage of cool locations and vignettes within a one block radius.

1/160th @ f/11, ISO 100
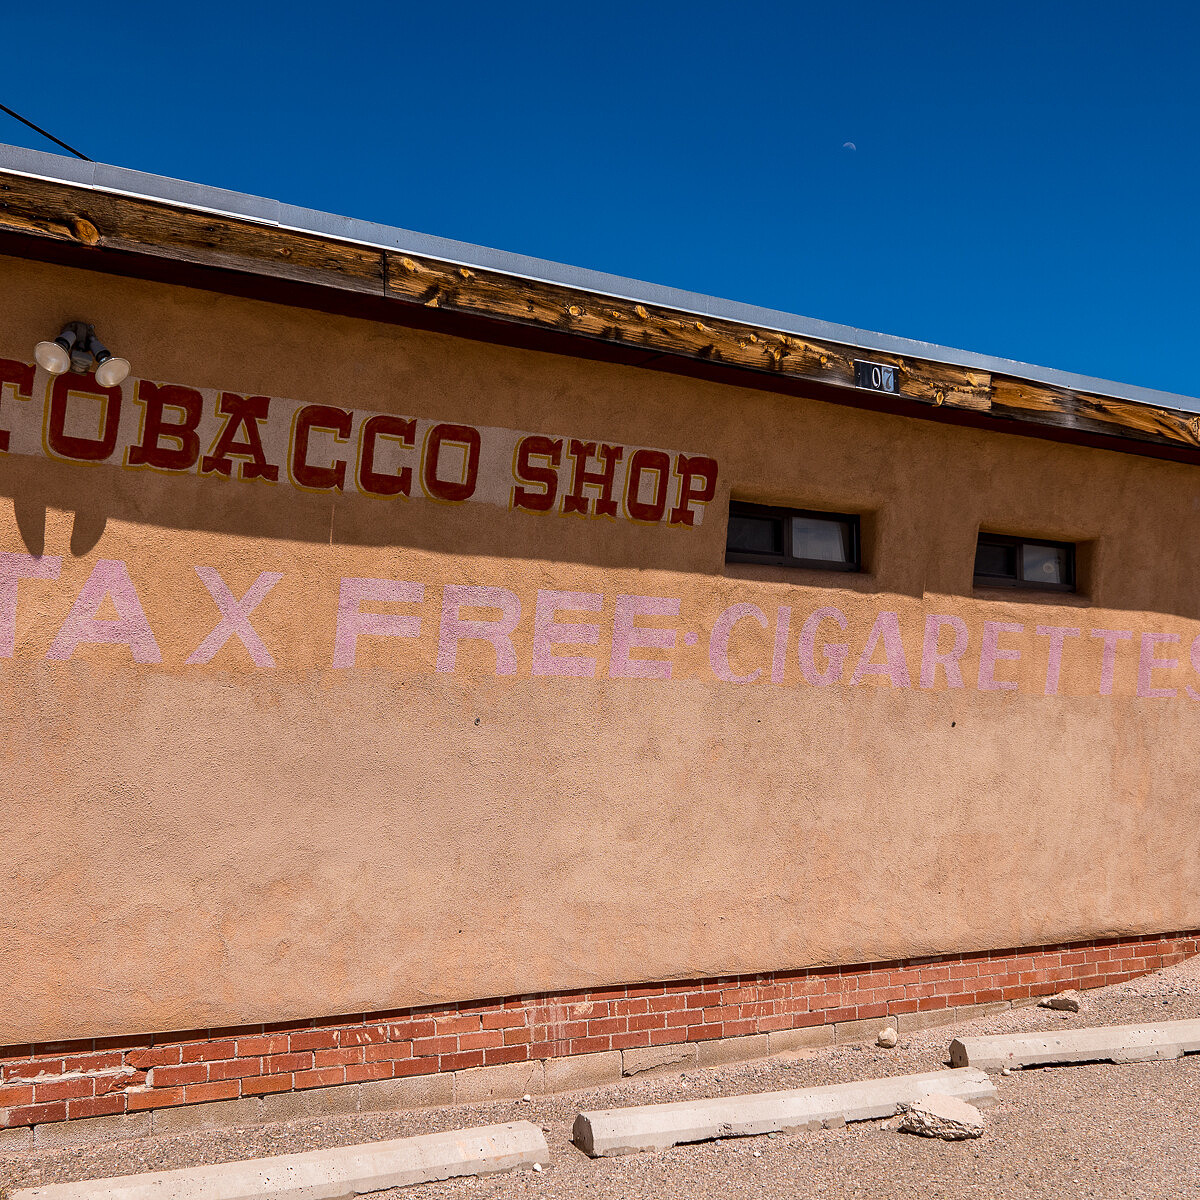
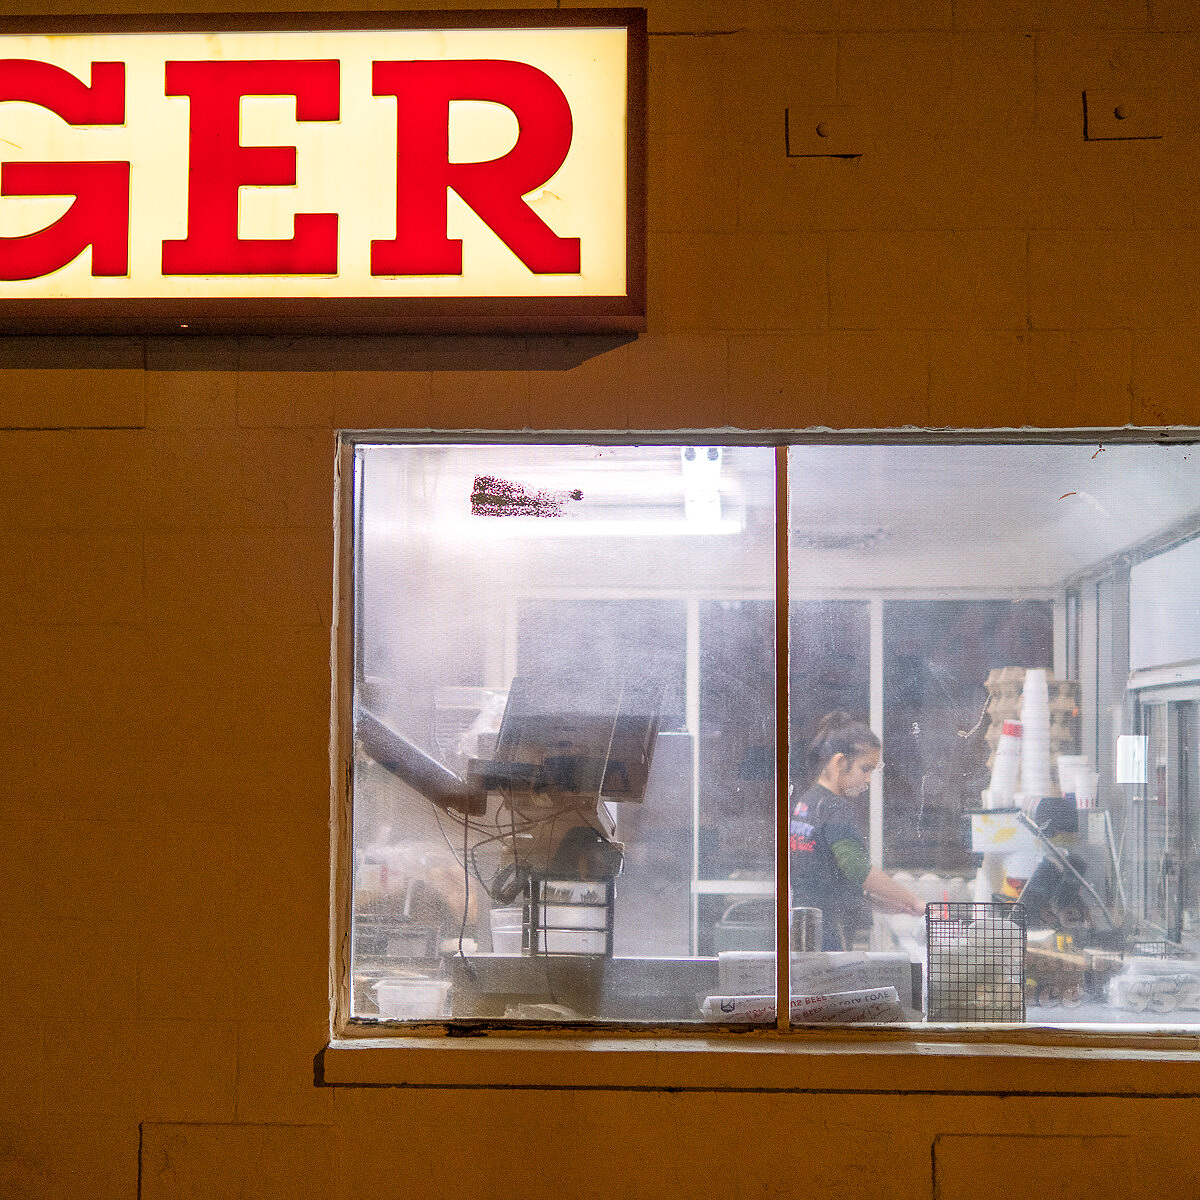
The drive-in diner that initially caught our attention wasn’t open for business. So, while I had visions of a buzzing scene of motorists grabbing burritos curbside under a neon glow, what I got was a seemingly deserted roadside stop with a red and white motif that contrasted nicely with the cloudless blue sky. No neon. No customers. But still interesting. Turns out, the barber shop next door was a far better subject anyway, with their not-so-subtle signage.
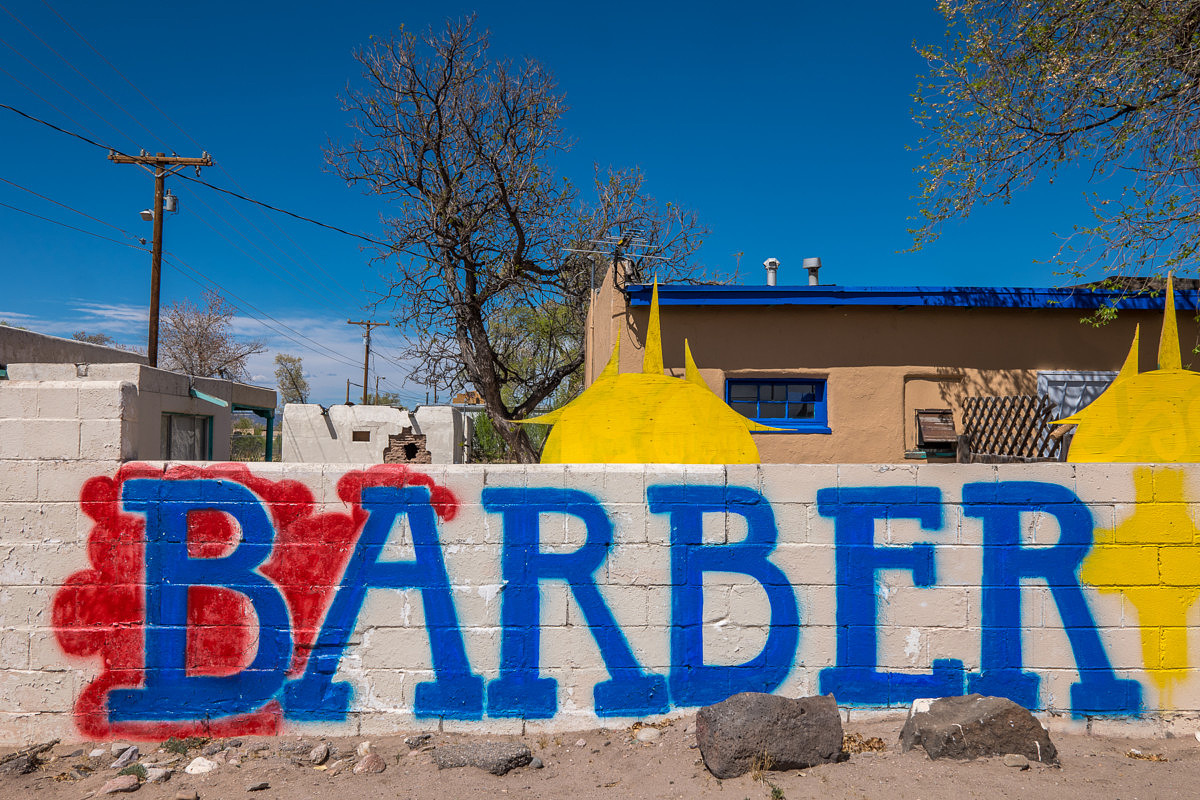
1/320th @ f/10, ISO 100
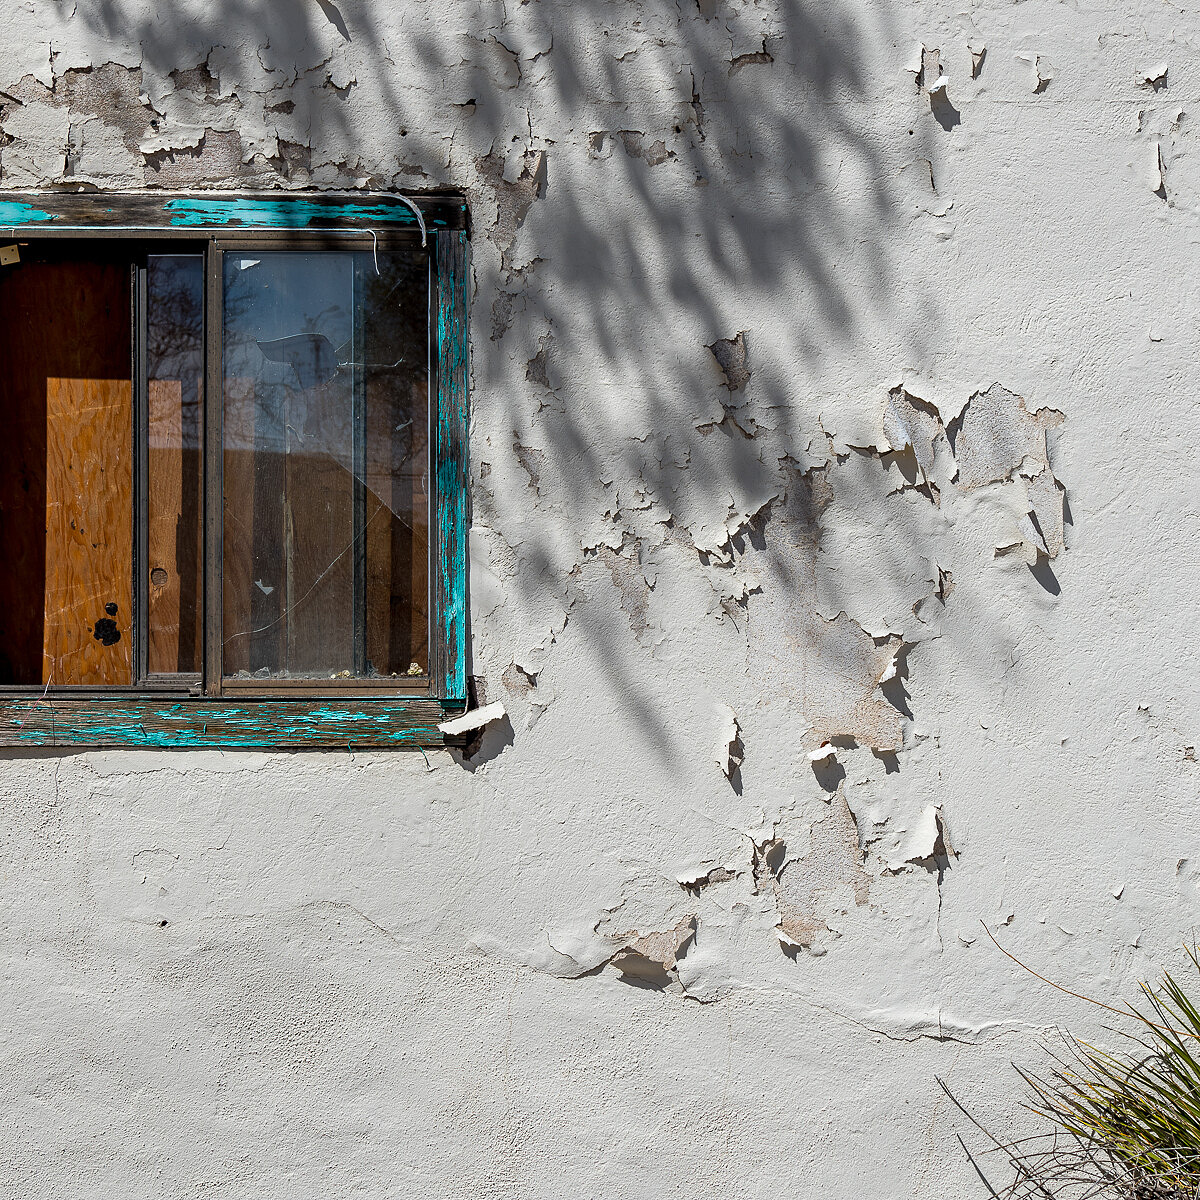
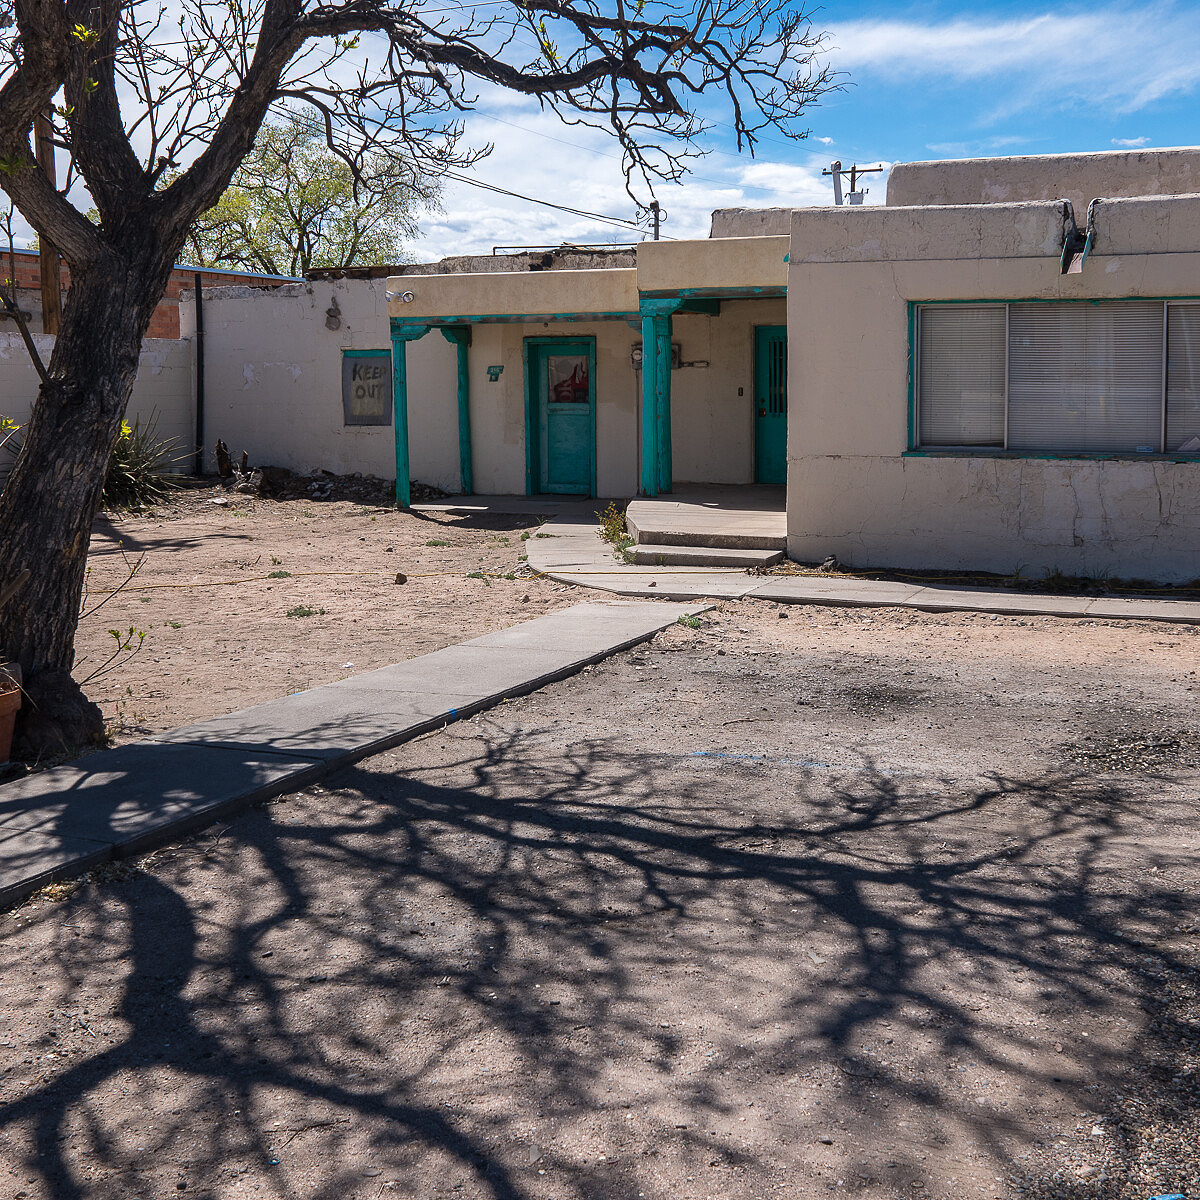
Down the block, I stumbled upon an abandoned apartment complex, complete with crumbling white facades and peeling turquoise doors. I even managed to shoot an interior, sticking my head through a hole in one of the exterior walls.
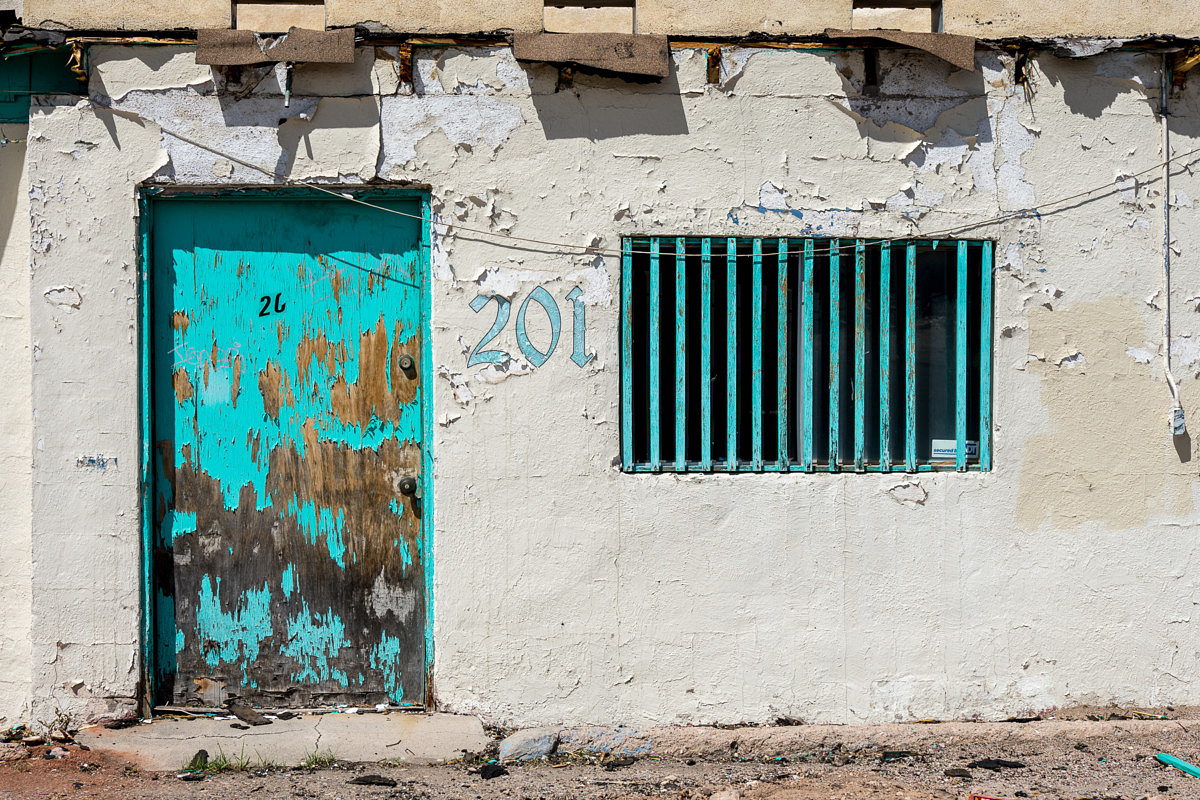
1/800th @ f/6.3, ISO 100
Around the development, everything was in various states of decay, from a makeshift basketball court to mailboxes. The ghost town vibe was intriguing, but just a little bit eerie. And we were both anxious to get to our next stop, which should have only been another 30 minutes north.
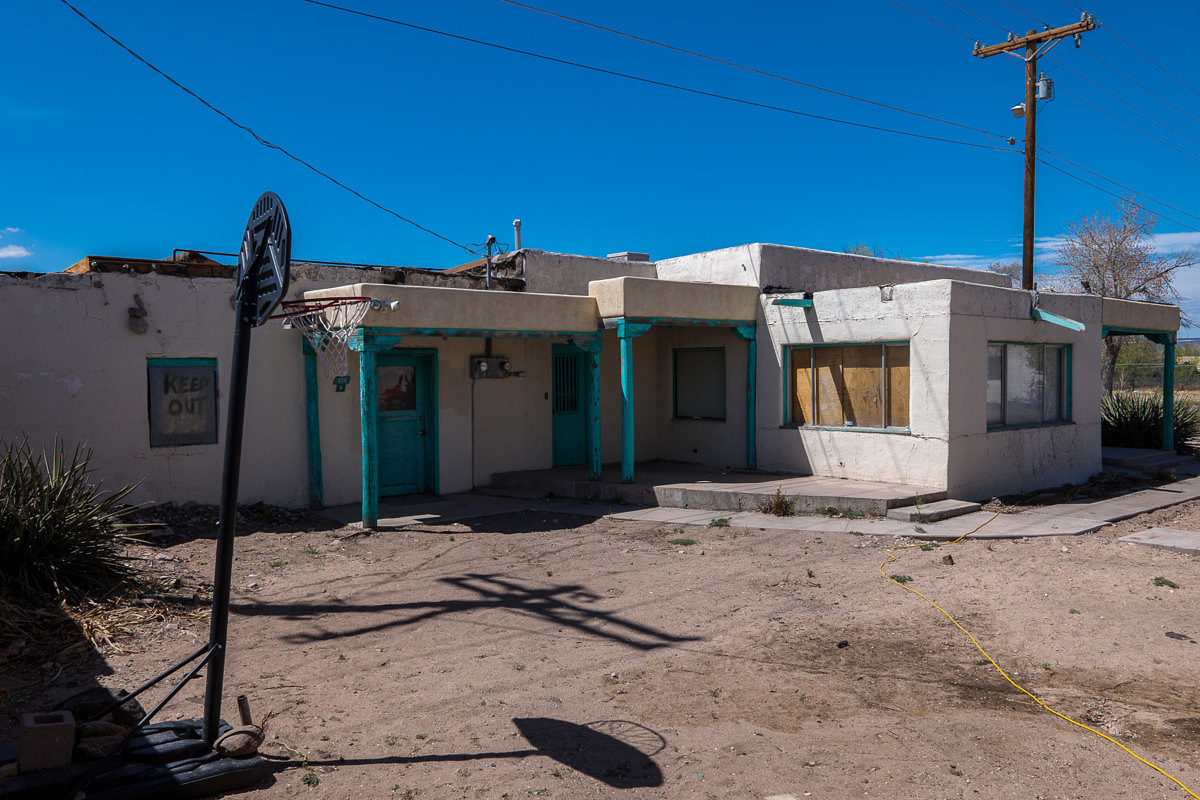
1/160th @ f/10, ISO 100
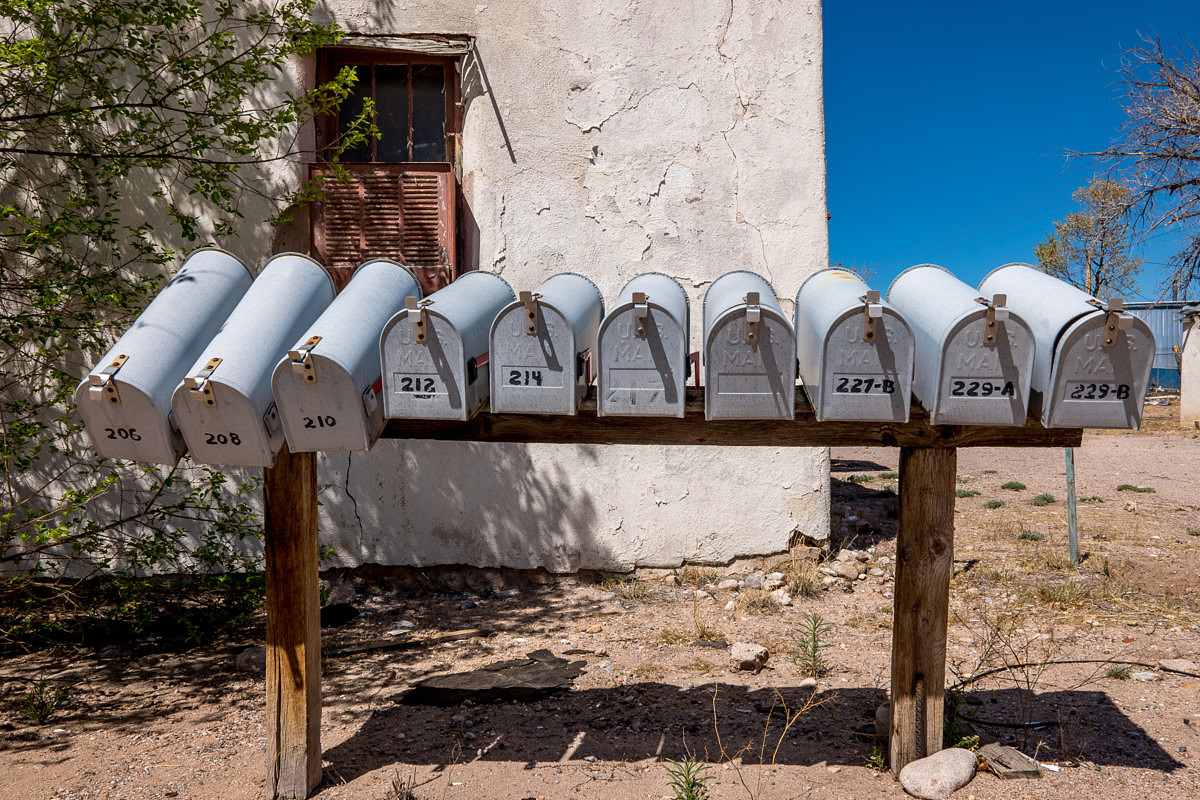
1/320th @ f/9, ISO 100
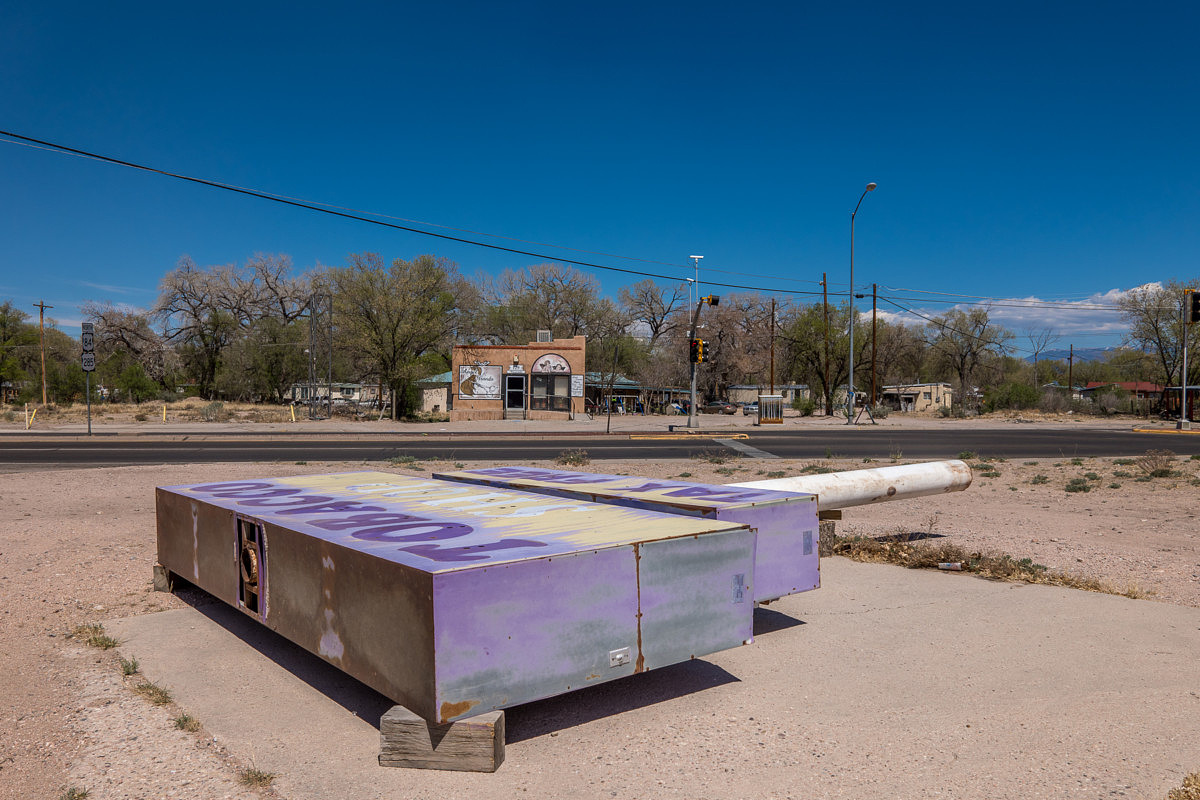
1/640th @ f/8, ISO 100
Another quick stop
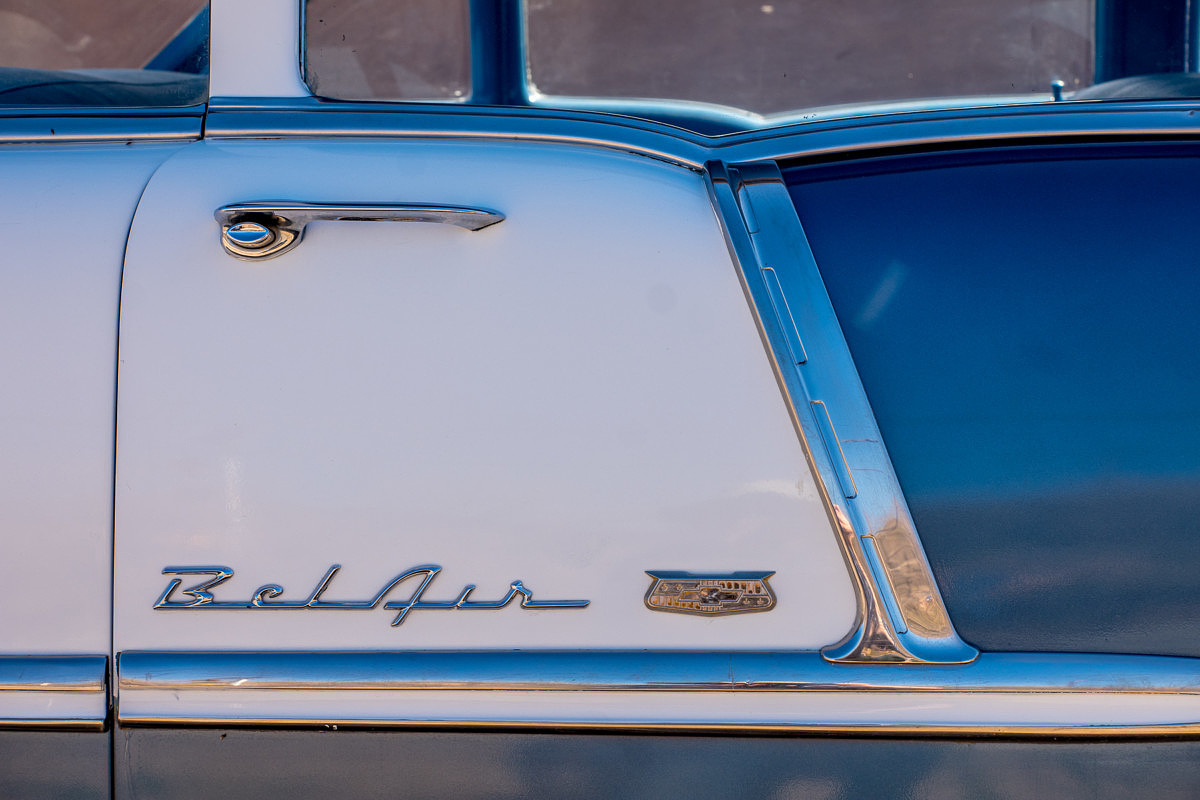
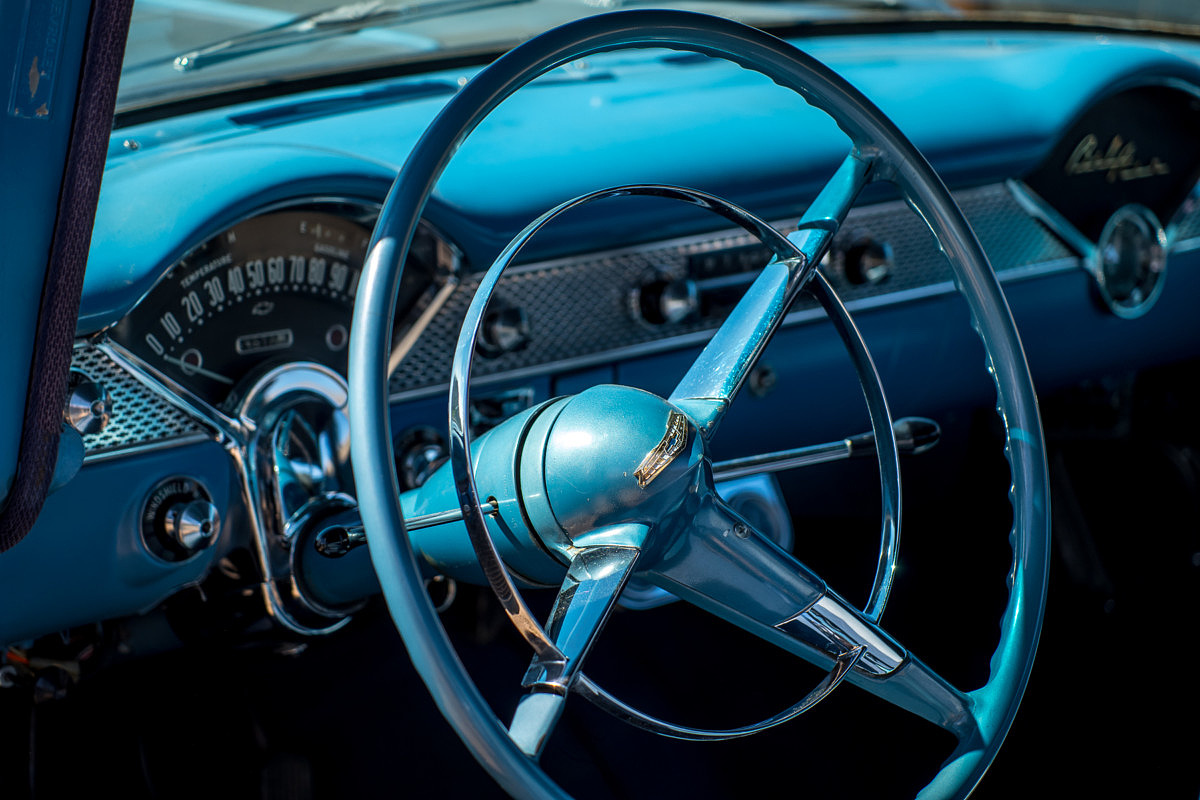
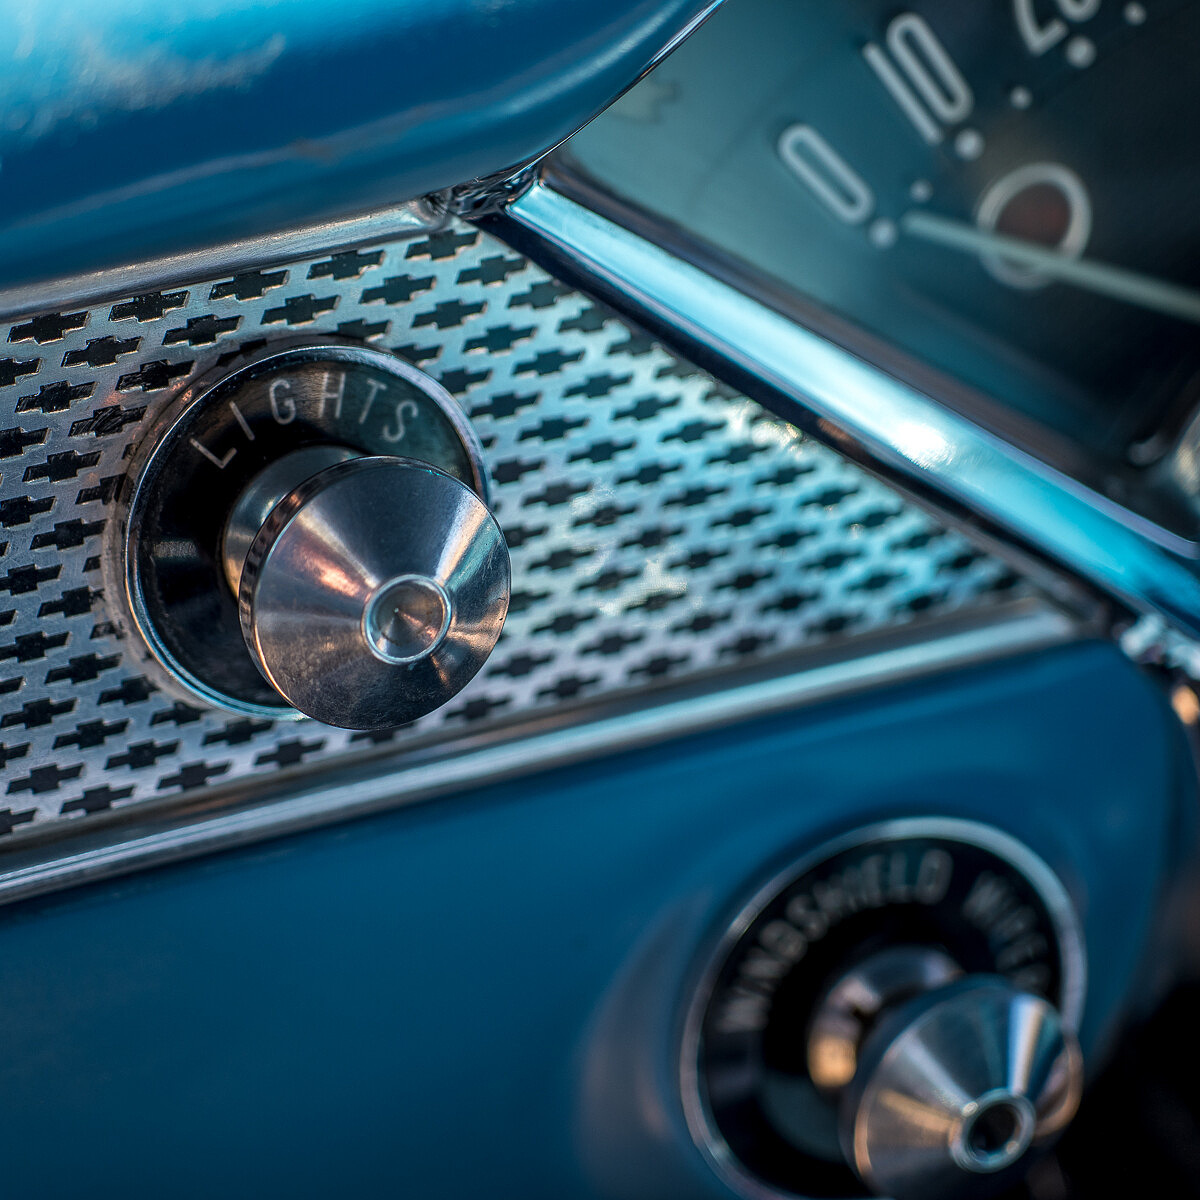
But before we reached that destination, we both eyed a gorgeous fully restored 1955 Chevy Bel Air parked on the side of the road, its metallic blue paint shimmering in the midday sun.
Tom looked at me from the passenger seat, smiled knowingly and said, prophetically, “So, if we stop to shoot that car, we need to be prepared for a somewhat long conversation with the owner.” Indeed, the owner was working in his yard, just a stone's throw from the Chevy. We pulled over.
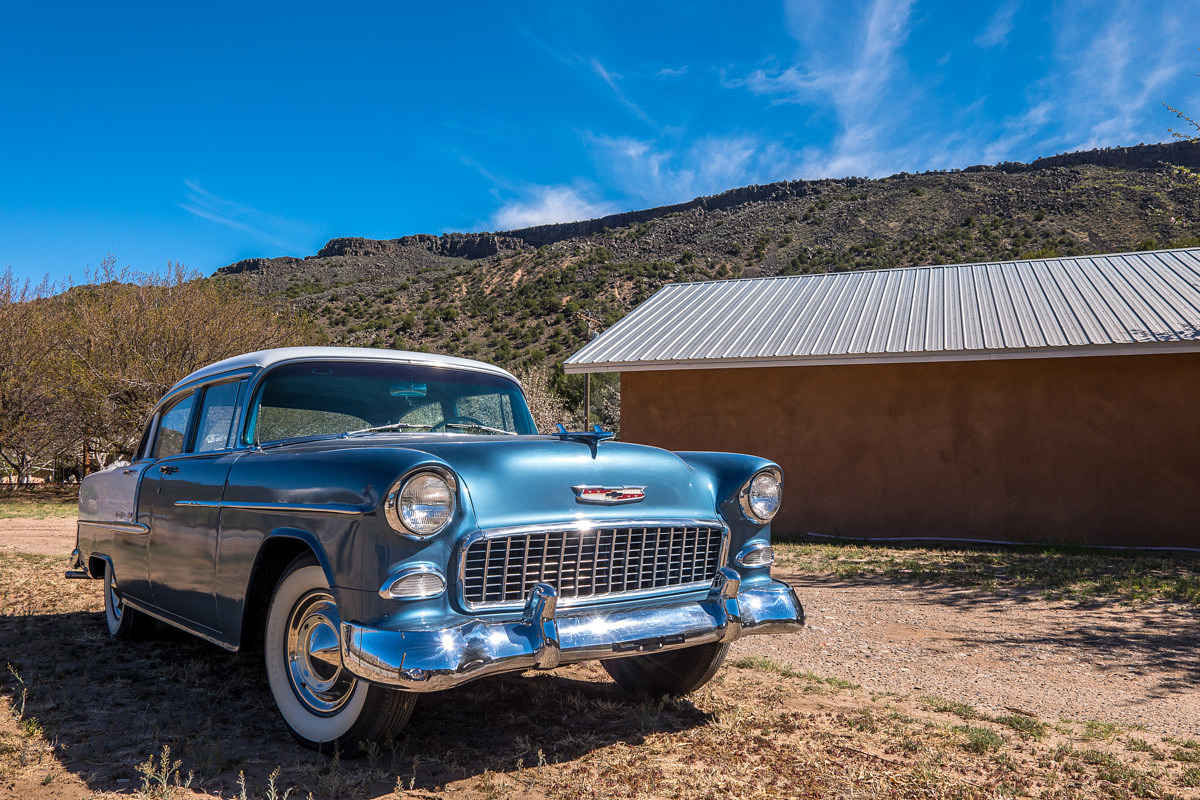
1/320th @ f/8, ISO 100
1/160th @ f/8, ISO 125
We didn't make it a minute before the gentleman came over to talk to us. I could swear he put the car there as bait, to lure in unsuspecting passersbys. But not for any reason other than to show off and chat up those who could appreciate his baby. Tom's prediction was right on the money. We got the full tour and history of the car. On the plus side, we also got access to the all-original matching blue interior.
1/640th @ f/2.8, ISO
Classical Gas Museum
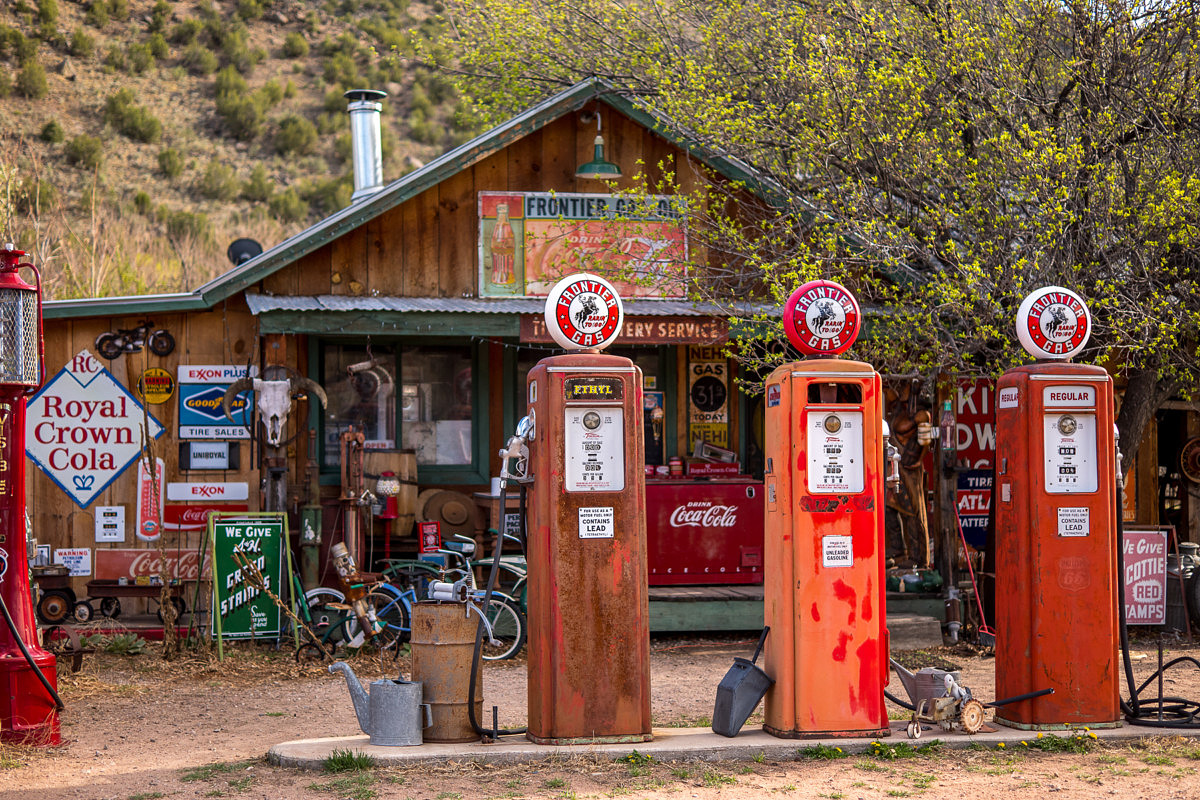
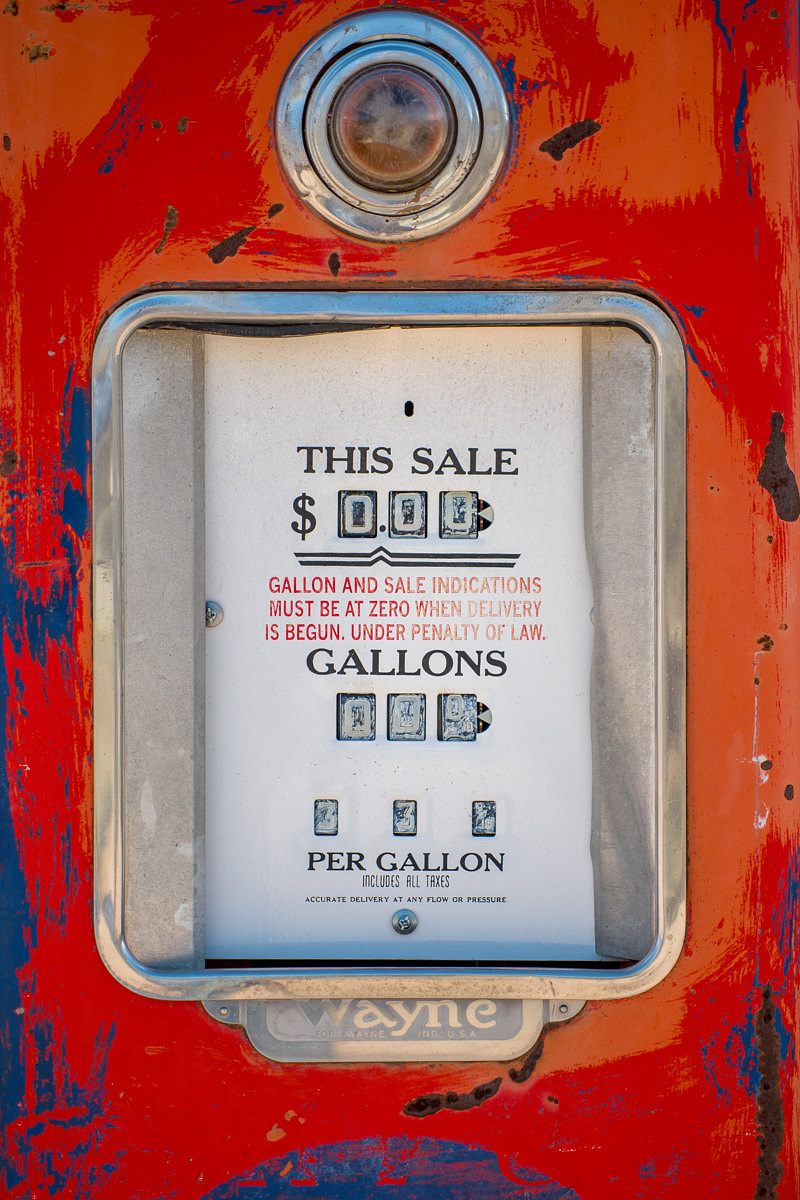
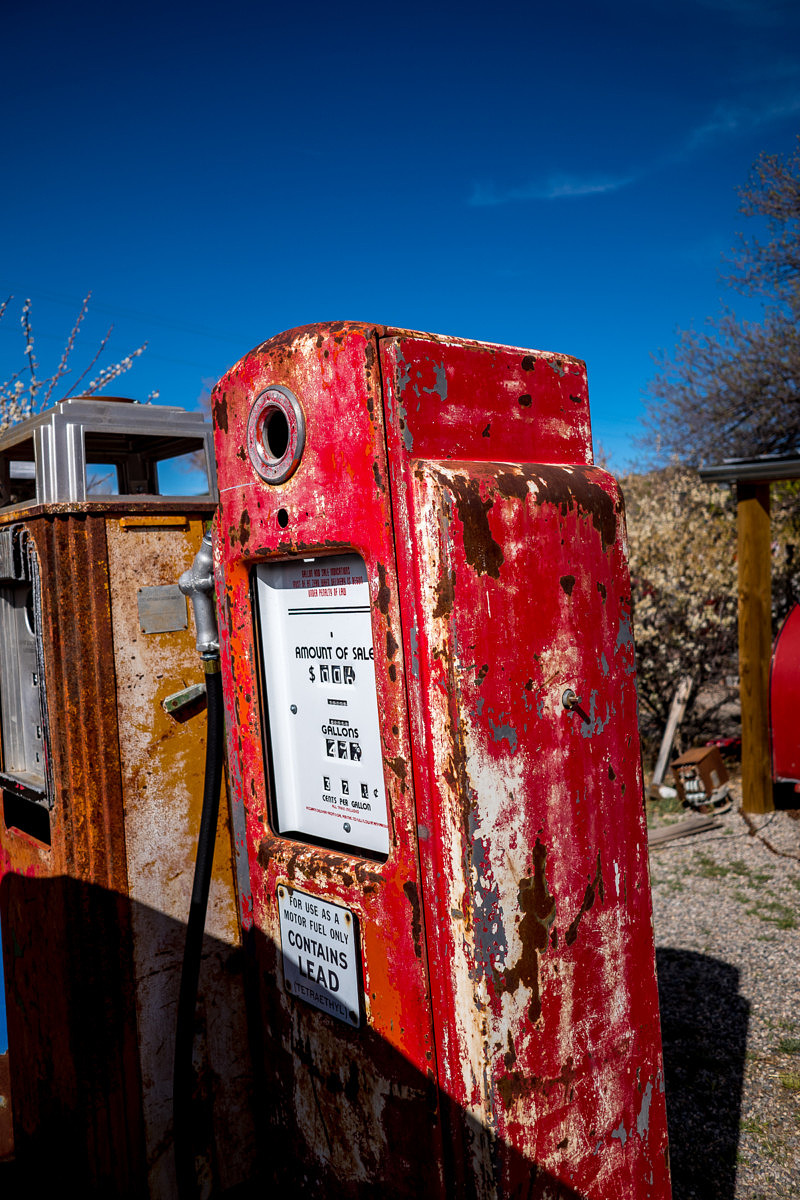
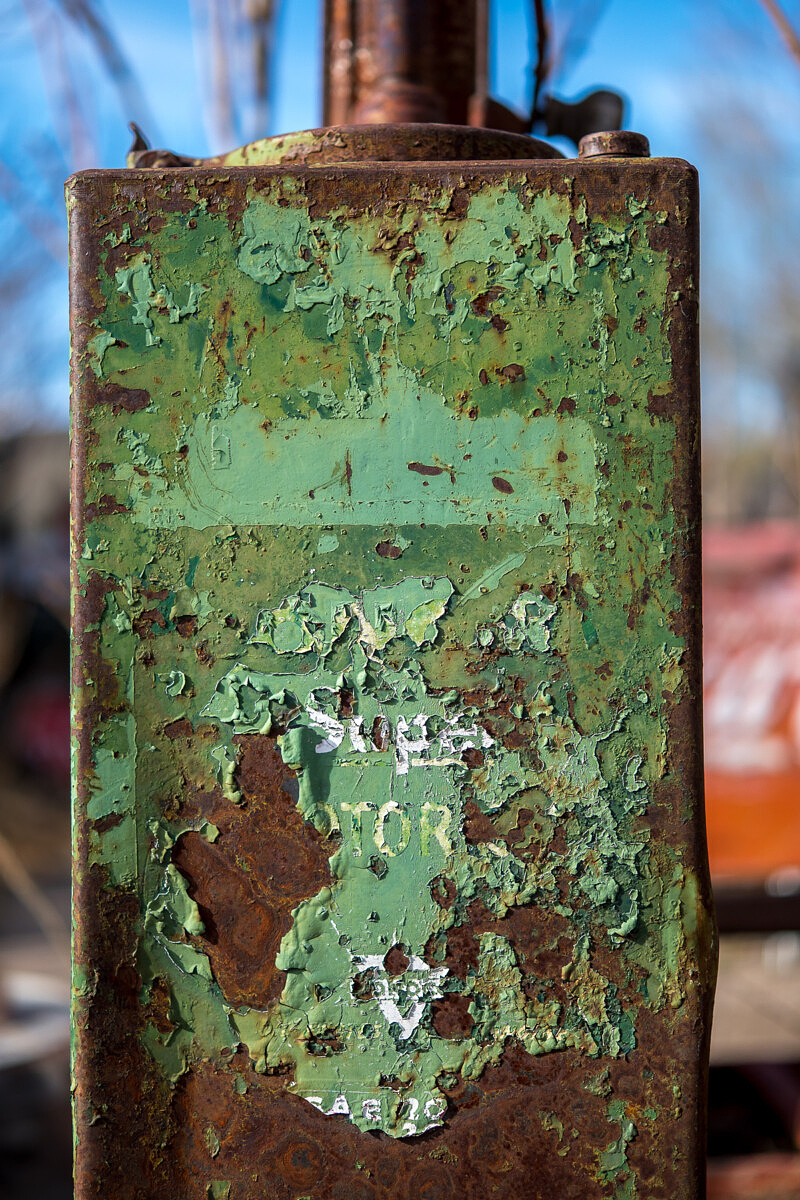
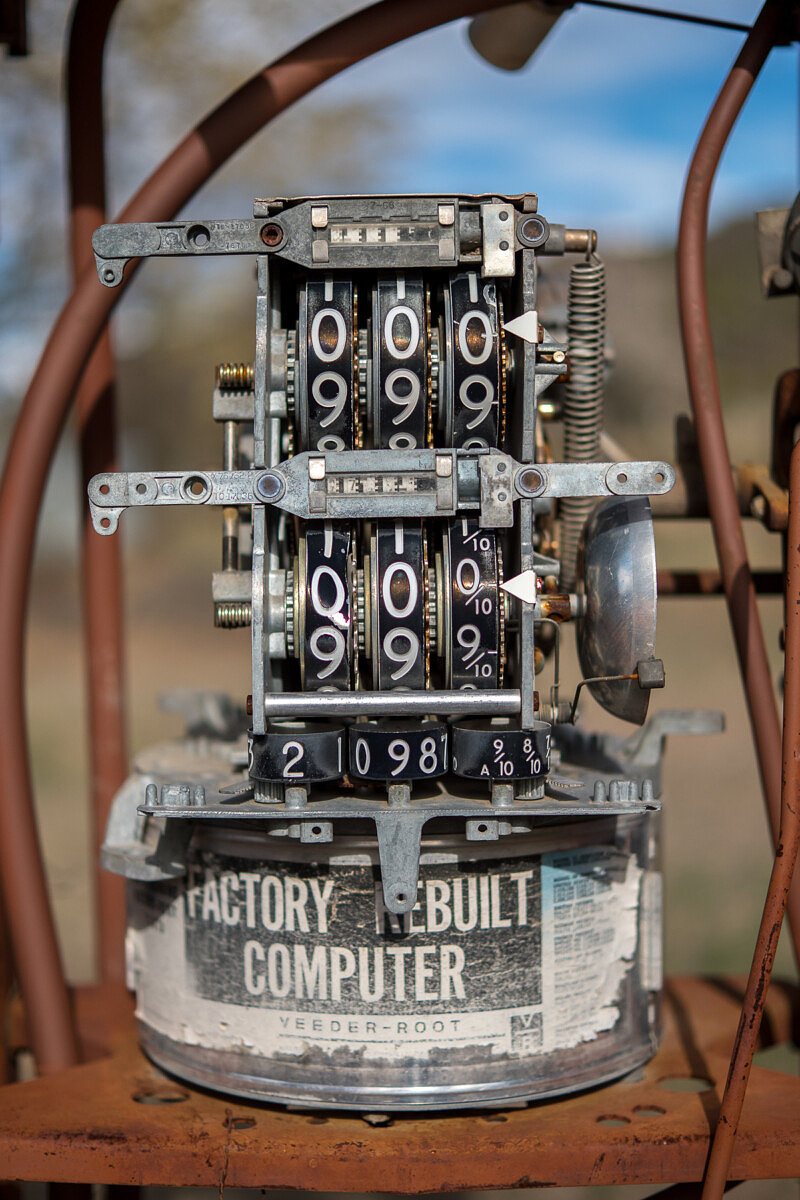
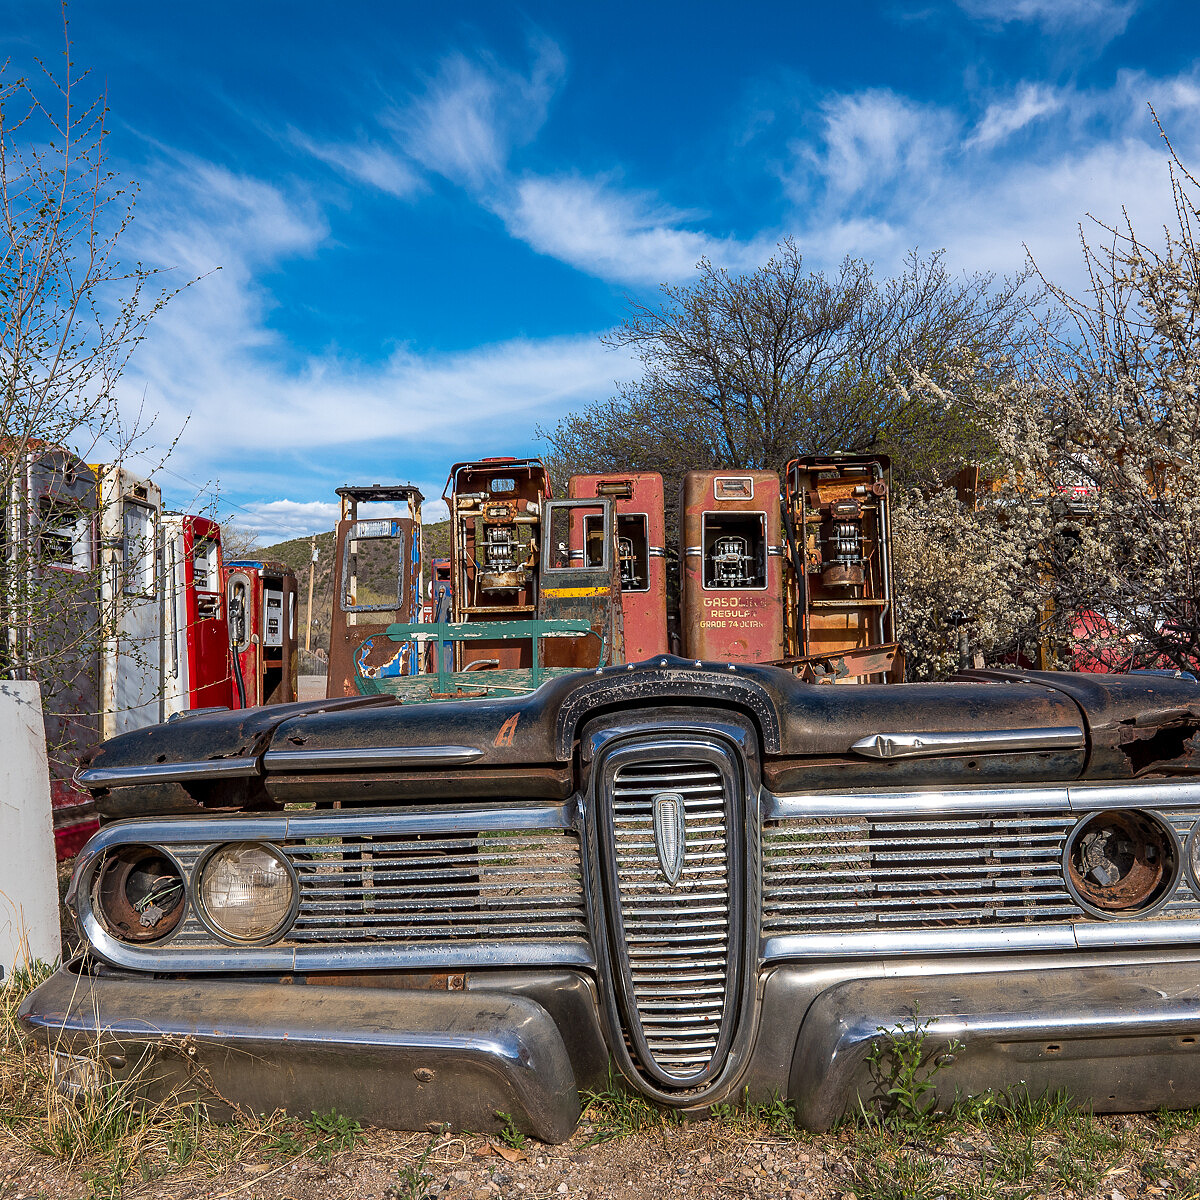
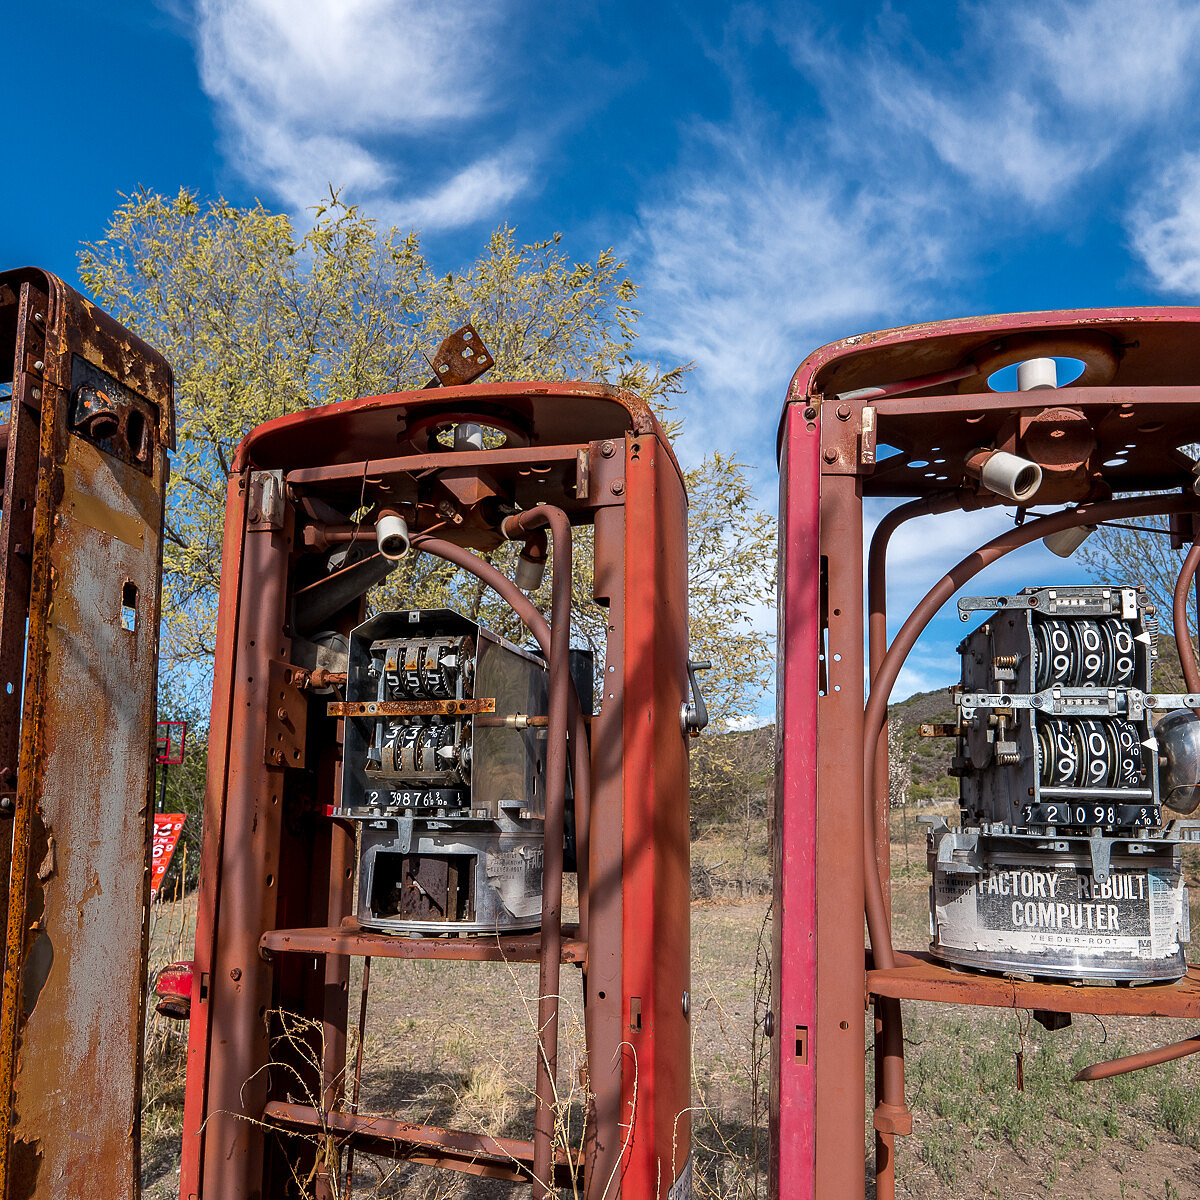
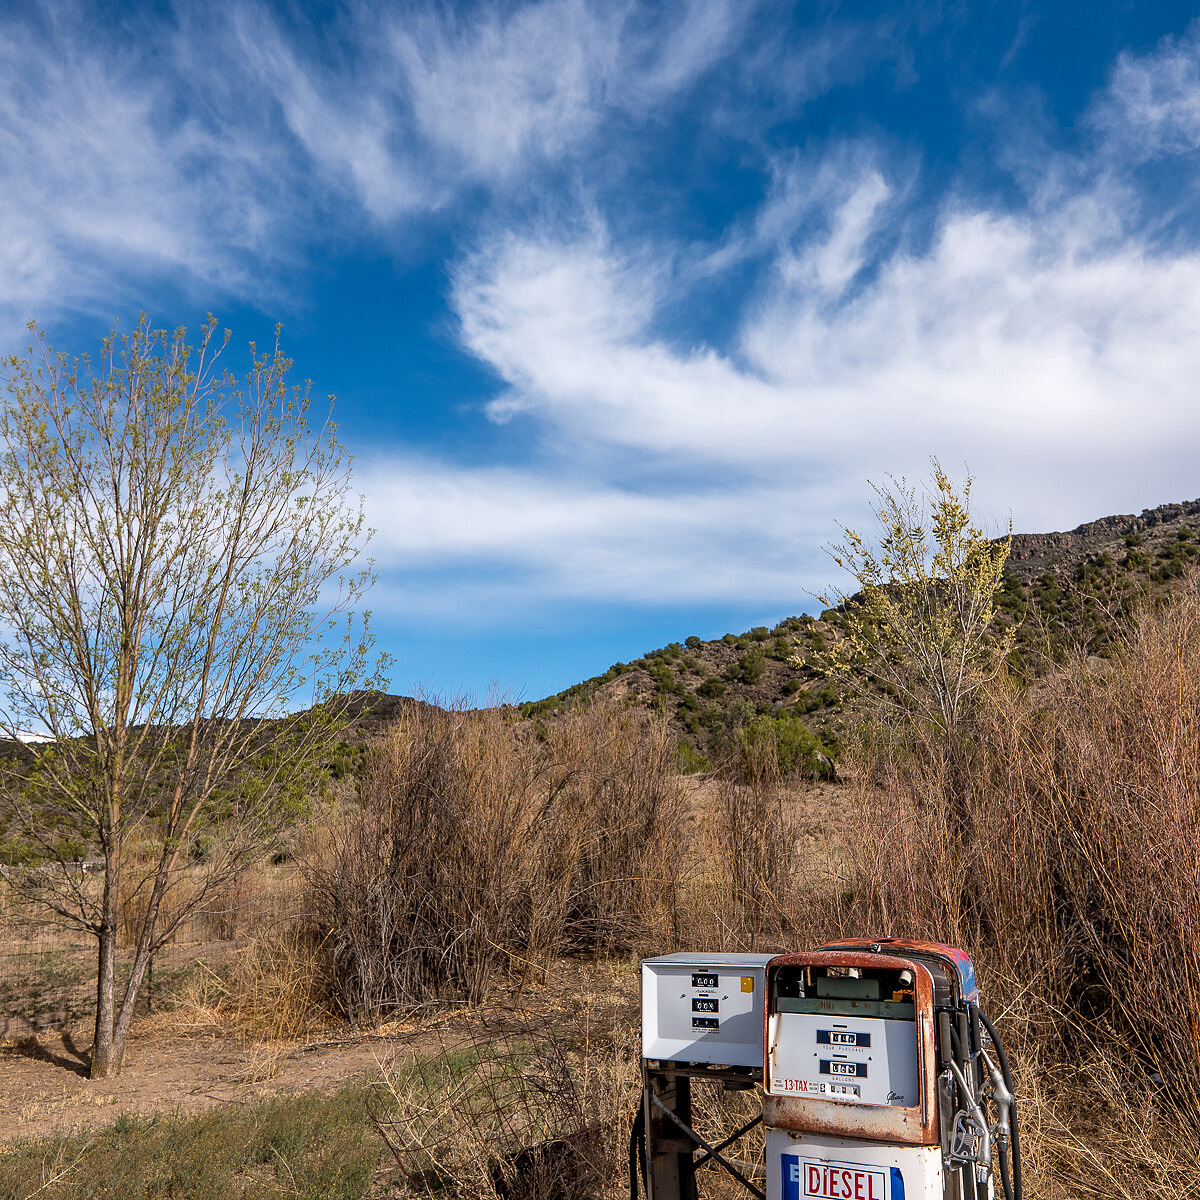
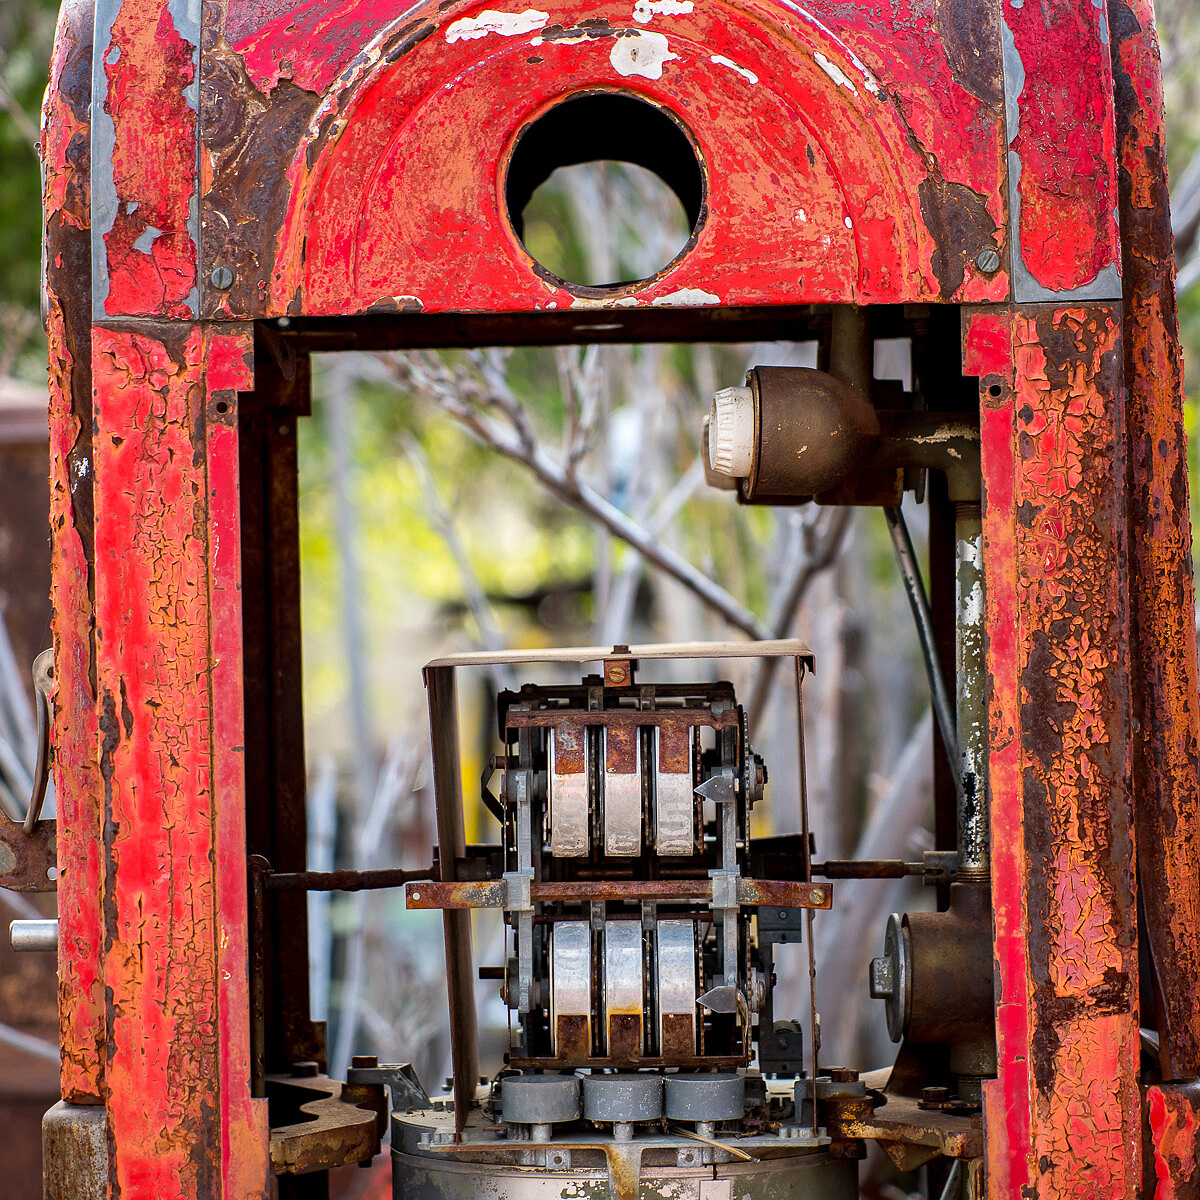
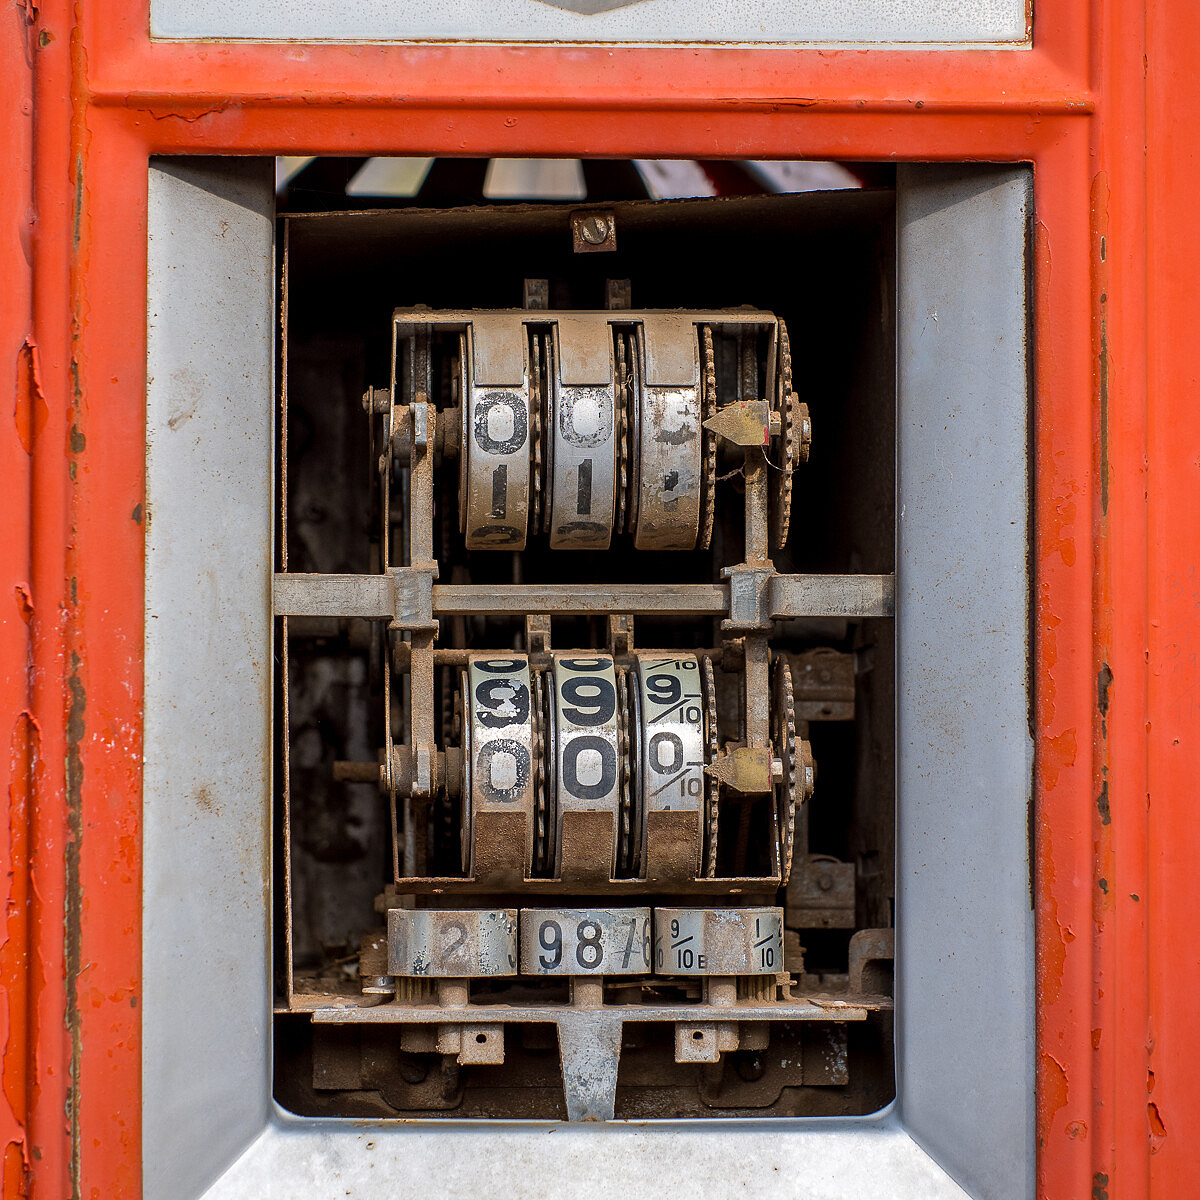
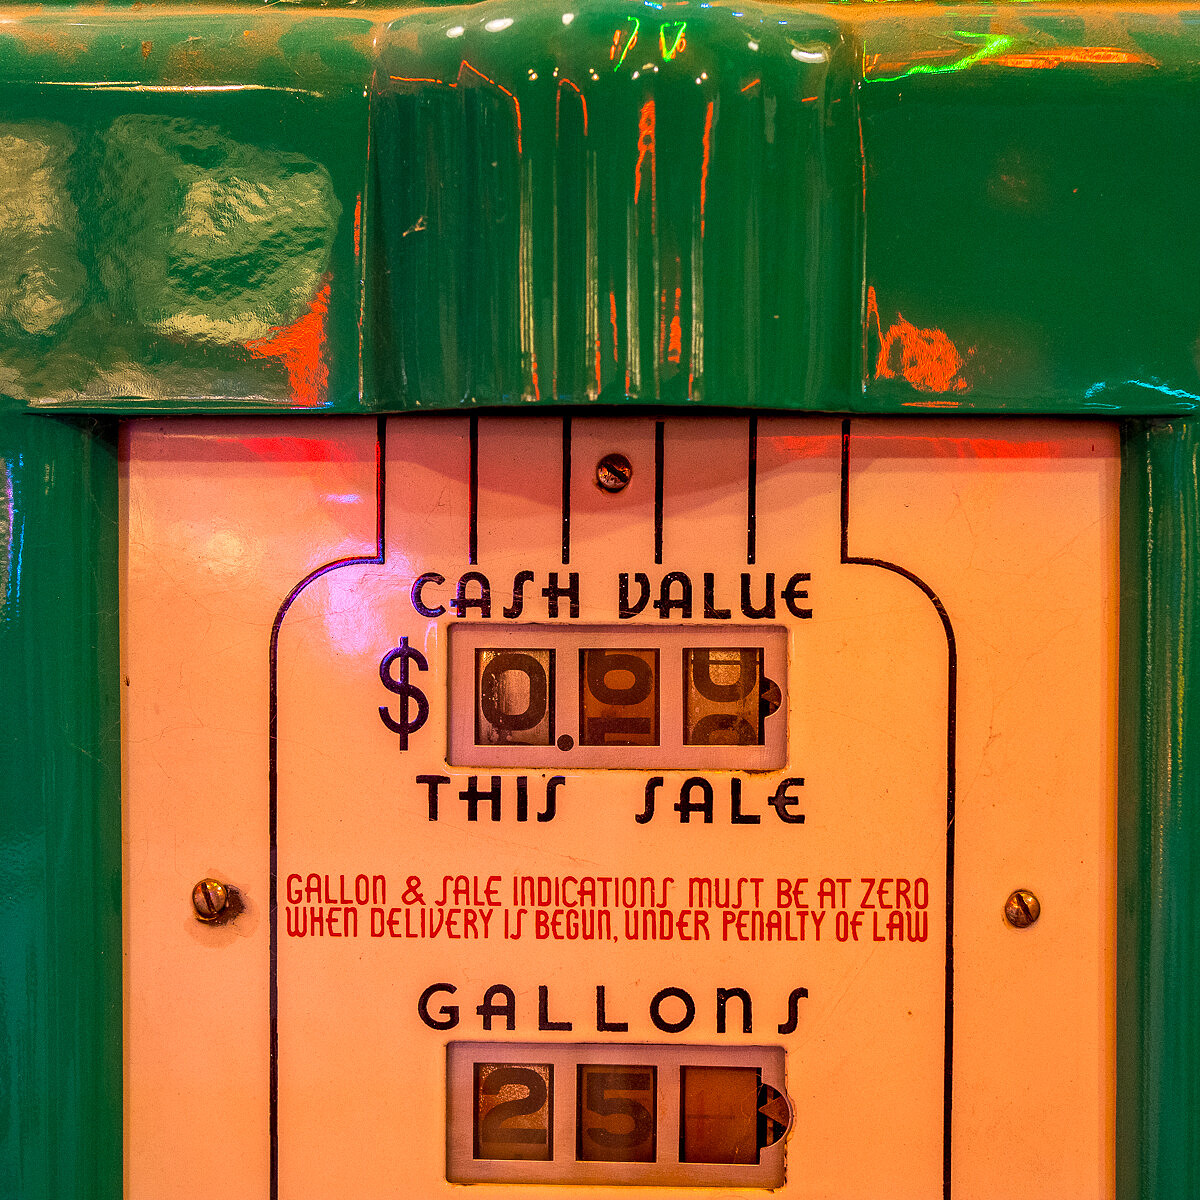
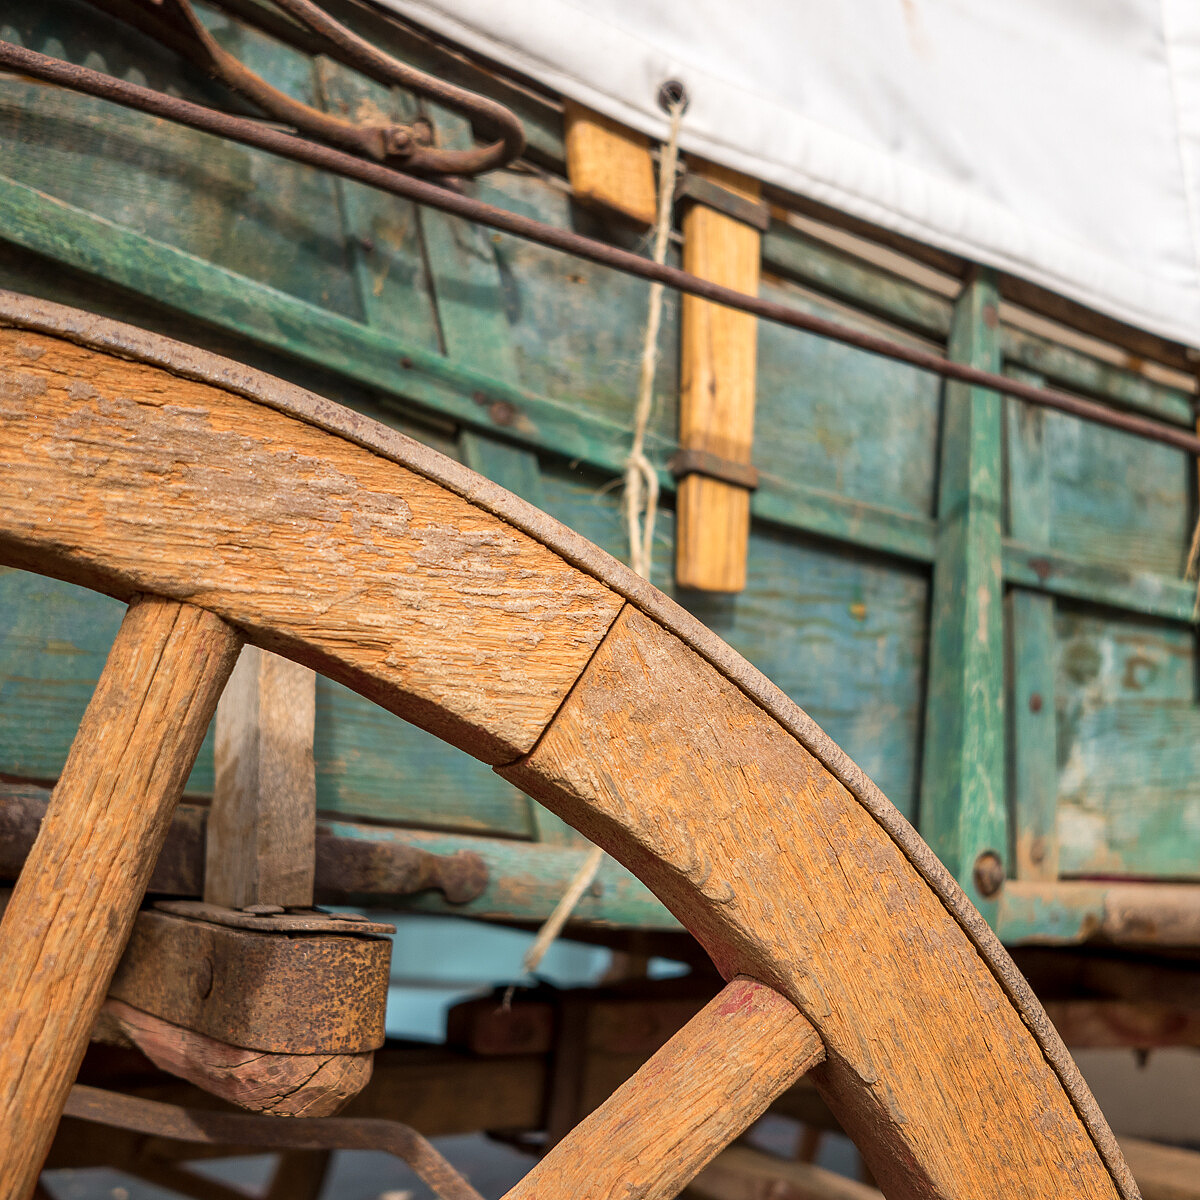
Motoring on, we arrived at the Classical Gas Museum in the tiny community of Embudo, NM. A passion and obsession of Johnnie Meier, a retired engineer from Los Alamos laboratories, the museum showcases one of the largest collections of gas station relics and memorabilia.
1/400th @ f/3.5, ISO 100
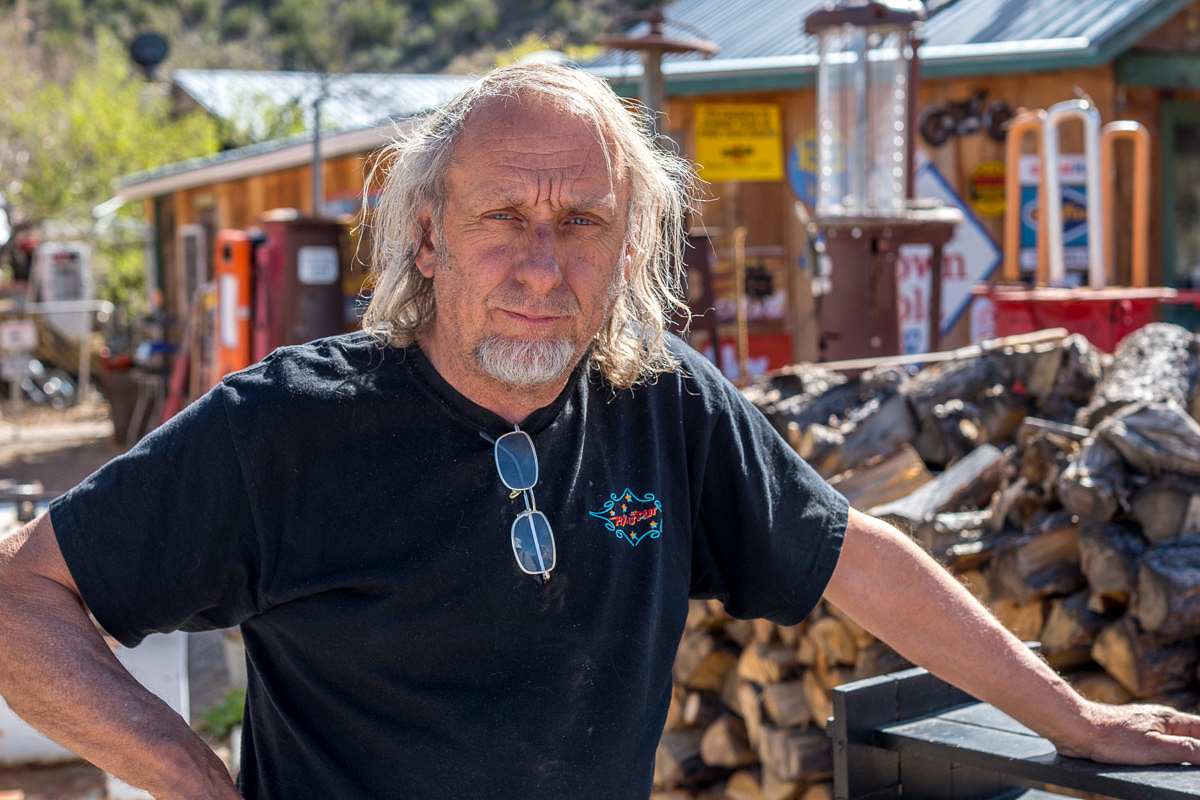
As we parked, Johnnie approached our car and greeted us. He explained that the ‘new’ stuff could be found inside and the ‘old’ stuff was outside, with some items scattered in the front and the remainder on a half-acre out back.
1/1600th @ f/1.4, ISO 100
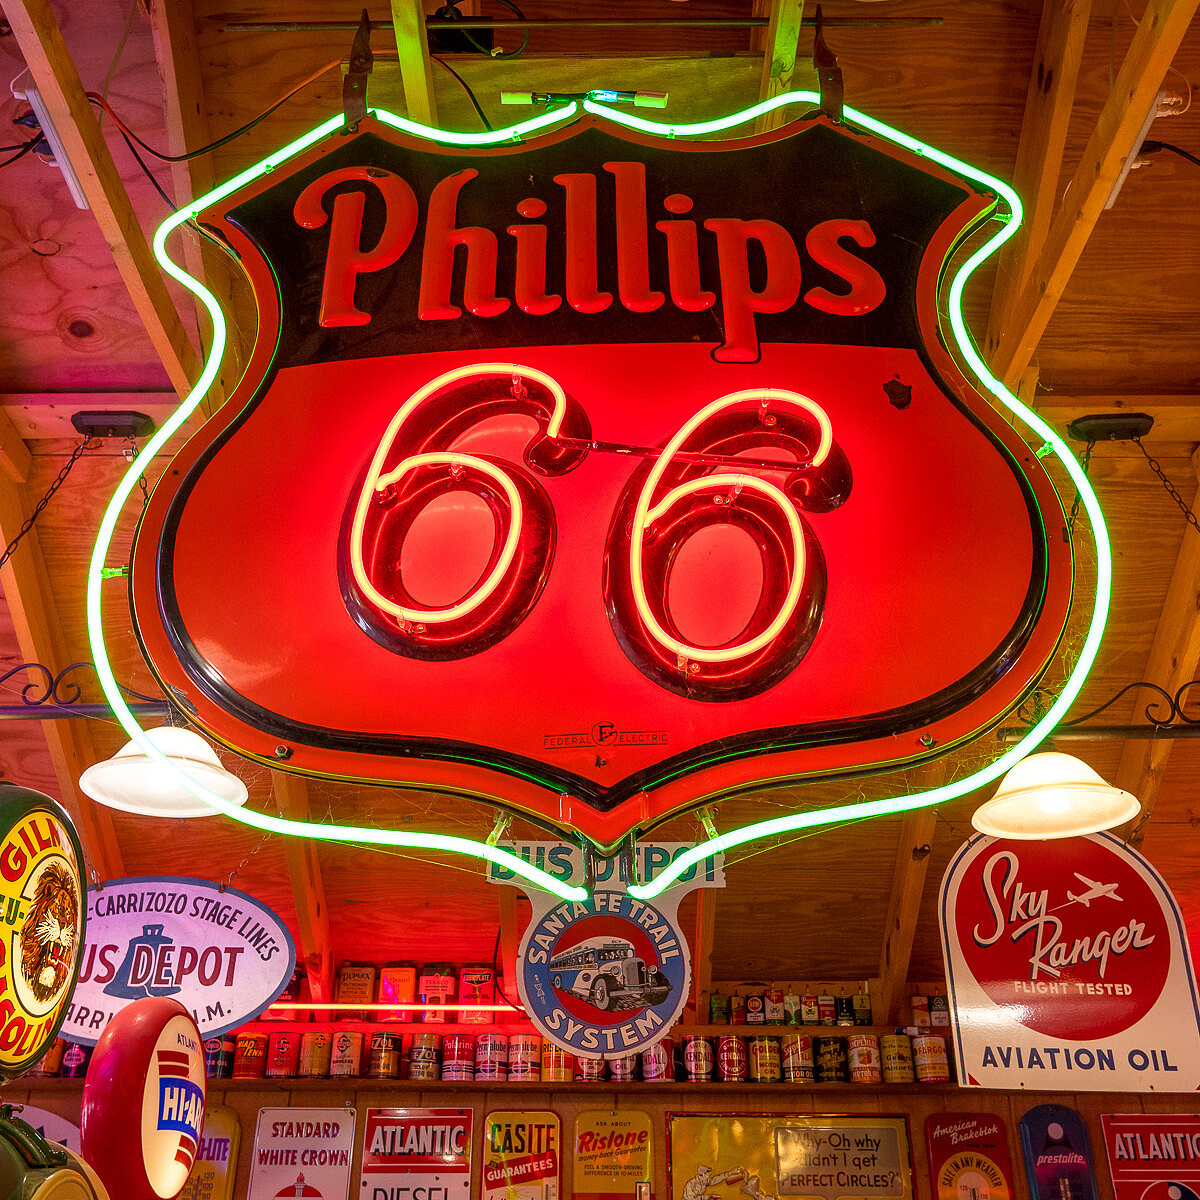
We decided that inside would be a good place to start. He led the way, unlocked the door and flipped on the lights. And I do mean all the lights. The interior of the small museum building came to life, as scores of old gas station signs lit up in a fantastic glow of color.
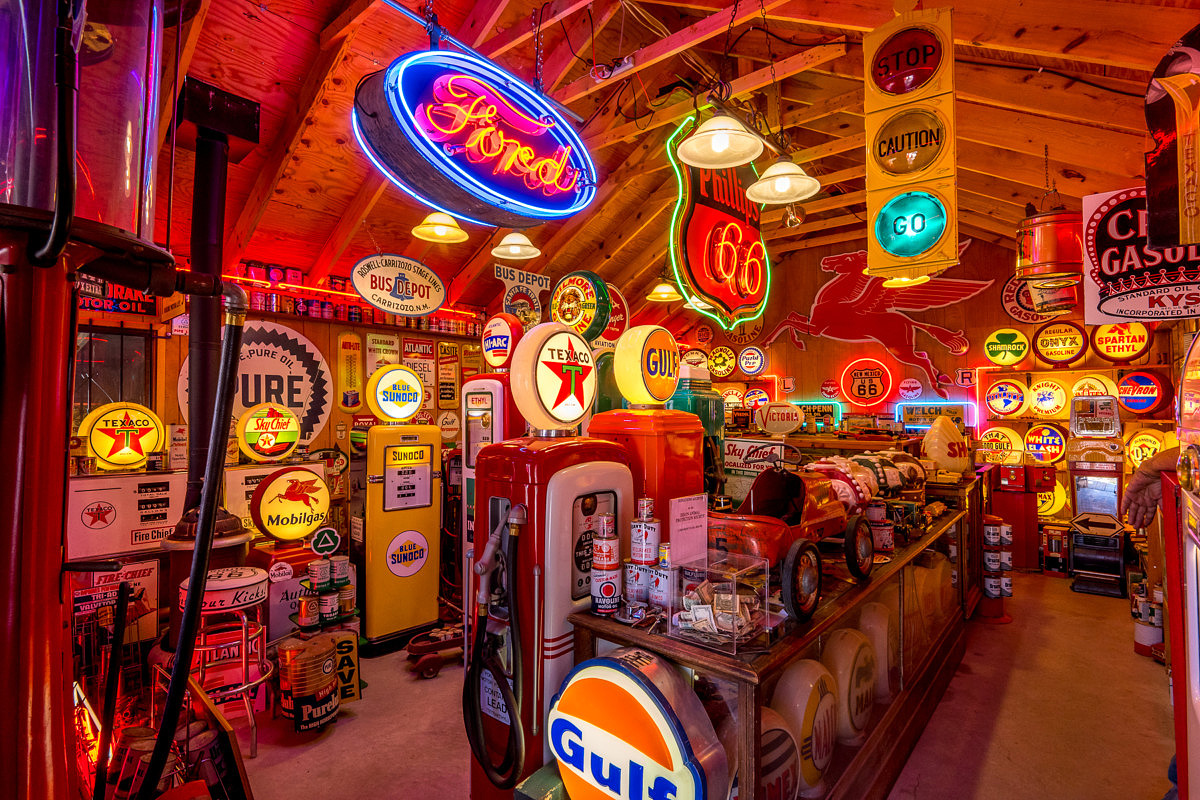
1/30th @ f/7.1, ISO 500
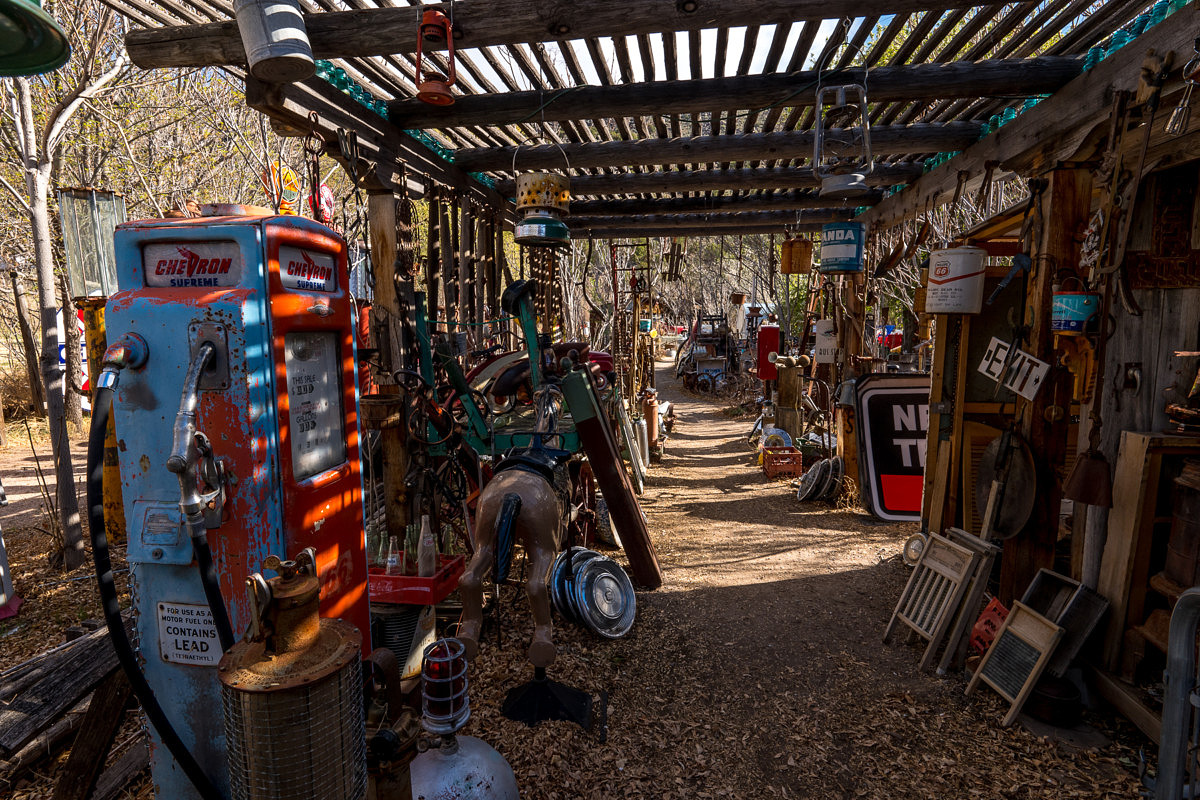
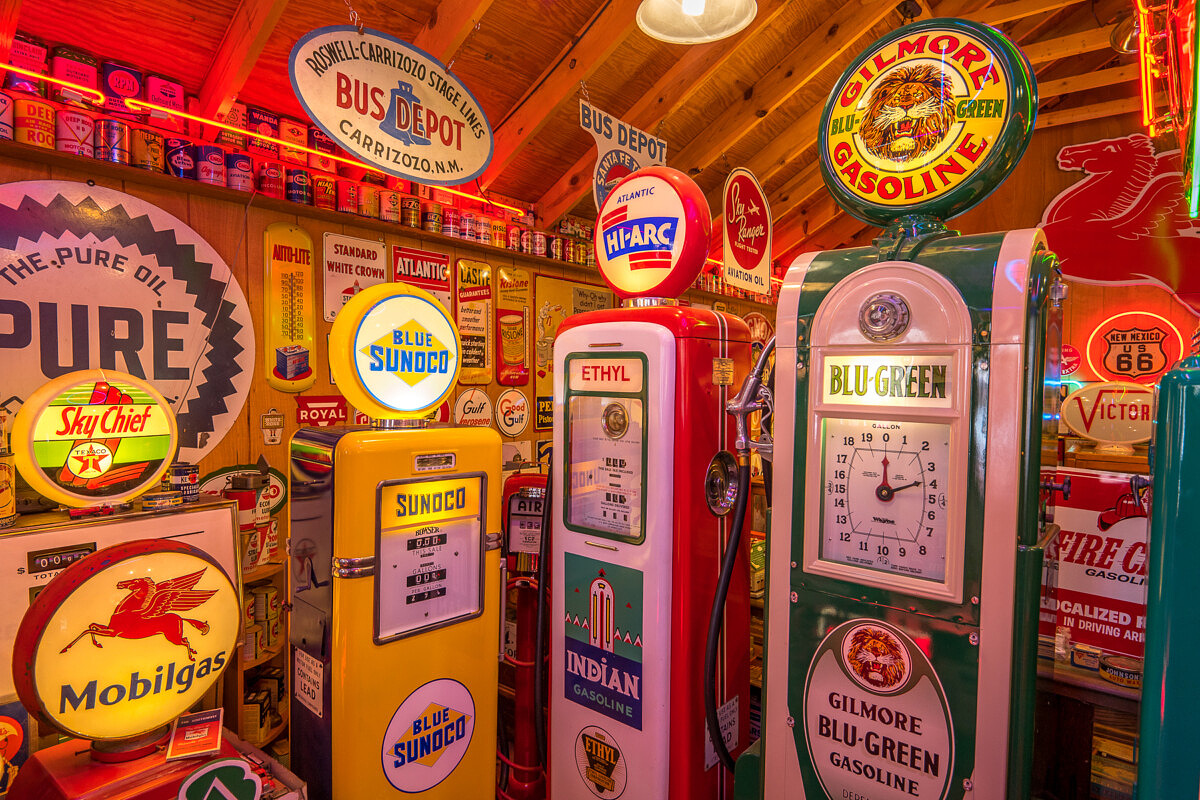
The ‘new’ pumps inside were vintage gas station pumps fully restored to their former glory by Johnnie himself. To start things off, I threw on the 11-23 to take in the entire scene, before working my way through the details.
The CL impressed me by capturing the colors of the illuminated signs wonderfully. Bright neon in dimly lit spaces can be challenging, but the CL managed the task with aplomb.
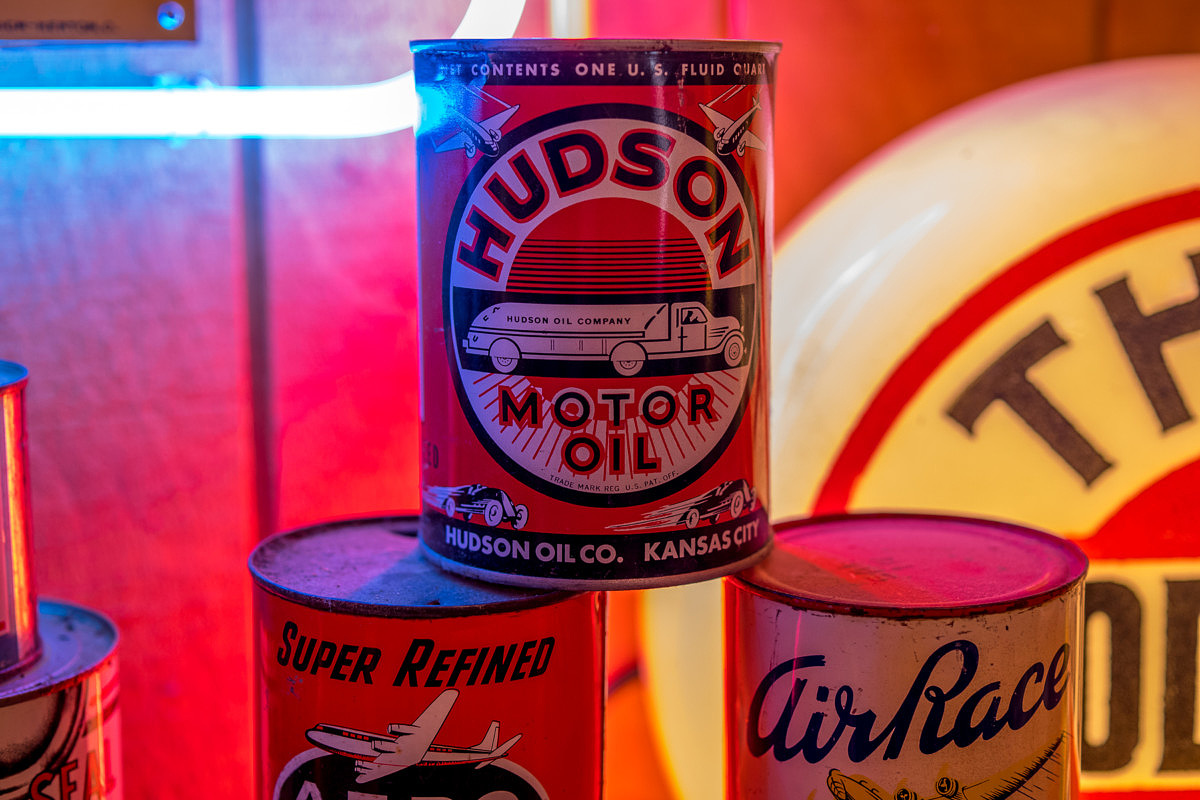
1/100th @ f/2.2, ISO 500
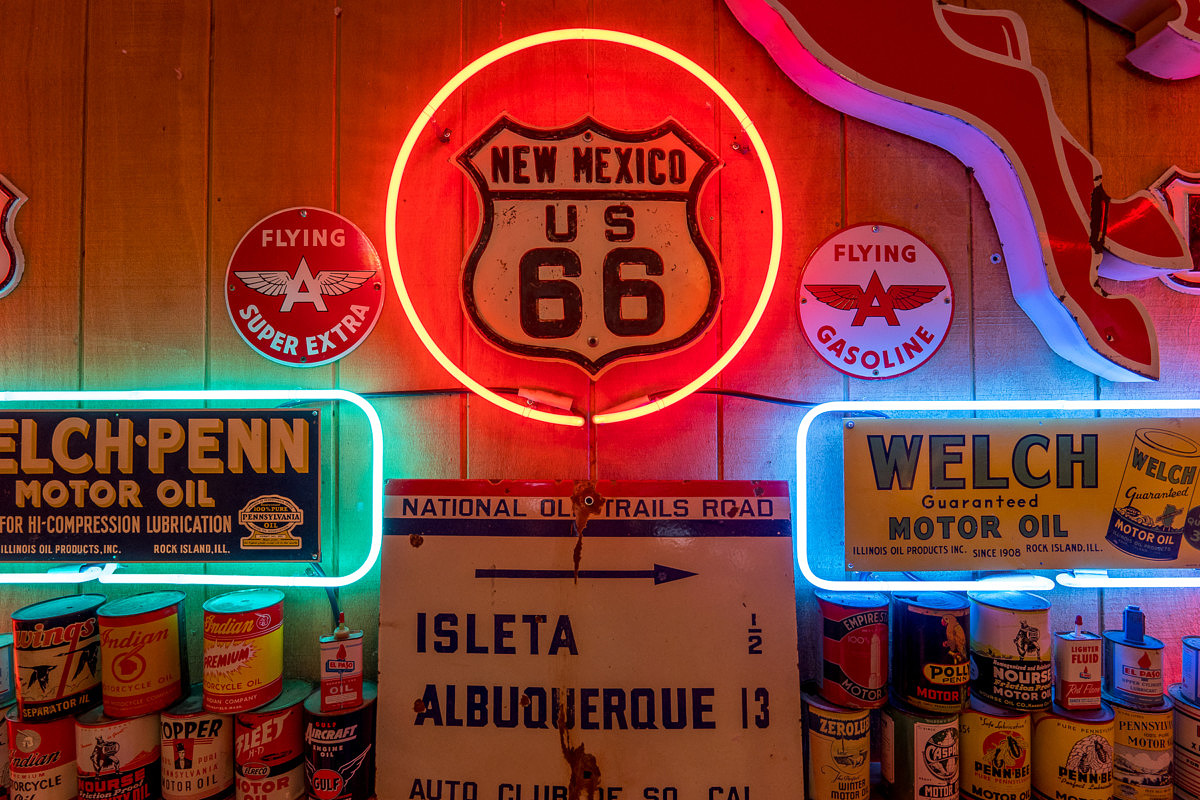
1/30th @ f/7.1, ISO 500
While we walked around, Johnnie regaled us with stories of notable visitors and would-be-purchasers. He remarked that despite the number of zeros on some of the checks he’s been offered over the years, he has always declined. The collection simply wasn’t, and still isn’t, for sale.

1/800th @ f/1.4, ISO 100
We also got the scoop on just how one acquires such a large catalog of vintage items. At first, Johnnie would hop in his truck and venture out around New Mexico and neighboring states in search of treasures. But, eventually, people just started calling him, asking if he wanted an old pump, or sign, or box of old oil cans. Now, he has amassed a seemingly endless supply of paraphernalia.
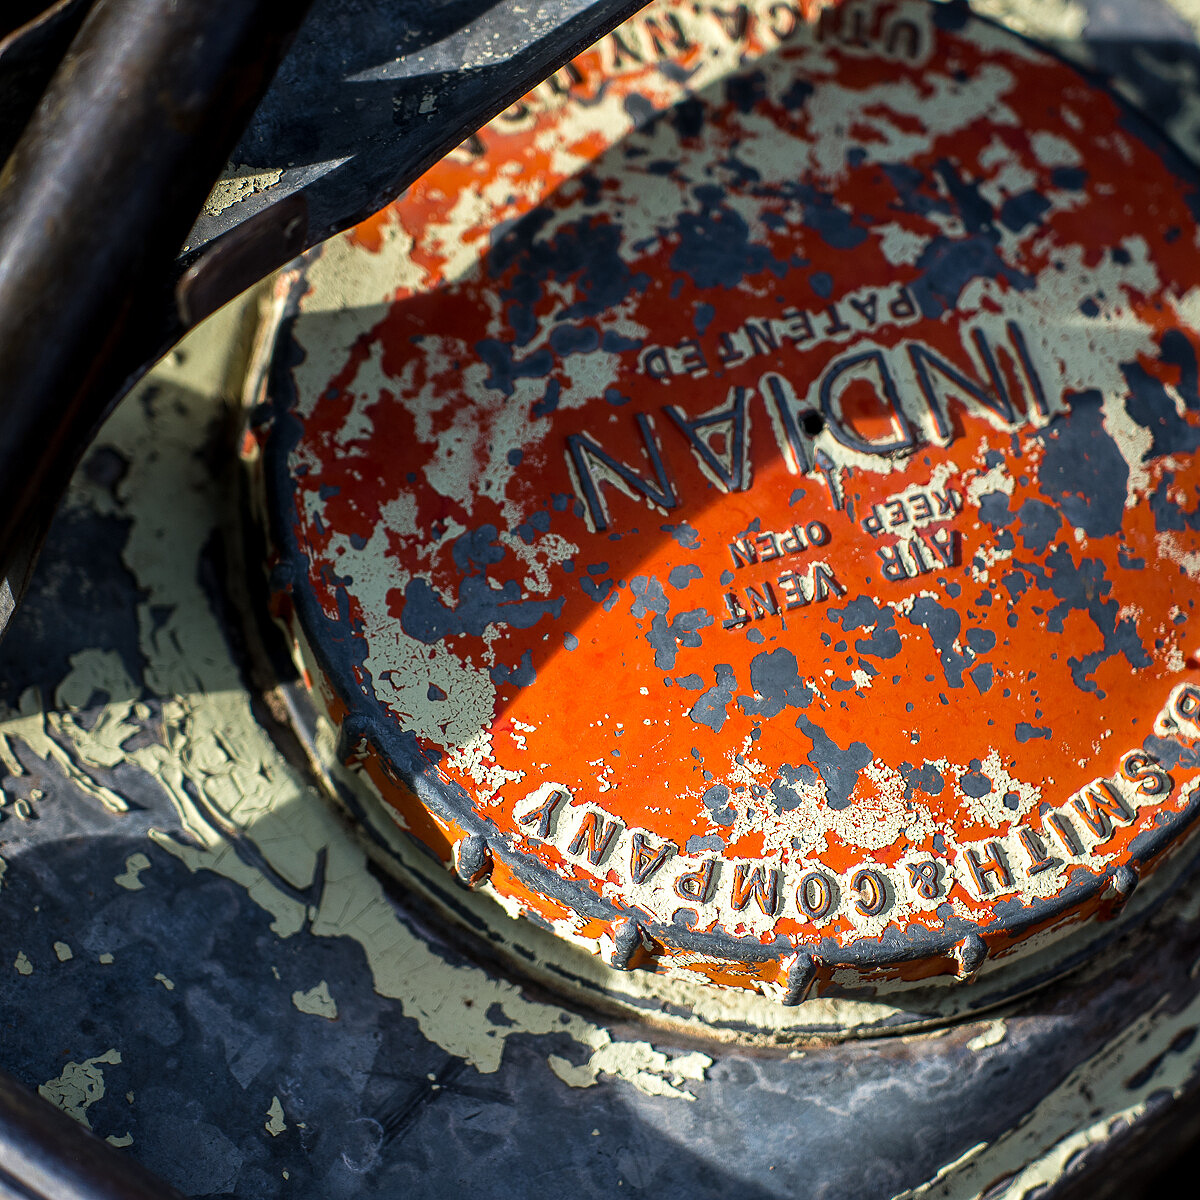
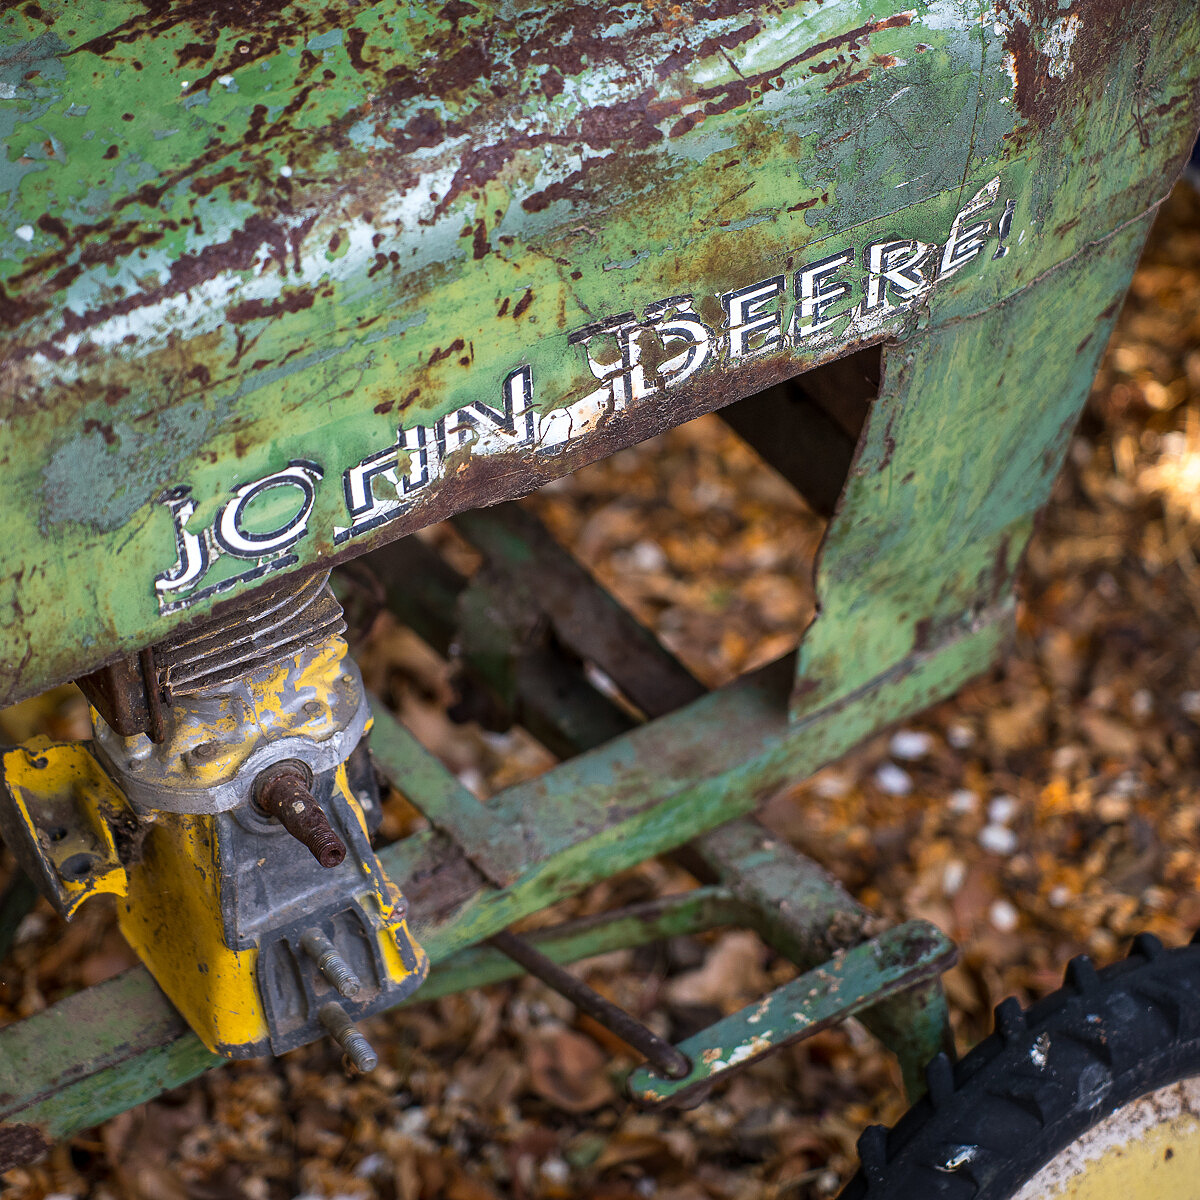
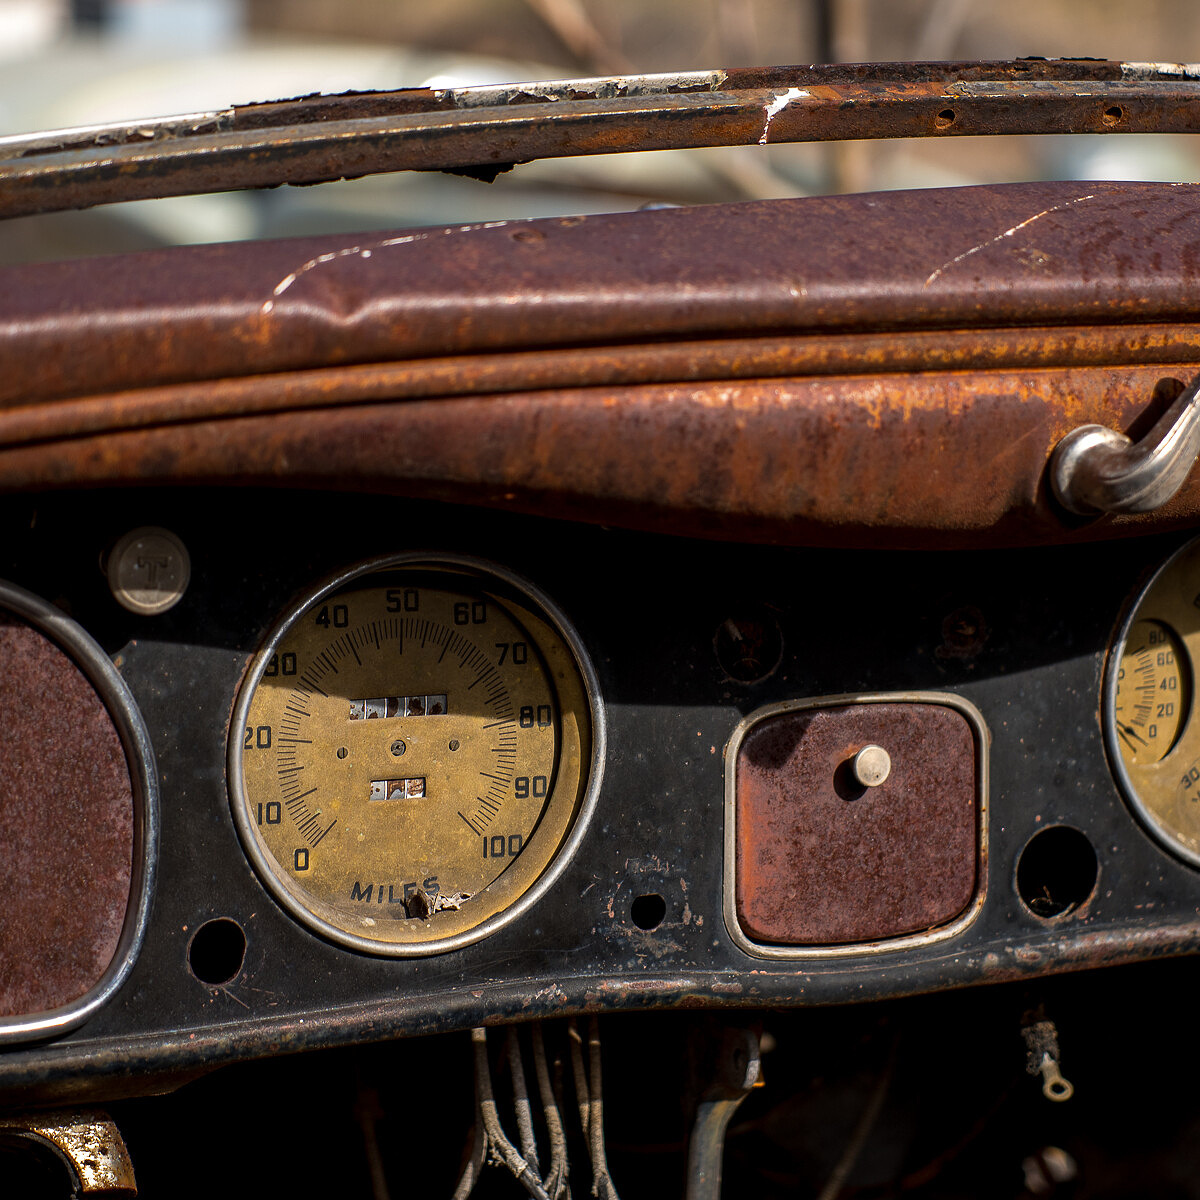
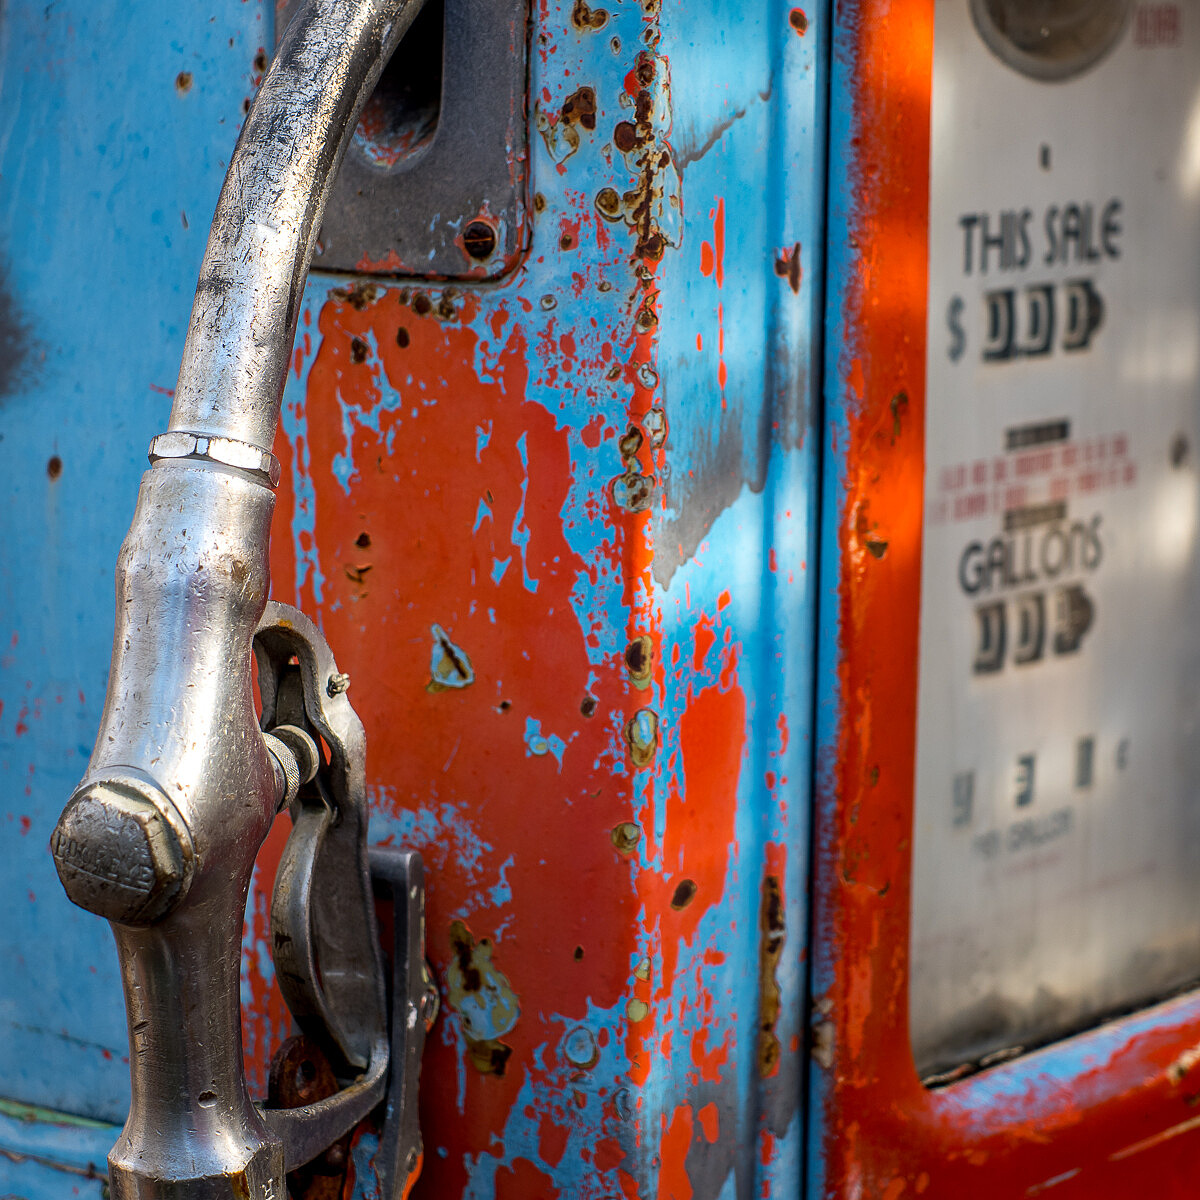
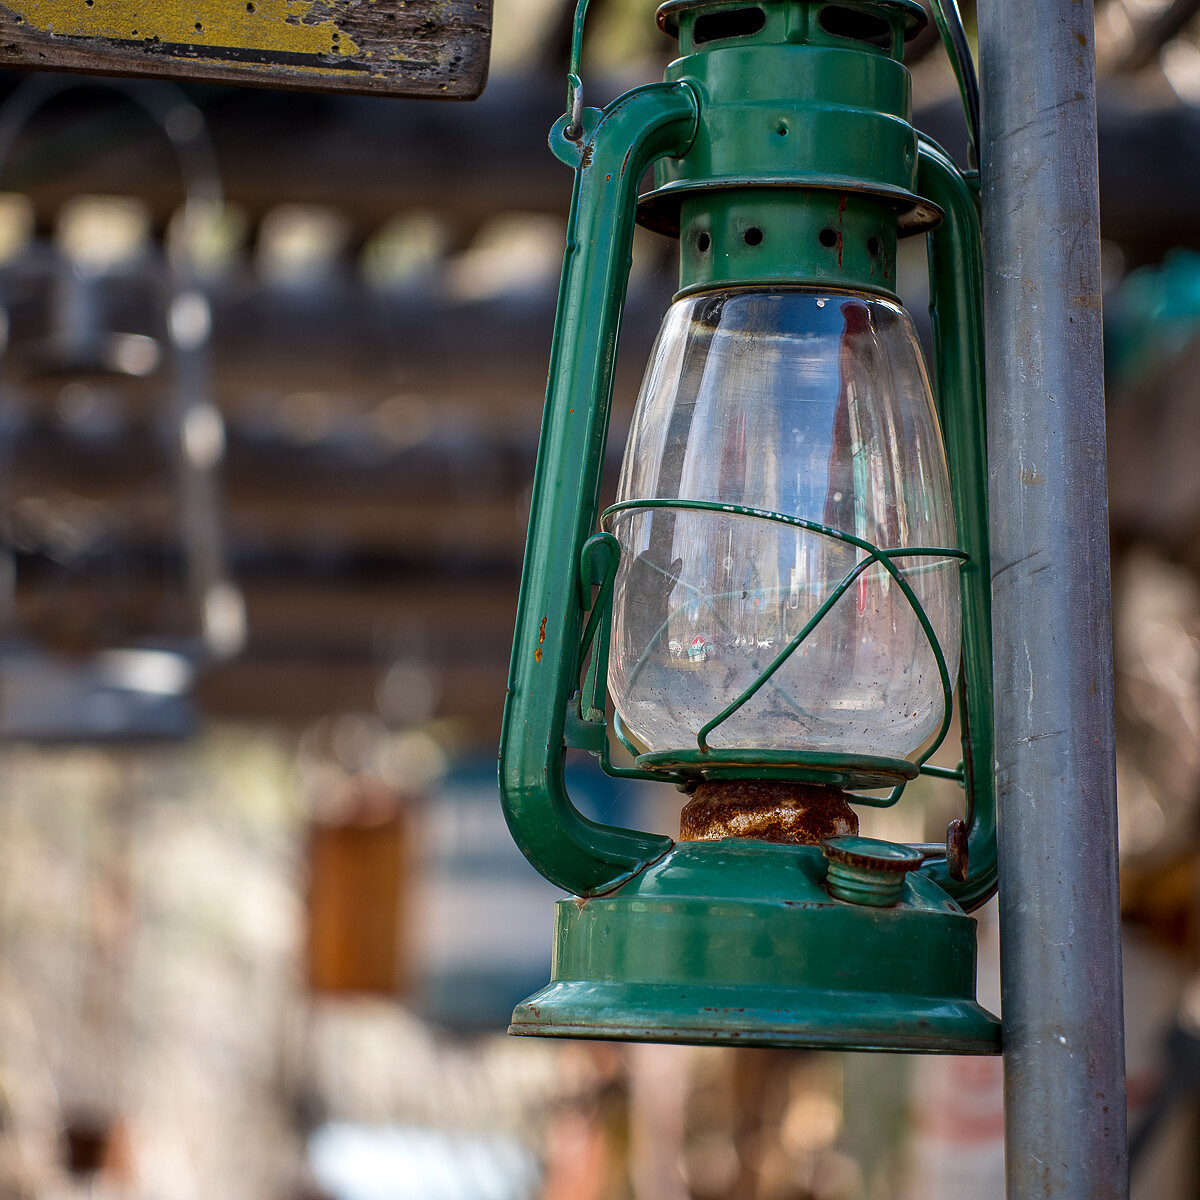
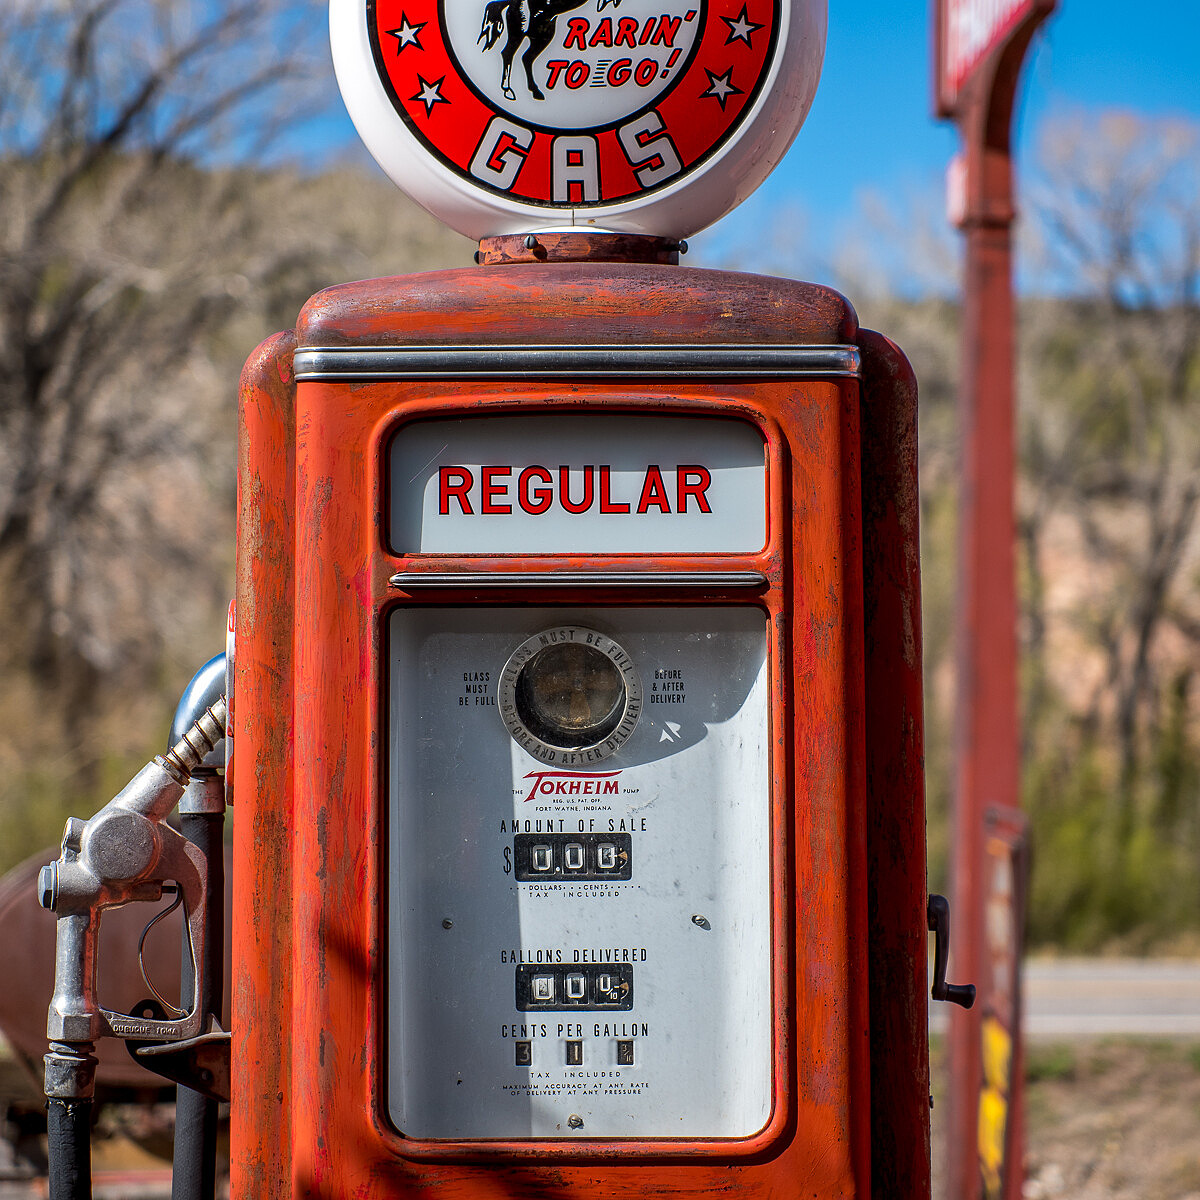
Back outside, I felt like a kid in a candy store. Or, in my case, a detail photographer in a junkyard. Tom spoke with Johnnie while I giddily wandered amongst the assorted loot.

1/1600th @ f/4.5, ISO 100
Both the 35 and the 60 were magical here, letting me easily capture the textures and subtle colors on display. And, by shooting wide open and getting close, I was able to isolate the various subjects and create a sense of space despite the crowded environment.
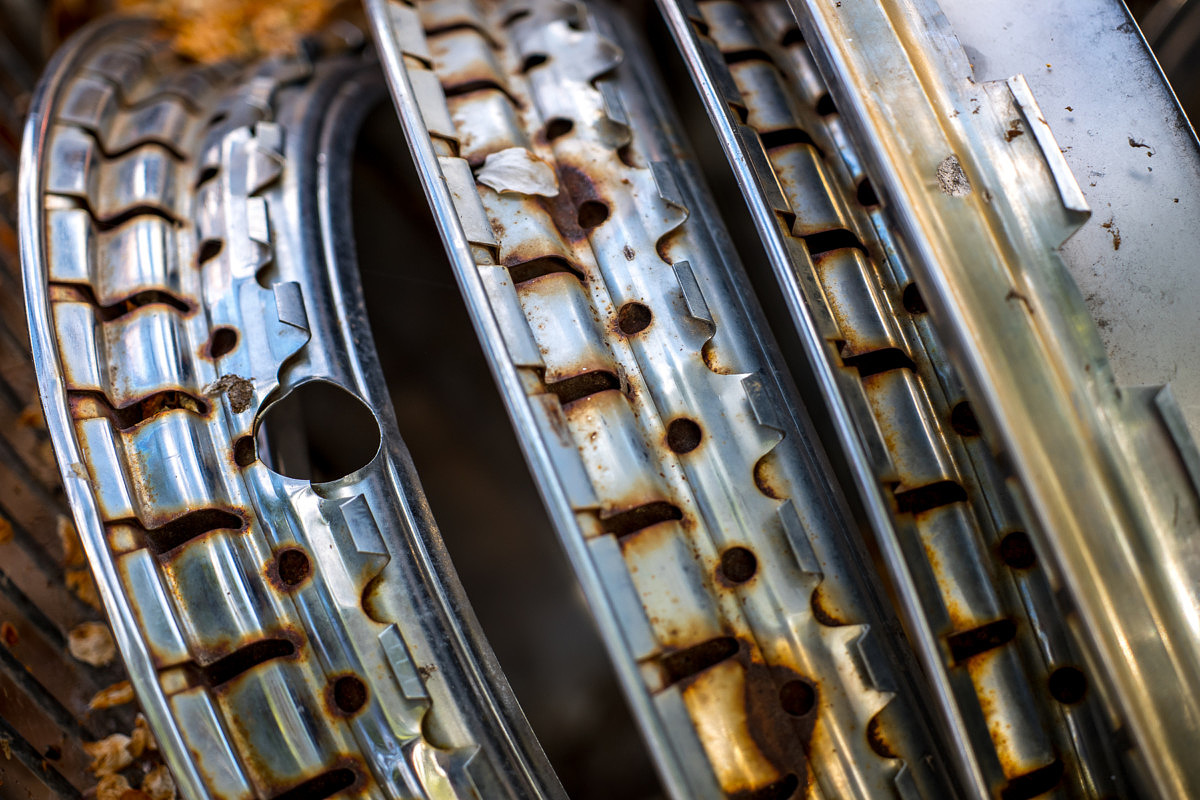
1/160th @ f/2.8, ISO 100
The wide angle lenses also got some time to get in on the action. Both the 18mm and 11-23mm were perfect for creating some more dramatic perspectives. Again, I couldn't get over just how light and effortless the CL was with the 18mm pancake mounted. Or the flexibility of the 11-23mm.
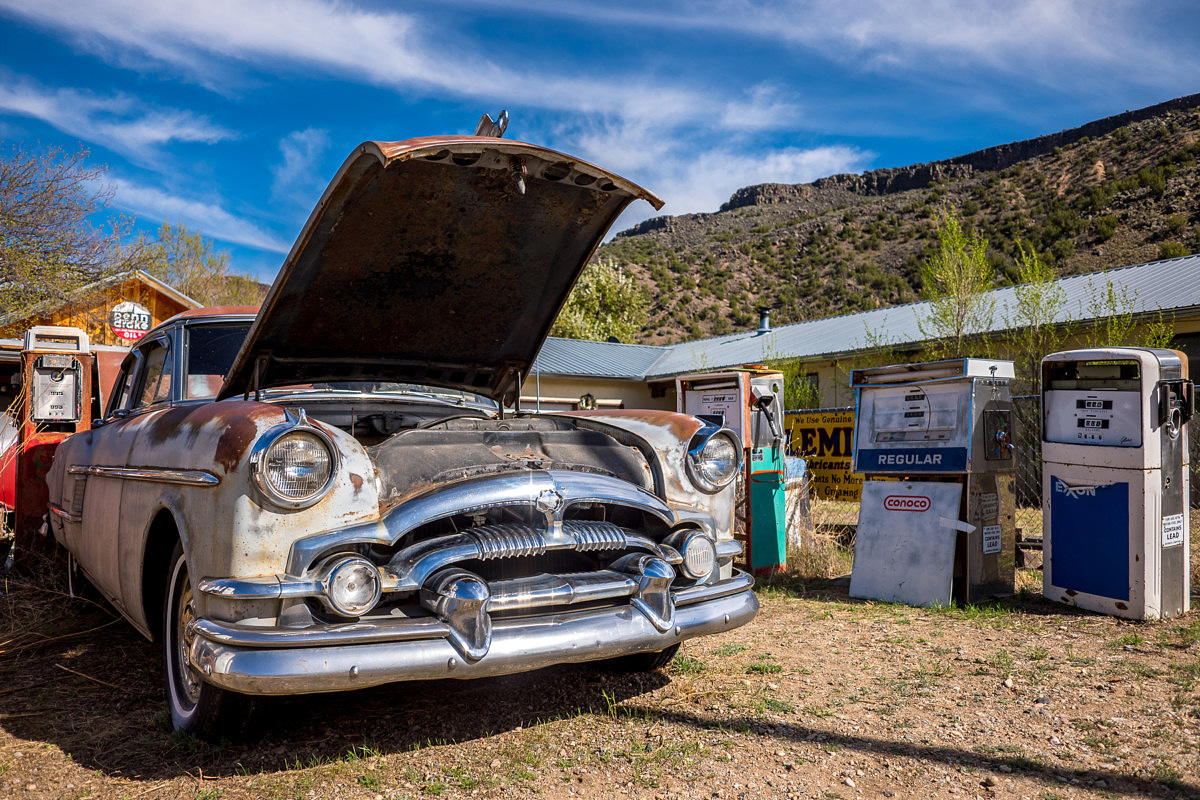
1/3200th @ f/2.8, ISO 100
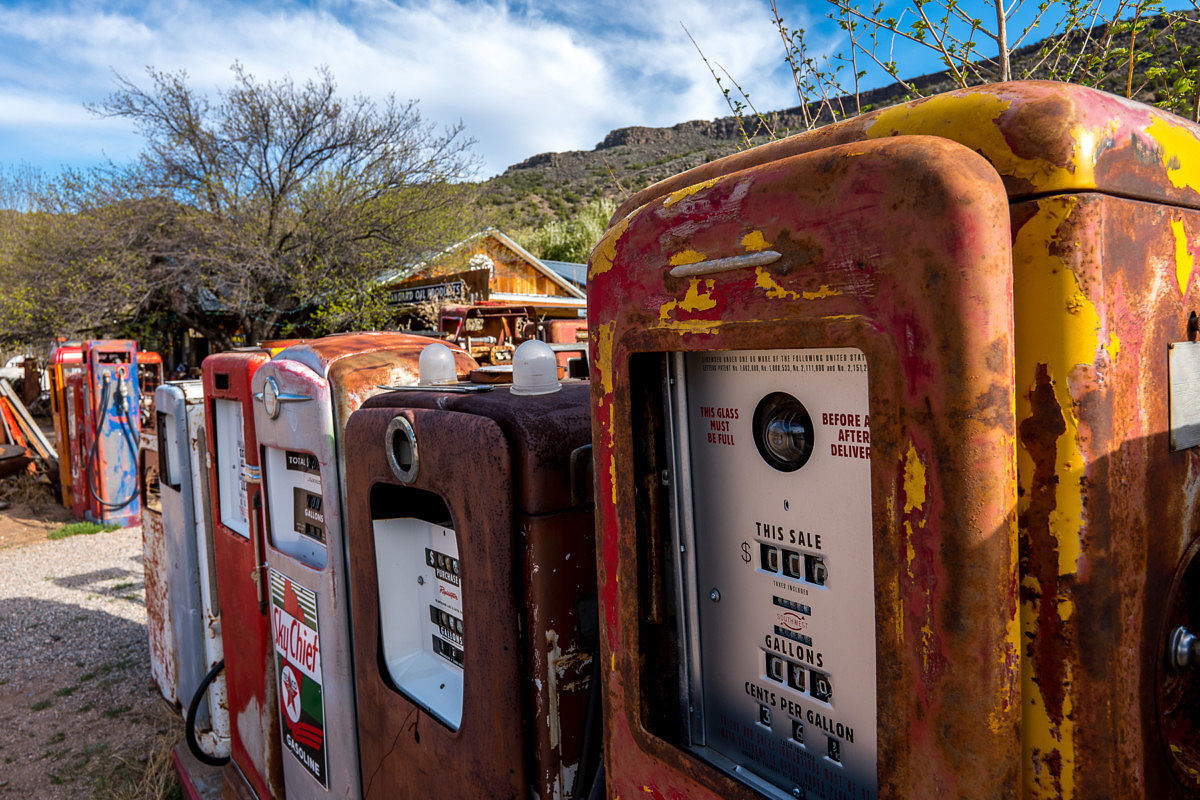
1/160th @ f/7.1, ISO 100
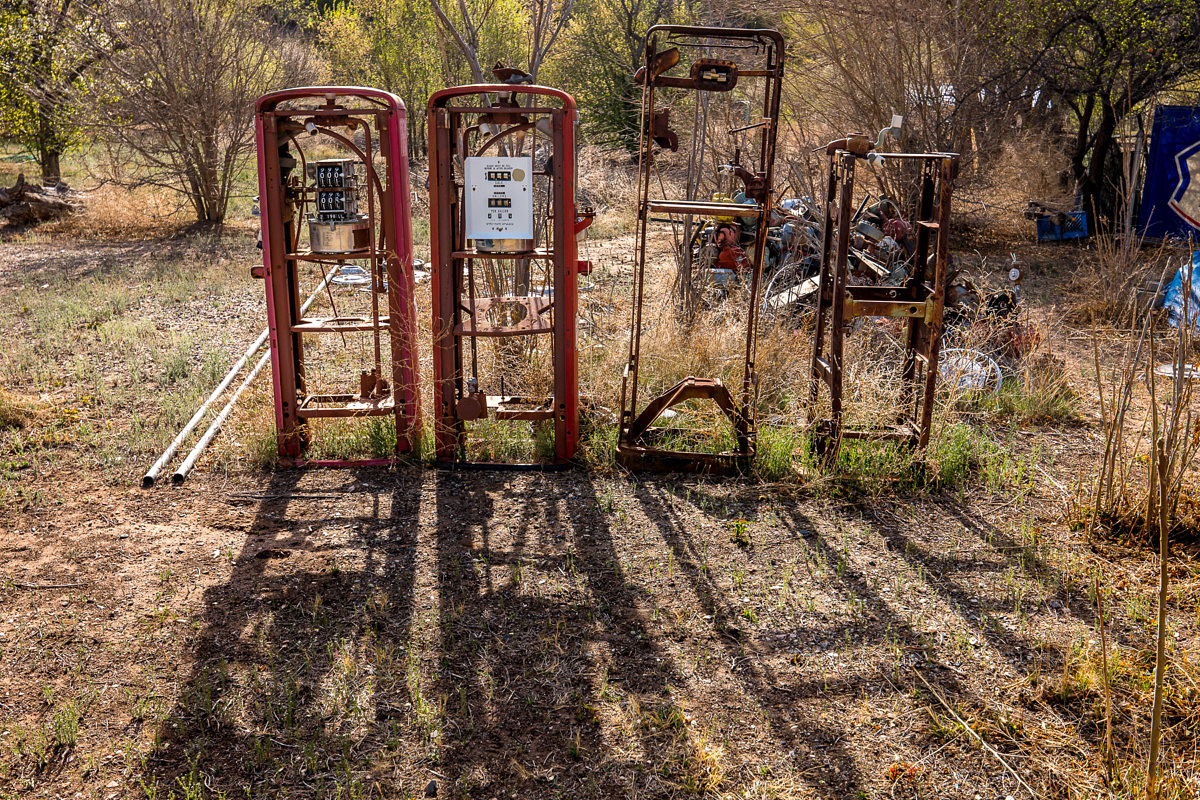
1/320th @ f/5, ISO 100
I’m fairly sure I went through at least half a battery in the junkyard. I just love this kind of photography. And the CL absolutely shined in this environment. Again, I could have easily continued shooting until the sun went down.
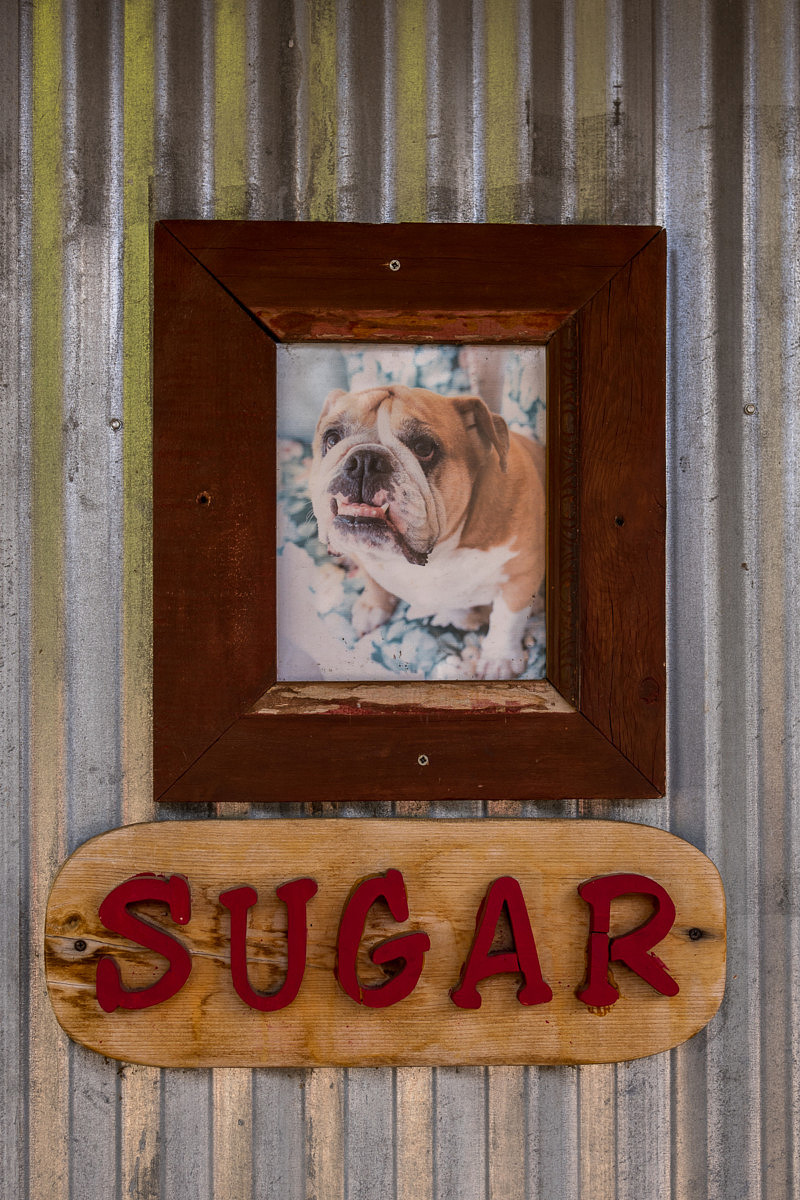
But all that shooting works up an appetite, so we called it a wrap. Two lots over, Sugars was serving up BBQ and road food. We thanked Johnnie for his hospitality, tossed some cash in his donation jar (he gives all of it away to charity at the end of the year), and packed it in.
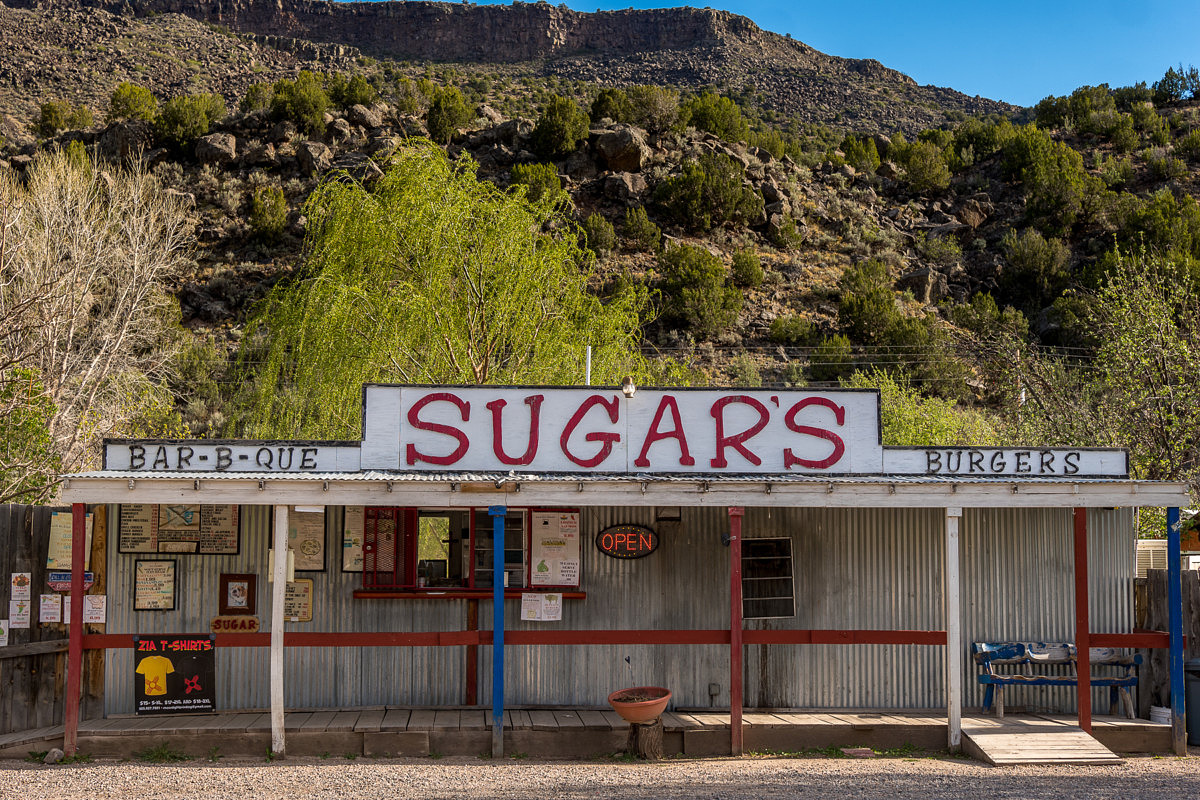
1/200th @ f/5.6, ISO 100
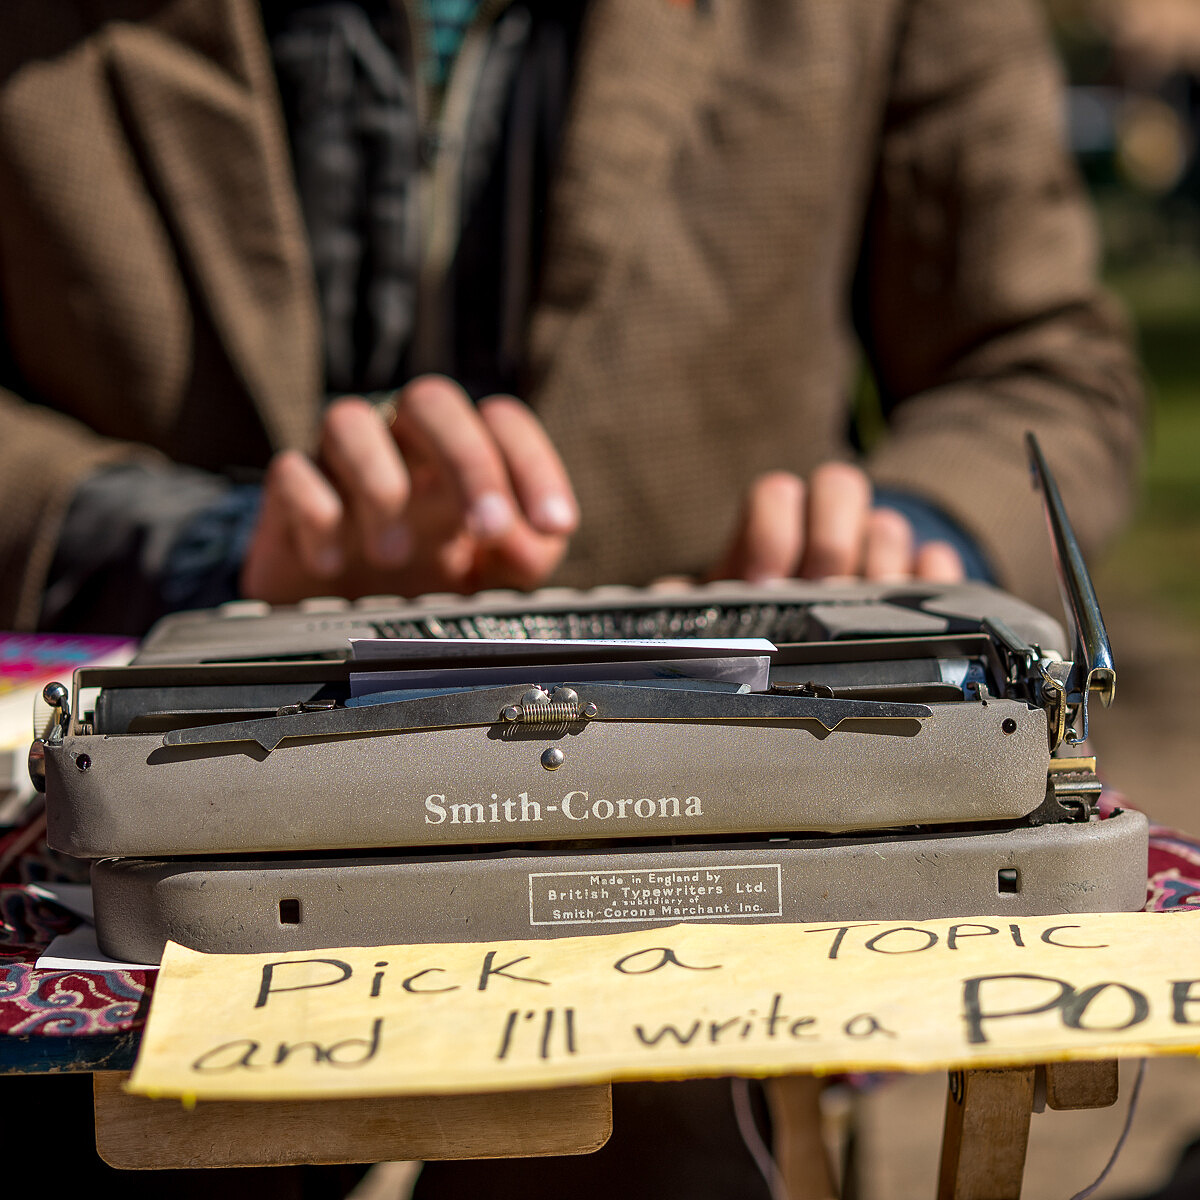
Tom was finishing up his ribs while I explored. The outdoor picnic-style dining area wasn't that interesting photographically, especially compared to the Gas Museum. But, I did learn that Sugar was the dog, at least according to the framed picture I spotted next to the order window.
Taos or Bust
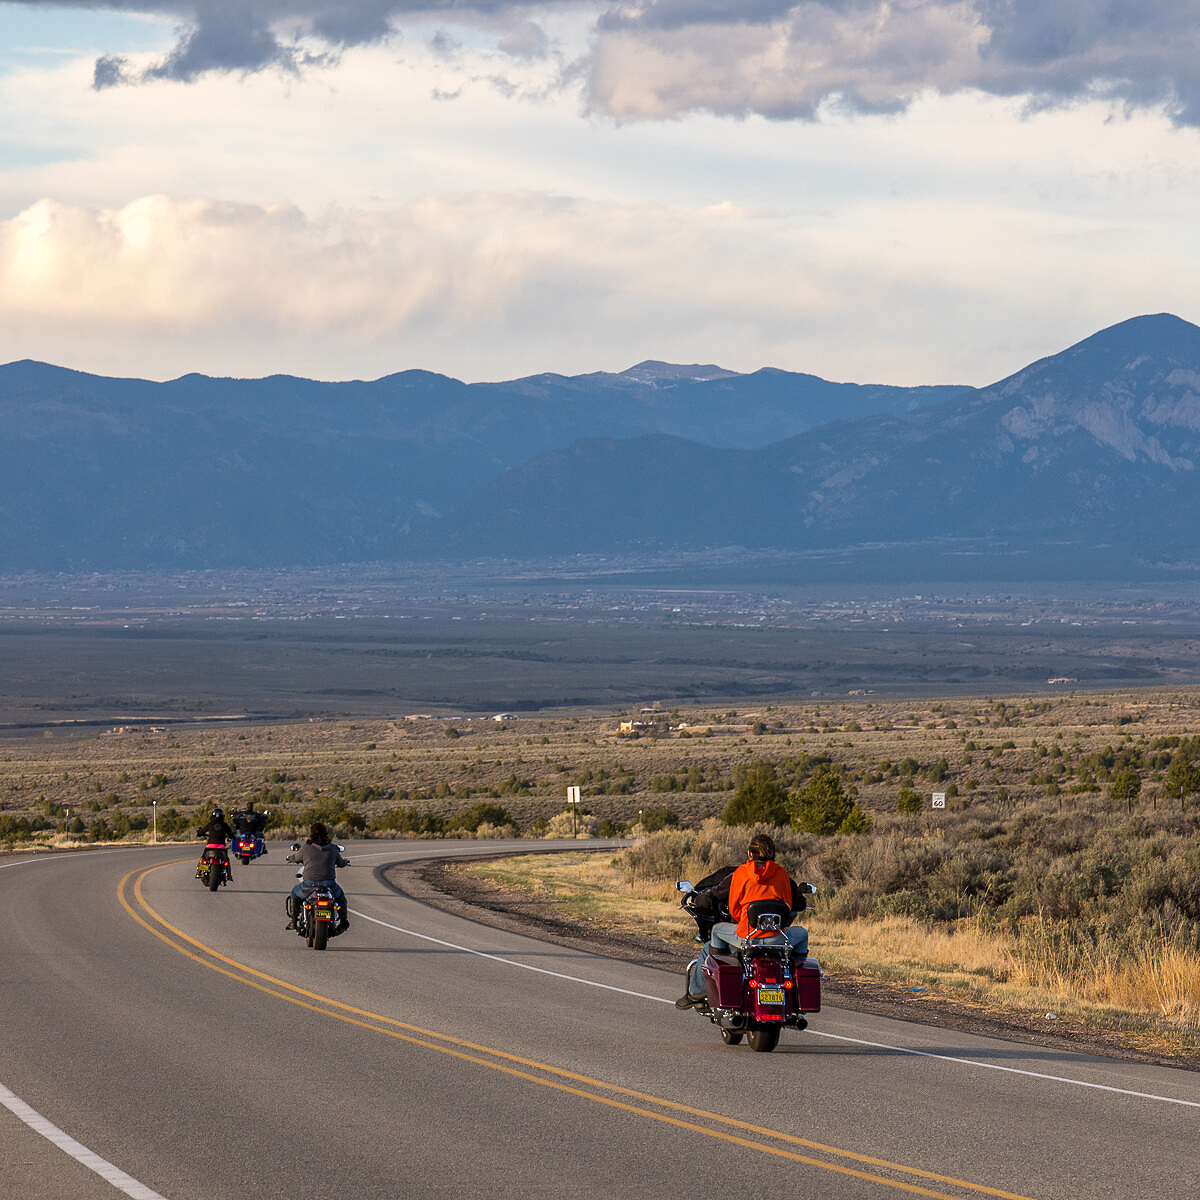
Driving alongside the Rio Grande on Route 86, I spotted a faded green pickup truck at a pull-off. Tom nearly had a heart attack as I came to a sudden stop, swung through the oncoming lane and somehow made it into the small dirt parking area.
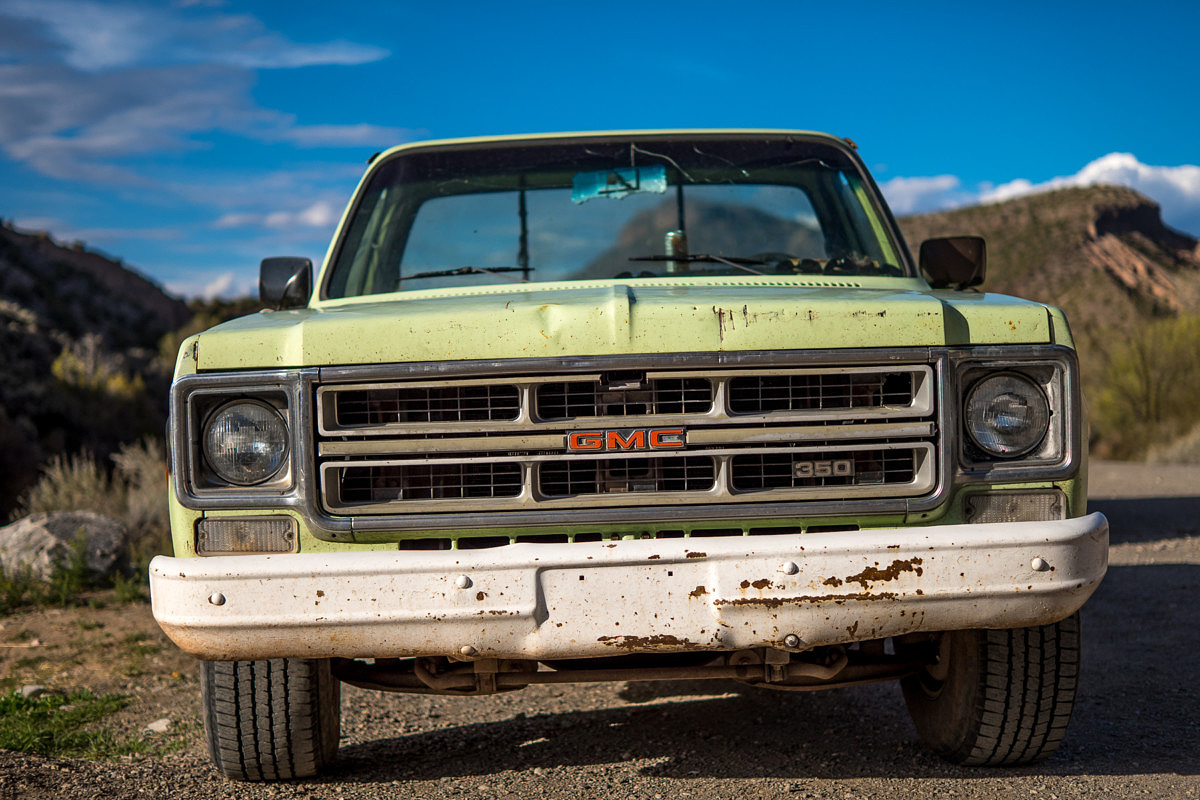
1/10,000th @ f/1.4, ISO 100
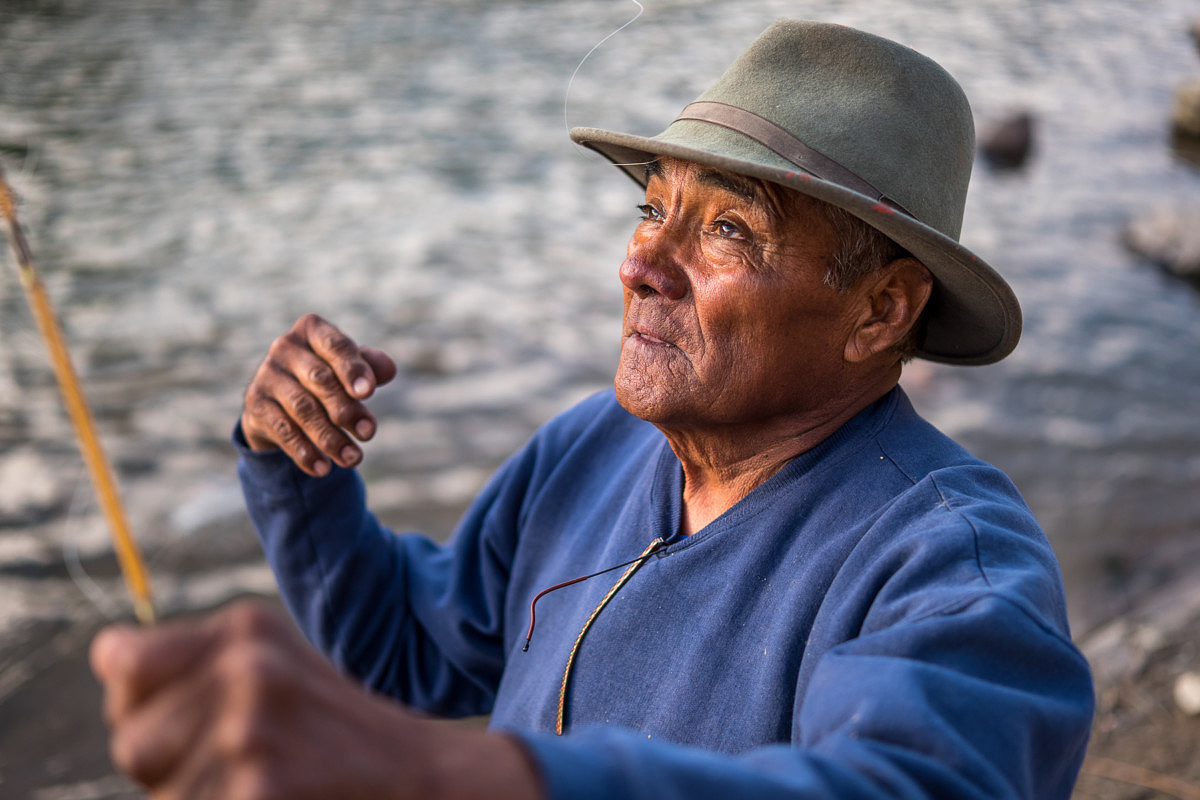
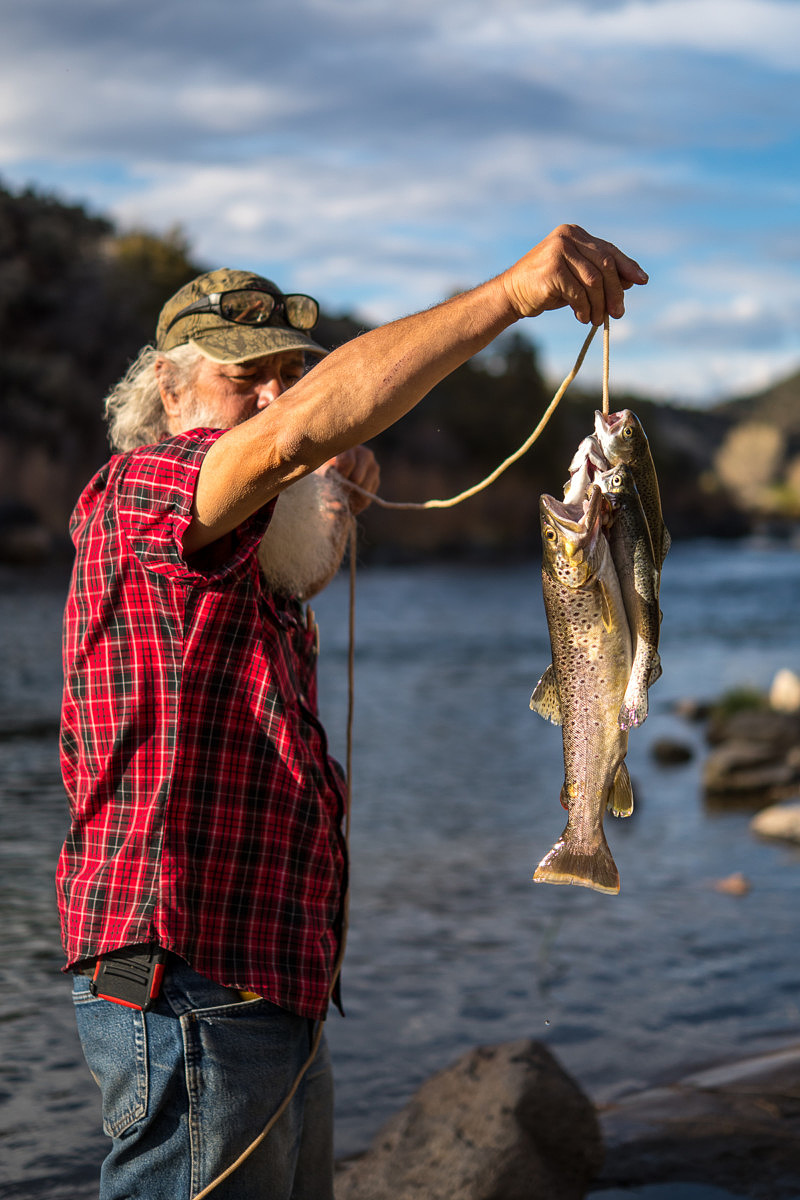
Now, I just thought the truck was the shot. But as I glanced down towards the river bank, I noticed two locals fishing. The sun was getting low and bathed half of the valley in a fantastic golden hue. I scrambled down the small dusty hill, casually snapping a few shots, each time getting a little closer.
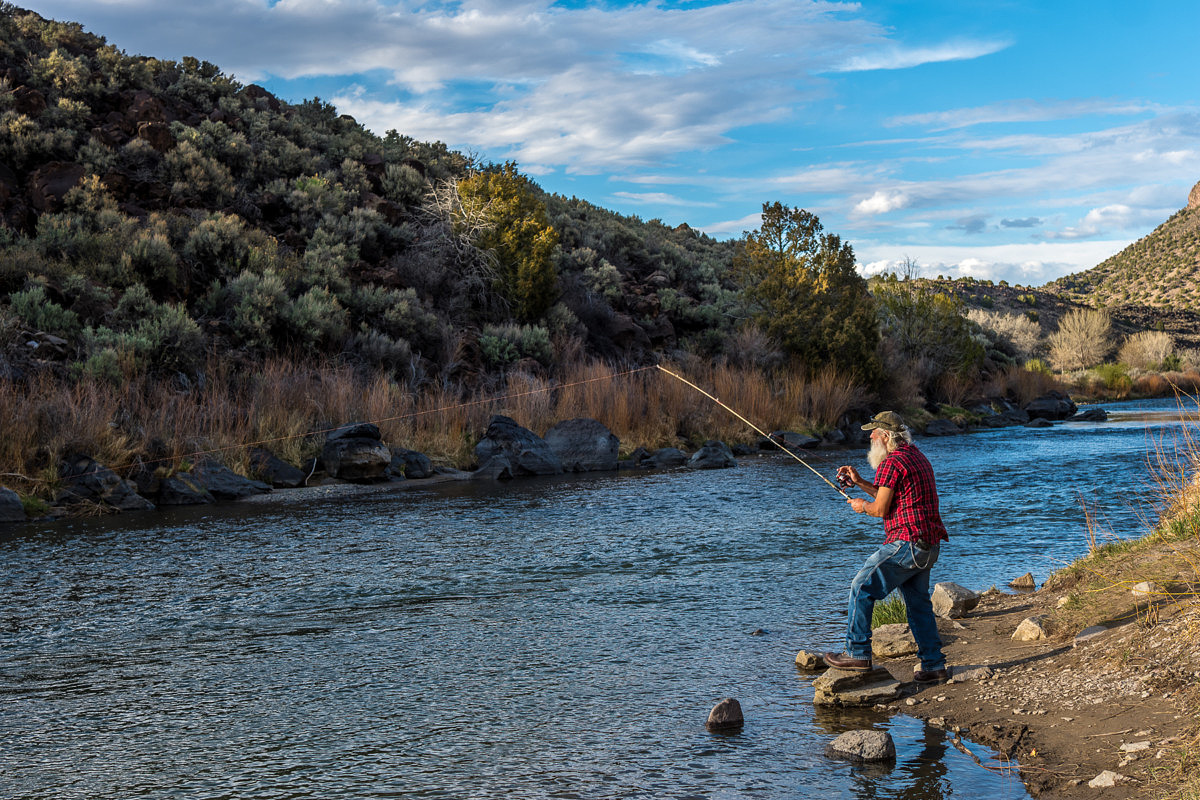
1/160th @ f/5.6, ISO 100
The fishermen didn’t seem bothered by my presence. When I got close enough, I asked them how the fishing was, where they were from and remarked on what a beautiful day it was.
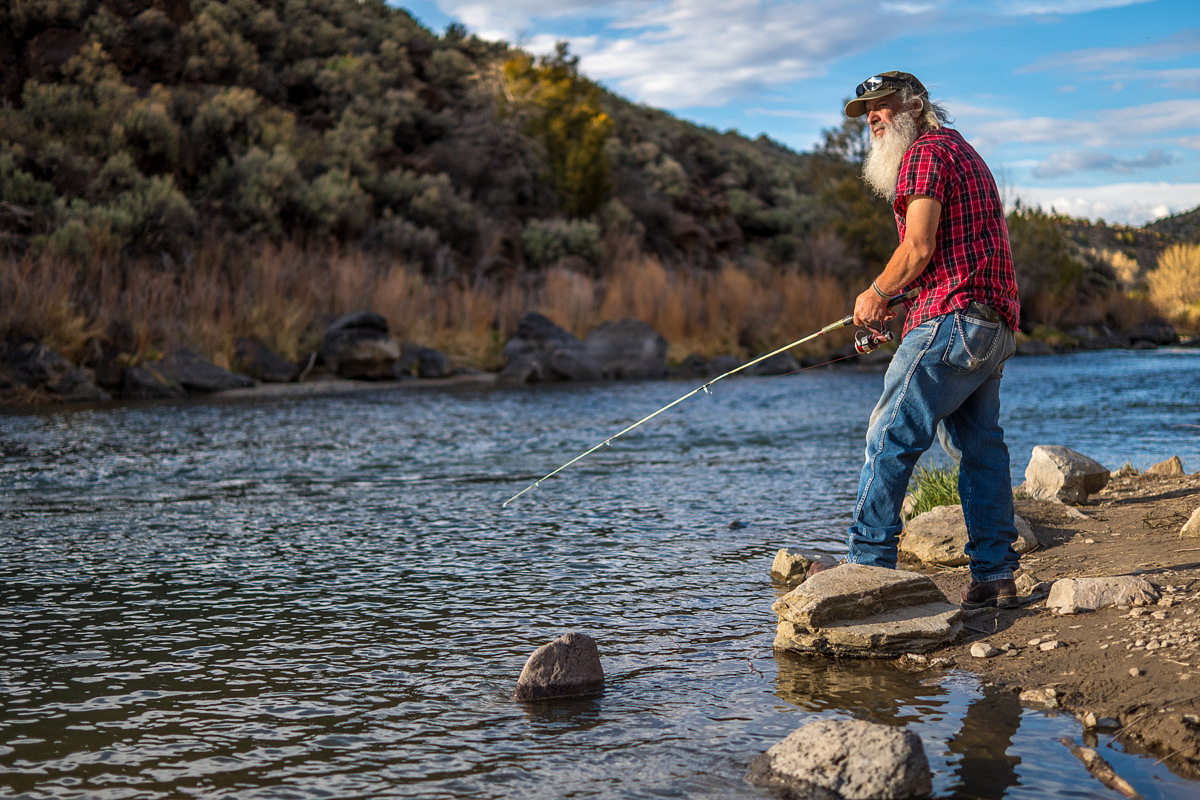
1/2000th @ f/1.4, ISO 100
As we talked, I grabbed a shot here and there. One of the guys caught a small trout while we were standing there. He held it up so I could take a picture. Man, that was some good light.

1/6400th @ f/1.4, ISO 100
Of course, all I had on me was the 35 Lux. My camera bag was at the top of the hill. But I had no complaints. The shooting was great and the 35 was more than up to the task. For just about the entire series, I shot wide open, letting the camera’s shutter run up as high as it needed to.
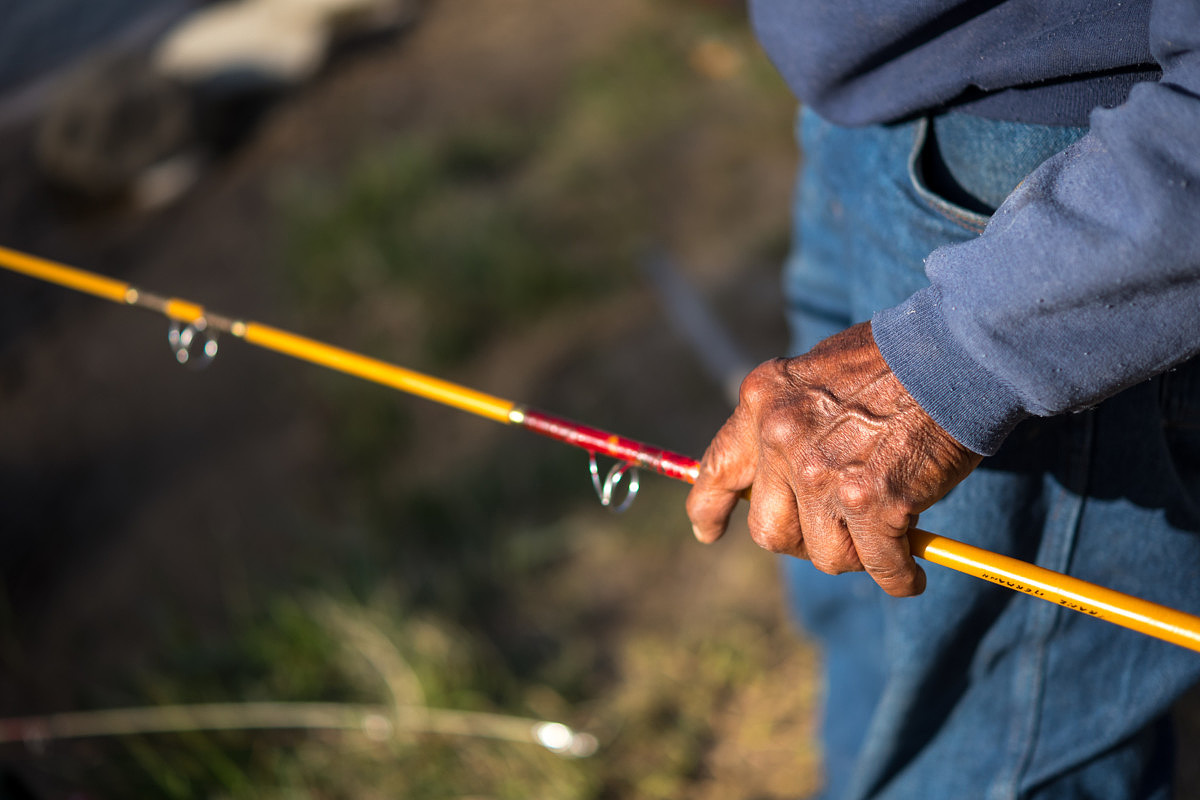
1/3200th @ f/1.4, ISO 100
Tom looked on knowingly and when I made my way back to the car, he shook his head. “What a great scene. I thought about joining you down there, but I didn’t want to break the mood. Shouldn’t have hesitated.” And he was spot on. So many times, to put yourself in a position to get great images, specifically of people, you need to overcome your own reluctance and fight the instinct to hesitate.
1/800th @ f/1.4, ISO 100
Subjects can sense a photographer’s unease and often won’t feel comfortable themselves. You just need to be relaxed, friendly and engage in a non-pushy manner. And sometimes, the pieces come together with great light, an interesting scene and compelling subjects.
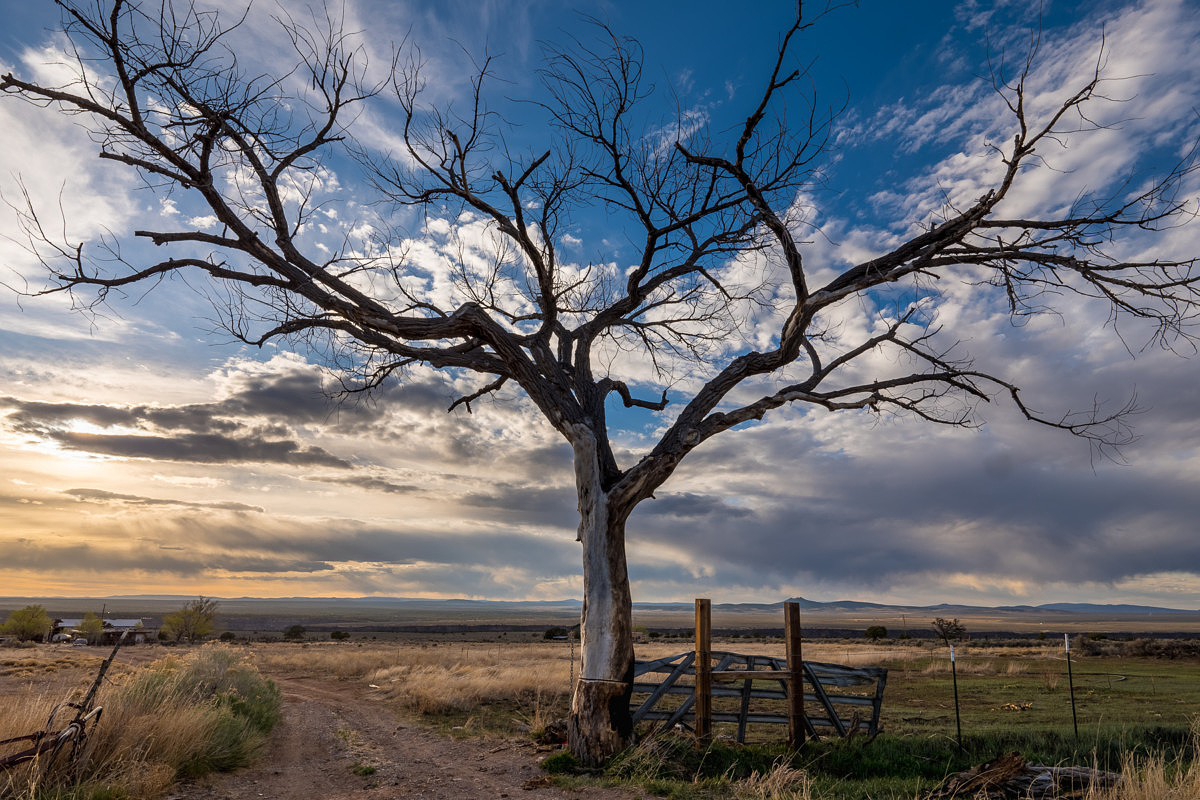
Before arriving in Taos, we came upon a gorgeous stretch of highway and had to stop. Again. Hey, life and photography are about the journey, not the destination, right? On the other side of the road, a lone majestic, leafless tree spread its branches across a cloud-filled sky, begging to be photographed. I obliged.
1/500th @ f/10, ISO 100
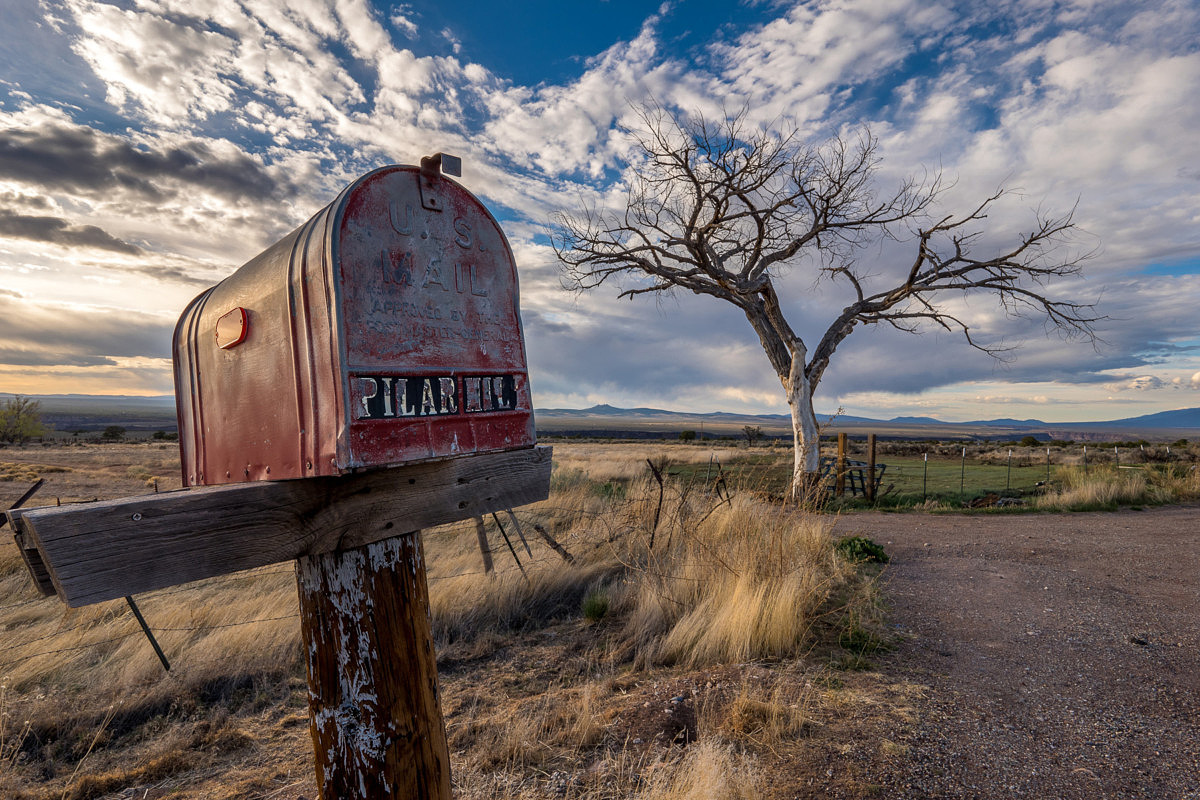
And with the car close at hand, this time I took my camera bag and worked the scene with a variety of lenses. The 11-23 perfectly captured the scale and the gorgeous sky that was forming in the desert. It also worked well to create a dramatic juxtaposition with the faded mailbox.
1/250th @ f/10, ISO 100
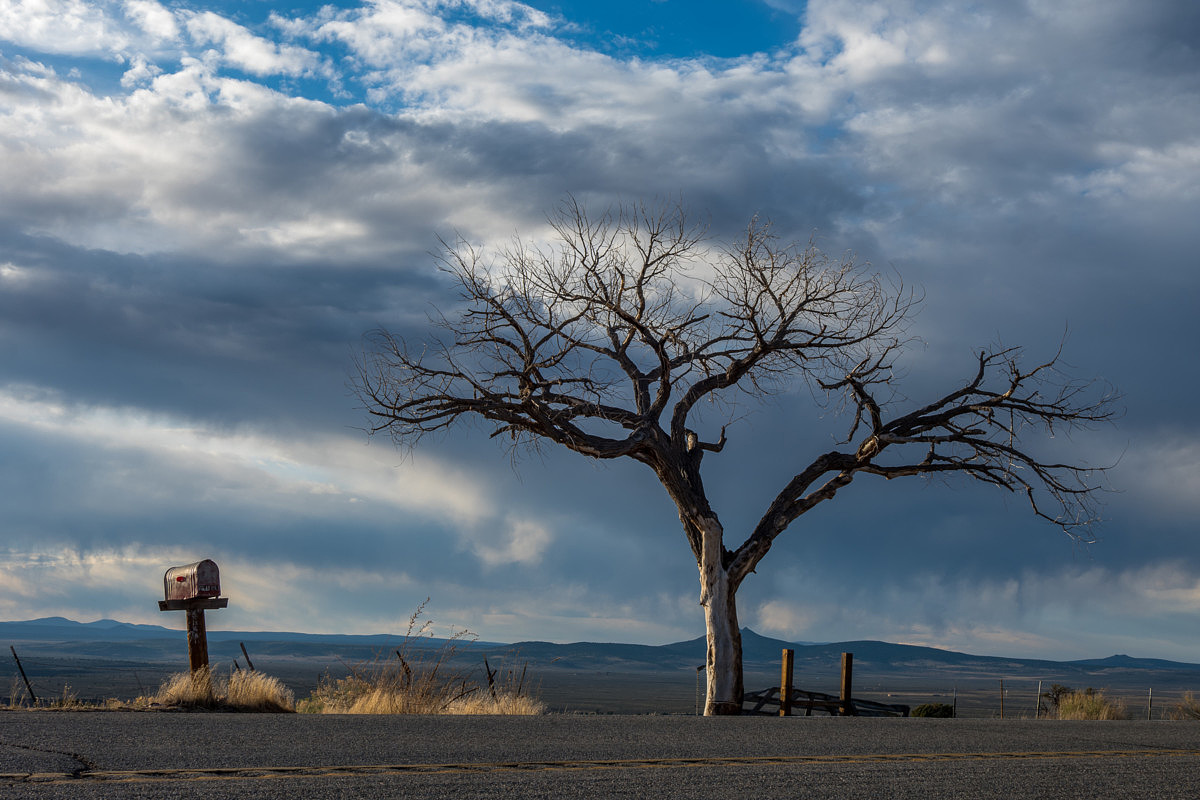
Throwing the 35 Lux on, I created an entirely different composition from the other side of the road. That's why I'm always trying different vantage points and focal lengths. Taken just a minute or two later, the more compressed, flatter variation gives another perspective of the same subject.
1/100th @ f/9, ISO 125
And the 55-135 saw some of its first use on the trip, bringing the distant mountains and gorge into view with dark rain clouds looming ominously above them. With the light starting to fade, I needed to crank my ISO up a bit in order to sharp handheld speeds.
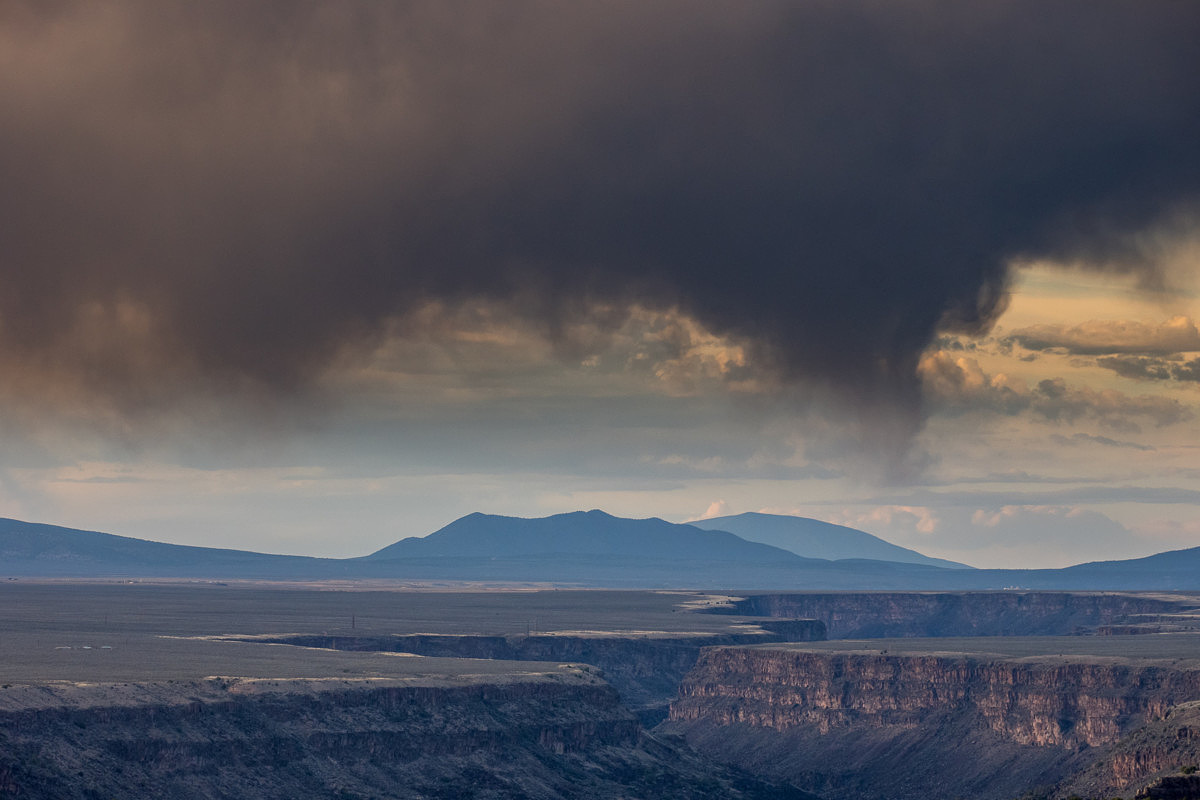
1/400th @ f/9, ISO 1000
Running out of daylight and constantly getting sidetracked, we decided that it was ‘Taos or bust’ time. No more “quick stops.” We had a mission and were just going to have to pass up some good stuff along the way if we were going to make it Taos for sunset.
But arriving in town offered little in terms of inspiration. There had to be a sunset location somewhere, right? Ah, the curse of the sunset foreground. I’ve lost count of how many ridiculously stunning sunsets I’ve blown because I couldn’t find a decent foreground in time. And it was happening again. With such an awesome day of photography, we had to finish on a high note. So, we raced around town, trying to find something.
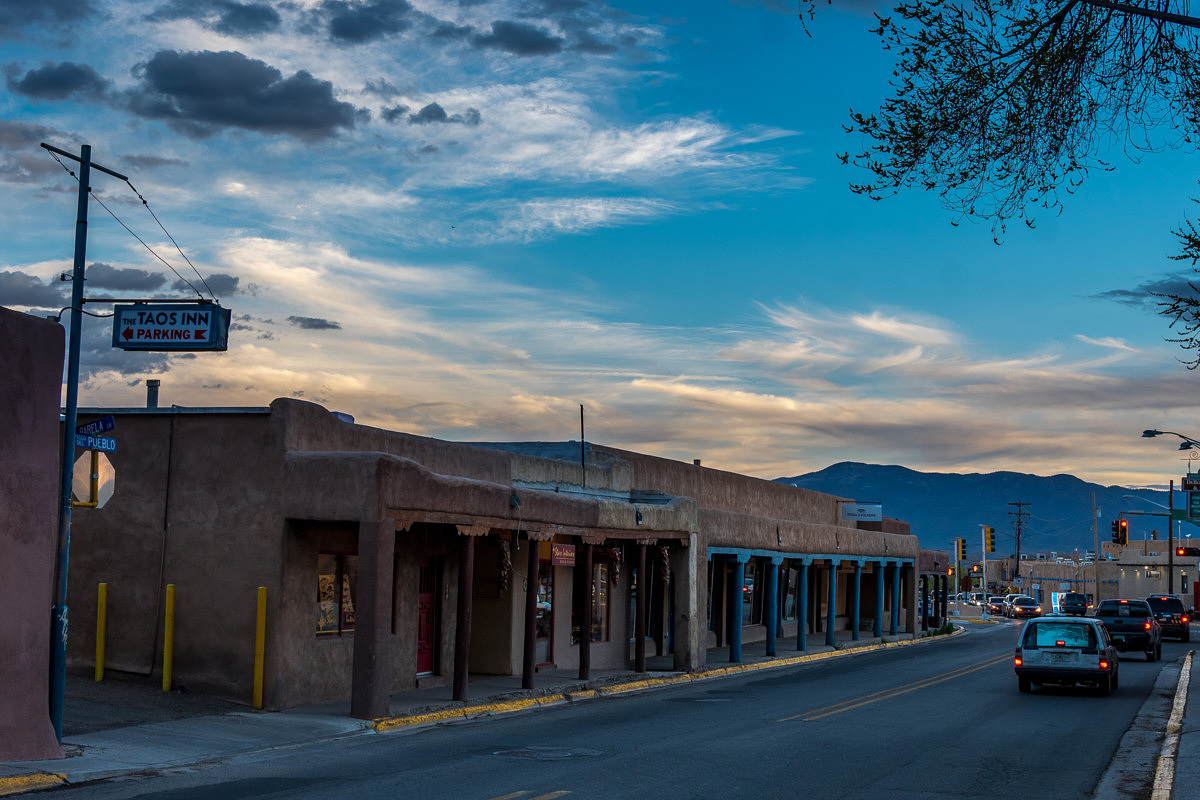
1/100th @ f/8, ISO 400
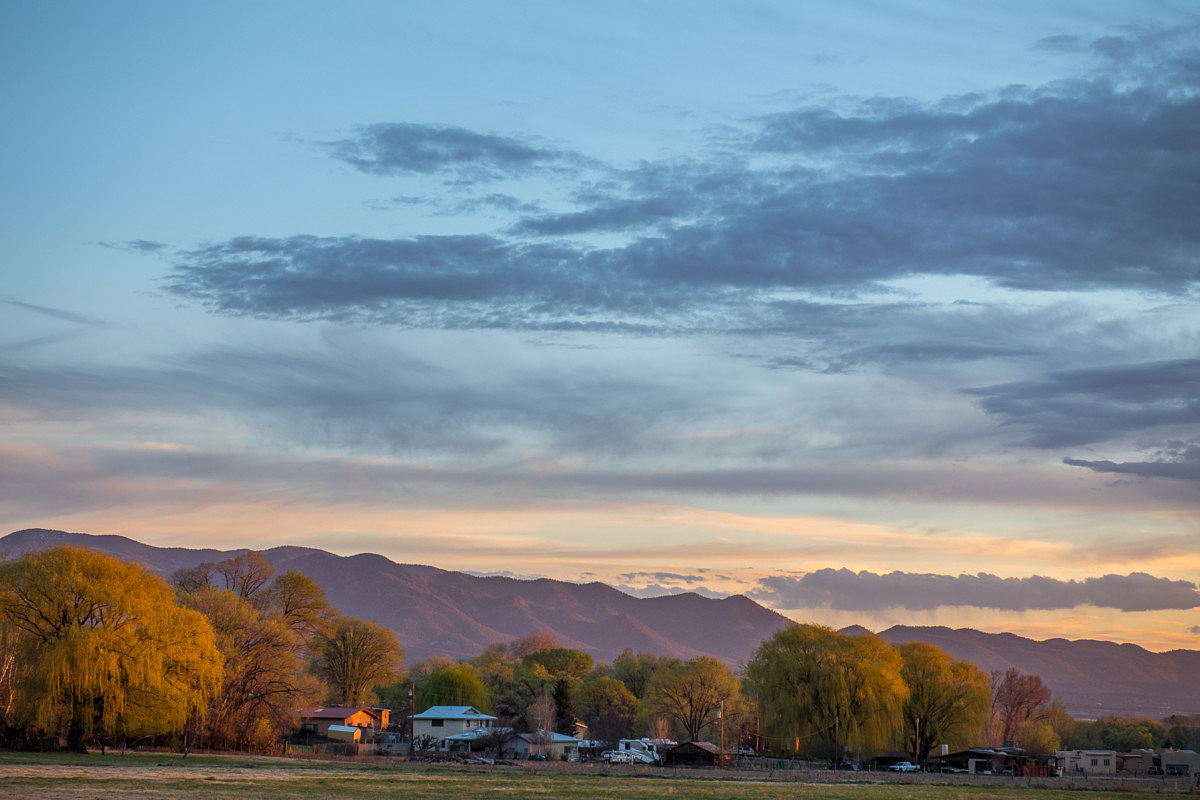
1/160th @ f/5, ISO 640
And when that search came up short, we hightailed it back the way we came until finding a pull-off into the desert, where I shot an uninspiring silhouette of a large, leafless shrub. That was it. At least I got a chance to use the tripod I had brought along. This is the one and only picture that I didn't shoot handheld.

30 second @ f/5.6, ISO 100, tripod
We drove ten minutes back to Taos, ate what was to be our final New Mexico burrito with green chili sauce, and pored over pictures on my laptop.
My disappointment with the frantic and anticlimactic sunset chase melted away as I marveled at just how many incredible shooting opportunities has presented themselves in a single day. Adding those to my already successful Santa Fe endeavors, I had way more keepers than I could have hoped for.

1/100th @ f/2.8, ISO 320
The food was great and with a fire our bellies from those local hatch chilis, we started the hour and a half hour trek back to Santa Fe in the dark, where I dropped Tom off. We said our goodbyes, and I continued on to Albuquerque to check into my hotel to grab two measly hours of shuteye before my flight home. Worth it. Totally worth it.
Thoughts after New Mexico
I’ve certainly had plenty of time to evaluate the CL and use it well after my initial testing in New Mexico. As with all cameras, there is no such thing as a perfect camera, for every style of photography, and for all photographers. But for me, and my photography, the CL gets close to hitting the mark as a near-perfect travel companion.
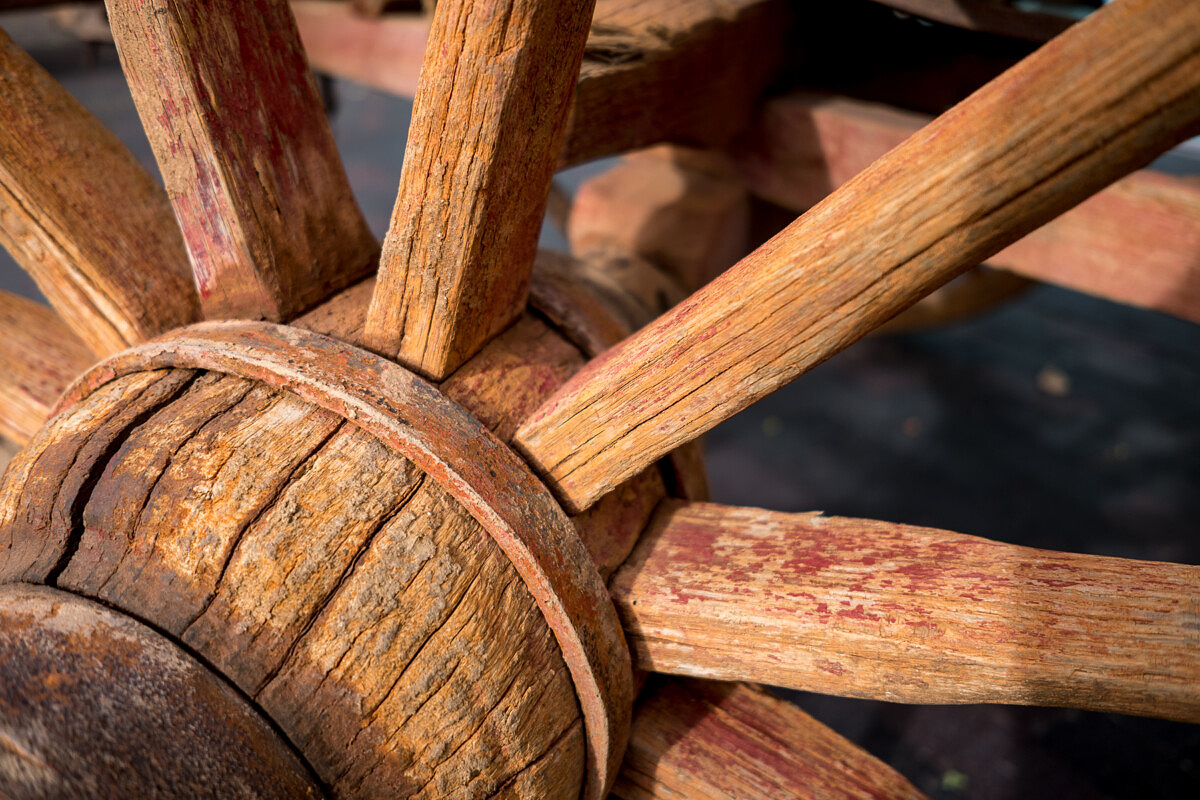
1/500th @ f/2.8, ISO 100
Fun and easy
The CL is simply a blast to use. Everything is easy and intuitive. Focus is accurate. The viewfinder is awesome. Unlike a larger camera system, I never once felt fatigued. No sore shoulders or aching lower back from the ever-growing weight of a bulky camera bag. And not because I pared down. Rather, I had every single TL lens in my bag on my first major outing. Yet, I still felt a sense of freedom.

1/160th @ f/8, ISO 640
I don’t think I can stress this point enough. I didn’t have to sacrifice image quality, or the flexibility the variety of focal lengths affords. Being unencumbered, I could wander more comfortably. The light weight didn’t require my attention and I could concentrate entirely on my surroundings and making pictures.

1/160th @ f/7.1, ISO 400
And this is true for most travel in general. A camera shouldn’t be a burden. Rather, a good travel camera should serve as an unassuming companion. There when you need it, unnoticed when you don’t. In this role, the CL works brilliantly.
What I used
I tried to use everything. But, ultimately, I gravitated to the primes. They are just so good. Looking back, I probably could have gotten by with just the 18, 35 and 60. In full-frame equivalents, these would equate to 28, 50 and 90.
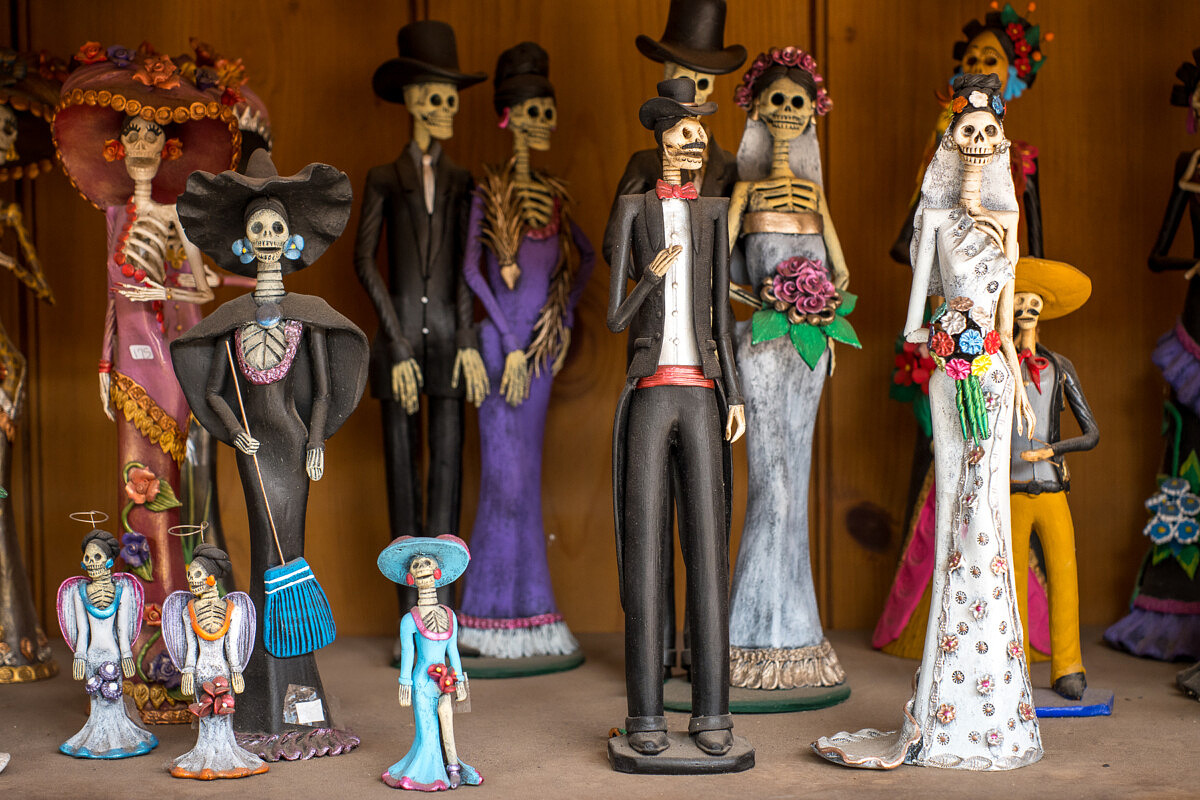
1/160th @ f/4, ISO 500
Now, if you’re familiar with any of my previous reviews, or my photography in general, you might find this surprising. See, I’m not a 28/50 shooter. Not even a little bit. My happy place is 24/35/90. So, why didn’t I stick to the 23 f/2, which would equate to a 35 Cron? Honestly, I can’t say. The 23 is a great little lens, but after initially forcing myself to press the new 18mm f/2.8 pancake into service, I kind of fell in love with it.
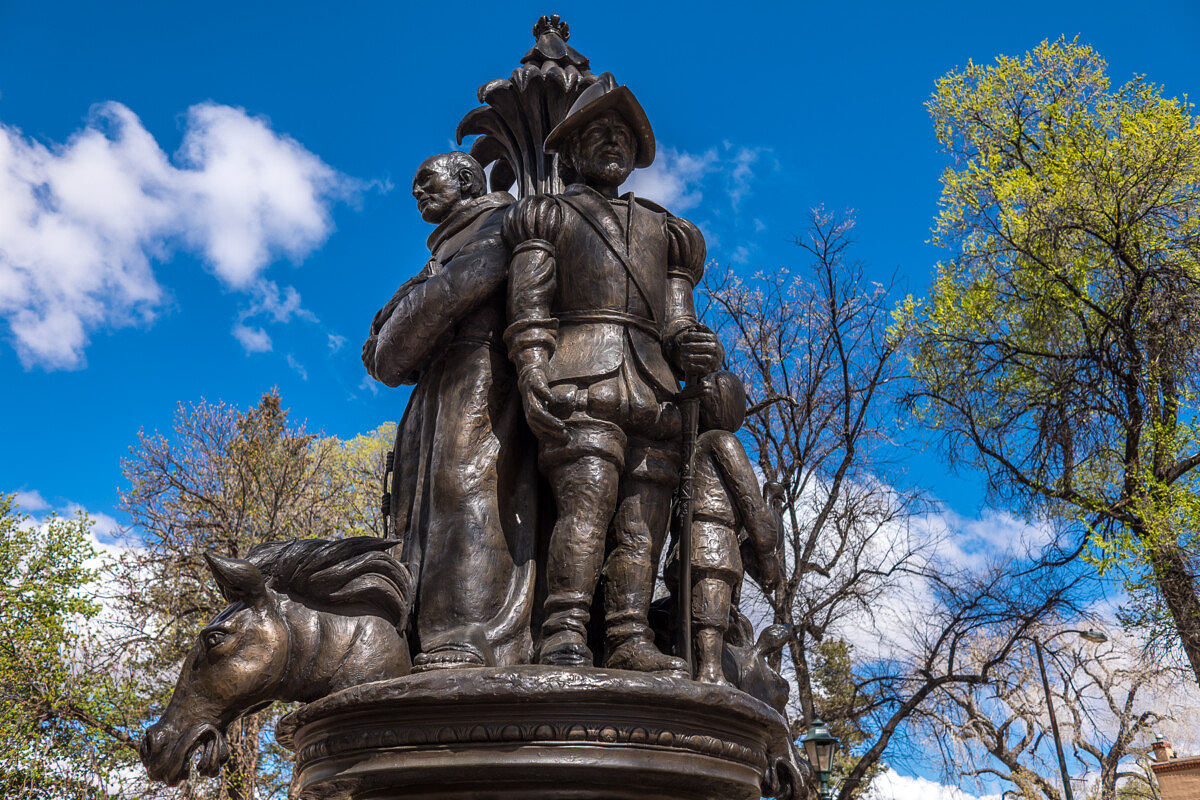
1/500th @ f/4, ISO 100
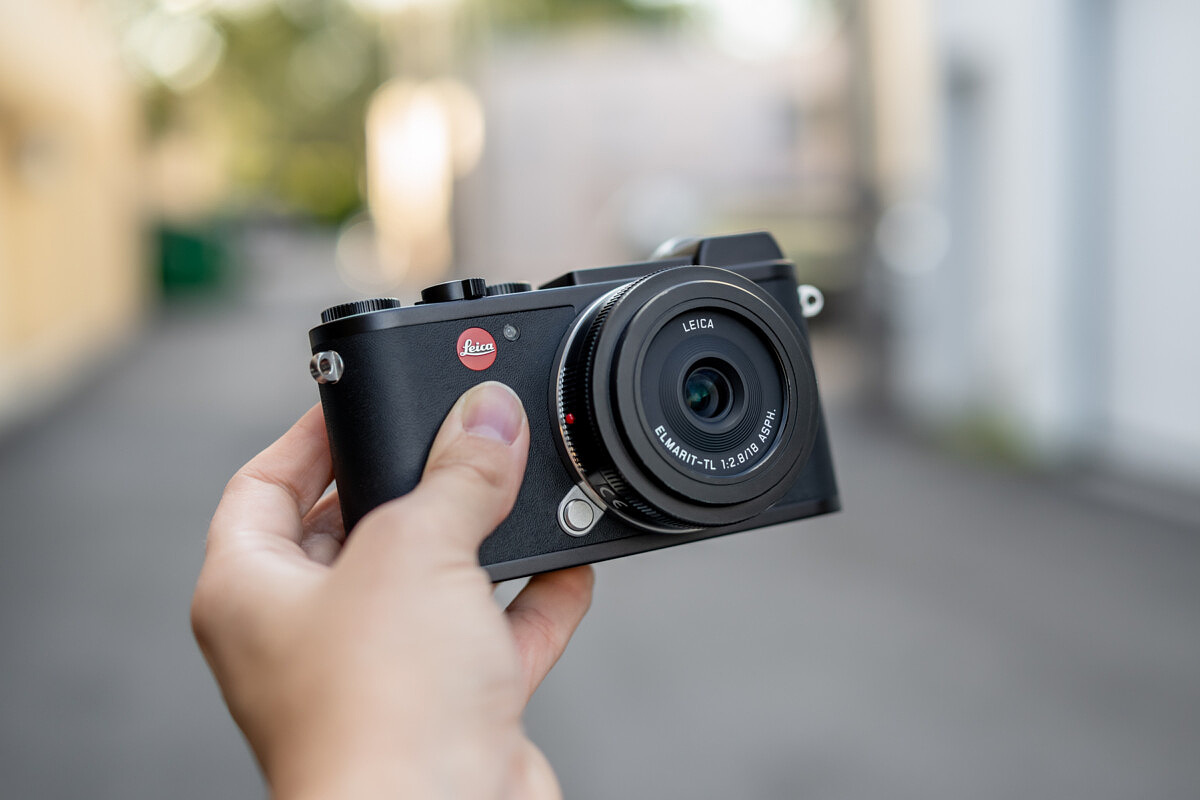
Sharp, with excellent color and contrast, I haven’t found anything I don’t like about it. And the size. It’s so tiny! With the 18 mounted, the CL can slip into a jacket pocket. Perhaps if the 18 had been available to me when I went skiing with the camera that first time, I might have tried to make it work.
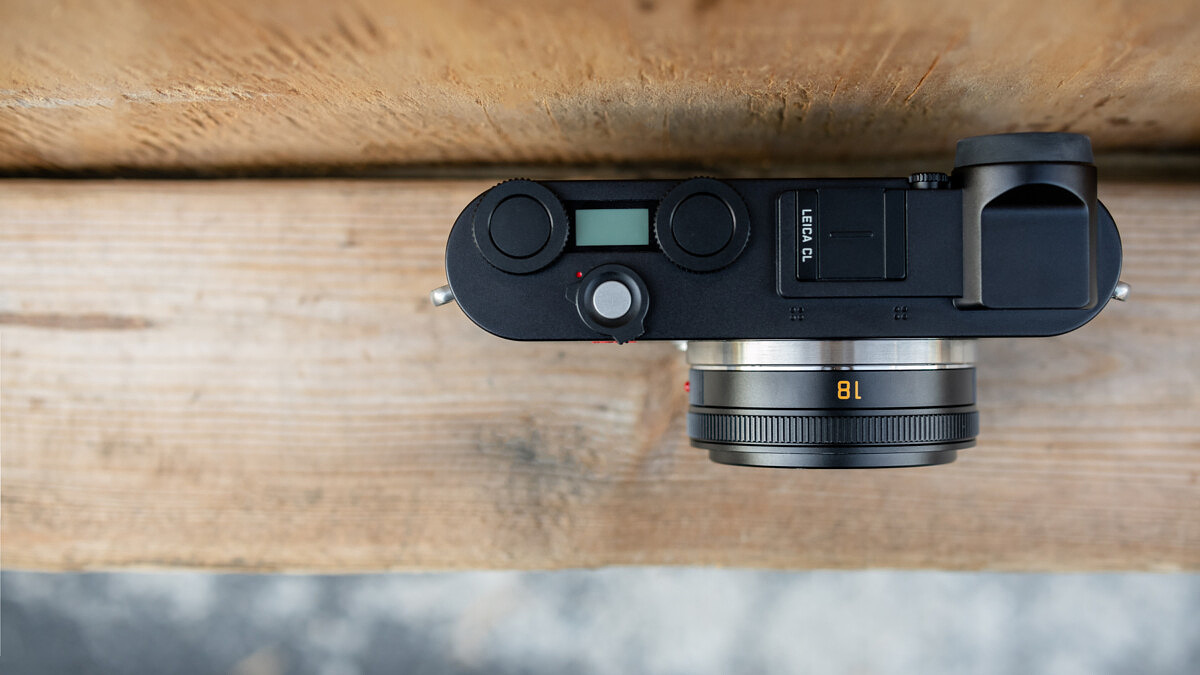
Moving on to my favorite, the 35 Lux. This lens is magical. It would be the one lens that I’d say everyone who is considering the CL needs. I can’t live without it. Really. Some have asked me why I would use the 35 TL when I already have the 35 Lux FLE for the M. Valid question. The 35 Summilux-M ASPH is indeed my go-to lens for the M10 or M Monochrom, and can be easily adapted to the CL, but I really enjoy the TL variant. Image quality is exceptional, especially wide opfocen. Obviously, the M lens is no slouch either, so that’s not the deciding factor. For me, the real clincher is the minimum focus distance of 0.3m for the TL versus 0.7m for the M.
Even though the 35 is a normal lens, and not a macro, the ability to move in close and grab detail shots is fantastic. And while conventional wisdom says you can’t achieve the same bokeh with an APS camera, I can get even more than a full frame M when shooting close-up and wide-open.
The other aspect that shouldn’t be overlooked is the native AF and auto aperture integration offered on the TL. Despite my self-professed purist tendencies, the speed and spontaneity of point-and-shoot operation is tough to beat on a small camera. The only negative I’ve found on the 35 TL is its susceptibility to lateral chromatic aberration under the right circumstances. For shots where CA has reared its ugly head, Lightrooms easy CA controls have completely eliminated any purple fringing from my final images.

1/1000th @ f/1.4, ISO 100
Rounding out the trinity is the 60 APO-Macro-TL. Another serious piece of glass right here. The 60 holds the distinction of being the very first 1:1, or life-size, macro that Leica has ever made. Yes, really. All the legendary R macro lenses? 1:2 The reference-class 120 APO-Macro-S? 1:2.

1/160th @ f/3.5, ISO 400
When combined with the 24MP sensor in the CL, the 60 renders a ridiculous amount of detail. And the bokeh? Luscious and smooth. And while CA can creep in a bit with the 35, the 60 earns its APO moniker, keeping any and all chromatic aberration at bay, even under torture-test conditions.
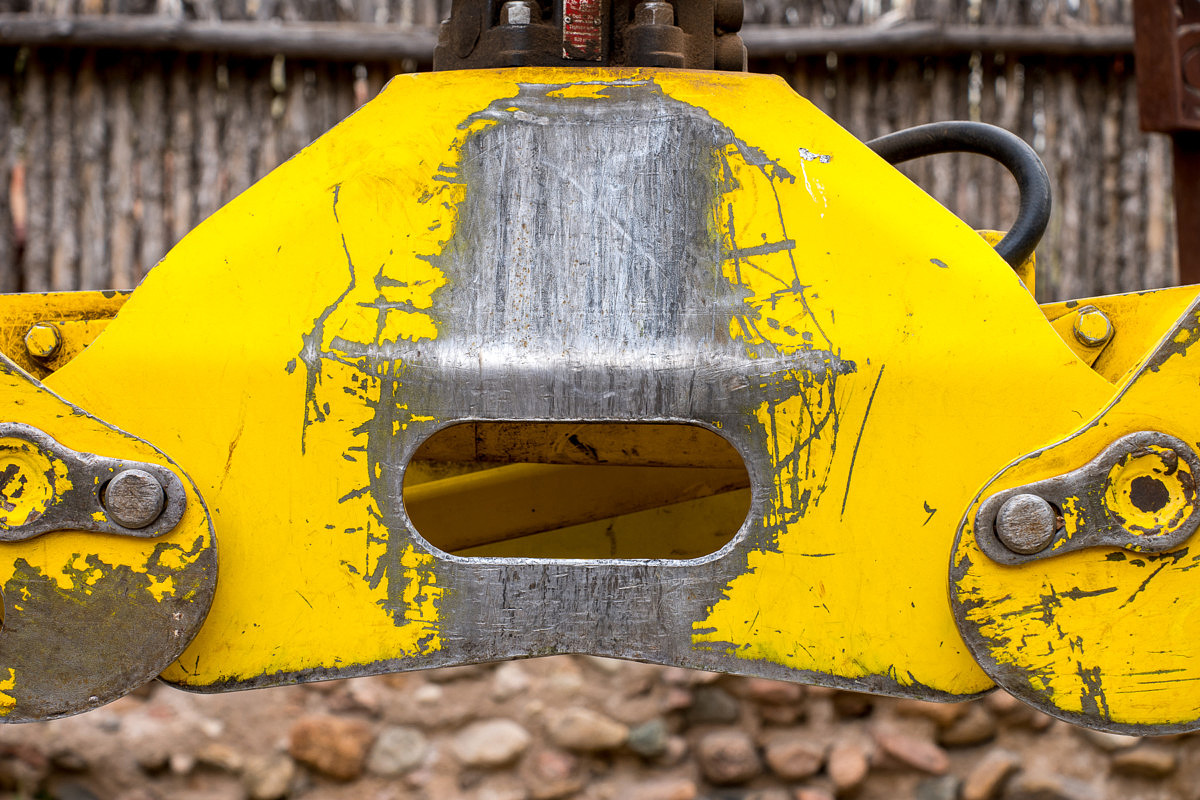
1/160th @ f/5.6, ISO 125
Of course, while I could get by with just these three primes, I would be remiss if I didn’t say how much fun the 11-23 can be. Equivalent to a 16-35mm in full frame, the wide zoom really rounded out my kit. Sharp, low distortion, and easy to handle. For users who tend to shoot wide, the 11-23 could make for an attractive walkaround option. Even disregarding the extreme wide end, you’d get a 35, 28, 24, and 21 in one compact package. The sacrifice for this flexibility is the slower variable maximum aperture of f/3.5-4.5. But, the addition of a fast prime, either native TL, or adapted from a different system solves this.
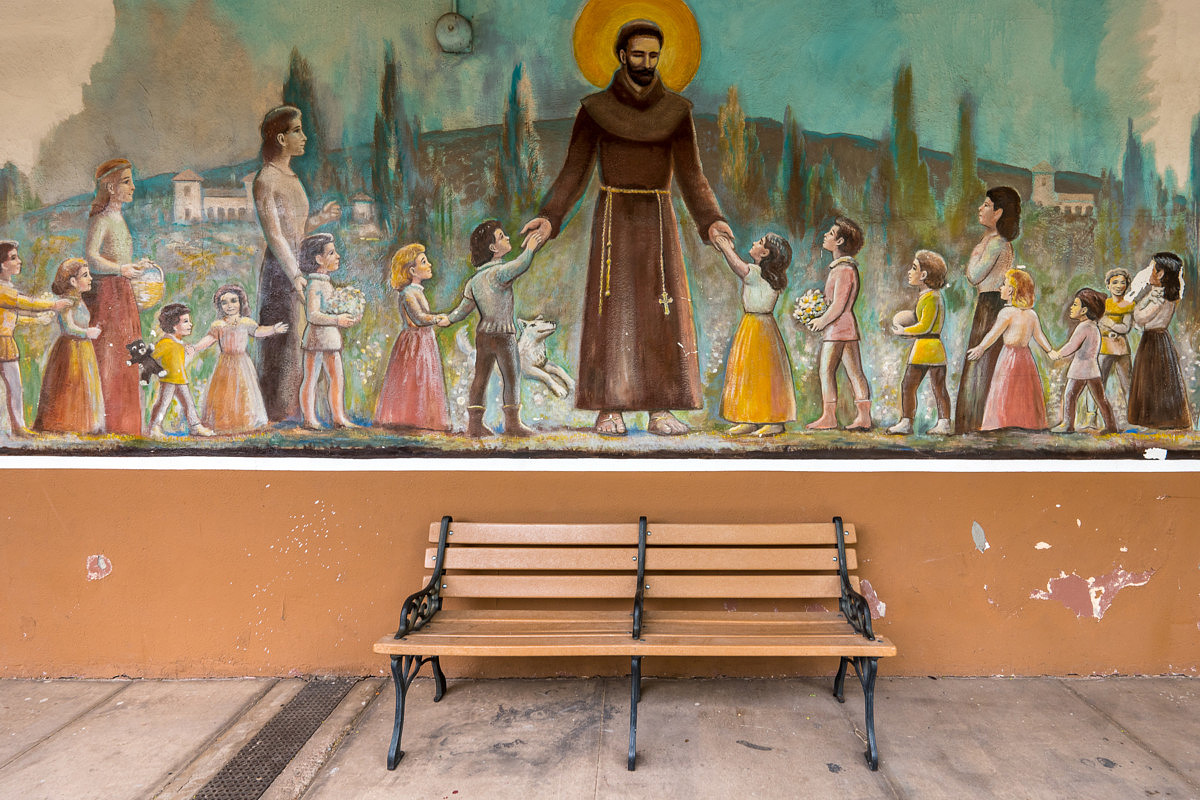
1/30th @ f/5.6, ISO 125
Lenses that didn’t get much love
The 23, 18-56, and 55-135 were virtually tied as my least used lenses. Out of my initial edit of around 300 shots in New Mexico, each lens accounted for less than 10 shots apiece. Compare that to 140 taken with the 35 Lux and you get the idea of how much I love the 35.
So, why didn’t I use these lenses? Are they bad? Certainly not. In fact, all three are excellent. When I first reviewed the original T (Typ 701), the 23 and 18-56 were the only lenses available. And I enjoyed shooting with them immensely.
For the 18-56, I found that my three-lens prime kit could cover this exact range more handily and with much wider apertures. The zoom was redundant. If I hadn’t gone the 18/35/60 route, then the standard zoom would have found much more use.
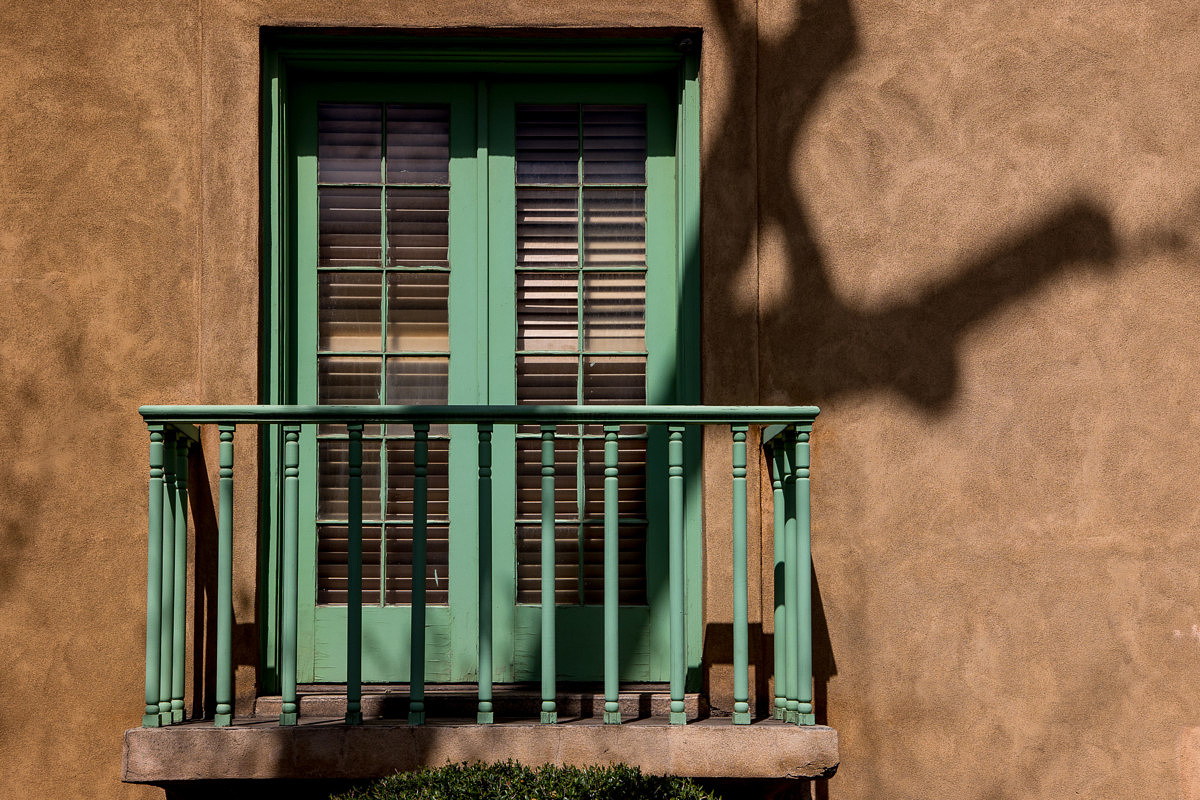
1/800th @ f/8, ISO 100
By all accounts, the 23 should be my standard lens, as I gravitate to 35mm equivalent in every system I shoot. The lens is compact, only slightly larger than the 18 pancake. It’s extremely sharp and offers a fast f/2 maximum aperture. But I barely touched it. Look, the 35 Lux is magic. And flexible. Add the 11-23 to mix and the 23 becomes somewhat unnecessary, although I will give the performance edge to the 23 prime.
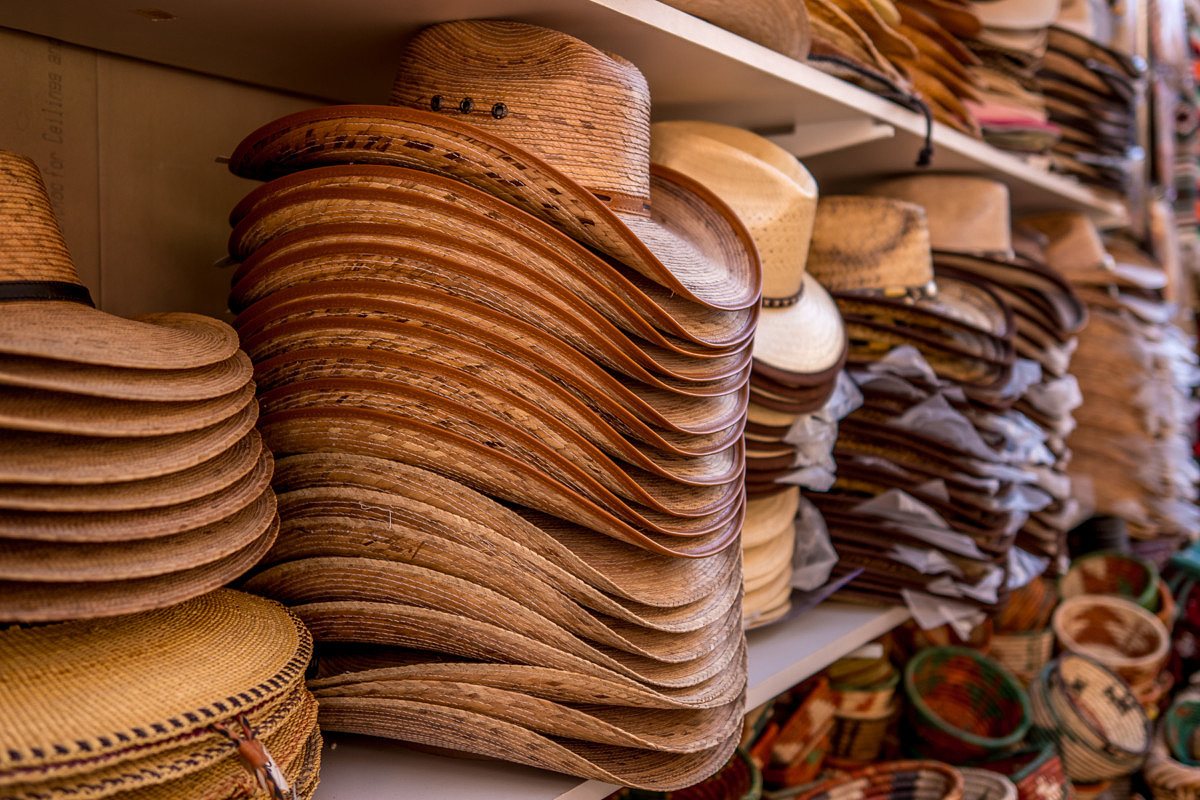
1/500th @ f/2, ISO 100
Unfortunately, I think that the 55-135 got a bit of a bad break on my NM trip. Most of my shooting was around towns and relatively close up. Only a few locations in the desert lent themselves to telephoto. If I had skewed more towards landscape shooting and less travel photography, the long zoom would have definitely seen more action. The majority of my photography happens between 24 and 90, but I do love tele for landscapes. In fact, when I tested the TL2 along the Maine coast, the 55-135 saw considerable use, proving a worthy companion and excellent creative tool. For the range offered, the lens is light and compact, a clear advantage of the smaller APS-C format.
Image quality
When I started playing with my CL files in Lightroom, I was surprised by just how good they were. I mean, I’m used to full frame Leica cameras like the M10, SL and Q, not to mention my main landscape workhorse, the medium format S007. And while the CL is positioned as a somewhat entry level system camera in the lineup, the files are anything but.
Colors are exquisite. Vibrant and punchy, but not artificial. The rich blue skies of the high desert were rendered beautifully, especially when contrasted against the ruddy adobe buildings. Greenery looks natural. Reds pop without drifting towards magenta or orange.
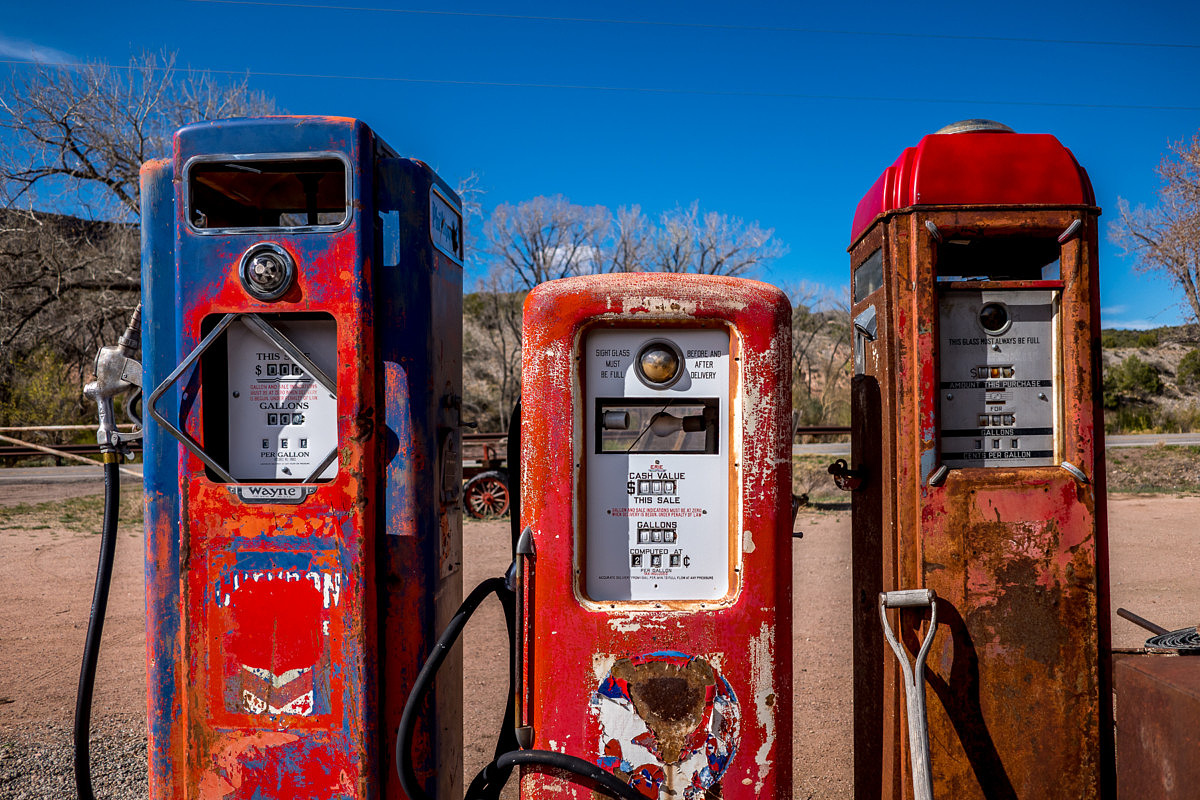
1/4000th @ f/2.8, ISO 100
To my eye, the DNGs from the CL respond very similarly to those from the SL in Lightroom. There is a decent amount of shadow and highlight recoverability before tending towards an overly HDRish look when pushed to the max.
1/100th @ f/9, ISO 100
Dynamic Range
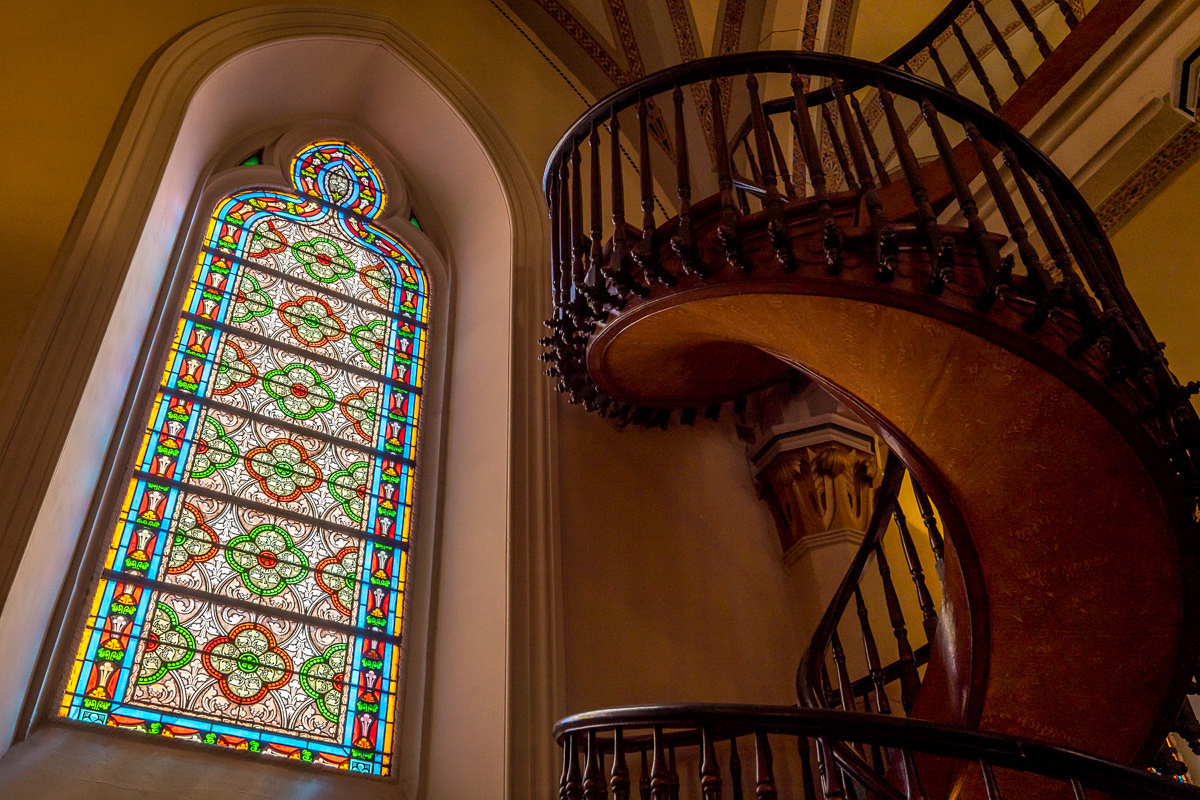
Not scientific by any measure, but I’d estimate that the CL offers dynamic range just shy of the SL. Here’s a shot that blew my mind. One of the more famous sights in Santa Fe is the Miracle Staircase in the Loretto Chapel. Just a short walk from my hotel, I figured I’d check it out. Without my tripod. The 20-foot-high helical staircase has no central support or metal structure whatsoever. In fact, it doesn’t even have a single nail. The whole all-wood spiral is self-supporting. A miracle of carpentry and craftsmanship, the stairs make two full turns and have stood there since completion in the late 1800s.
So, I threw on the 11-23 and tried to capture the staircase. Directly adjacent, a large stained-glass window posed a considerable challenge to my exposure. I could meter for the dimly lit stairs, and blow out the window, or I could expose for the window and let the shadows go black. I decided to give the latter a shot. Here, you can see the original capture with seemingly no information in the shadows whatsoever.
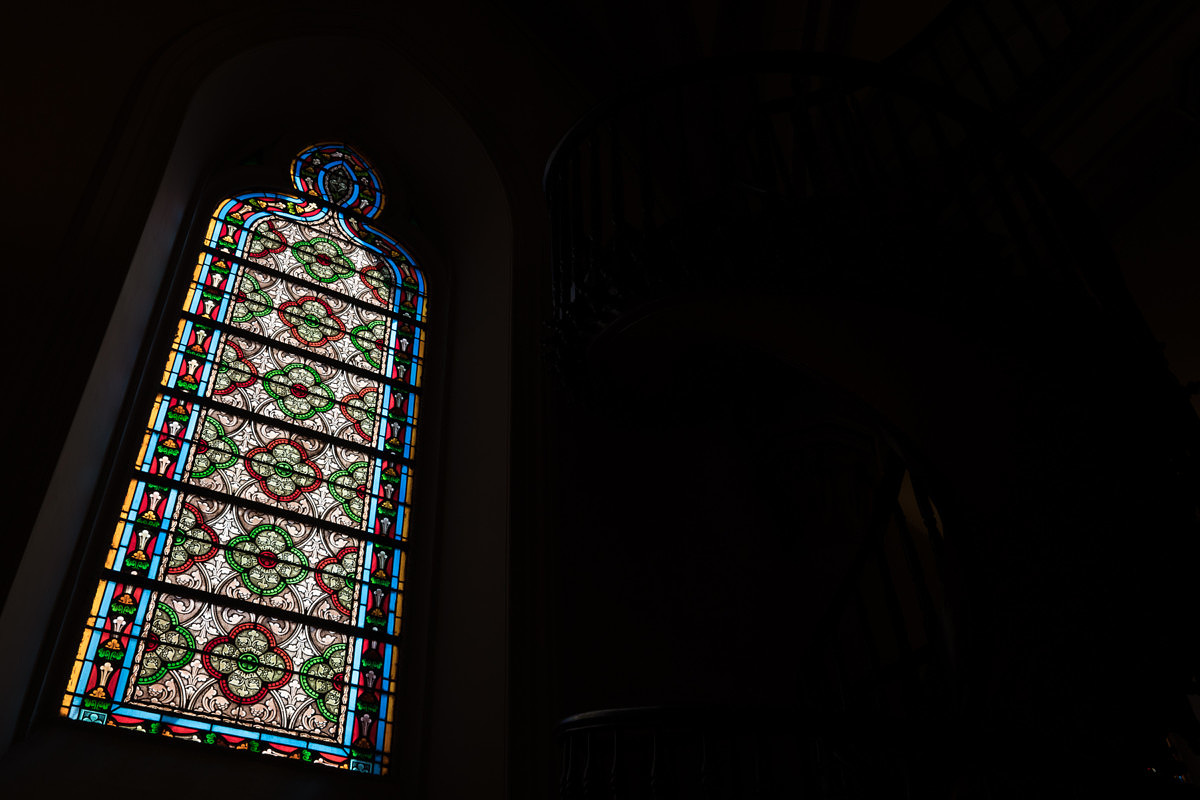
Leica CL with 11-23mm Super-Vario-Elmar-TL ASPh @ 22mm
1/80th @ f/4.4, ISO 100
And, here’s the final image, with simple exposure adjustment and shadow recovery in Lightroom, and not an HDR blend from multiple captures. I honestly was not expecting this result. After seeing how much I could work these files in post, I realized just how capable the little CL can be.
Low light performance
I didn’t do a ton of low light shooting in New Mexico, but from experience, ISO 6400 is entirely usable. Noise is well controlled, and what shows is monochromatic and tightly packed. A quick +20 on the noise reduction slider in Lightroom will reign in just about any image with little fuss and no loss of file detail.
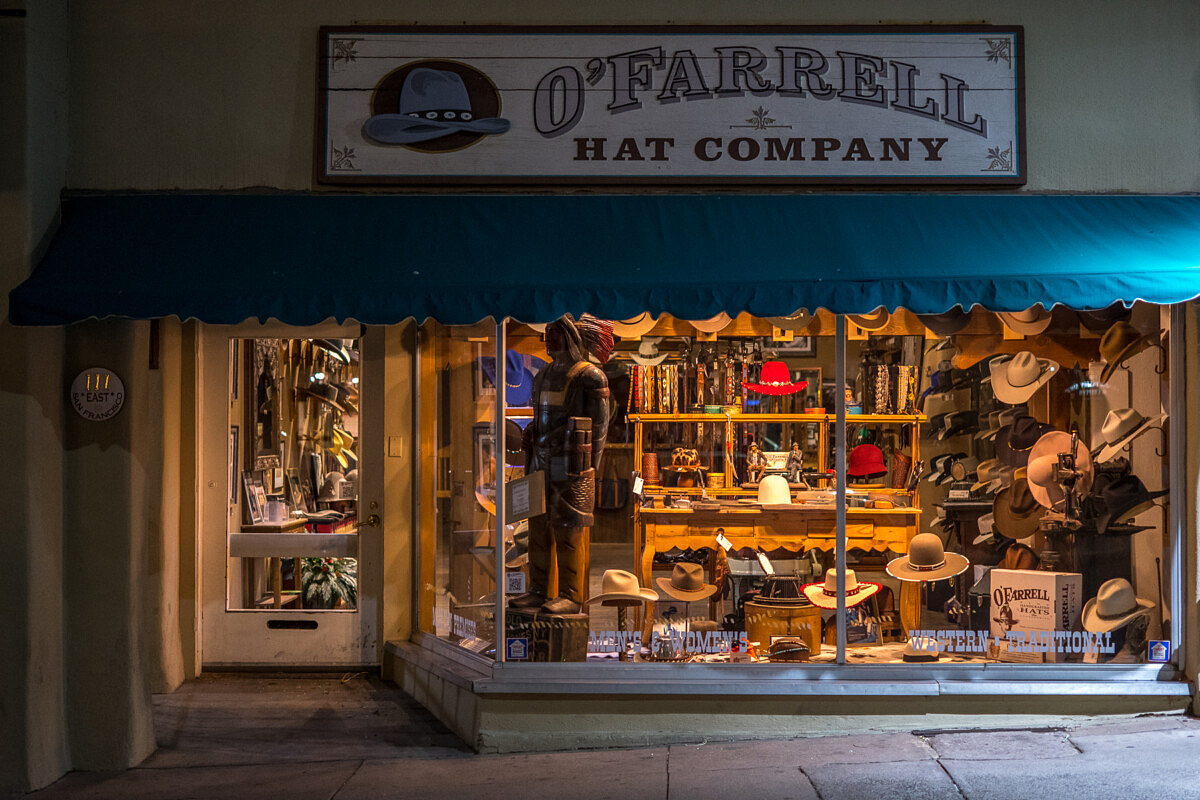
1/100th @ f/1.4, ISO 2000
Color reproduction and saturation is also largely unaffected at higher ISOs. I’d rate the low light ability of the CL relative to the Q, M10 or SL similar to dynamic range – about one stop less. Bear in mind that these are all full-frame cameras, where the CL uses APS-C.

1/160th @ f/2.8, ISO 6400
Where does the CL fit into the Leica range?
When the CL first came out, I tried my best to figure out where it fits into the growing range of Leica cameras. And, indeed, many Leica shooters and would-be purchasers have asked me the same thing. So, here goes.
Compared to SL
The SL is Leica’s professional-grade full frame mirrorless camera. Serving as a technology platform, the SL features the highest resolution EVF, the fastest AF, the most effective image stabilization and the most powerful processor, all in a rugged and weather-sealed package.
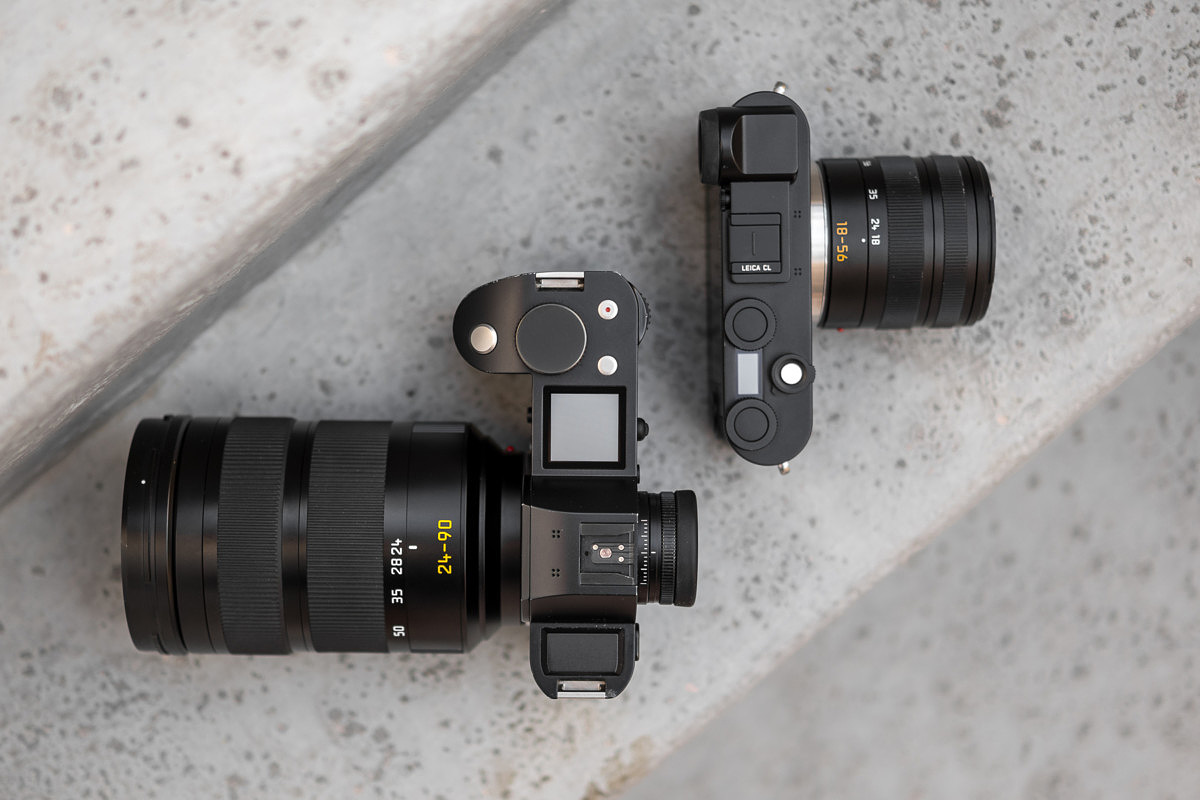
The SL lenses are reference class through-and-through, with more impressive glass on the horizon. I like to think of the CL as a baby SL. Both are mirrorless L-mount cameras. The SL is more capable, but the CL is more portable and half the cost.
Compared to TL2
Not surprisingly, the CL and TL2 are the most similar as they share the most crucial internal components. Both feature the same 24MP APS-C CMOS sensor, Maestro II image processor, and L mount. So, with the same lens, same sensor, and same processor you can expect almost identical photographic performance.
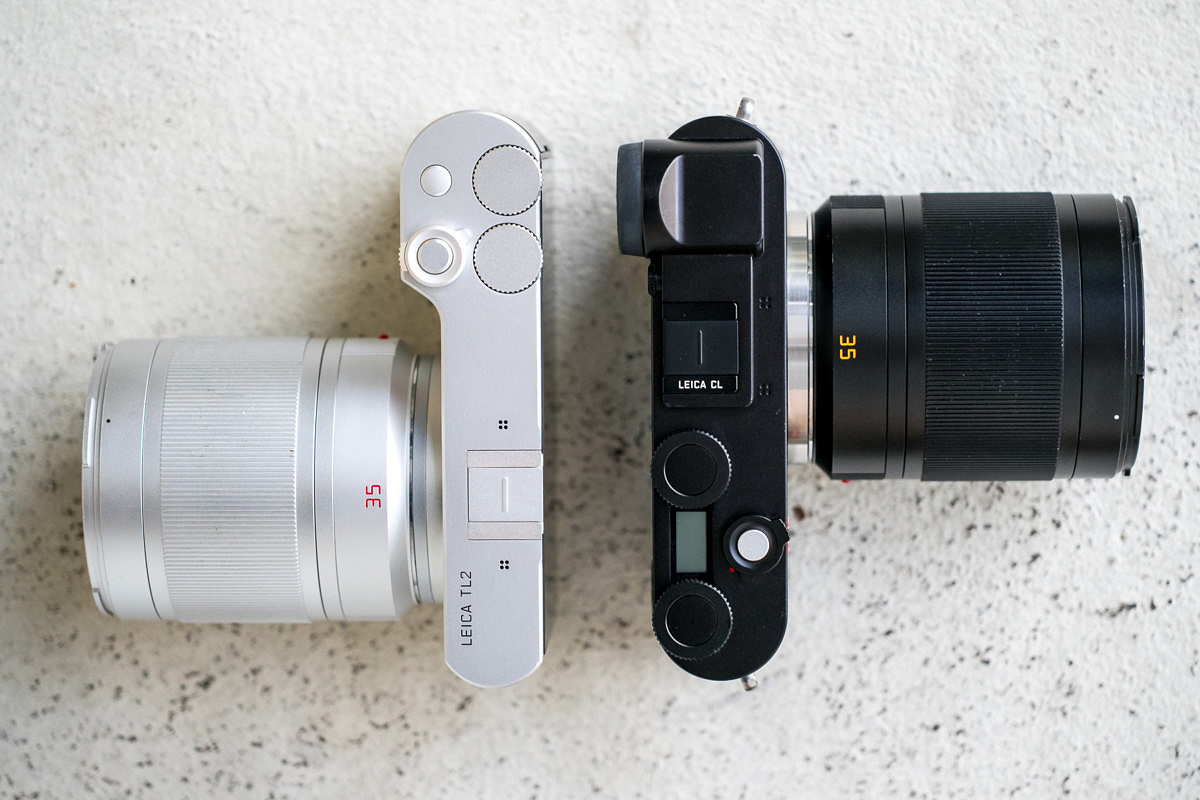
What makes these two cameras different is their differing design aesthetics and user interface approaches. The TL2 is minimal and modern, with a large touchscreen serving as the primary control surface. The CL has some of the same elements, like the touchscreen and assignable dual top dials, but offers a more classic design with physical buttons on the back.
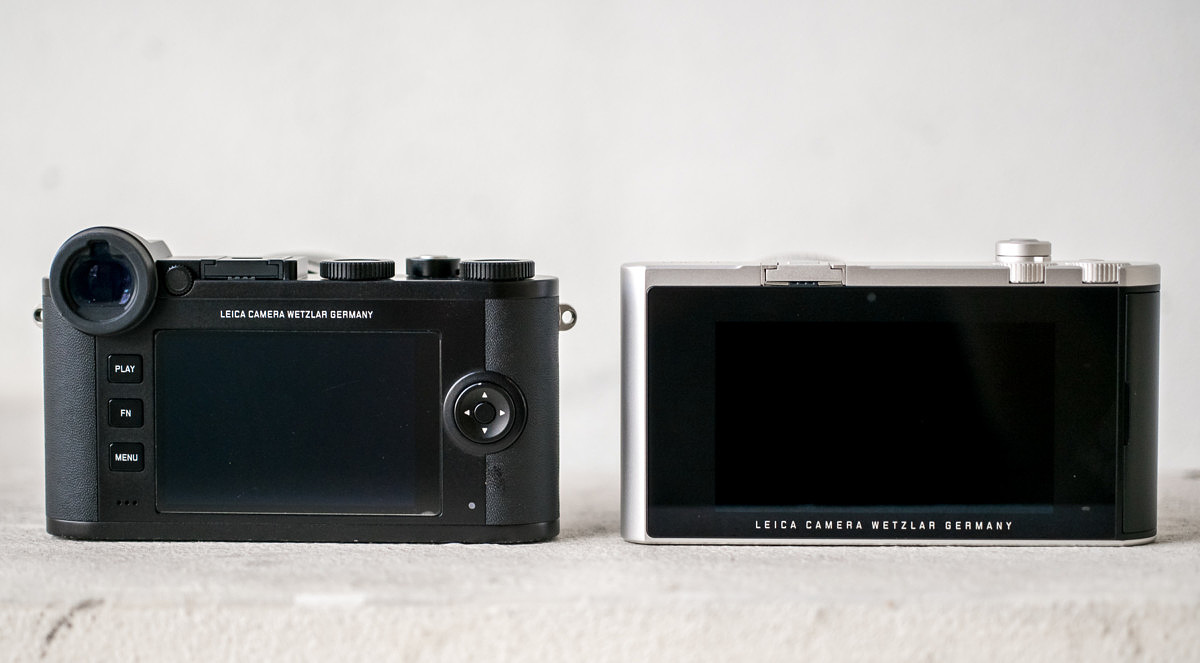
Another notable difference between the two is the implementation of the EVF. On the CL, the electronic viewfinder is built-in. The TL2 sacrifices an internal EVF for a larger rear LCD and streamlined design. So, the EVF is an add-on, with an optional Visoflex 020 sliding into the hotshoe of the camera.
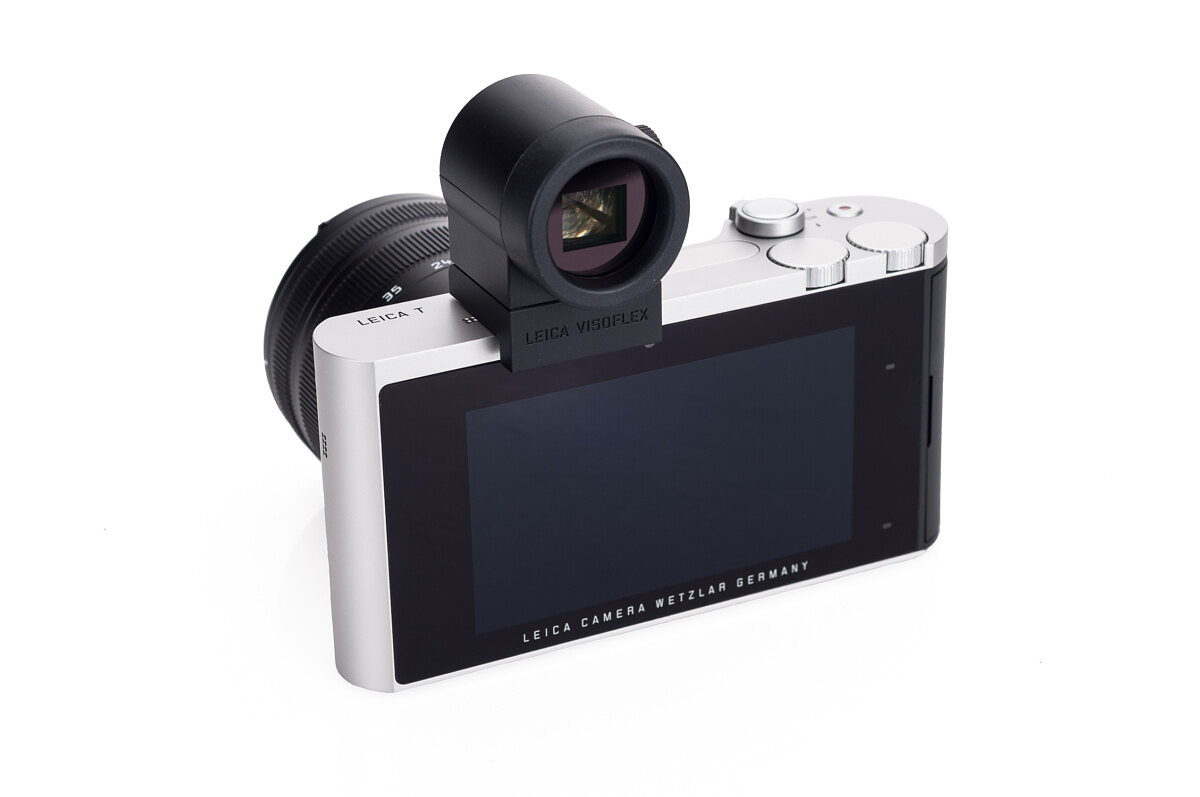
And while this might seem like a huge downside to the TL2, the external EVF offers two distinct advantages. First, the Visoflex functions as a GPS receiver, embedding geotag data into the files. And secondly, the external finder pivots 90 degrees allowing ‘waist level’ shooting, which can be much more discreet in certain situations as well as affording some creative freedom for low-angle positioning. But, in most circumstances, and for most users, the convenience of a built-in EVF outweigh these two benefits.
Compared to Q
Over the past year, I’ve lost count of how many people have asked me whether they should get a Q or a CL. Indeed, when paired with a lens, the total cost of a basic CL kit is roughly on par with a Q.
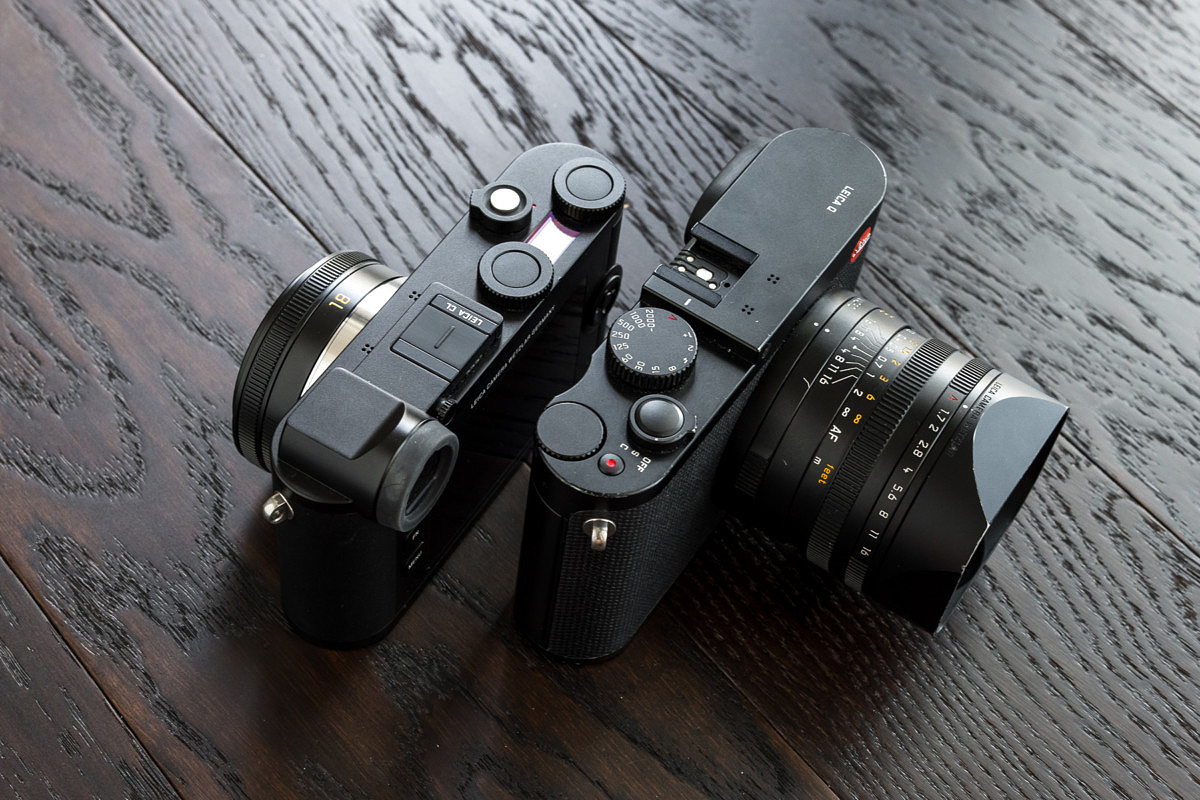
With the Q, you get a full frame sensor paired with the stellar 28mm f/1.7 Summilux with macro capability. The CL trades the full frame sensor for an APS-C one but offers greater flexibility with interchangeable lenses based on Leica’s L mount.
Compared to M10
The M10 is a manual focus rangefinder. And while the CL might evoke elements of the M, and can take M lenses, the fundamental operational concept is quite different.
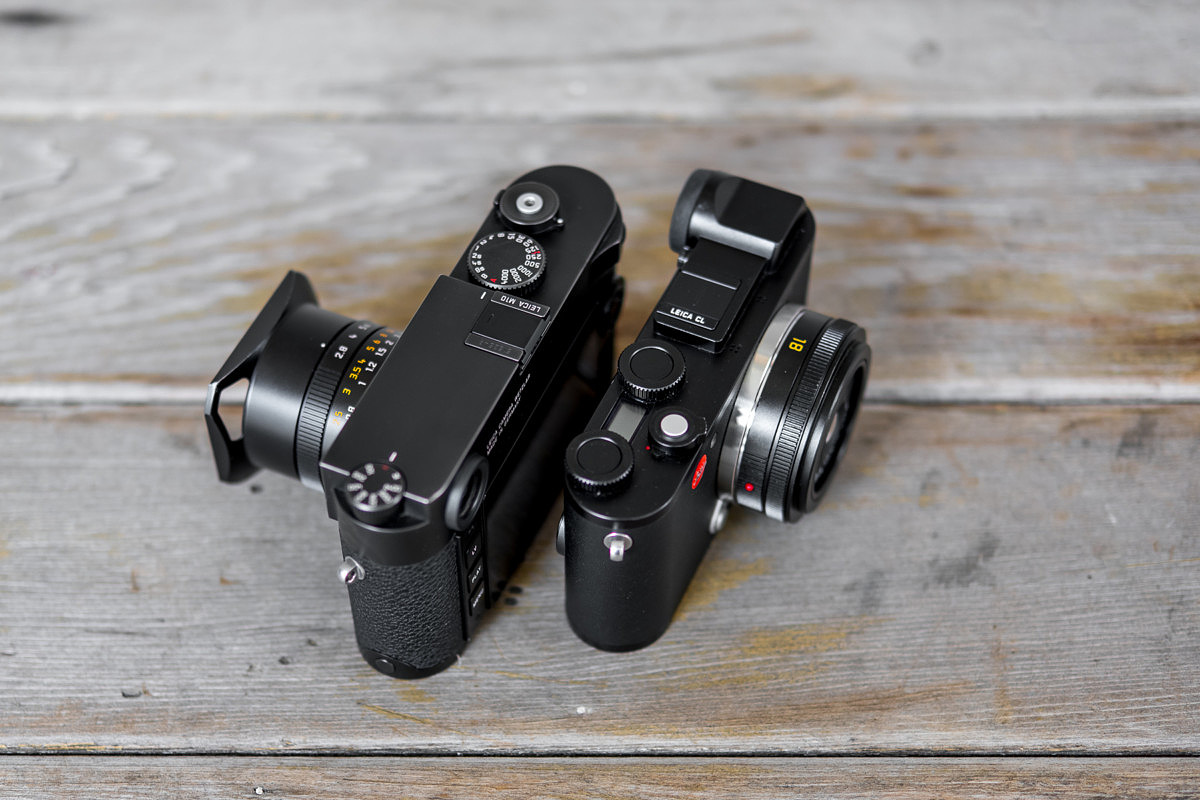
The M is unique in the camera world and will remain so. That being said, the CL nicely compliments the M10 as a backup or second body as M lenses do work quite well with the adapter.
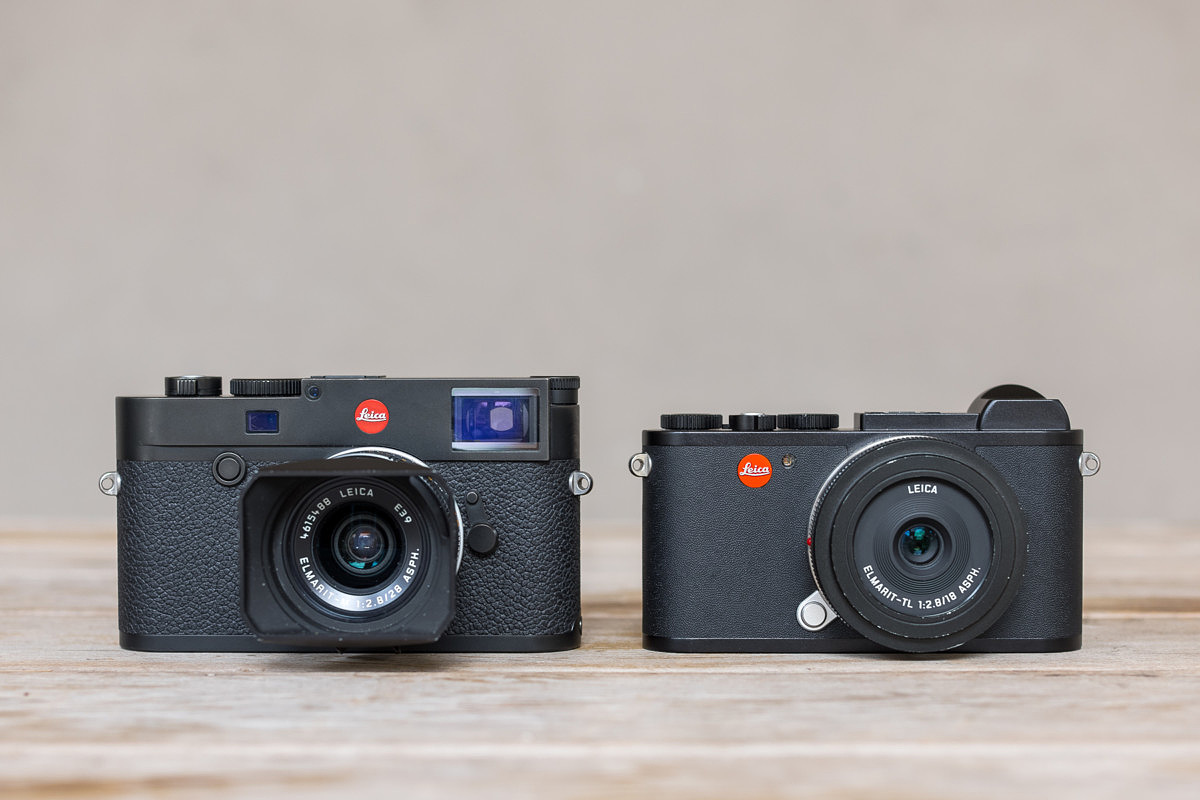
How I see the CL
My perspective might be skewed by the other Leica cameras that I shoot with, but here’s my take. I think that the CL can work well in a few capacities.
As a small system camera
Mainly, the CL can certainly stand on its own and makes for a seriously capable system camera. For those wanting to get into a real Leica in a more affordable way, the CL is a great choice. A new CL is even less than a used M body these days. And a used CL is a downright bargain. As are the lenses. I have no reservations recommending the CL as someone’s main kit, or as an entry into the Leica world. If a photographer is looking to eventually build up to a full M kit, the CL works as a body for a burgeoning M lens collection. If an SL is the ultimate goal, the cross-compatibility of the L mount makes for an easy transition as well.
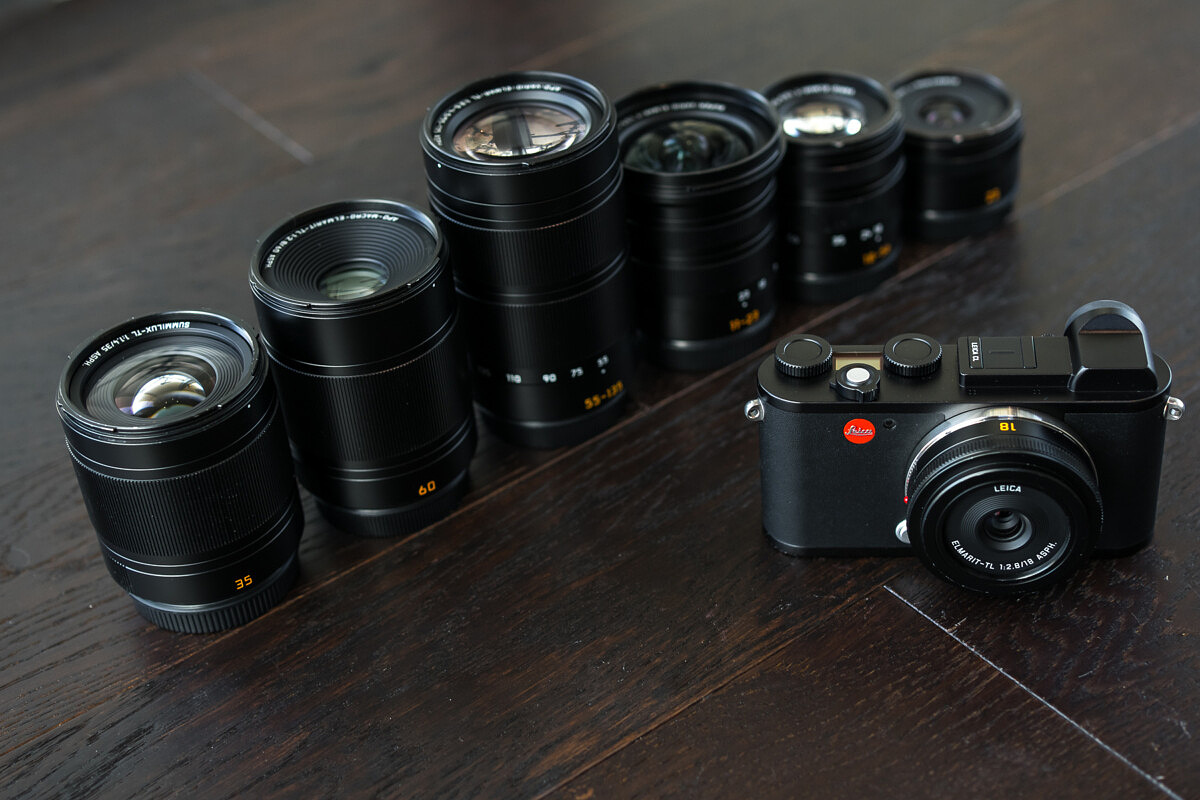
CL as a backup body
Some photographers never embark on an important excursion without packing a backup camera body. I can’t argue with the logic here, as there are some scenarios where a camera failure, fall, or theft would put you completely out of commission, photographically speaking. And I think the CL can work here on a few fronts, pairing admirably with its larger siblings.
As a backup to the M10
With the simplicity of mounting M lenses and easily focusing them using focus magnification and focus peaking, the CL makes for a natural backup to the M10, or a color companion to an M Monochrom. Just throw the M Adapter-L, or the M Adapter-T as it was originally called, on the camera, mount your favorite M lens and you’re good to go. The 1.5x sensor crop does change the character of the lens, so plan accordingly.
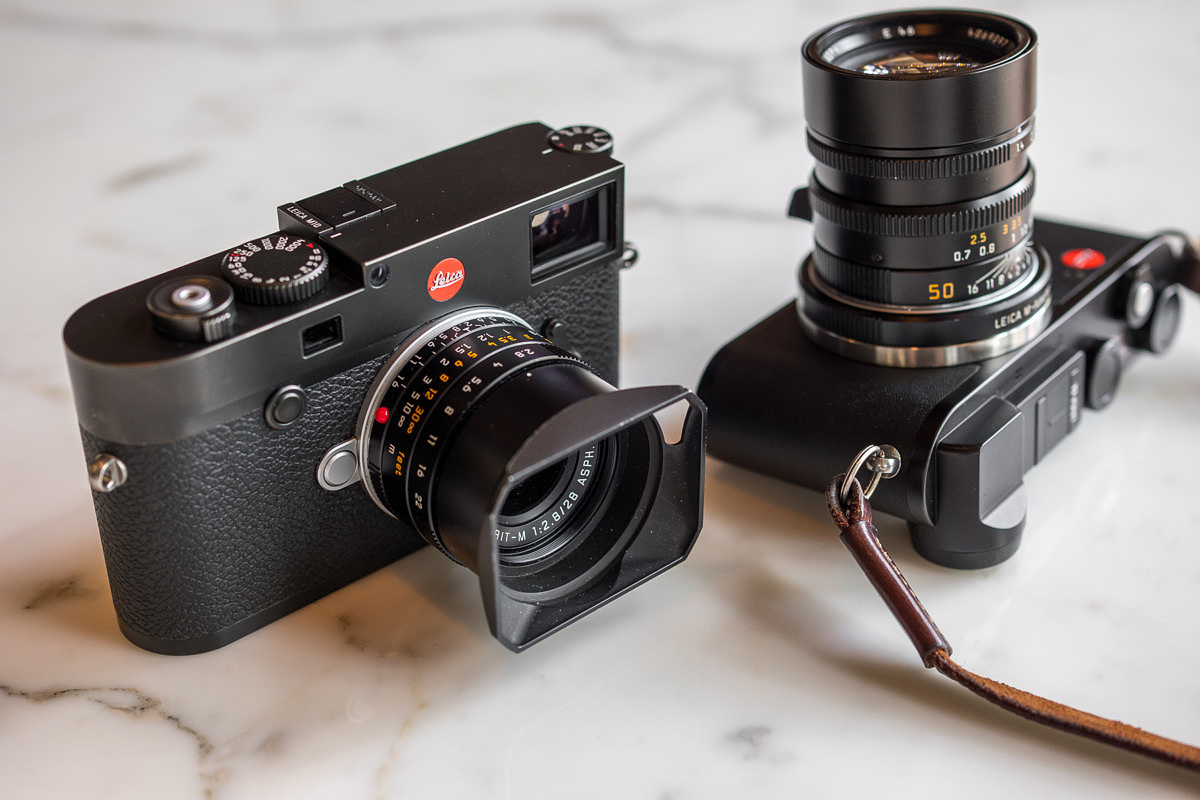
I like the idea of packing a CL with the 18mm alongside your M kit. Taking up less space than an M body on its own. The little camera and lens combo gives you a backup body, plus the ability to have a pocketable, high quality AF point and shoot to take out to dinner, to a wedding, with friends, etc. when the M would be a little too much.
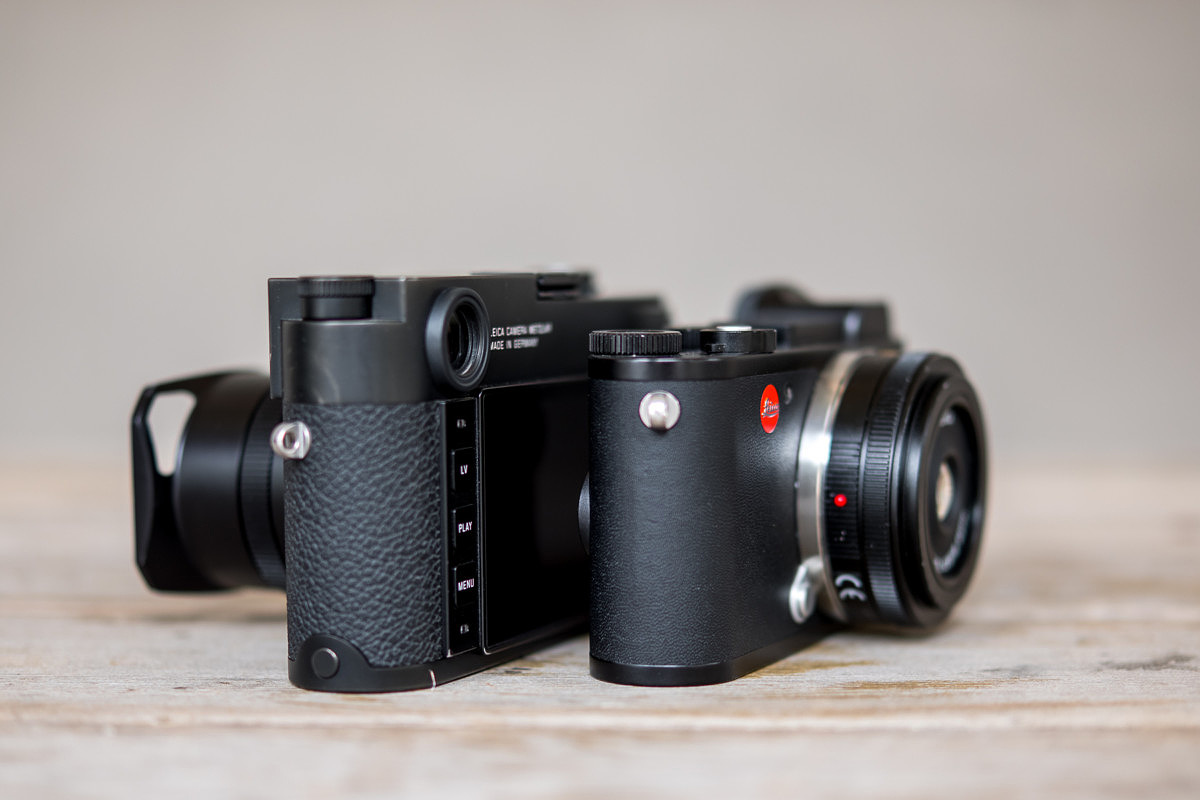
As a backup to the SL
With the exact same L lens mount, the CL also makes for an ideal backup to the SL. Again, the 1.5x crop factor comes into play, but can usually be worked around with the addition of a couple of native TL lenses. To cover the wide end, an 11-23 TL does nicely, for example. And while massive relative to the diminutive proportions of the CL, both the 24-90 and 90-280 SL lenses work remarkably well. The 90-280, in particular, is of special note.
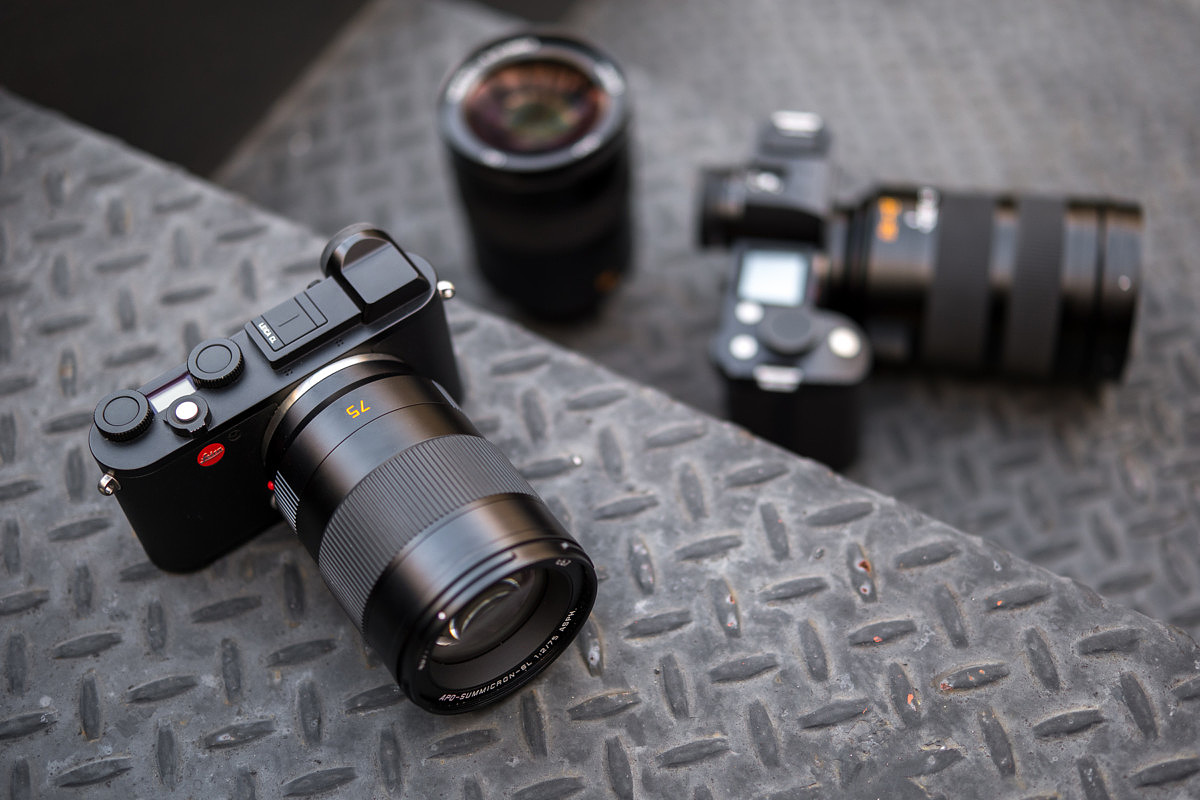
As a 1.5x teleconverter
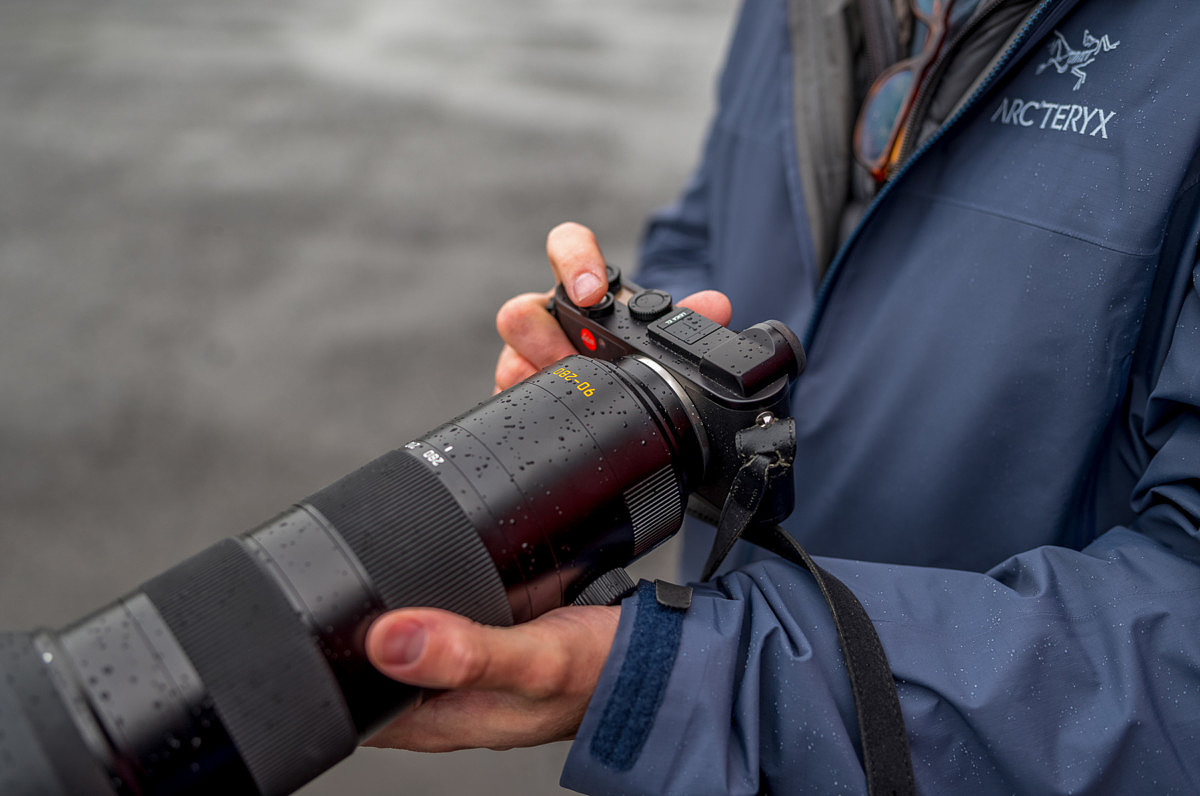
When I asked some of the optical designers at Leica about the possibility of releasing a teleconverter for the SL to extend the 90-280, they said that Leica already offers one. “It’s called the Leica CL.” Yes, even Leica thinks of the CL as a teleconverter. And this makes sense. An optical teleconverter would probably cost about the same as a CL body, result in a marginal decrease in image quality and a 1-2 stop reduction in maximum aperture. Using the CL to turn the 90-280 into a 135-420 equivalent lens, the f/2.8-4 speed is unaffected, with no hit to optical performance. Clearly, the tele zoom is more than up to the task of resolving details on the higher pixel density sensor, even wide open. Full AF and optical image stabilization function are both maintained.
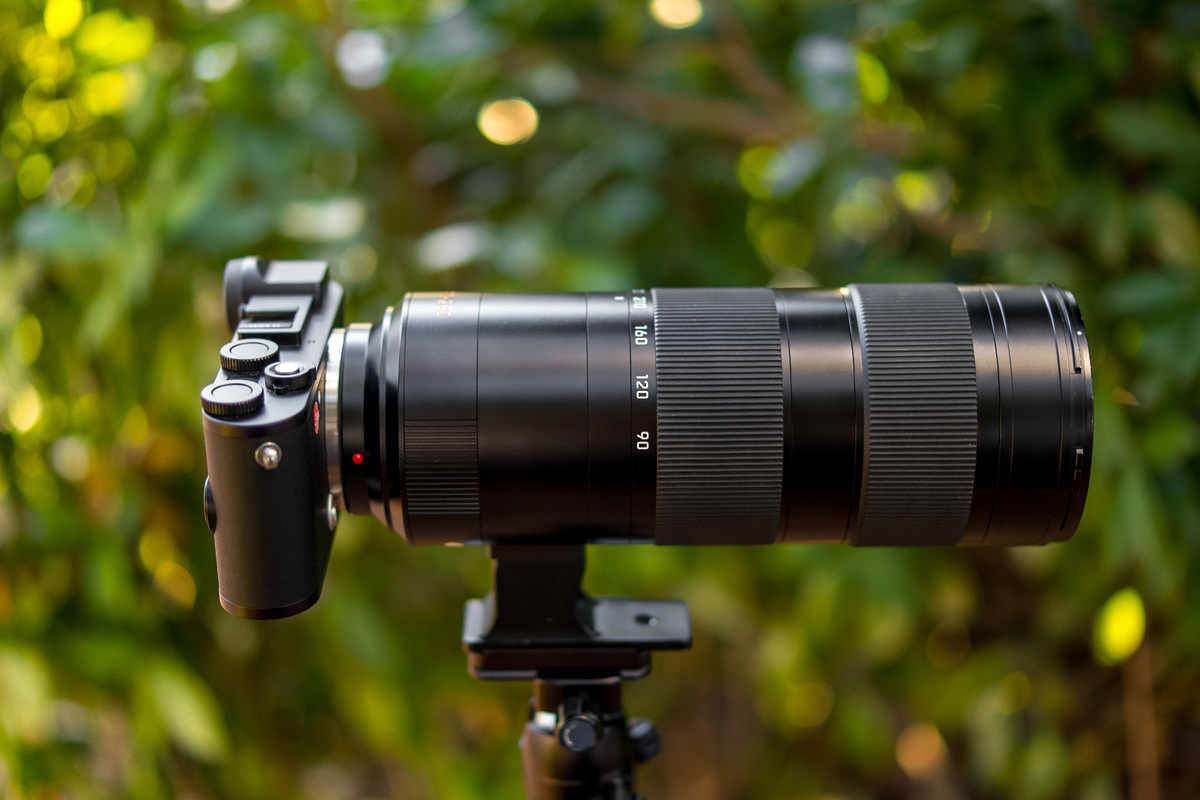
So, if you think you might be needing greater reach than you can get with the 90-280 on your SL, the CL makes a whole lot of sense as both a backup body and a teleconverter. On a space and weight-limited outing like a Safari, the CL would be the perfect addition to an SL kit.
Is the CL a Mini M?
In my review of the Leica Q in 2015, I called the camera a Mini M. This moniker was originally used to underwhelming effect for the X Vario a couple years earlier, which was not initially well received and arguably not at all a Mini M. The Q, though, got closer to this hallowed name with its shutter speed dial on top and aperture and focus rings on the lens, echoing the M.
So, is the CL the new Mini M? After all, the CL works great with M lenses via the M-Adapter L.
Well, I still think the Q is more Mini-M than the CL. The CL to me, feels like a Mini SL. Both are interchangeable lens mirrorless cameras, even sharing the same lens mount. The interface is different, with the rear controls resembling the M10 more than the SL. The top of the camera borrows from the dual dial layout of the TL2.
The CL could have ended up looking like a mishmash with all its inter-camera cross breeding, but rather, the result is clean, functional and easily configurable.
Common Concerns
I’ve fielded a small handful questions and concerns on the CL, legitimate and non-issues both. I’ll run through some of the most common here, with my thoughts.
Lack of OIS and IBIS
Some have worried about that the lack of image stabilization in the CL with a few even dismissing the camera completely for this omission. IBIS, or In-Body Image Stabilization, is a very popular buzzword these days. And while I’m not discounting the value of a good IS system, never once have I felt that I could have gotten a shot, or wouldn’t have missed a shot, had I had IS on the CL. Just hasn’t happened in the thousands of images I’ve shot with the camera over the past year or so.
1/40th @ f3.9, ISO 200
So, either I’m superhuman (I’m not, BTW), or the camera has the magical combination of solid high ISO performance, fast lenses and minimal shutter vibration. And like all current Leica cameras, finding the ideal Auto ISO settings is key to consistently sharp images. For me, a minimum shutter speed of 1/125th does the trick for most walk-around shooting. In low light, I can easily get away with 1/30th, especially with wider lenses like the 18mm.
Not full frame
The CL is not full frame. It’s got an APS-C sensor. And this might be an issue for many photographers. I’m not one of them.

1/100th @ f/1.4, ISO 2000
Between the capabilities of the TL lenses and the solid 24MP sensor, I’ve been getting results that rival the Q, M10 and SL. The superb resolving power plus the luscious bokeh on lenses like the 35 Lux and 60 APO-Macro allow the CL images to easily pass for ones coming out of its full frame siblings.

1/160th @ f/2.8, ISO 125
Over the years, I’ve shot with plenty of APS-C DSLRs and the CL is performing at a different level. Would full frame with the same lens mount be nice? Sure. It’s called the SL. Snarkiness aside, one look at the size difference between the SL and the CL and you can easily see why fitting a full frame chip into a more diminutive body just wouldn’t be possible.
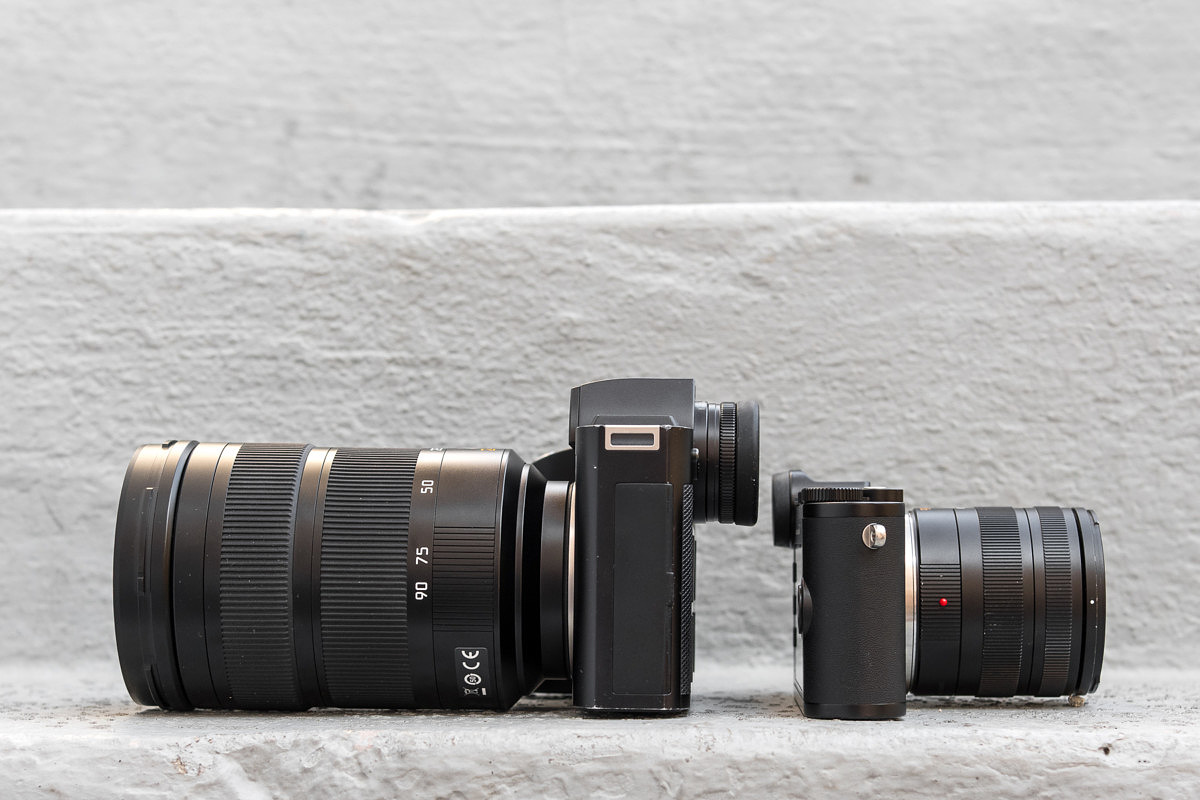
The smaller sensor allows both the camera body and TL lenses to be much more compact, one of the biggest complaints from would-be SL shooters who love the camera, but don’t want to carry the weight or deal with the bulk.
Soft controls vs. dedicated controls on Q
So, this one is isn’t totally in the pro or con column and really comes down to how you like to use a camera. The Q, as well as the M, has fixed controls – shutter speed dial on the top of the camera, with aperture and focus rings on the lens. For many users, especially those who started out with film cameras, this concept is very straightforward. The CL goes more the modern route, along the lines of the SL and TL2. The two top dials are configurable. As are the center function buttons inside them. For users who really like to tweak all their settings, this is a fantastic interface. But, for those coming strictly from the analog side, soft controls could be slightly confusing with too many various ways of interacting and controlling the camera.
Final Thoughts
The CL is a real Leica, through and through. Striking back to the company’s roots, Leica has delivered a small camera with big image quality. Easy to use, yet fully featured. The imaging performance of the APS-C 24-megapixel sensor combined with the stunning TL lenses result in images from the CL that look extremely close to those coming off the full-frame Leica SL. The ergonomics are great, the UI is clean and straightforward and the EVF is large and clear. It's an amazing camera despite its size. And a pleasure to carry because of it.
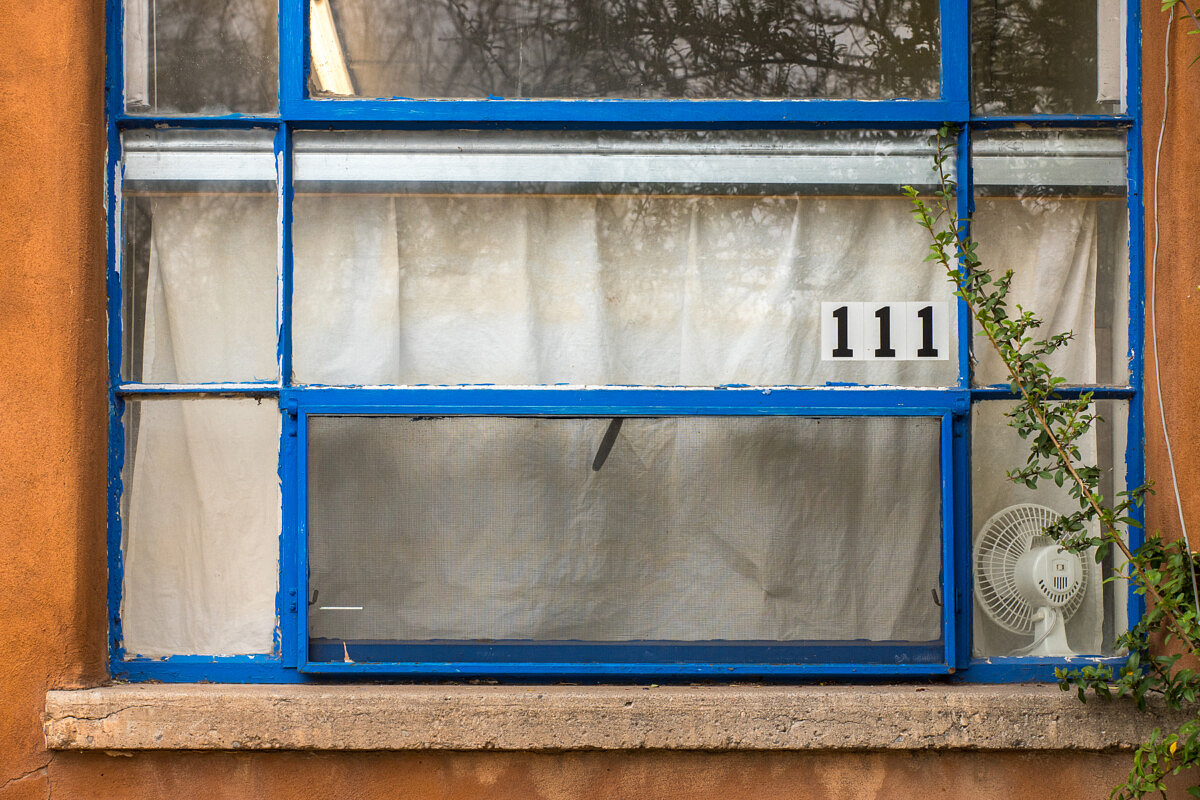
1/160th @ f/8, ISO 400
For me, the CL has become an easy grab and go, and has continued to join me on new adventures. In many ways, the CL is the camera I’ve been waiting for since the early days of digital. Small, without sacrifice. Fun, but more than a toy. Serious enough for real work, yet simple enough to be a point and shoot. And try as I might, I find little not to love about it. If you haven’t figured it out by now, I’m a huge fan of the Leica CL.
If you're considering picking up a Leica CL, or anything Leica for that matter, please consider doing so at Leica Store Miami. Getting your gear through Leica Store Miami is a great way to support this site.

1/400th @ f/1.4, ISO 100
Even more images
Apparently, the CL makes getting good pictures a little too easy, because I ended up with way too many shots. Here are some more images that didn't find their way into the main review, but that I really liked. Be sure to click on the thumbnails for a larger view, then just use the arrow icons to advance through the gallery.
Tech Specs
| Lens Mount | Leica L bayonet with contact strip for communication between lens and camera | |
| Compatible lenses | Lenses with Leica L-Mount, Leica M/R lenses using the Leica M-Adapter L/R-Adapter L | |
| Sensor | APS-C sized CMOS sensor (23.6 x 15.7 mm) with 24.96/24.24 million pixels (total/effective), aspect ratio 3:2 | |
| Photo Resolution | DNG: 6016 x 4014 Pixels (24 Megapixels), JPEG: optional 6000 x 4000 Pixels (24 Megapixels), or 4272 x 2856 Pixels (12 Megapixels), or 3024 x 2016 Pixels (6 Megapixels) | |
| Photo file formats/compression rates | DNG, JPG or DNG + JPG | |
| Video Recording Format | MP4 | |
| Video resolution / frame rate | 4K 30 fps, full HD 60 or 30 fps, HD 30 fps | |
| Video recording time | Depending on ambient or housing temperature video recordings are possible up to a maximum length of 29 minutes, maximum file size is 4 GB, if a recording exceeds this limit, the respective part is automatically stored in another file | |
| Storage media | SD/SDHC/SDXC memory cards, multimedia cards, UHS II-standard is supported (32GB internal memory) | |
| ISO range | Automatic, ISO 100 to ISO 50000 | |
| White balance | Automatic, presets for daylight, cloudy, halogen lighting, shadow, electronic flash, two memory slots for manually metered settings, manual color temperature setting | |
| Autofocus system | Contrast based, 49 points | |
| Autofocus metering methods | Single point, multiple point, spot, face detection, touch AF | |
| Exposure modes | Program AE, aperture priority AE, shutter priority AE, manual exposure setting, scene mode, video | |
| Exposure metering | Multi-zone, center-weighted, spot | |
Exposure compensation | ±3 EV in 1/3 EV increments | |
| Automatic bracketing | Three pictures in graduations up to ±3 EV, adjustable in 1/3 EV increments | |
| Shutter speed range | 30 s to 1⁄25000 s (up to 1⁄8000 s with mechanical shutter, higher speeds with electronic shutter) | |
| Burst shooting | Max. approx. 10 fps with mechanical shutter, 10fps with electronic shutter function, max. approx. 33 pictures (DNG + JPG) and max. approx. 140 pictures (JPG only) at full speed, then depending on memory card properties | |
| Flash modes | Adjustable with attached, system compatible flash (no built-in flash) | |
| Flash exposure compensation | ±3 EV in 1/3 EV increments | |
Flash synchronization | 1/180 s | |
| Recommended Flash Unit | Leica SF 40 flash | |
| Monitor | 3” TFT LCD, 1.04MP, touch and gesture control possible | |
| Top Display | Resolution: 128 × 58 pixels | |
| Self timer | Selectable delay time 2 or 12 s | |
| Wi-Fi | IEEE 802.11b/g/n, WLAN-compatible WPA™/WPA2™ | |
| Power supply | Leica BP-DC12 lithium ion battery, rated voltage 7.2 V, capacity 1200 mAh (min.) (based on CIPA standard): approx. 220 pictures, charging time (after total discharge): approx. 140 min. Manufacturers: Panasonic Energy (Wuxi) Co., Ltd, made in China | |
| Viewfinder | Resolution: 2.36 MP, magnification: 0.74×, ± 4 diopter settings, with eye-sensor for automatic switching between viewfinder and monitor | |
| Body | Top plate and baseplate in machined and anodized aluminum, magnesium front and rear shell | |
| Tripod thread | A 1/4 DIN 4503 (1/4”) | |
| Dimensions | 131× 78 × 45 mm | |
| Weight | 403 g/353 g (with/without battery) | |
| Software | Leica CL App (remote control and image transfer, free download from Apple™ App-Store™/Google™ Play Store™) | |
| Warranty | 2 years |












David,
Wow, I think you nailed it. I’m glad you took your time.
These kind of reviews are what makes this site so good.
I bought a CL two months ago, with the 18 thanks to your Leica deal. I already had the 11-23 for the first T.
Then I just bought the 55-135 last month. All from Josh of course at Miami.
I was eager to see what lenses you used in Santa Fe. You explained why you stayed with primes for the most part. I suspect my next lens will be the 60mm, seeing what you did with it. I admit I remain curious as to what you may have loaded into your “User Profiles”?
I enjoyed the T, as love the design, but in choosing which camera I wanted for an update, I went with the deal on the CL plus 18mm as I had a friend who showed me his CL and I wanted the built-in EVF. That’s even though the articulating EVF on the T was very handy. The CL with the 18 fits in my pockets: the TL with the external EVF is more difficult. But both are light weight. Regardless, the real happy news is the lenses extremely good, regardless of the camera body, oh yes they are. And as you said, the camera is fun to use.
I agree the SL is an amazing camera and look forward to seeing what Leica does with the SL2, but I have already been in the S system for years. If I am going to bring a bigger heavier camera, it will remain the S. The CL to me is the equivalent of the M with relatively smaller AF lenses, with twice the resolution and a lot more DR than I had with the M8.
Thanks for the effort you put into this review, and all your reviews.
Jack
This has to be one of the most, if not the most, comprehensive review I’ve read of any camera (not just a Leica camera). To say well done is an understatement. Thanks!
Great article, well written and highly discriptive!
Many thanks, very informative,
Did you always use AF?
Yes. I used single field AF for all my shots.
Your comprehensive review was the final trigger to buy the CL. Thanks for this great work.
David,
Thank you for this wonderful piece of work. This is the most comprehensive and detailed camera review I’ve read, both from your narration and pictures.
From your sample, I found the color profile simply amazing.
May I ask if these images were taken in raw or jpeg? Did you achieve these colors in post or are they OOC?
Thanks in advance
Ken
Thanks Ken.
I shoot exclusively in DNG (RAW) format, then process in Adobe Lightroom Classic CC. I created a default CL preset and apply it to all CL images upon import. So, I generally never see OOC rendering. With the preset applied, I usually don’t need to do much further editing – just tweaks to exposure, WB, highlights and shadows. The CL DNG files handle extremely similarly to those from the SL. Very malleable.
Thank you for your reply David. All your outdoors shots in NM look like they were shot thru a polarizer. Colors are so rich and deep but not overly-saturated, with no clipping on the red channel. I’ve never seen the red color handled so well by a digital camera like in this set.
Your article undoubtedly helped me make the decision to buy the CL. Thanks again for the comprehensive and superb review. Cheers.
I’ve added a CL to the stable, joining an M240 and a MM(1). I’ve been a full format fan, even medium format, and never been interested in APS-C.
Oddly, the CL does the trick very nicely. From using zooms, adaptable EVF (diopter), shooting to the histogram, and being able to crop in camera – the camera has several different personalities. It can be a quick point/shoot, or even a thoughtful composure camera with M lenses and focus confirmation.
Comparisons with the M240 are telling: maybe a wee bit left on the table, but not much at all. They really nailed it with the APS sensor. With all the convenience and capability, its become a treat to use. Thanks for your real world review and accurate appraisal. Just wanted to point out that while old APS might have given away too much – this one doesn’t. It holds up in 17 x22 prints, its the real deal, with excellent colors to match. A really good camera here.
David
This has to be the finest review of a camera that I have ever read. It’s quite superb and thank you for the time you have spent compiling the review.
I have just purchased the silver version of the CL to complement my Leica Q. The rest of my camera collection is now obsolete and will be sold, which will please my wife immensely!
Just one question – can you recommend settings for the Leica CL for general photography please?
Many thanks again.
Dear David,
I really appreciate your thoughtful and helpful review. Love your images, very impressive. I am thinking of moving to a CL from my Lumix 4/3 system. It’s hard to see if such an upgrade is worth it, some say no big difference, some differ! Your review convinced me to rent a CL to see for myself.
One thing that is all too often downplayed in reviews is the ergonomics (vs tech specs) including the viewfinder. For me this is very important since I am just an enthusiast photographer and the experience is as important as the images. I think I will really appreciate the small size and weight of the CL since most of my photographs are made while hiking or traveling/vacationing.
Thanks again,
Tom
ive used Nikon Pro SLR’s and DSLR’s my entire life, starting with the F2
After a recent trip to Italy with my D5 and a few lenses, i was ready for a change.
I spent a bunch of time at the Leica showroom in Los Angeles over the weekend, and yesterday purchased the CL kit, i was a little frustrated at first, but Ive already gotten a little comfortable with it and have taken a few reference pictures I am really happy with.
Im seriously looking forward to exploring what this CL can do. I agree with the users above, this review is spot on, in depth and super helpful
Thanks for such a thorough review .. Leica ought to put you on commission ..
About your Lightroom CL profile, can you share with us the details?
Thanks again ..
A wonderful review, thank you. I have prints as large as 3’x2′ in a gallery in Mexico. These prints have all come from my Leica Q and my Canon 5D Mark 2-4 system. I would very much love to have the CL for its size and quality.
In your experience can I through Lightroom develop image files from the CL that can be enlarged close to this size?
Thank you,
Barry
Barry,
You wouldn’t have any issues printing 24×36 inches from the CL. I have prints at 20×30 inches that look as good as ones from the SL. In fact, it’s near impossible to tell them apart at this size.
Well this was very helpful and your photos inspiring. My CL arrives tomorrow. I ordered also the Leica Hand Grip and M adapter as I intend to shoot my M lenses on it. I think it will be a nice compliment to my M bodies. I travel to Italy about 3 times a year and sometimes my carry on weight is restricted, so this will lighten my load and my worries about the issue. Great review overall, and quite substantive.
I just finished reading your review of the CL and looking at the photos. I lived in Santa Fe for several years and I think I walked and walked. Being there I was able to explore the four seasons. The color of the Aspen was just one subject matter. I could I don’t know how many frames of E-6 I shot during the time I lived there. Another should see is the Plaza at Christmas time. The Palace of the Governors makes a nice background or a stand alone subject. I have both an M-7 and a M4-P, plus two R bodies. Your review of the CL is going a long way in convincing me to add a CL to the stable.
fantastic review! One question- Leica is offering 2 bundles with the CL, one with the 18 mm and one with the 18-56. Which bundle would you choose and why?
I really like the smaller size and faster aperture of the 18mm, so that’s the way I would go personally. The zoom is a very flexible option if you only want to carry one lens though.
I already have a Q2 and can’t carry heavy cameras or lenses. I would like to have a camera to add for telephoto images. If I get a CL what lenses would you get for this purpose.
The APO-Vario-Elmar-TL 55-135mm is equivalent to an 80-200mm in full-frame, yet only weighs 500g or around one pound. Really, that would be your best option.
https://leicastoremiami.com/collections/tl-system-lenses/products/leica-apo-vario-elmar-t-55-135mm-f-3-5-4-5-asph
David, this is arguably the best camera review I’ve read not just on the CL but any camera. Thank you for taking the time and effort. Ive owned the CL since August 2020 and it gets used more than my q2. Love it.
Fair, impartial and balanced with huge depth of content.
My next camera will be the SL2 47mp and have every intention of keeping the cl.
Keep up the excellent work.
Thank you so much!
Thanks a lot for your review. But is the 35mm Summilux an APO ? Considering the CA issues I believe it isn`t, right ?
Excellent reporting with tons of great info. It is because of your Camera Talk show and THIS article I pulled the trigger and bought from YOU, a complete CL kit. Body in silver, all the primes and the 11-23 Vario zoom. Arriving today and I cant hardly wait. Jose and Josh have been taking good care of me. Going to Seattle to see Curtis Salgado in concert this weekend and I look forward to putting the CL through its paces. While I have been a pro wedding photographer for over 30 years (Analog Medium format) I am a novice with digital, so I taking the full dive into the world of digital thus I am fleshing out my kit. A couple of week ago I got a Q2 and that was the deciding factor for me. WOW I was blown away. Shortly after that I discovered that Red Dot on YouTube was affiliated with Leica Miami, so I purchase my new Q2M from you also.
One thing that was very evident to me is that all of the lenses have a similar look and color signature so it is apparent that the were well engineered to tight tolerances to provide consistency to the user. They all look SO fantastic. The are very smooth and sharp as a take without show any clinical characteristics. The fact that you said you were able to carry the entire kit with you at around 10lbs. without experiencing fatigue Was put it over the top for me. All those year doing wedding took their toll on my body and unfortunately I am now paying the price.
Anyway, Thanks again and keep up the great work.
Silently discontinued by Leica, such a shame…
Amazing review. Thorough and detailed. Despite the camera seemingly being discontinued, I picked one up after your review confirmed this is the camera I need. Thank you for going through all the lenses and your thought process on why you prefer the ones you do.
Glad you found it helpful. I still continue to use my CL for more casual endeavors and am always pleased by the ease of use, compact size and resulting image quality.
Excellent review David.
Convinced me in late 2019 to buy a CL, 5 lenses and a second hand TL as back-up.
I love using these so much that my Nikon gear is now gathering dust.
It is disappointing to find out that Leica has discontinued the APS-C range. I was looking forward new products being added to this superb line.
Thanks David.
I too share every ones joy. i am happy with the used CL, 18-58 than 11-23 and now 60 – all so inspiring. Great article with beautiful samples. Thank you for sharing and putting all that hard work into it.
Fantastic review David! One of the best camera reviews I’ve come across in fact. The CL really shines with beautiful / tastefully saturated colors and a very high performing APS-C sensor. You’ve totally sold me! I do street shooting in NYC with a Leica Q2 (eboehmjr on IG) and also use film on the M2 & M4. On the latter I use fast Voightlander glass exclusively. Hence my interest in the CL. Many thanks!