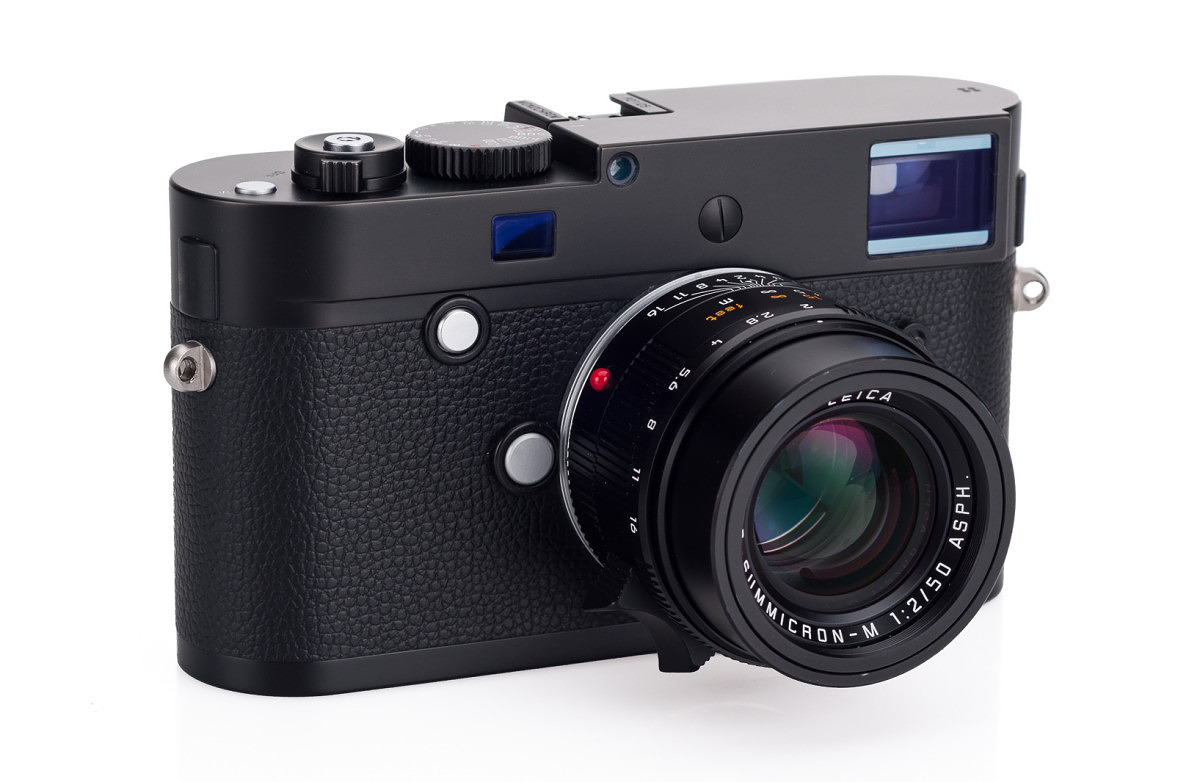
The Leica M10 might be the most ‘analog’ digital M yet. And perhaps the most faithful to the M lineage. This should come as no surprise to anyone who has followed Leica’s journey into digital photography over the last decade or so. Every step of the way, the venerable German camera company has endeavored to approach that holy grail of M-ness. And with each generation, with each iteration, they’ve achieved minor victories, inching ever closer to that goal.
With the M10, have they finally realized this lofty aim of creating a digital camera that is truly worthy of the M moniker? When I took the M10 out for a few days of intensive shooting in New Orleans, this question was always in the back of my mind. And now that we’ve gotten to know each other a little better, I’ve certainly formed my own opinions.
The M10: how did we get here?
But first, I think it’s worth looking at the steps and missteps in recent years, as Leica has found their way with digital M cameras. Let’s face it. Leica was late to the digital party. And when they did show, they were at a significant disadvantage owing to their lack of in-house expertise. Now, in some ways, being first isn’t always best. Kodak was actually the first to market a digital camera, and we know how that story ended. Most of the earliest medium format digital back makers either went out of business, faded into obscurity or were absorbed by other companies. As the saying goes, “The early bird may get the worm, but the second mouse gets the cheese.” In this case, Leica’s late entry into the market allowed them to start with a different mindset and with the availability of slightly more mature technology.
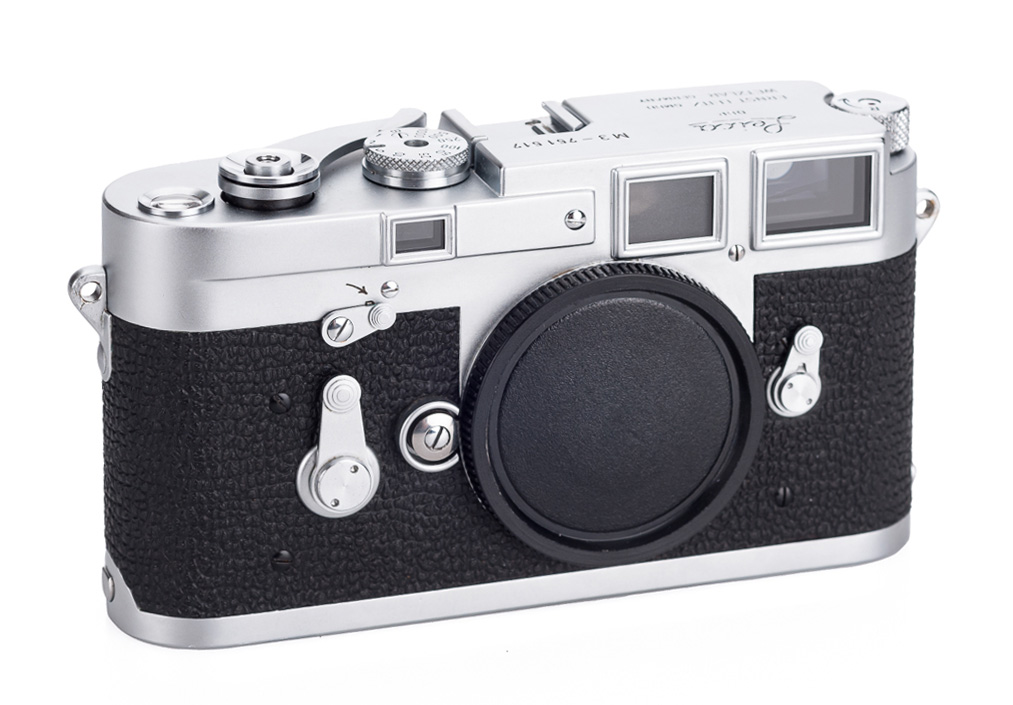
M3 – 1954
Okay. The M3 isn’t digital, but it was the first M camera and gives some historical perspective. Every M since, save for the M5, looks like an M, feels like an M and is just…an M. Some aficionados might have their certain preferences, be they for the M4, M6TTL, M7, etc., but all could agree on this common M-ness. Generations of M shooters have felt it and been drawn to it. Eventually, when the world of photography started moving in that direction, they wanted a digital version that evoked that same essence.
M8 – 2006
The M8 was the very first digital rangefinder from Leica. A flawed, yet wonderful initial foray into digital for a company so deeply intertwined with the history of film and photography itself. Limited by available technology at the time, it offered up a 1.3x crop 10 megapixel CCD sensor that, when paired up with M glass, produced excellent results…if you used an IR cut filter. Sadly, Leica’s sensor partner Kodak Truesense misjudged the effect of using a thinner 0.5mm IR cover glass and IR contamination ruined more than a few early users’ pictures of synthetic black fabrics. It tainted the camera’s reputation.
Leica did their best to atone for this cardinal sin of imaging by distributing free UV/IR filters for every M8 purchaser. And, with the red and green glinted filters adorning their lenses, M8 owners were back in the game, turning out fantastic images as they had been promised. But there were still shortcomings. Usable ISO was capped at 640. The somewhat buggy electronics, care of hardware partner Jenoptik, caused freezes and lock-ups at random. Battery life was so-so, the LCD was low res and the camera was a bit on the slow side. As has been shared with me by the powers that be at that time, the M8 was necessary to the survival and future of the company. Flawed or not, it needed to be released when it was or there would have been no future M cameras. And to that end, the M8 was mostly a success.
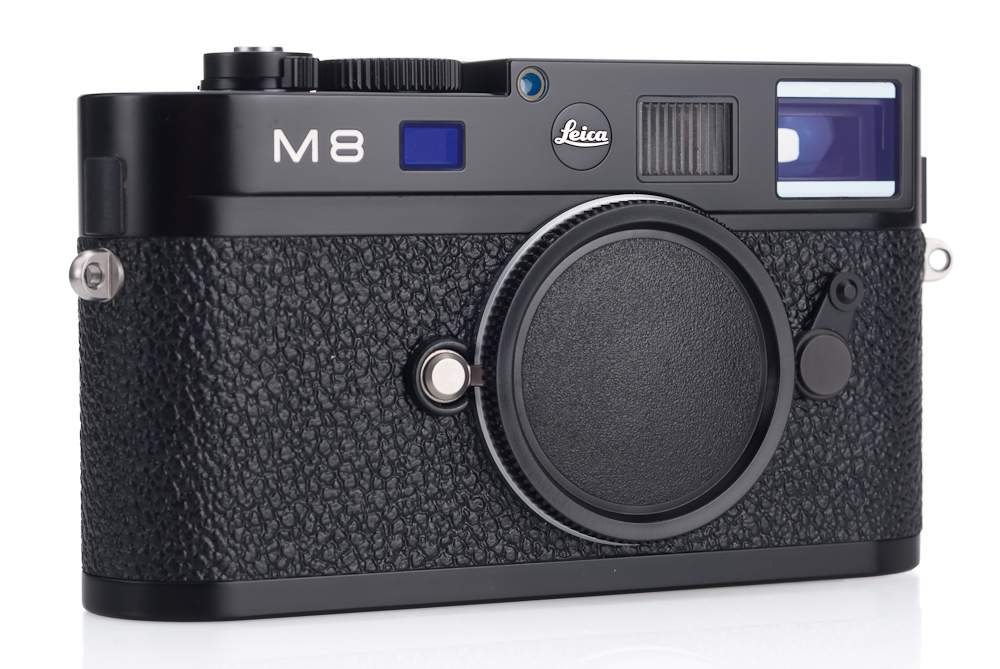 Once the M8.2 update rolled around in 2008, some of the issues were fixed, like the oddly close frameline distance of 0.7m, an unnecessarily loud shutter and overall stability. Personally, I am quite fond of many of the pictures I captured with my M8 and M8.2 cameras. Even at just 10 MP, the 20×30 inch prints still hanging on the wall look darn good. And at the time, the M8, along with the R9/DMR, convinced me to completely commit to the transition from analog to digital. No small feat for a die-hard film guy.
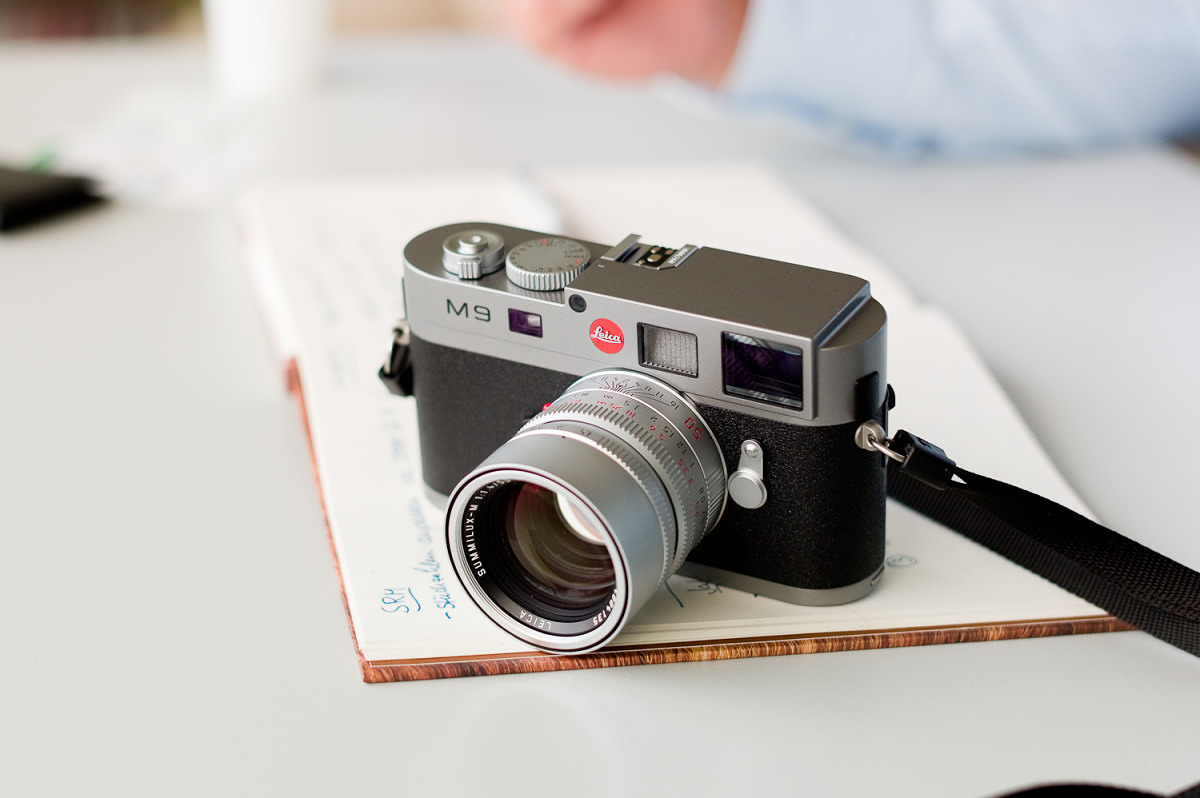
M9 – 2009
The M9 was a monumental success for Leica, a real game changer. The winning formula was a simple one: listen to your customers. Leica conducted an online poll and implemented the top dozen requests or so into the M9. Full frame? Check. No IR issues? Check. Improved low light ability? Check. Increased dynamic range and better color? Check. Direct ISO control? Check. You get the idea.
With most of the boxes ticked, the M9 sold like hotcakes. The camera was so successful that Leica completely underestimated the market for such a camera. They were backordered for well over a year. The surprising thing was that it wasn’t just M8 owners trading in their cameras and snatching up all the M9s. No. At least half of the people rushing out to get in on the M9 action were brand new to Leica. As a result of all these first-time buyers, used and new M lens supplies dried up…for over two years. There just weren’t enough lenses to meet the demand. Due to forecasting, production quantities were predetermined and limited by exotic glass supplies that required months of lead time. Of course, everything evened out in the end.
To this day, the M9 still has a fiercely loyal following. Many claim that the M9 has the best color, often referred to as ‘digital Kodachrome,’ of any digital camera. I adored my M9, and was lucky enough to be one of the earliest to test the camera. You can read my review here.
But alas, the M9 wasn’t perfect either. A big step up from the M8 and M8.2, sure. But M users were wanting a more up-to-date digital platform. So, at Photokina 2012, Leica bounded forward and introduced the M (Typ 240).
M (Typ 240) – 2012
The M240 ushered in the truly modern M, with its CMOS sensor and Maestro processor. Along with the new sensor and processor architecture came HD video and EVF capability, faster frame rates, a higher ISO range, the ability to use non-M lenses with adapters, and more. More importantly, the M240 was the first M designed in-house. The M8 and M9 were jointly developed with technology partner Jenoptik, and mainly used off-the-shelf components, which limited performance. Leica knew that they needed to invest in their own digital expertise and reduce dependency on outside assistance, just as they realized the need for custom imaging solutions to address the specific requirements for M lenses. As a result, the Max CMOS architecture was co-designed with Belgian chip company CMOSIS, with the Leica optics team creating a unique conical microlens structure that solved the issues with high incident angle lenses (like most of the wide-angle M focal lengths). The speedy Maestro processor, created exclusively by Fujitsu for Leica’s S2 medium format digital camera, was adapted into the M chassis.
And really, the M240 is a great camera. But…. There always seems to be a ‘but,’ doesn’t there?… the camera was getting too thick for some users’ taste. Also, they wanted even better low light performance, had questions about the usefulness of video on an M, and demanded a higher resolution EVF.
M (Edition 60), M (Typ 262), M-D (Typ 262), M Monochrom – 2012-2016
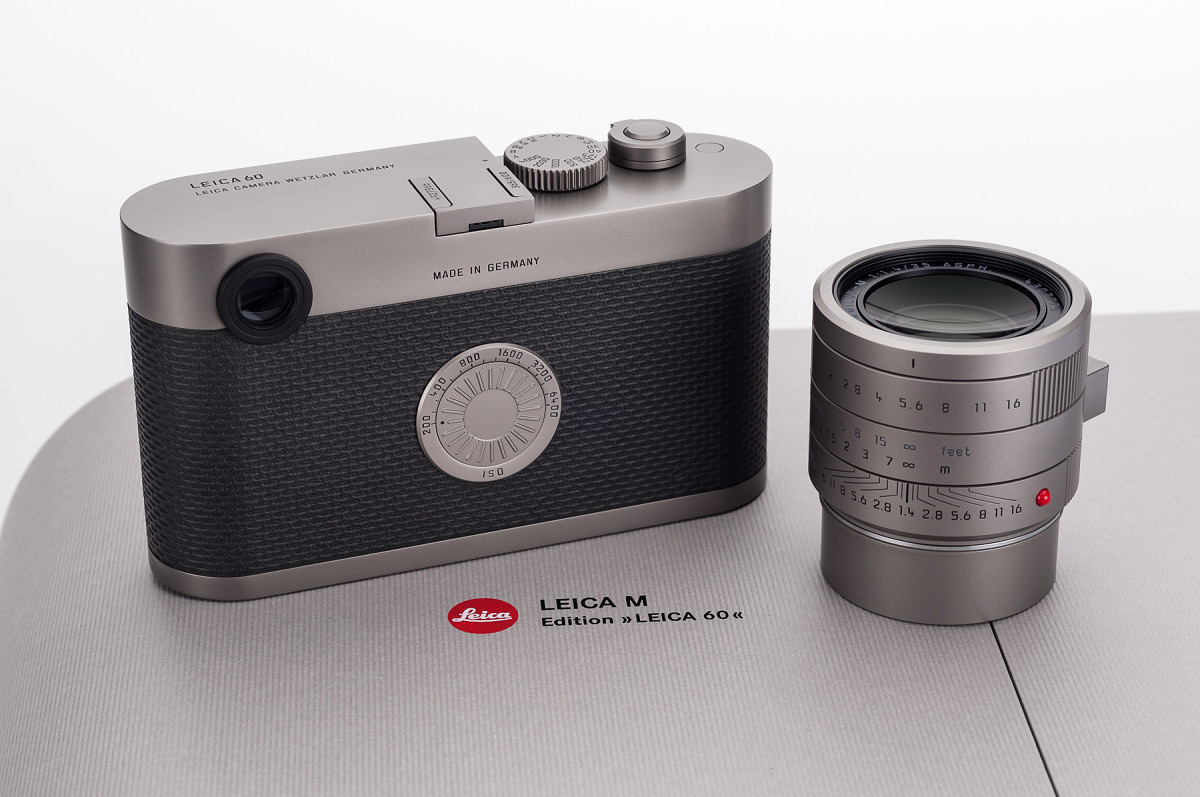
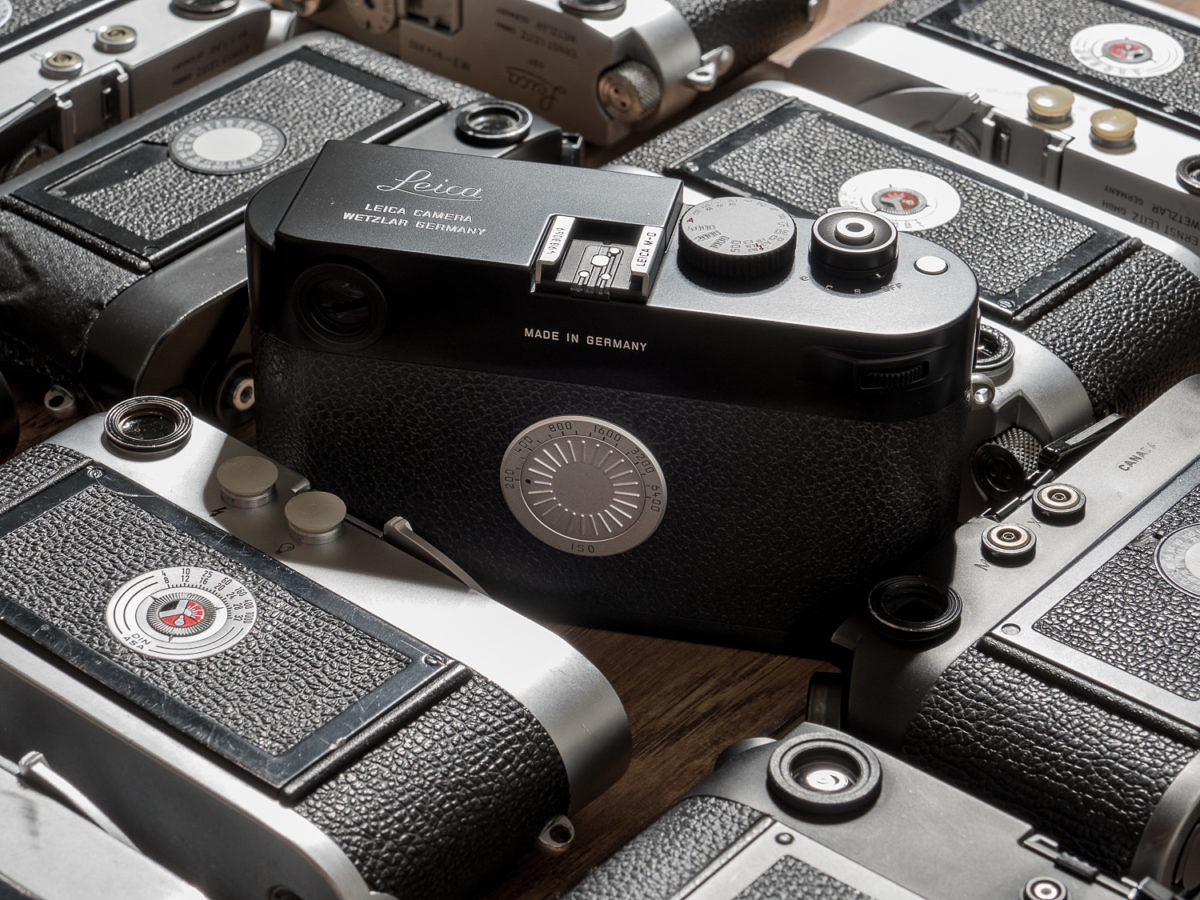
Along the way, some more niche digital Ms have been introduced. And what’s fascinating about these isn’t that they are more advanced than the standard M240. Rather, these are stripped down, simplified variants. And moreover, this is precisely what many in the Leica community wanted. Video? Gone. EVF? Gone. Heck, even the rear LCD got tossed to the curb, first on the M (Edition 60) special edition, then on the production M-D 262, when people went bananas for a screen-less digital camera.
I was at Photokina 2014 when the M60 was revealed. The response was surprising. No one laughed or scratched their heads. No scathing comments on social media. Nope. Everyone cheered and wanted to know when Leica would make a production-run camera without the LCD. Leica was lauded for their collective genius. Why had no one thought of removing one of the defining features of a digital camera before? Right?
And lest we forget two generations of Monochrom cameras. Again, standing at the launch event in Berlin in May 2012, the very first Das Wesentliche event, I could hardly believe Leica’s brazen move of releasing a B&W-only digital camera. And yet, both the first version, based on the M9, and the second, current version, based on the M240, have been so well received and well loved by photographers. Even as a color shooter, I am astonished by the results I get from the MM246 every time I press it into service (Read my full review of the original Monocrhom here and my review of the Monochrom (Typ 246) here). But who would have expected a camera company to take such a massive risk? Turning a color capture into B&W on digital is as simple as a single click. But, as Leica proved, this is no match for a native B&W sensor sans Bayer filter.
My point here is twofold. First, more than any other company I have dealt with, Leica listens intently to its customers. They then employ this data to create the next generation of product. I really believe that Leica’s success can be easily traced to their ability to understand the desires of their users.
Second, Leica seems to know something about designing cameras. At every new product launch, I can’t help but grin and shake my head as the familiar realization hits me anew. Leica has a certain knack for elevating and simplifying a concept that is difficult to imagine until you see it. Then, once experienced, it just seems like there really was no other way.
We can see this cycle in these special cameras, as well as in major releases. The common thread is that, yes, Leica is listening, and, yes, they have an in-depth understanding of what their customers, we the users, want in an M. Have they had a perfect track record? No, but an impressive one nonetheless. And many of the missteps along the way have been the result of limitations in technology. Which brings us to the M10.
The M10 – 2017
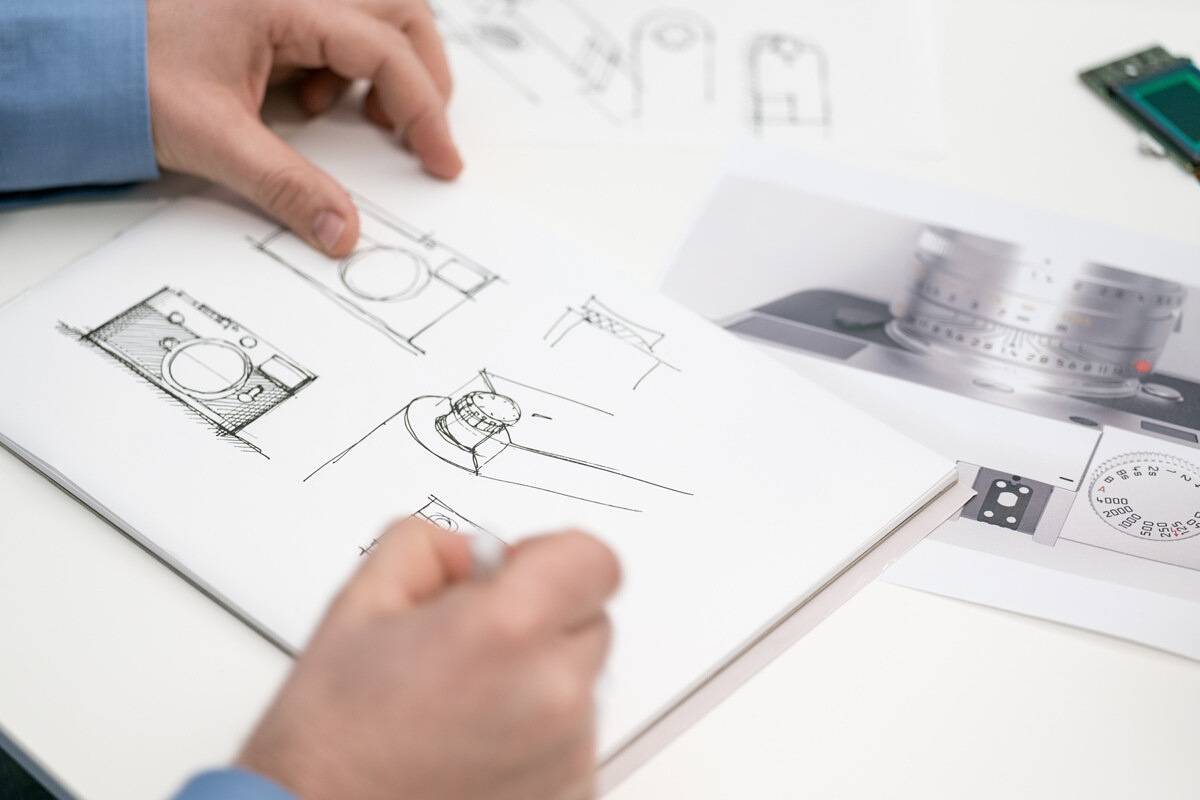
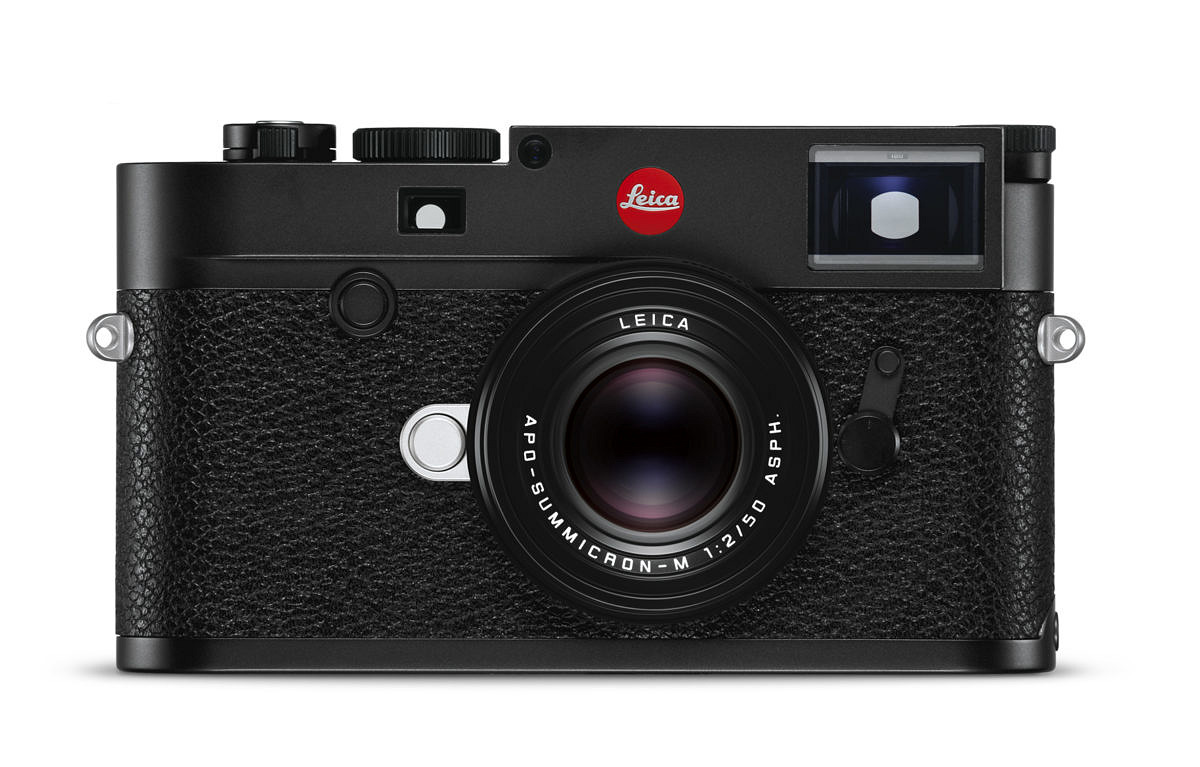
The M10 is significant in its ability to be technologically advanced, yet elegantly effortless to use. Just as with many recent products, the new M embodies Leica’s mantra over the last five years: Das Wesentliche, German for The Essentials. They looked to see how functions can be condensed, eliminate unnecessary items, and streamline operation to a core concept. Here, we can see the fruits of that effort.
More than any other design goal, Leica has worked diligently to reduce the body thickness by 4mm to that of an analog M, a harder-than-it-looks task of cramming so much into so little space without sacrificing build quality or function. At the same time, they have also managed to dramatically improve image quality and overall camera performance. Like both the M9 and M240 introductions, Leica provided almost exactly what customers wished for. And if history is a guide, the M10 will be as successful as its predecessors.
Let’s take a quick run through the improvements to the new M10, some requested, others, a bonus.
Slimmer body
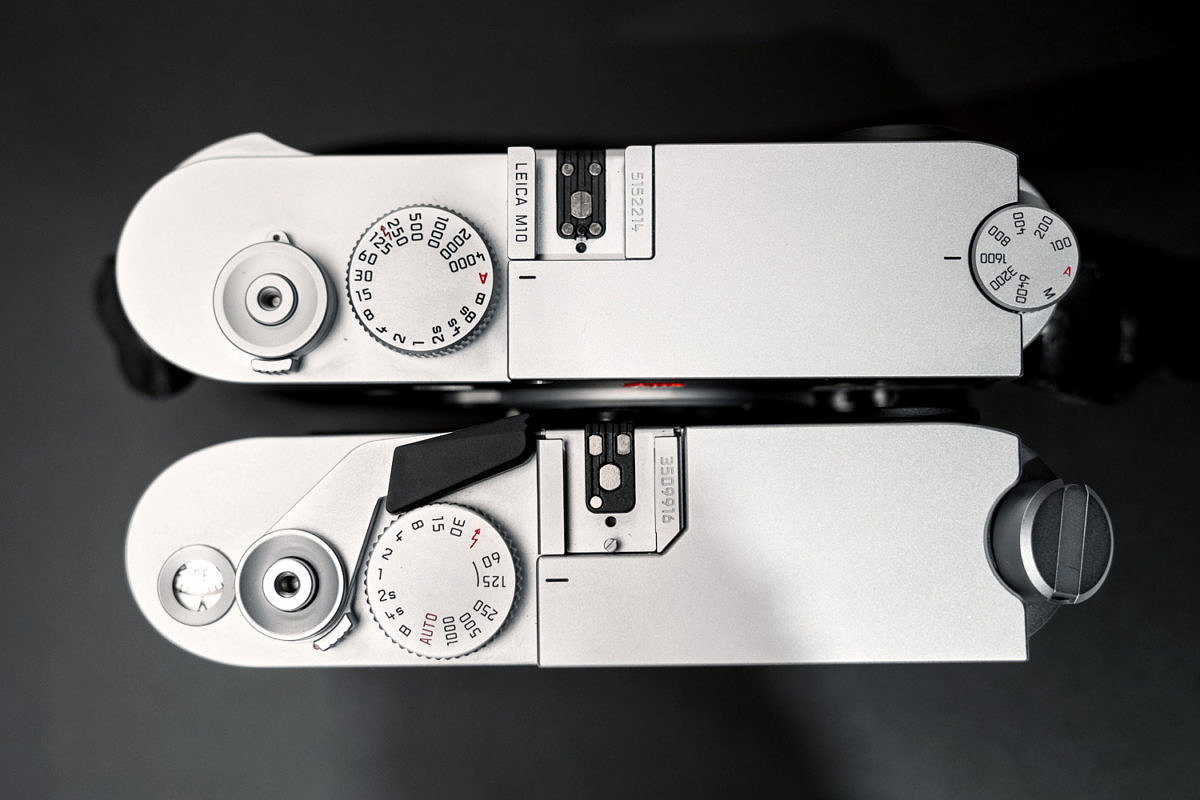
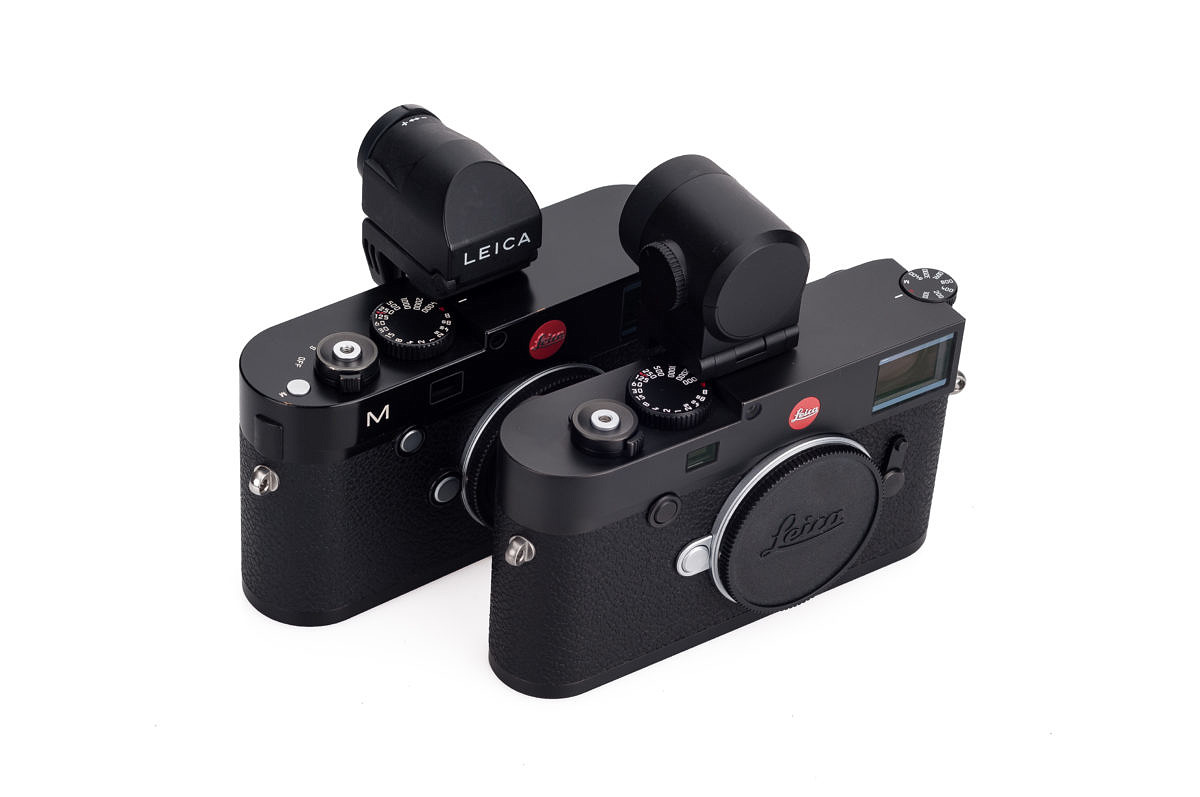
One of big asks from the M community has been addressed. Ever since the M9, M aficionados have been begging Leica to put the digital M on a diet and get it down to the size of a film M. And until now, the prospect of an M6-sized digital M seemed like it would never come. In the hand, the change is noticeable. The M10 feels different than an M240. Close your eyes and you might mistake the camera for an M7 or an MP. The more compact body feels denser and better balanced, with a near perfect weight distribution, a result of almost no air space in the camera and all-metal construction.
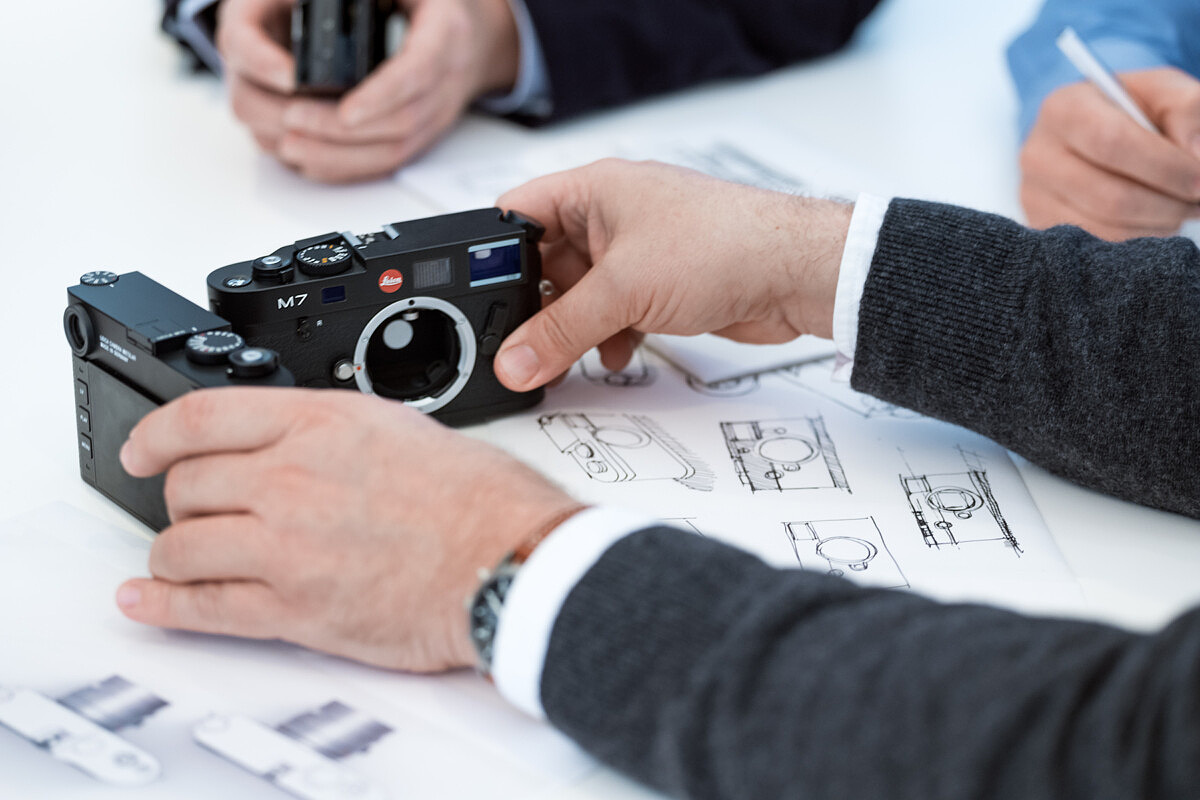
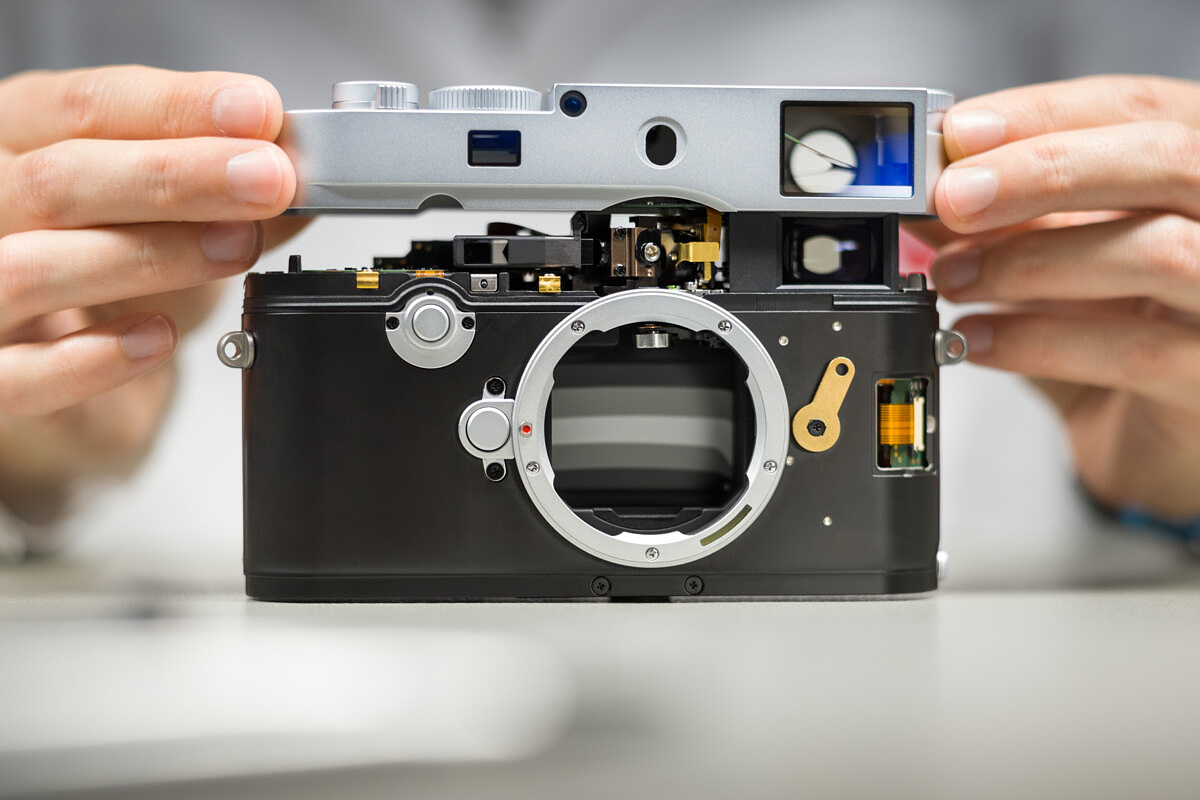
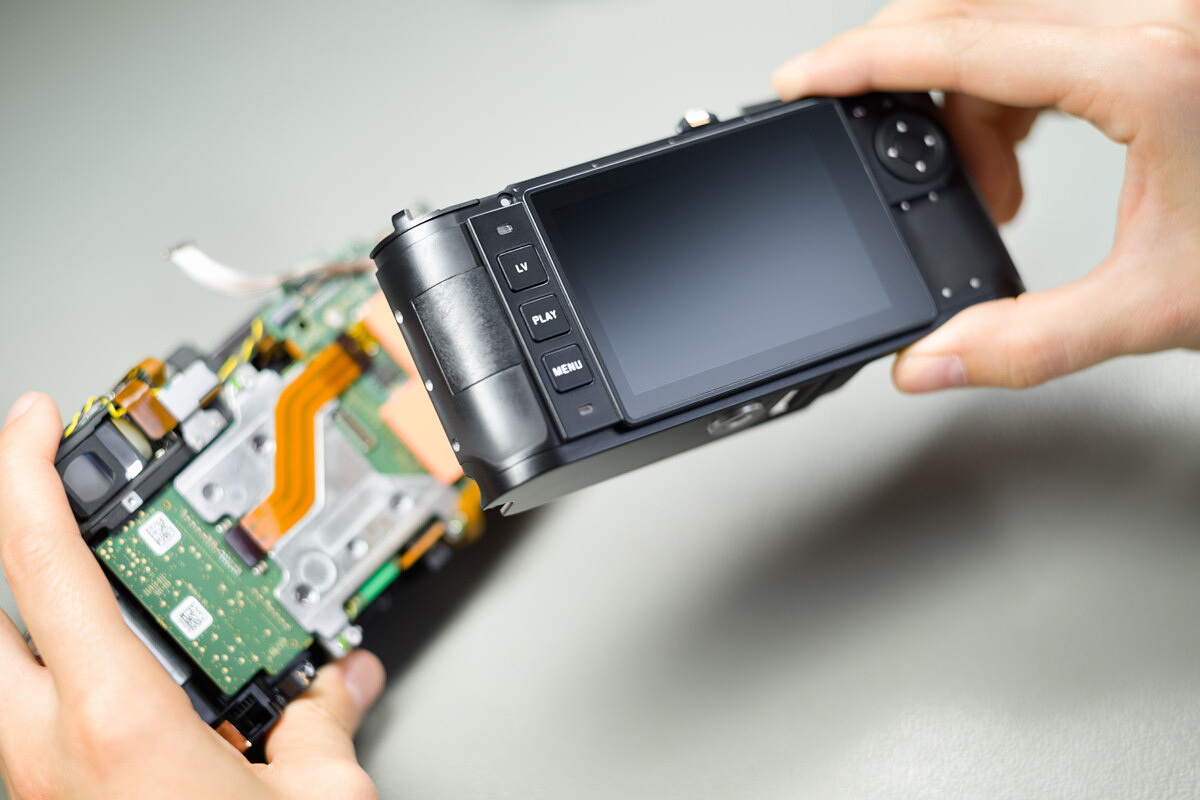
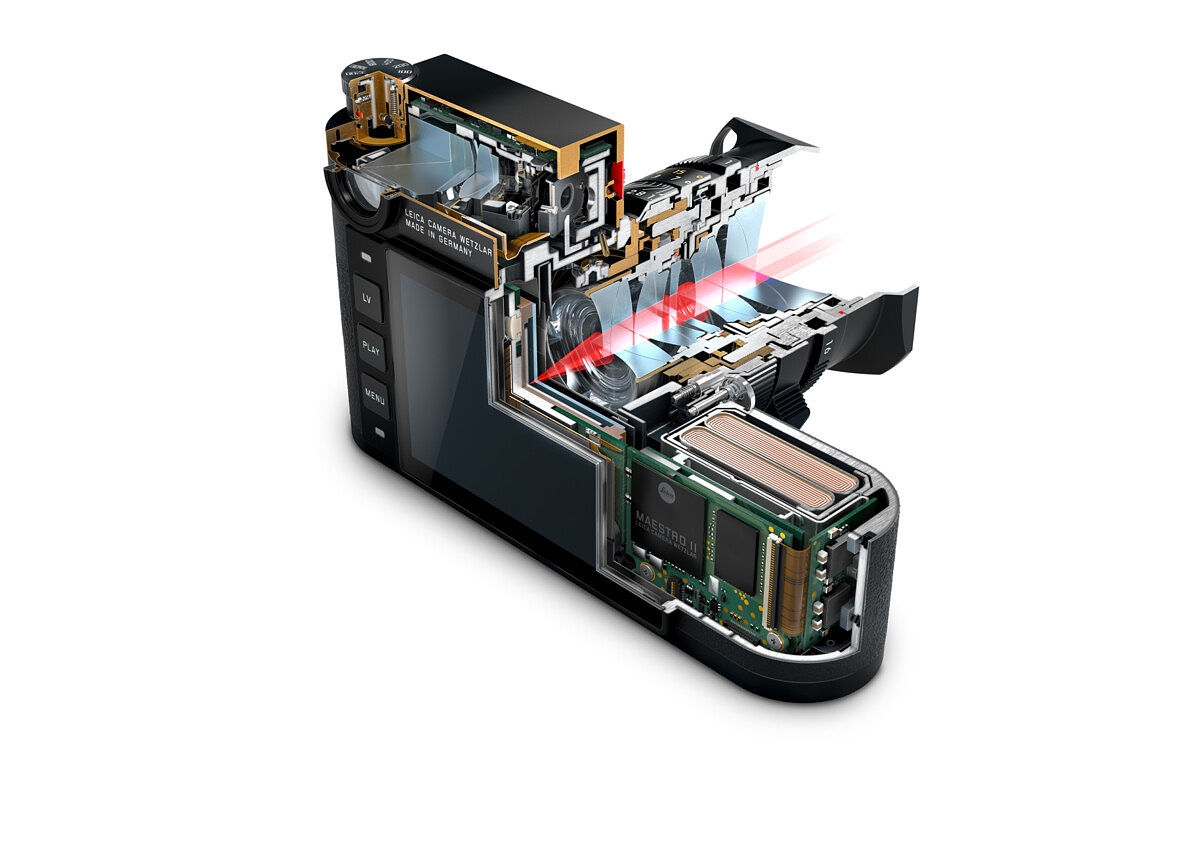
When talking with product manager Jesko von Oeynhausen and Stefan Daniel, Global Director Business Unit Photo, they stressed to me the importance of slimming the M10 and using the M7 as a design goal. The engineers had to overcome heat and how to actually fit all of the necessary components in such a small space. Instead of a stacked design, which is typical for digital cameras, they needed to think more three dimensionally. By placing the sensor board and main board in the same plane, as well as making the battery more compact, the team was able to eke out the necessary millimeters. Heat and the smaller battery were addressed with what Stefan refers to as clever power management, such as switching off the sensor when not in use. You can read the full discussion here.
The result is what we’ve wanted for a long time and the similarity to an M7 is uncanny, save for the advance lever and frame counter window, both unnecessary for digital.
New Viewfinder and Rangefinder
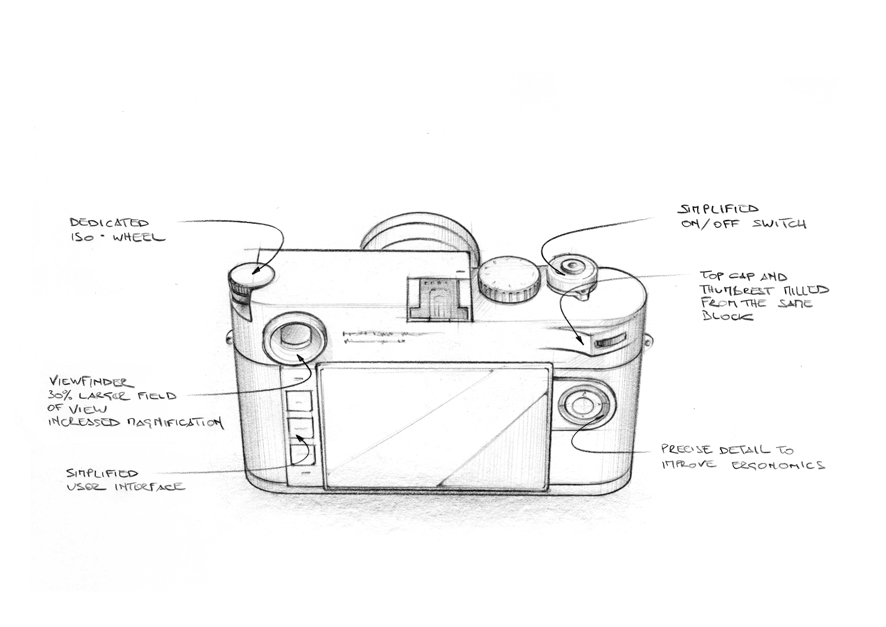
And if the camera dimensions are a throwback to the film days, so is the optical viewfinder. We’ve grown accustomed to the 0.68x magnification of digital Ms for over ten years now. Now, Leica has brought us almost all the way back to the analog era, with a 0.73x finder. I’m not sure why they chose 0.73x instead of the classic 0.72x, but the resulting viewfinder is awesome. Indeed, Jesko even shared that this was most likely the nicest optical finder Leica has ever produced. 30% more magnification makes for easier focusing and 50% greater eye relief makes shooting with glasses far more pleasant. As an eyeglass wearer myself, I can attest to a more pleasing view. Looking through, the view is clear, bright and large, with no tunnel effect.
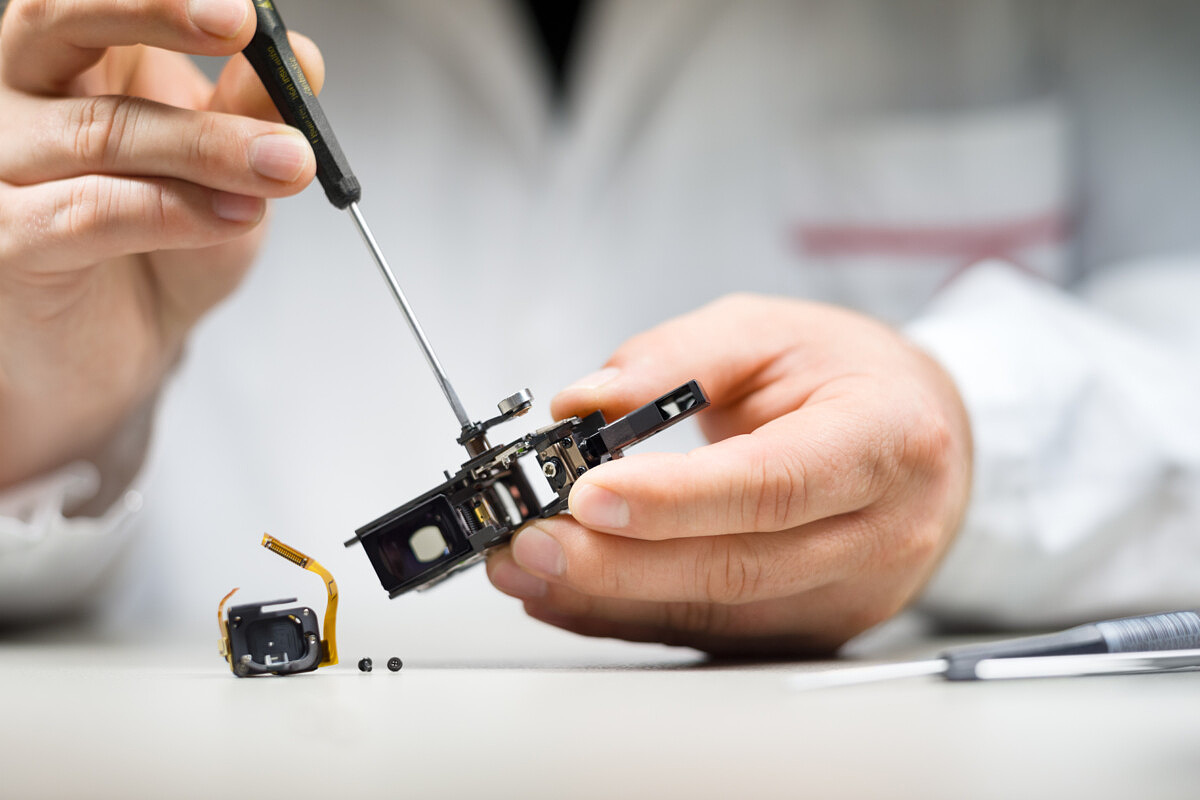
What you can’t see as readily is an entirely new rangefinder assembly under the brass top plate. Prisms, lens coatings, and optical calculations for the distance measuring path have all been reworked. The assembly has been mechanically re-engineered to give better stability and precision. Both the eye cup in the rear and the finder window in the front have been enlarged to create a greater field of view. For users, this should result in more accuracy with fewer missed shots and less uncertainty focusing in darker environments.
Framelines
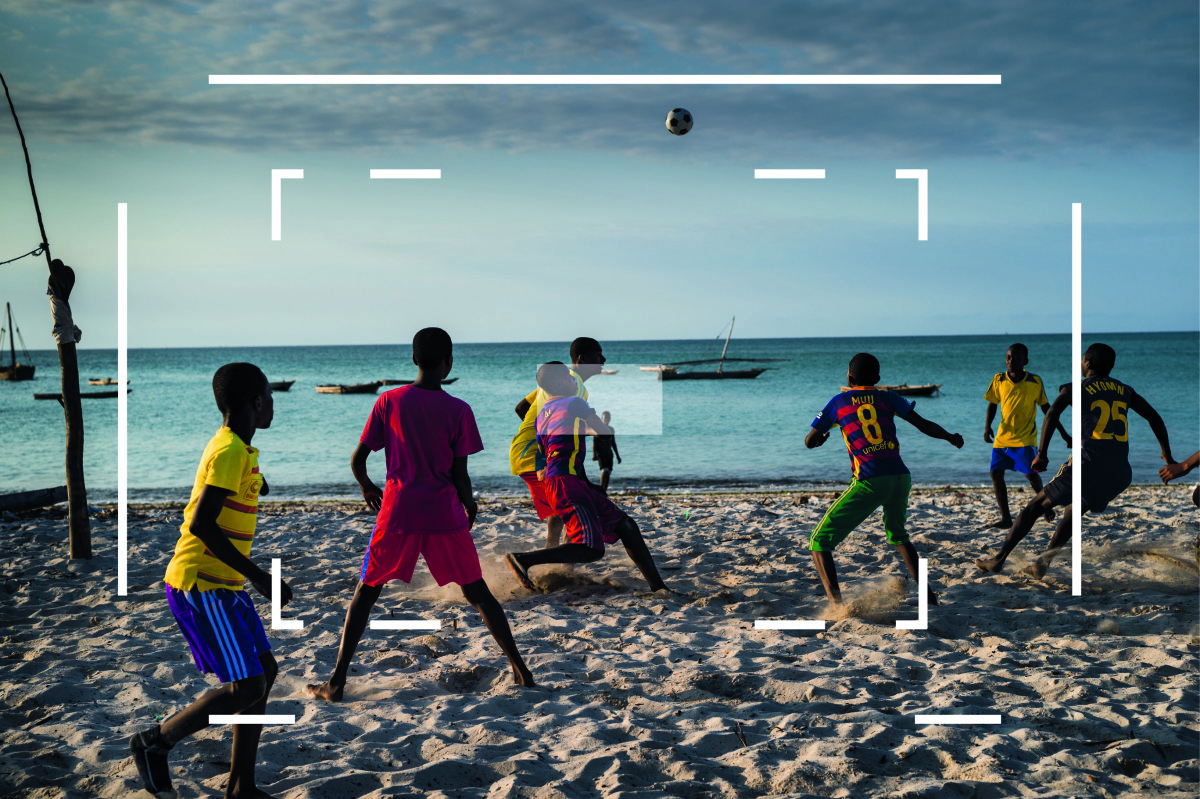
The framelines, which are LED illuminated like the M240, are projected at a distance of 2m, and offer the classic 28/90, 35/135 and 50/75 frameline pairs. Over the years, Leica has constantly tweaked the frameline distance, from 0.7m to 2m and everywhere in between. Many analog M viewfinders and the M9 used 1m, but for the M10, Leica has stuck with the popular 2m distance they employed for the M8.2 and then again for the M240.
What this means is that for close subjects between 0.7 and 2m, you’ll get slightly less than what you see within the frameline markings. And, at infinity, you’ll capture more than the frame suggests, between 7-18% depending on the focal length, with longer lenses being less accurate. Look, this is the nature of a rangefinder. The framelines work remarkably well at normal shooting distances, between, say, 1m for portraits and 3m for street photography. And if you want exact framing, there is always the option to use Live View, which will be 100% accurate every time.
Frameline preview lever
Absent from the M240, the three-position frameline preview lever makes its reappearance on the front of the camera, under the viewfinder window. According to Leica, they learned this was a function that was missed by users on the M240. So, they brought it back. For those new to this classic function, you can manually select a different frameline set to pre-visualize other focal lengths before changing lenses.
Hybrid viewfinder (or lack thereof)
I know that many had hoped Leica might implement a hybrid viewfinder on the M10 like Fuji has done on some of their cameras like the X-Pro 2. The reason they didn’t do so is simple. Leica actually tried a pre-development project to examine the feasibility of a hybrid viewfinder in an M chassis. The result was a “dead-end” as Stefan explained. He went on to explain that the result would have been a “so-so finder, a so-so rangefinder and a medium quality EVF panel.” This was unacceptable. Leica’s goal was to make an outstanding viewfinder and exceptional rangefinder, and to fit it into a 33.7mm wide top plate. So how can Fuji pull off this miracle? Simple. They don’t have to accommodate an optical rangefinder, one that occupies much of the area in the M10 top plate.
ISO Dial
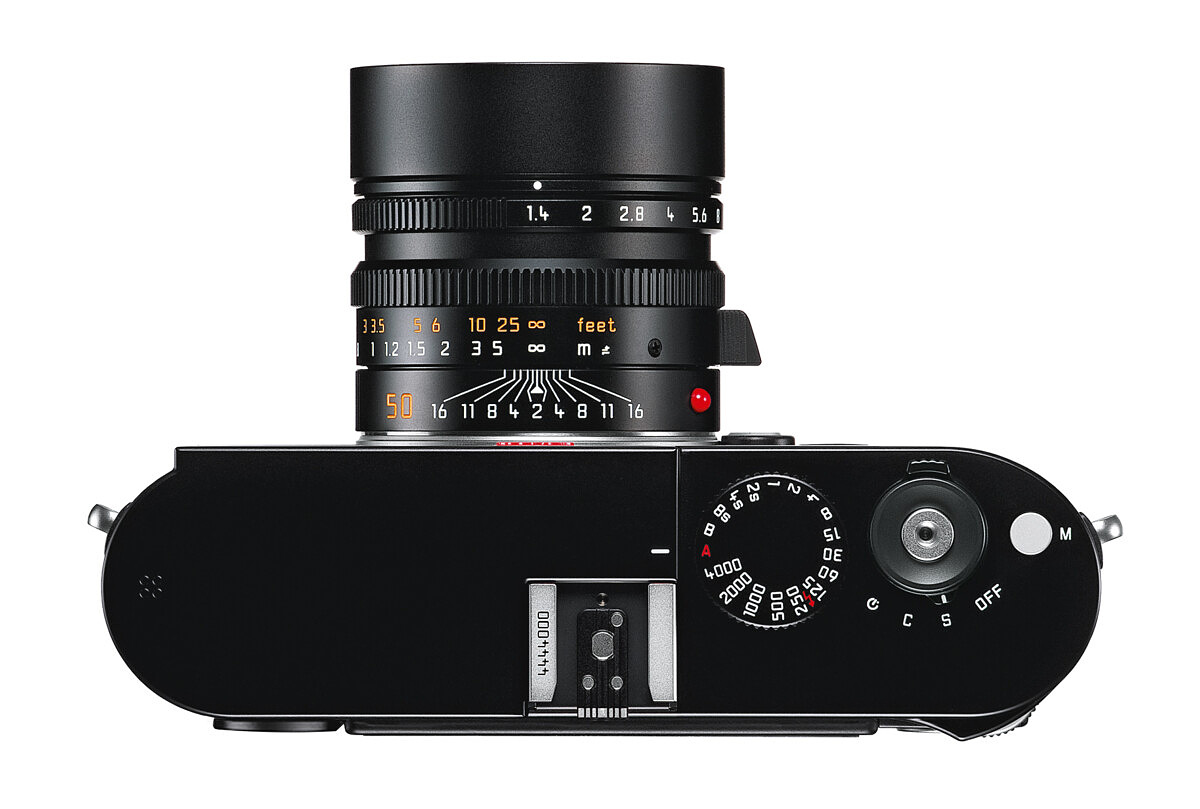
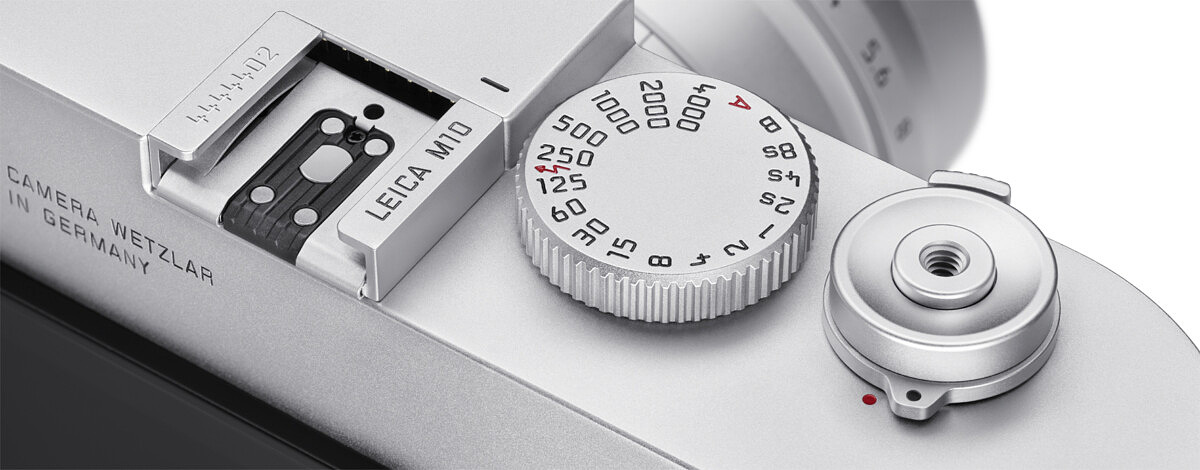
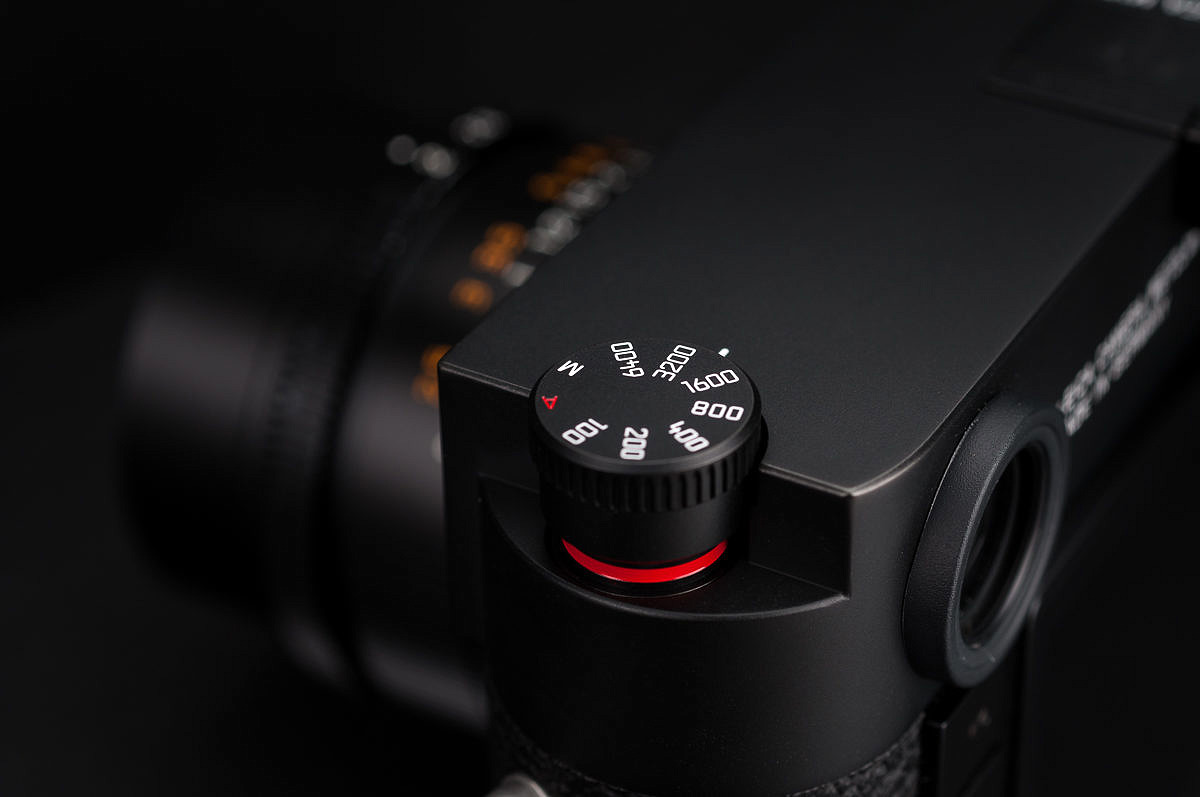
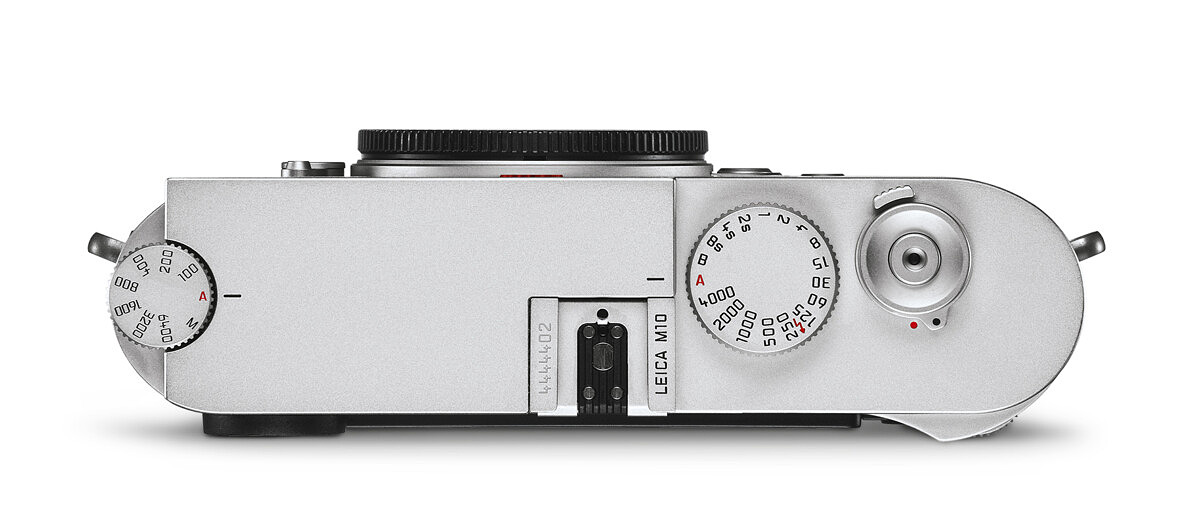
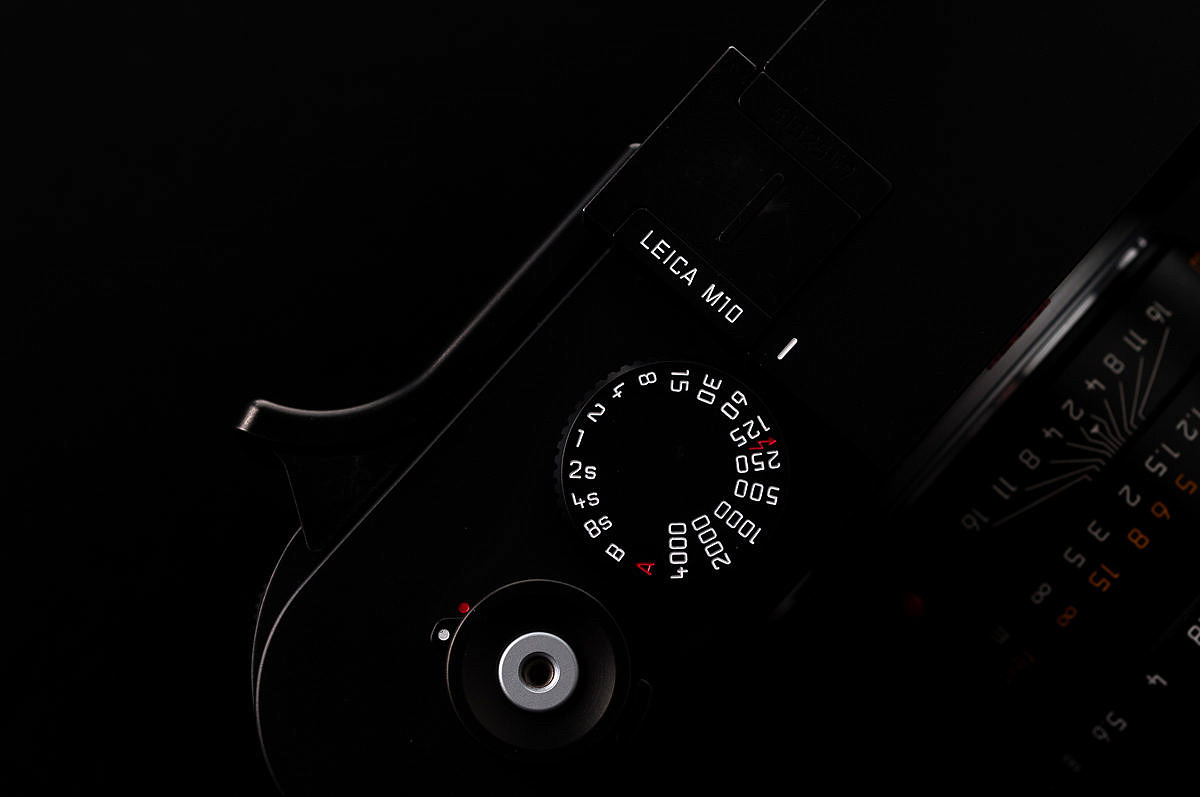
Another noticeable exterior change is the addition of the physical ISO selection dial on the top of the camera. For many, this will be the main visible difference from other M cameras. Frequently requested, this is a nice addition to the M10, and executed in a discreet and classy manner.
Now, despite what the brochure might say, the M10 actually isn’t the first digital M with a physical dial for setting ISO. That honor falls on the M Edition 60, which had a rear ISO setting dial. The M-D 262 adopted the same dial for its design. One might rightly say, though, that the M10 is the first LCD-equipped digital M to sport an ISO dial, or the first to have an ISO dial on the top plate. Either way, it’s cool.
The dial can’t be moved accidentally in your camera bag or knocking around on your shoulder. It’s locked down securely and requires a combination of thumb and forefinger to push it up into the unlocked position. Once unlocked, indicated by the red band around the base of the dial, you can adjust the setting. And even then, the detents between values require some light force. While you can turn the dial with one finger while shooting, it’s easier with the thumb and forefinger combo. Relocking is the easiest part – just press down on the dial and it snaps back into place.
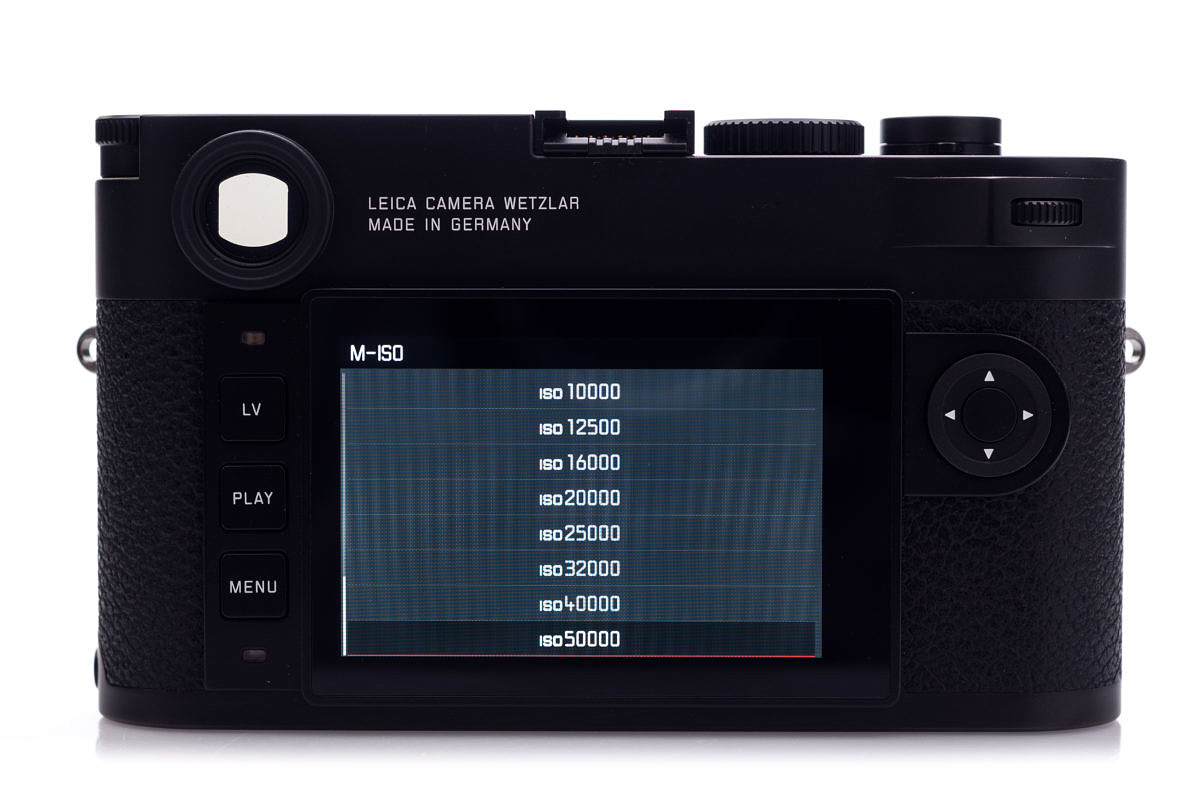
Values on the dial go from 100 to 6400 with an A setting for Auto ISO and M for menu-set ISO. The menu option then allows you select values in the extended ISO range up to 50,000. This setting will hold and follows user profiles as well, so that the M setting can basically be your custom ISO. I set mine to 10,000, for instance.
When you turn the dial while looking through the optical viewfinder, you’ll see the ISO values displayed on the floating LED display, so you don’t have to take your eye off the camera. While using the Visoflex, ISO is obviously displayed as well.
More classic design cues
The ISO dial placement in place of the classic film rewind knob isn’t the only throwback here. The on/off switch set under the shutter release has just two settings: On and Off. The Off position is subtly indicated by a small red dot on the top plate. Flick the switch with your finger and the dot is covered up. This reminds me so much of an M7 switch. Gone are S, C and self-timer. For these, you’ll need to jump into the menu for Drive Mode, where you can find the standard Single and Continuous modes, along with Interval, Exposure Bracketing and 2 and 12 second self-timers.
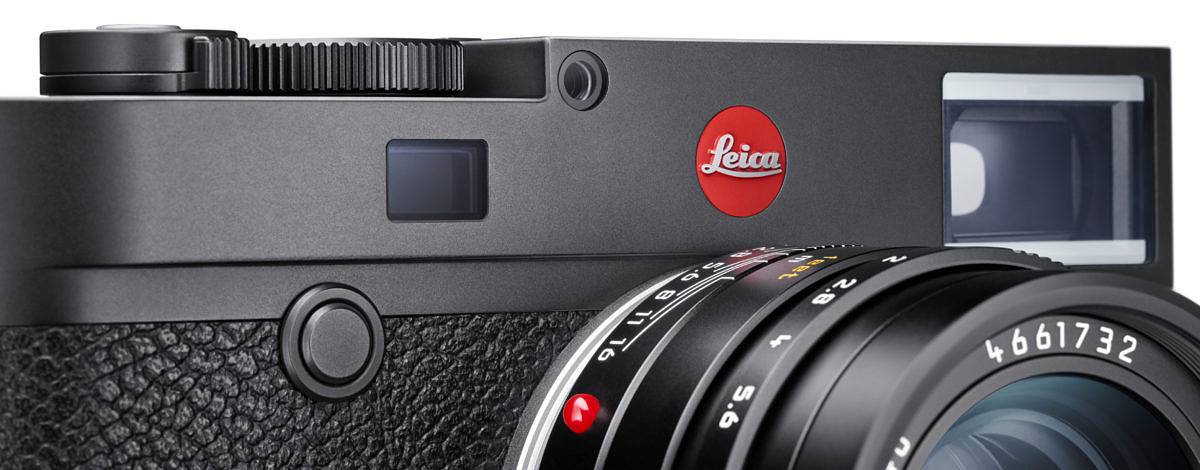
The Leica red dot on the front of the camera is much smaller than that found on the M240. And, there is no M engraved on the front. The effect of these small changes is that the top plate seems sleeker.
And of course, the M button to the right of the shutter release has been removed. With no video capability, it was no longer necessary. More on this later.
Accessories
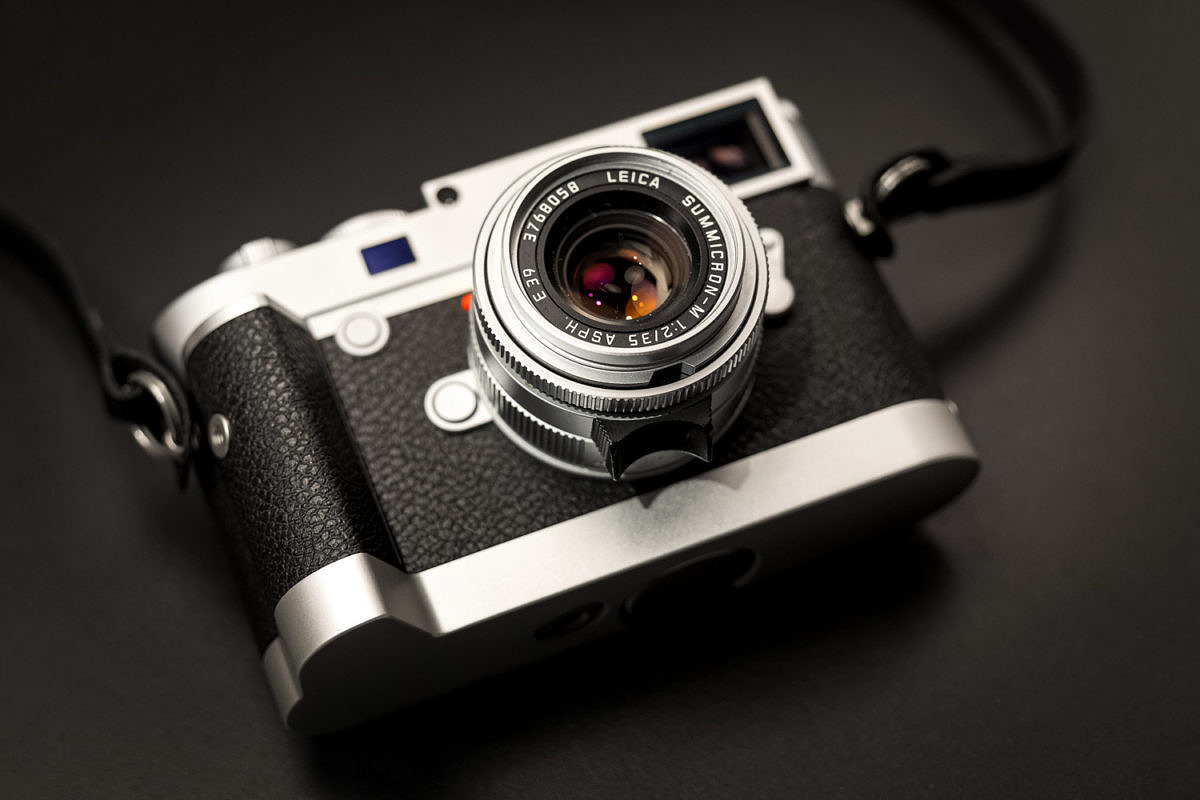
Also, noteworthy is the redesign of some of the accessories. The handgrip now is available in black or silver to match the finish of the camera. It is little taller than the previous grip, and offers a much more solid connection, feeling like one single piece.
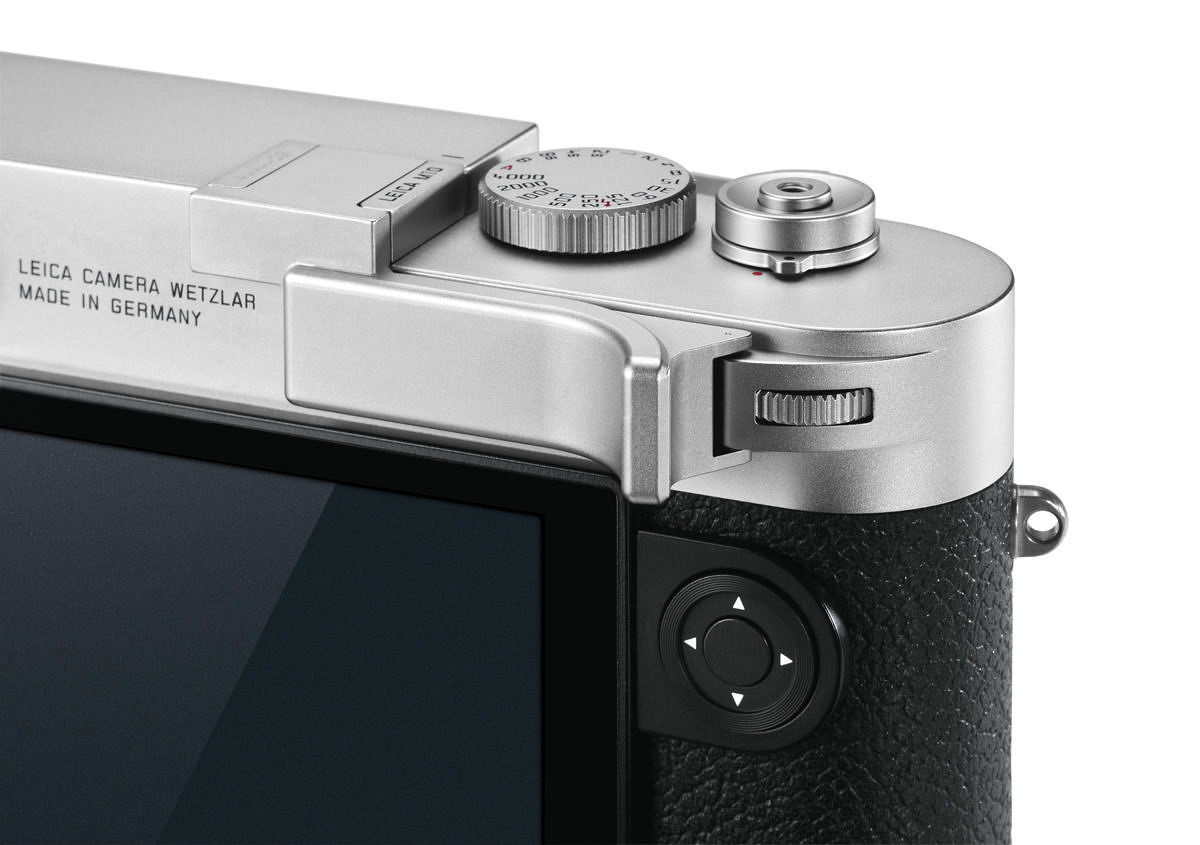
Leica is now offering their own Thumb Rest for the M10, also in both silver and black. This one differs from the popular Match Technical EP-MX version in that it cradles the thumb dial for secure mounting.
New(ish) EVF
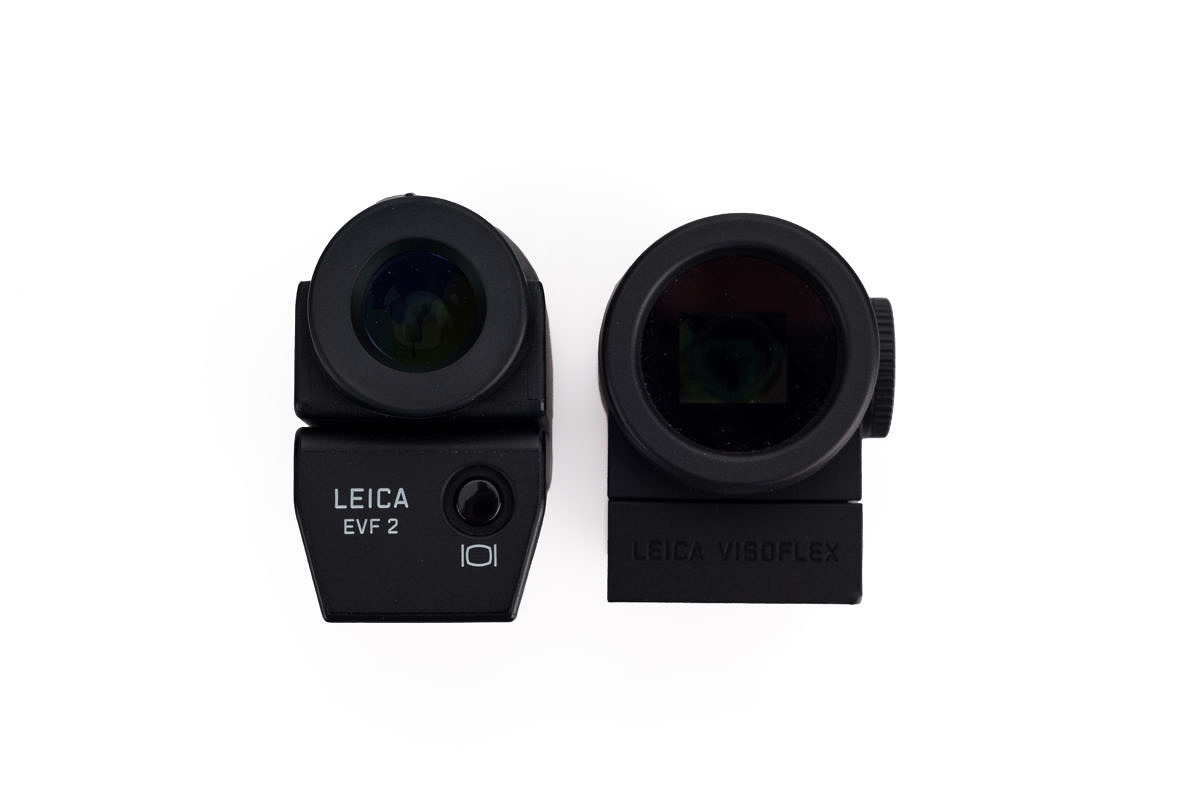
With the M10, Leica opted to continue using the Visoflex 020 EVF that was first introduced with the T (Typ 701) and further utilized on the X (Typ 113) and TL. Besides EVF functionality, the Visoflex lends GPS capability to the M10. It’s not the first M to offer this feature. The M240 also had GPS capability, but required the use of the optional Multifunciton handgrip. Far more users will choose to add an EVF than a handgrip, so I think this decision makes sense.
Plus, the existing Visoflex is a solid EVF with large magnification, decent resolution of 2.4 MP and sufficient eye relief for eyeglass-wearers like me. It doesn’t hurt that there are a fair number already in the marketplace. Would it have been nice to see the class-leading internal 4.4 MP EVF in the SL (Typ 601) find its way into an add-on EVF for the M10? Certainly. But, this wasn’t technically possible. The resulting viewfinder would be incredibly large, or as Stefan Daniel put it to me in our discussion, a “Frankenfinder 2.0.”
And besides the impracticality of fitting a large 0.66 inch EVF panel into a small add-on finder, I can totally see the logic in sticking with the Viso 020. It’s proven and quite good. Most M10 users will be looking for the quintessential M experience – namely the optical rangefinder. For those wanting the absolute best electronic viewfinder available, I’d suggest taking a hard look at the SL, which is more than capable with M lenses. This reminds me a bit of the film days when Leica had two distinct systems, M and R. Both excellent, appealing to different user groups. Now, we have the SL and the M, both offering unique advantages. Simply pick the tool that best suits your needs and shooting style. For me, the SL has been an excellent fit for the majority of my shooting for the last year or so. With the M10 coming up to speed in a big way, the pendulum might shift back to M.
Rear LCD
The 3” rear LCD has gotten a little bump in resolution to over one million pixels. Offering outstanding contrast with deep blacks, accurate colors and sRGB coverage, the new LCD should please most M users. Honestly, I had little to complain about with the M240 screen, but any improvement is always welcome, and side-by-side the difference is striking.
In use, the screen was easy to see in bright daylight as well as dimly lit situations due to the auto-brightness sensor on the backside of the camera. For a few shots where I needed to get the camera above my head, focusing accurately off the LCD, even when held at arm’s length, was no problem. The off-axis viewing angles of the new panel are vastly better, approaching 180 degrees. My guess is that this is a result of minimizing the air gap between the panel and cover glass. The M10 display quality seems to be in line with what you’d expect from the latest iPhone screen. It’s very, very good.
Just like the M240 screen, the LCD panel on the M10 is protected with Gorilla Glass, but I’d still recommend using one of the inexpensive and highly practical M10 Screen Protector Sets. The peel-and-stick screen protectors from Leica don’t significantly impact display quality, offer great scratch prevention, and don’t use any harmful adhesives. At $25 for a set of two, it’s an easy decision.
Simplified menus and three button concept
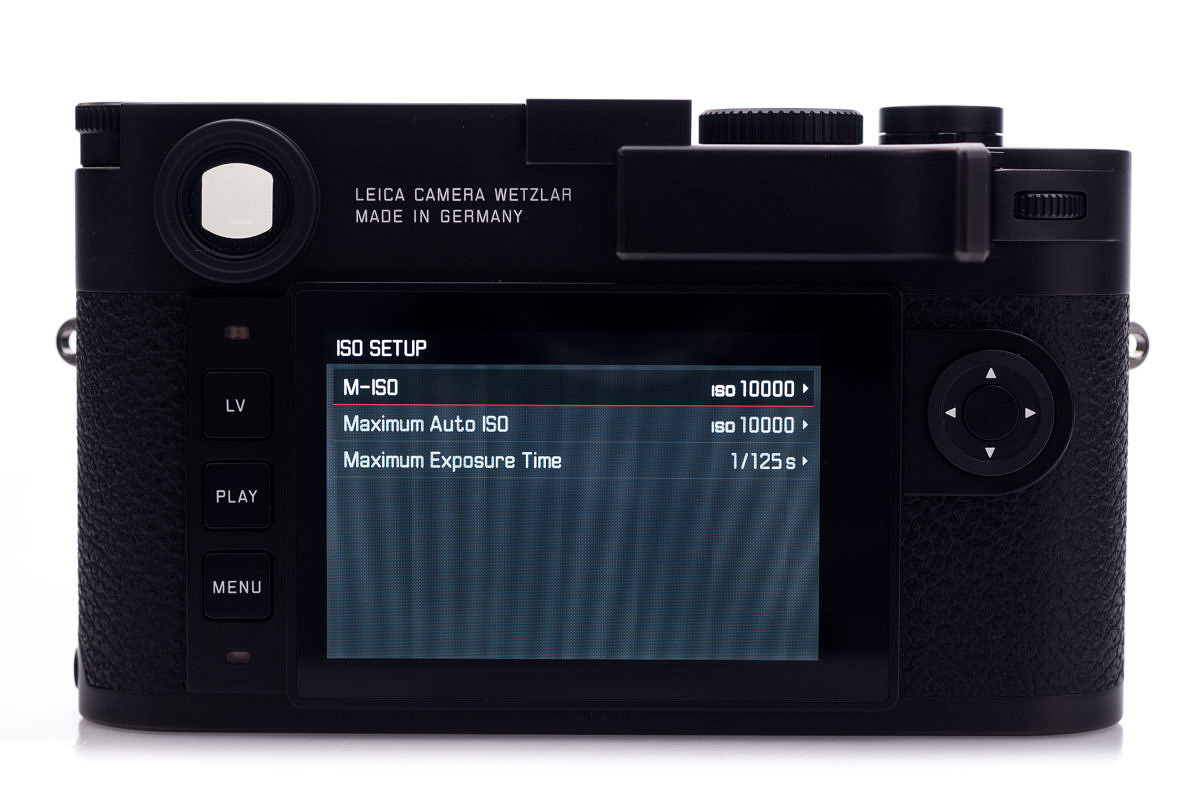
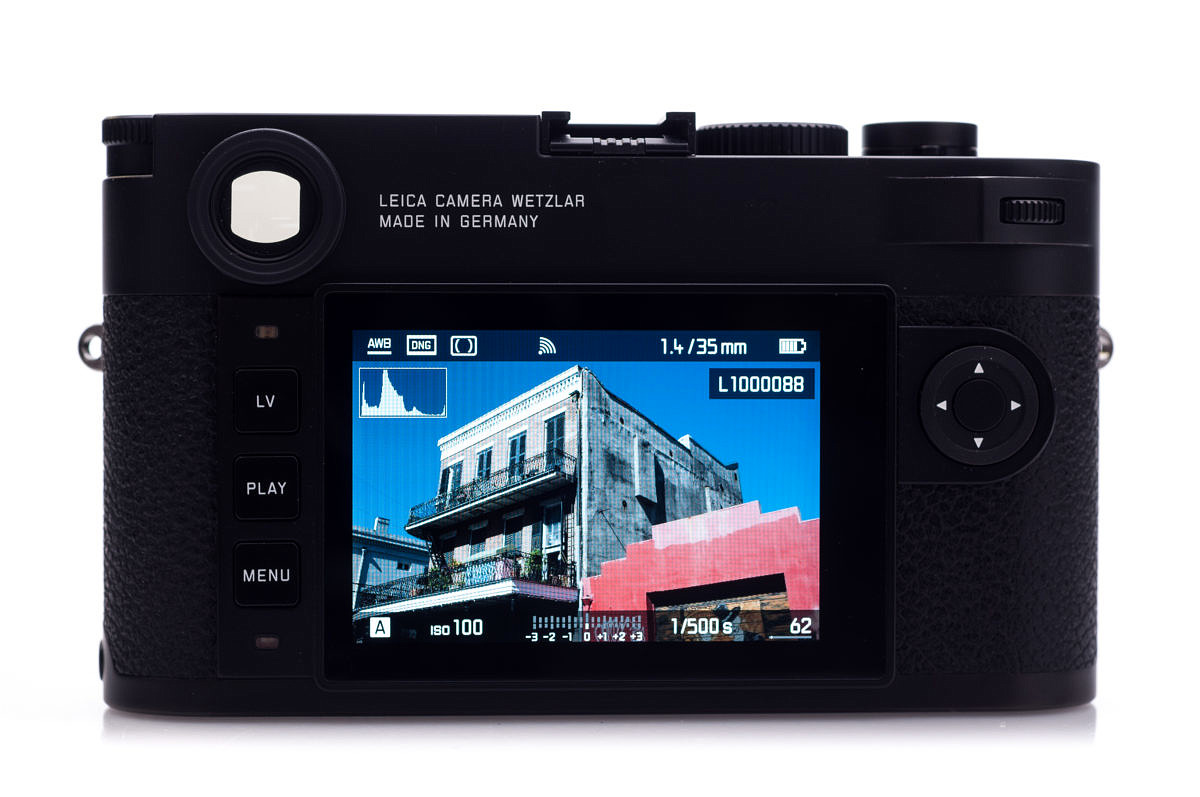
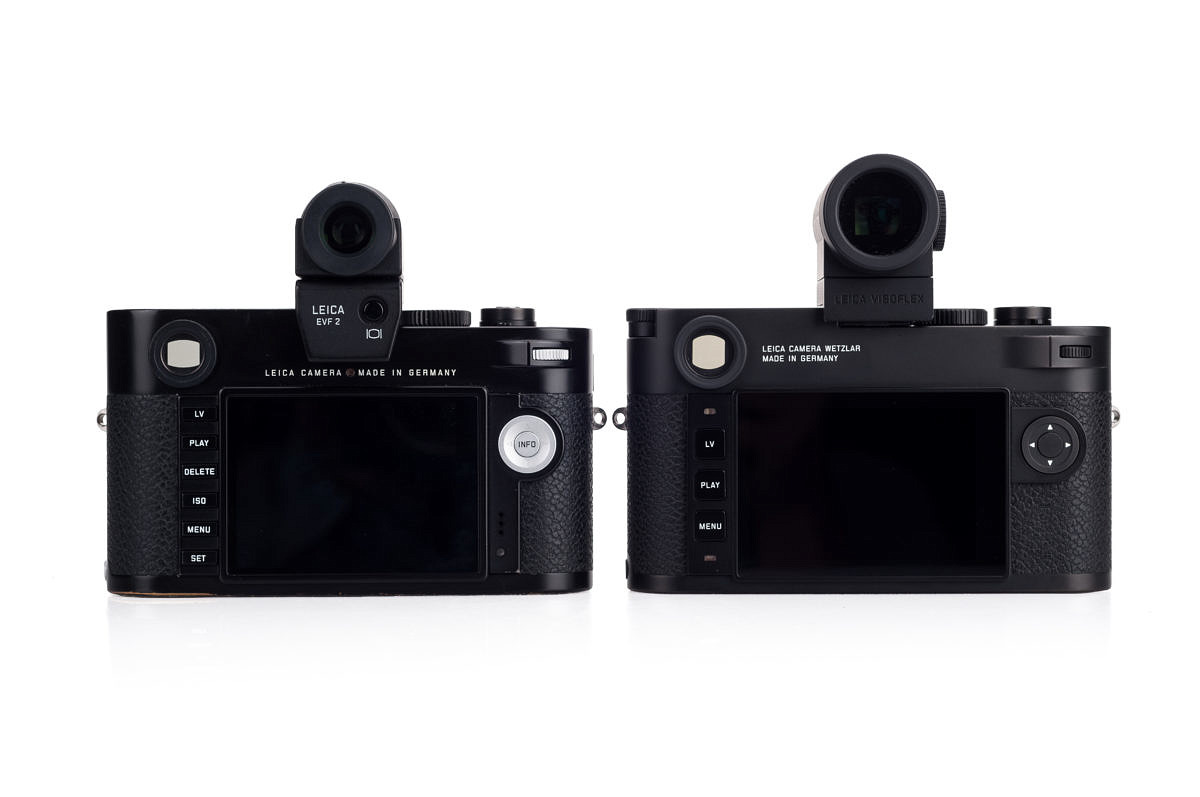
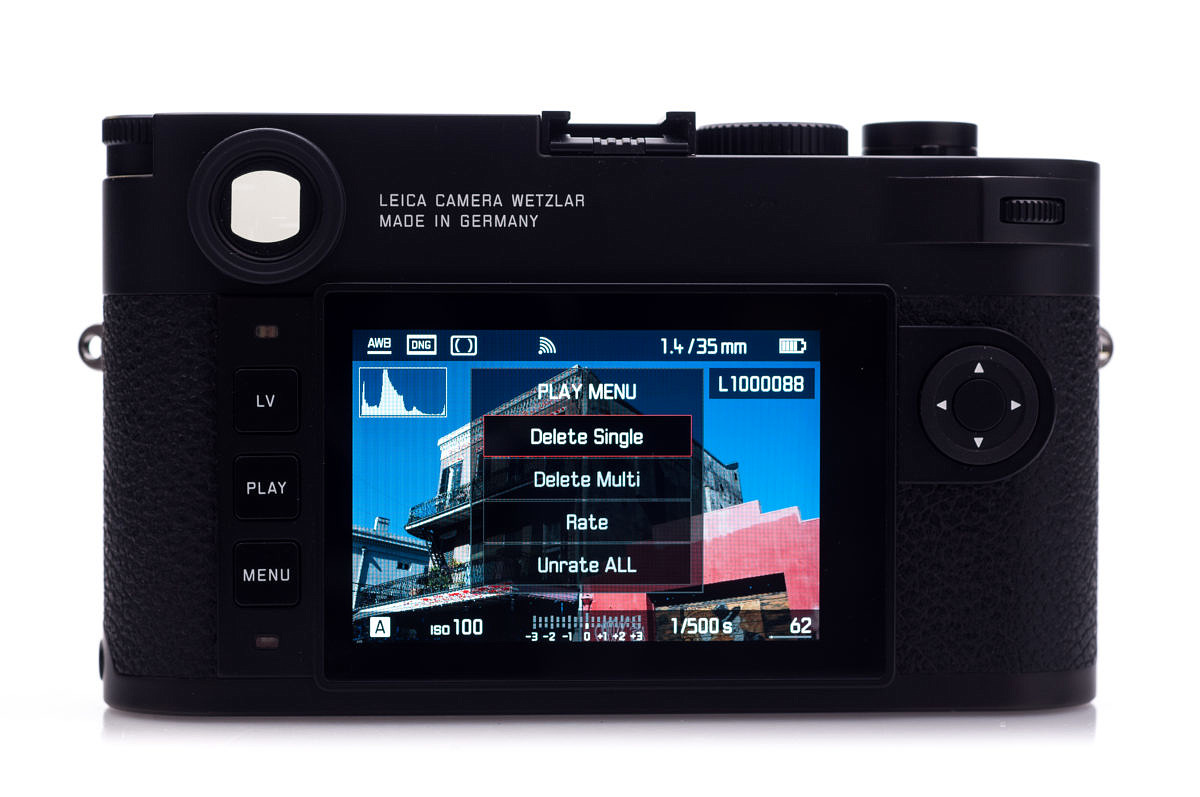
Keeping in the spirit of distilling the interface to the Essentials, six buttons on the rear of the camera has been reduced to just three: LV, PLAY and MENU. The buttons, flanking the left side of the LCD panel, are larger and easier to operate.
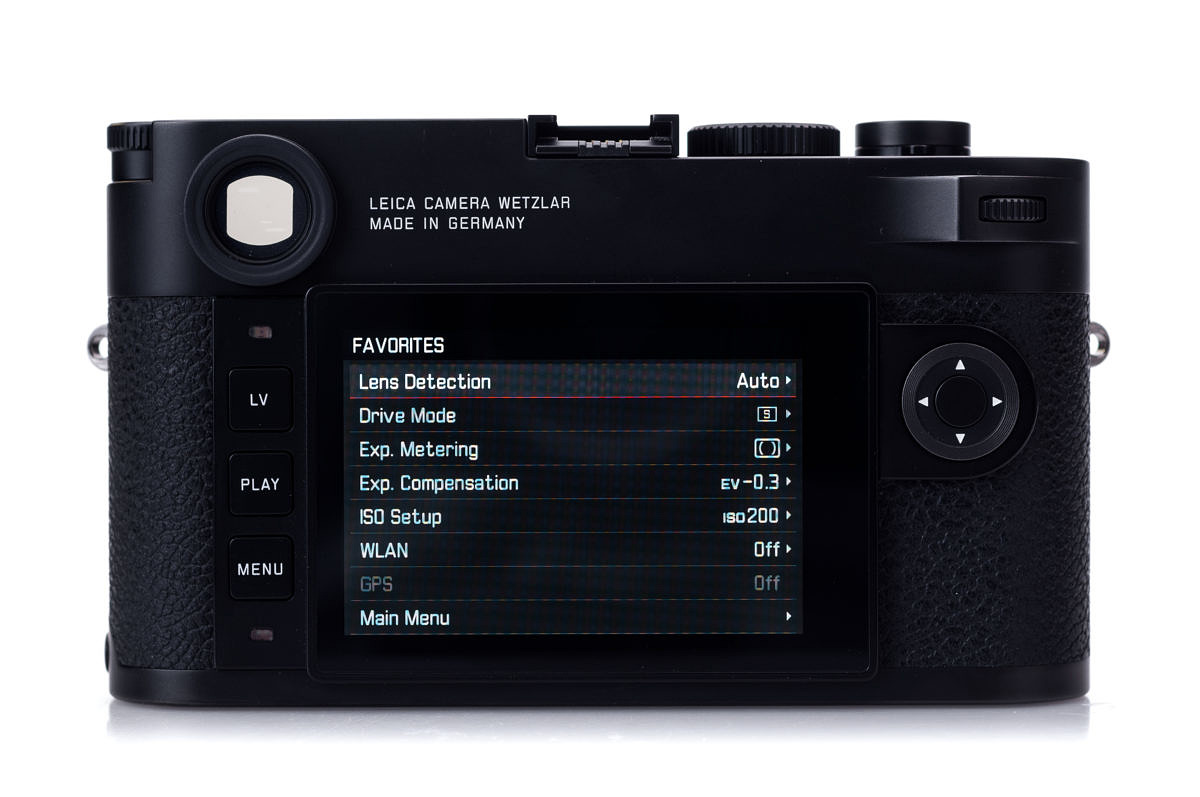
Gone are ISO, DELETE and SET, but no additional button presses are required to access these functions. ISO is obviously now handled on the physical ISO dial and the MENU button does double duty in playback, bringing up a PLAY MENU, that allows you to delete and rate images. The often-confusing SET menu is now modernized into the customizable Favorites menu, which is the first to display when you press the Menu button. The Main Menu is easily accessible as the last option in Favorites.
Favorites Menu
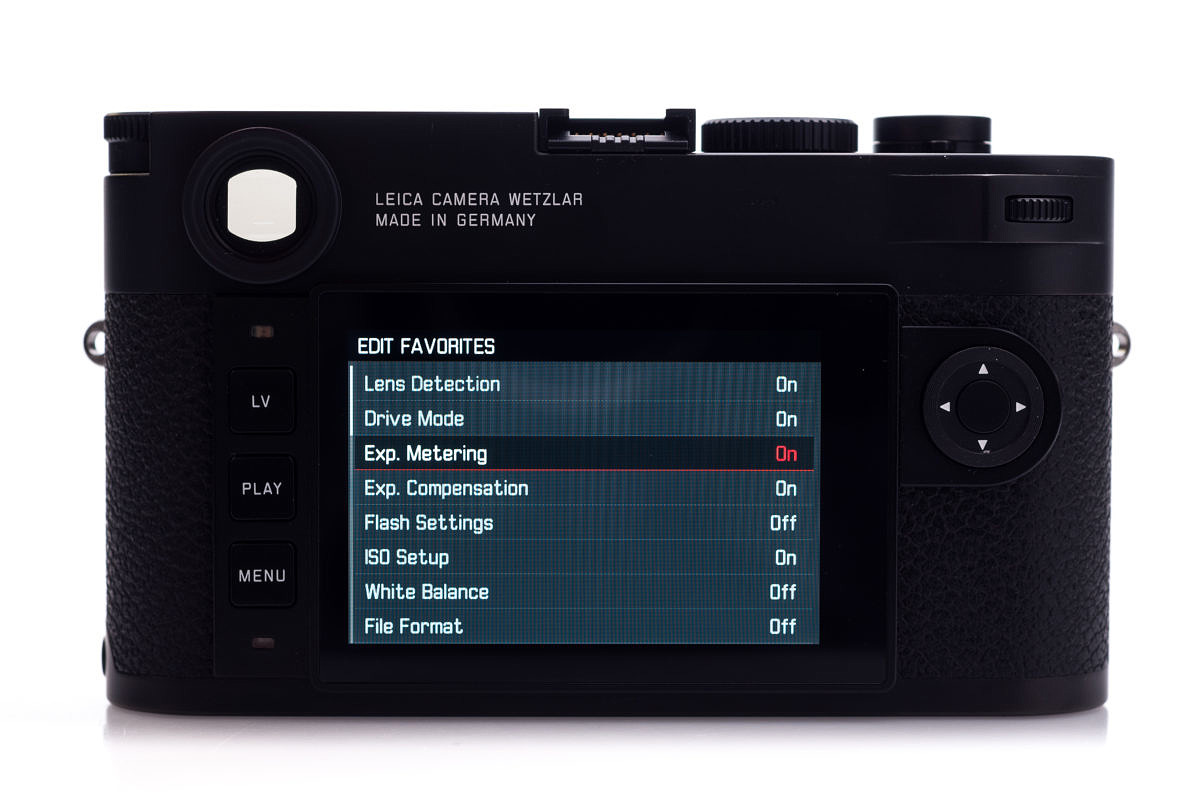
Users can set up the Favorites to their most accessed settings by going into Customize Control -> Edit Favorites in the Main Menu and toggling any of the available menu options from Off to On. To remove items, just toggle to Off. Very simple. This prevents having to scroll through countless settings that are irrelevant for most situations.
I added Auto ISO control to the Favorites so I could quickly adjust my minimum shutter speed as the light changed. Other options like drive mode, card formatting, Wi-Fi, etc. can be assigned here as well. In the initial firmware that I used for testing, you could only select seven active items for the Favorites menu. Try to add more than the maximum and a message would pop up, preventing you from doing so. The limitation was to avoid any scrolling, but based on early feedback, the Favorites menu will now accommodate up to fifteen items, spanning two pages. Personally, I prefer the limitation of seven items to keep things as clean as possible on a single screen.
Improved GUI
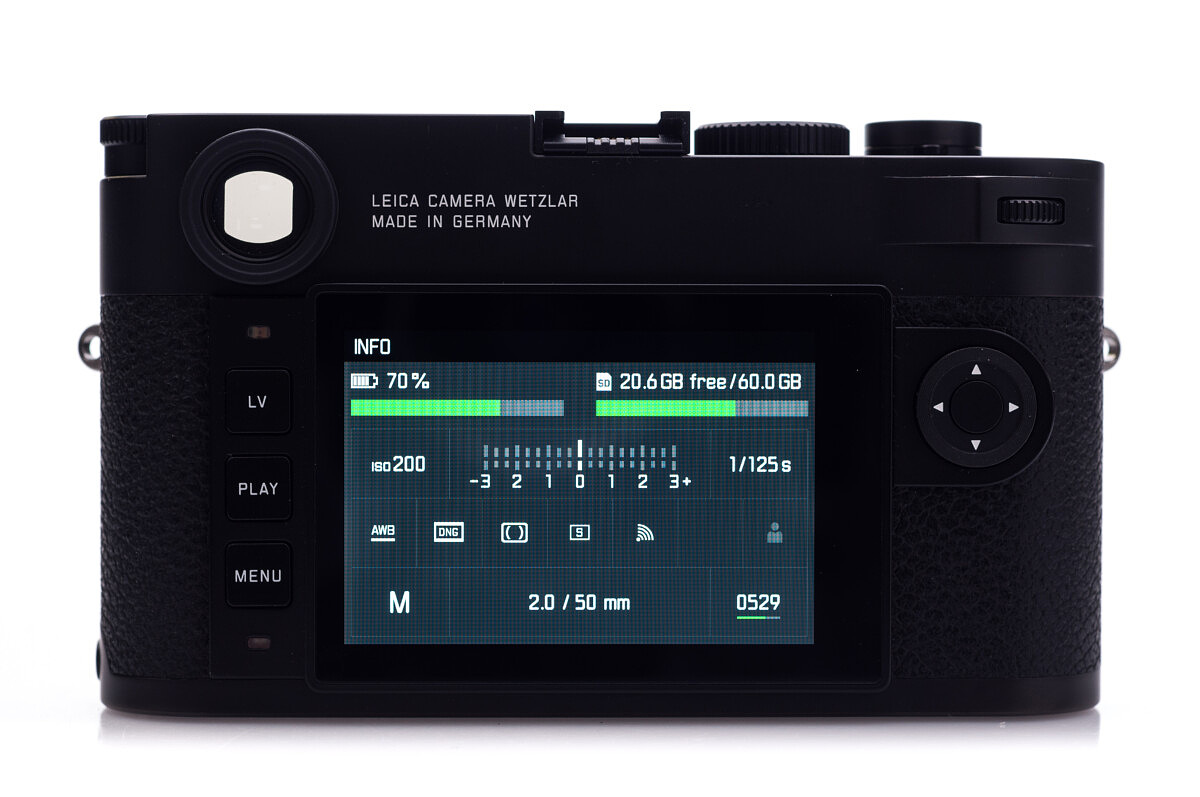
It’s not just the menus that have gotten an overhaul. The entire look and feel of the GUI (Graphical User Interface) has been refreshed, and brought in line with the S007, Q and SL. The newer flat look is cleaner and easier to read. The INFO screen is accessed the same way as the M240, by pressing the center button on the rear thumb D-pad. Here, you can see the battery life, card capacity, ISO, EV compensation (or metering when set to M), shutter speed, WB, file format, metering mode, advance mode, Wi-Fi, GPS, user profile, shooting mode, lens mounted (or selected manually from menu) and number of shots remaining. It sounds like information overload, yet Leica’s implementation and efficient layout makes it easy to see all pertinent camera information at a glance without feeling inundated.
Faster everything
I never considered the M240 to be a slow camera with a continuous frame rate at around 3.5fps. The M10, though, thanks to its upgraded Maestro II chip and new sensor, can now churn out images at 5fps. The M10 isn’t the speed demon the SL is, or the Q for that matter, but feels very nimble nonetheless. With a 2GB buffer now standard, the camera can record up to 30-40 DNGs at full burst rate until slowing down to a still-respectable 2fps. In JPG-only mode, the maximum burst jumps to 100 shots at full clip. And even with a filled buffer, the processor makes quick work of transferring to a fast SD card, taking less than 15 seconds to flush all 2GB.
The frame rate in Live View mode is slower than when using the rangefinder only, but is still three times faster than the M240. With the M240 in LV operation, you must wait a full second before the sensor resets and is ready to take another picture. During that time, the EVF blacks out. This has been a source of annoyance for M240 users, leading some to transition to the SL, which has almost zero blackout.
On the M10, LV is snappy and should satisfy most users speed-wise. For my shooting, the difference was night and day. I had little to no frustration shooting LV using the EVF in situations where I might have given up on the M240 and switched to the rangefinder. And since I tested the camera a few weeks ago, Leica has already released a firmware update that further minimizes blackout time after each shot in Live View, especially if Auto Review is turned off.
The speed translates to other areas as well. Playback and zooming is extremely responsive. Live view focus assistance and peaking just work better. With its Maestro II processor silently pushing around all those pixels, the M10 acts like a modern camera should in 2017. No complaints here.
New 24MP CMOS sensor
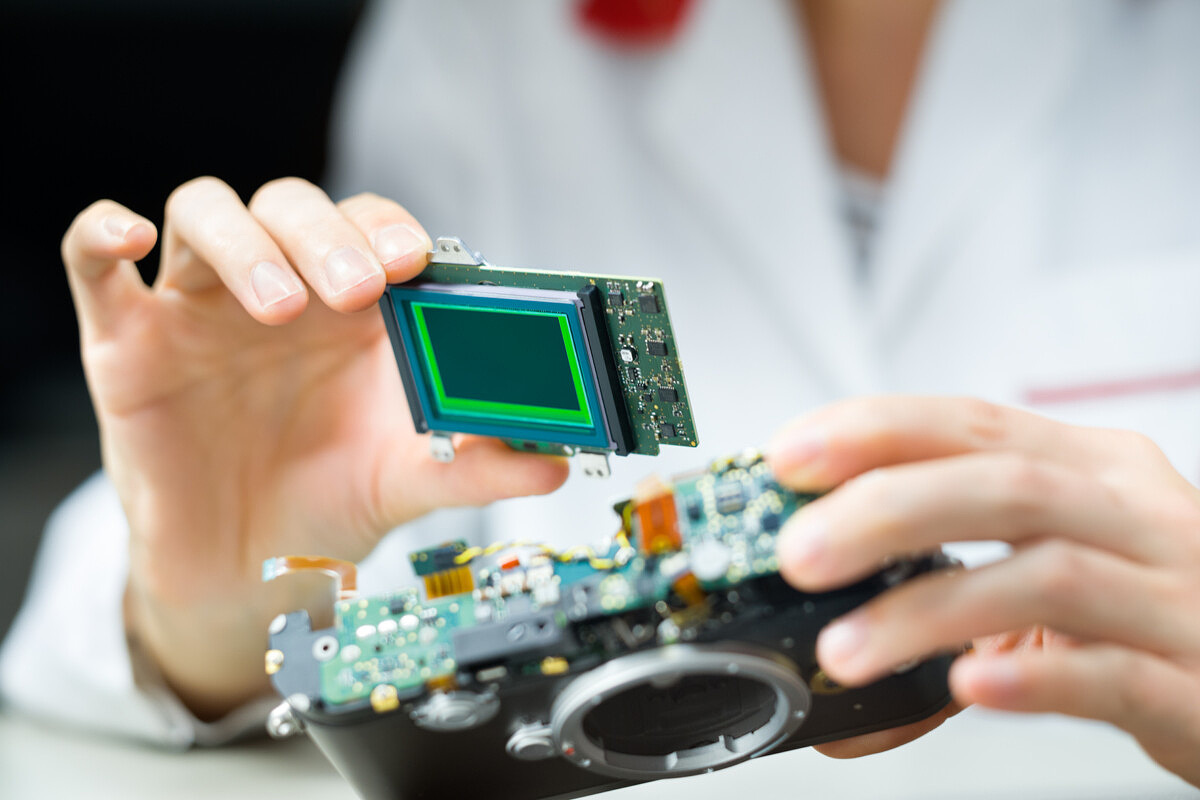
The full-frame sensor in M10 offers 24MP with no low pass filter, just like the M240. Here, the big improvements are where it counts: low light performance, dynamic range, color and sharpness. Contrary to rumors, the sensor in the M10 isn’t at all related to the one found in the SL or the Q. Nope. This one is all new, offering stunning image quality and matching up even better with M lenses than previous generations. Leica’s optical team once again contributed to the design of the microlens array, resulting in virtually no color shift, even with ultra-wide angle lenses.
Improved and expanded ISO of 100-50,000
The ISO range is also a nice leap forward. The M Monochrom 246 achieves superb higher ISO performance, but at the cost of a low ISO range. Instead of the somewhat high base ISO of 320 on the Monochrom, the M10 can reach similar high ISO values, but still offer a minimum of ISO 100. The lower base allows you to shoot at wider apertures without the need for an additional ND filter on the lens.
Built-In Wi-Fi
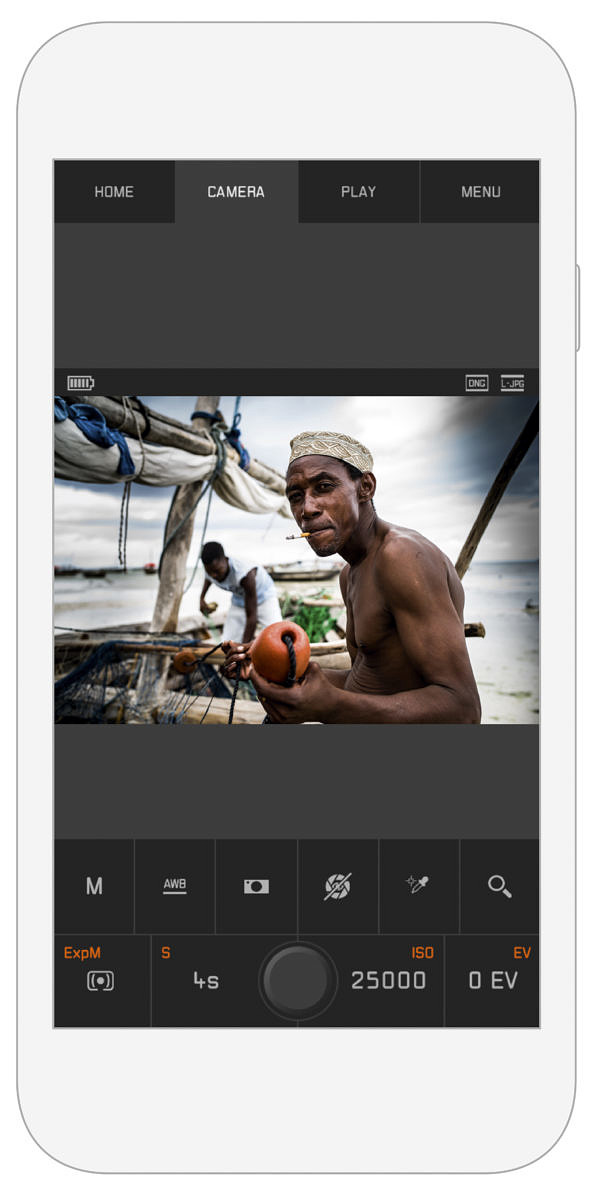
With the addition of Wi-Fi functionality into the M10, all cameras in the Leica lineup are now wireless capable. The newest iteration of the technology even supports the transfer of DNG files to the mobile app. While I think the playback feature of the app is great, I’m not sure that the remote capture function will be as useful as it has proven to be on the SL, Q and S007, all of which use autofocus lenses. Manual focus M lenses can’t be controlled by the app, nor can the mechanical aperture ring. So, expect this to work well as a really fancy remote release cable when shooting landscape on a tripod, not for discreet street photography.
Smaller battery
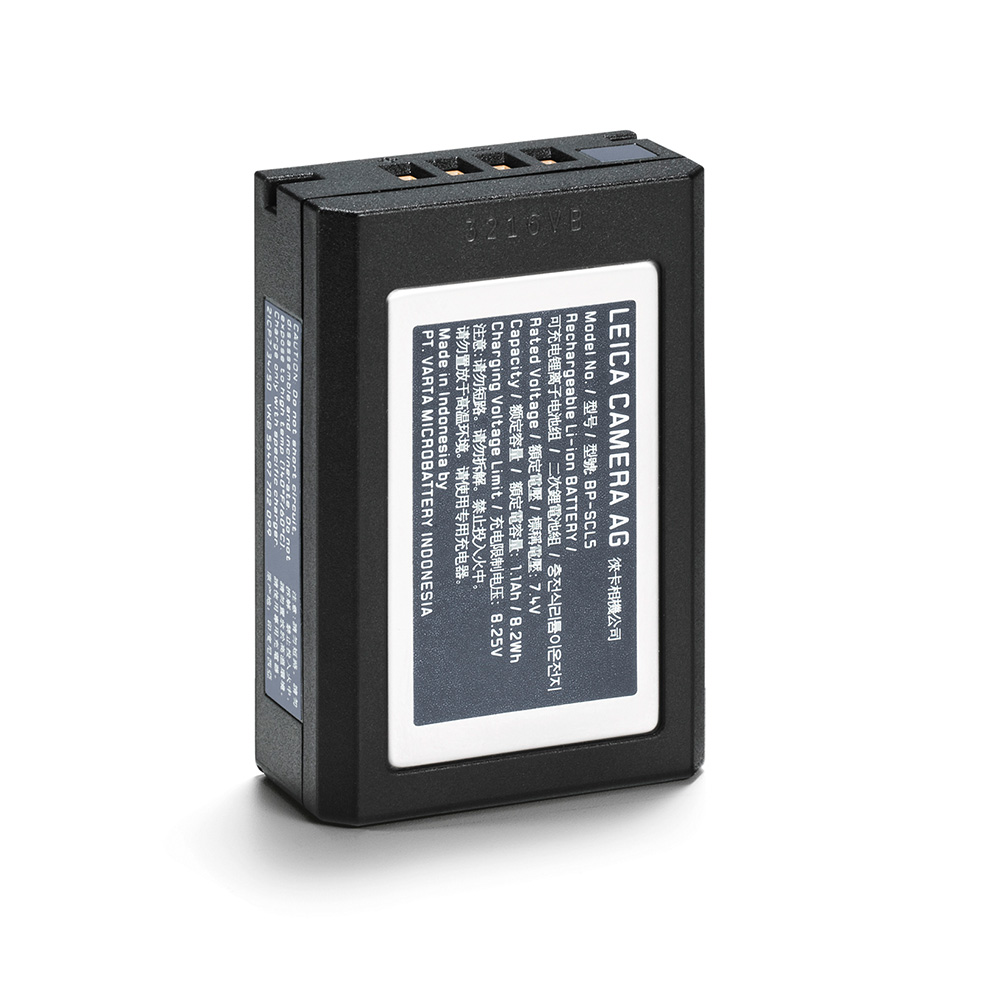
To fit into the thinner body of the M10, the battery needed to be smaller. An unavoidable consequence of this reduction in size is a corresponding drop in capacity, from 7.4V 1800mAh on the M420 to 7.4V 1300mAh on the M10. The 500mAh difference equates to roughly 27% less juice, and even the best power management isn’t going to overcome that deficit.
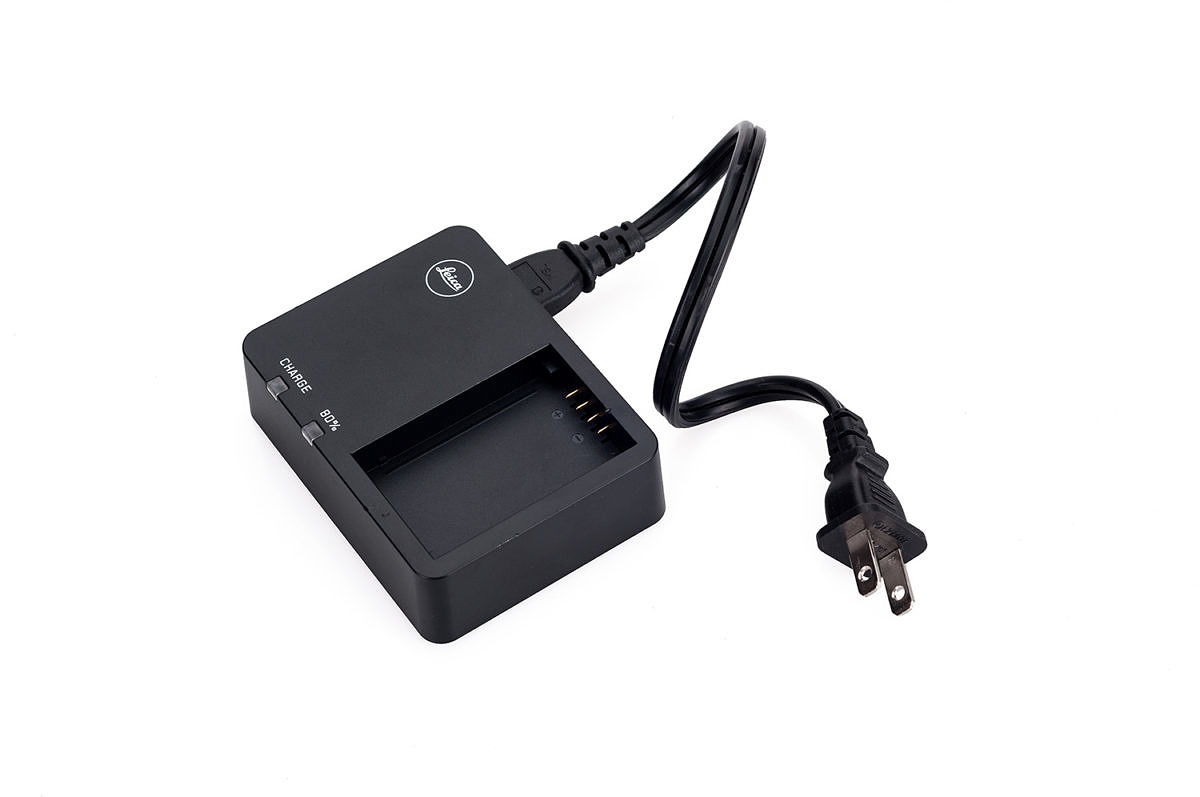
Expect less shots per charge versus the M240, especially when using Live View. For me, that meant shooting for a solid two hours before worrying about the battery getting low, which translated to around 200 shots. Mind you, this was with heavy Visoflex Live View usage and a fair amount of chimping. If you plan on primarily using the rangefinder, I’d estimate double that number for about 400 pictures. Not great, but not the worst either. My suggestion: pick up two or three extra BP-SCL5 batteries if you want to shoot all day without stressing. The silver lining is that the smaller battery seems to charge more rapidly with the new charger. I found that an hour was more than enough to get me back in the game when the battery was mostly depleted.
Having only one battery for testing meant that I chucked the charger with a short cable in my camera bag. Every time I stopped to eat, I’d scout out a free outlet and plug in. This strategy proved successful as I never fully drained the battery shooting about 600 pictures in a day.
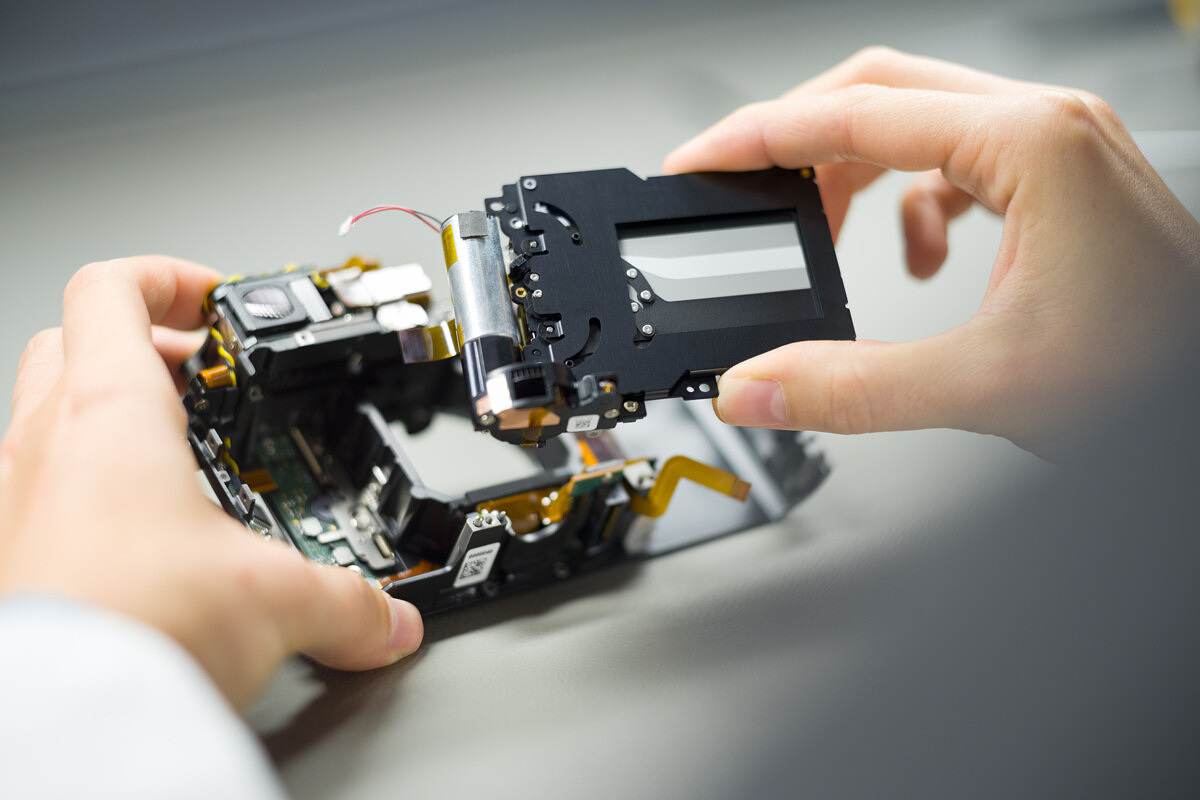
New shutter
Another necessity due to the thinness of the M10, Leica had to engineer an entirely new shutter mechanism. And like other recent Leica shutters, it offers quiet operation with minimal vibration. On the street, a few feet away from the camera, you can barely hear the short, satisfying click that the photographer holding the camera is treated to. In the hand, you can hardly feel it through the dense M body. Shutter speeds range from 125 seconds to 1/4,000th and a Bulb setting. Flash sync is at 1/180th.
I would have liked to see the fastest mechanical shutter speed raised from 1/4,000th to 1/8,000th like on the SL, but due to the size constraints, this wasn’t possible. The SL has a much larger body which can accommodate a more powerful shutter drive motor. Also absent is an electronic shutter for super-high-speed settings. I’ve found myself using this on the SL quite a bit when shooting with the new 50 Summilux-SL. By going to 1/16,000th, I can shoot wide open at f/1.4, even in full Florida sunshine. And while ND filters are always a workable solution to this limitation, especially on M, I’m hopeful that higher electronic shutter speeds might be offered up in future M10 firmware, like they were following the SL introduction.
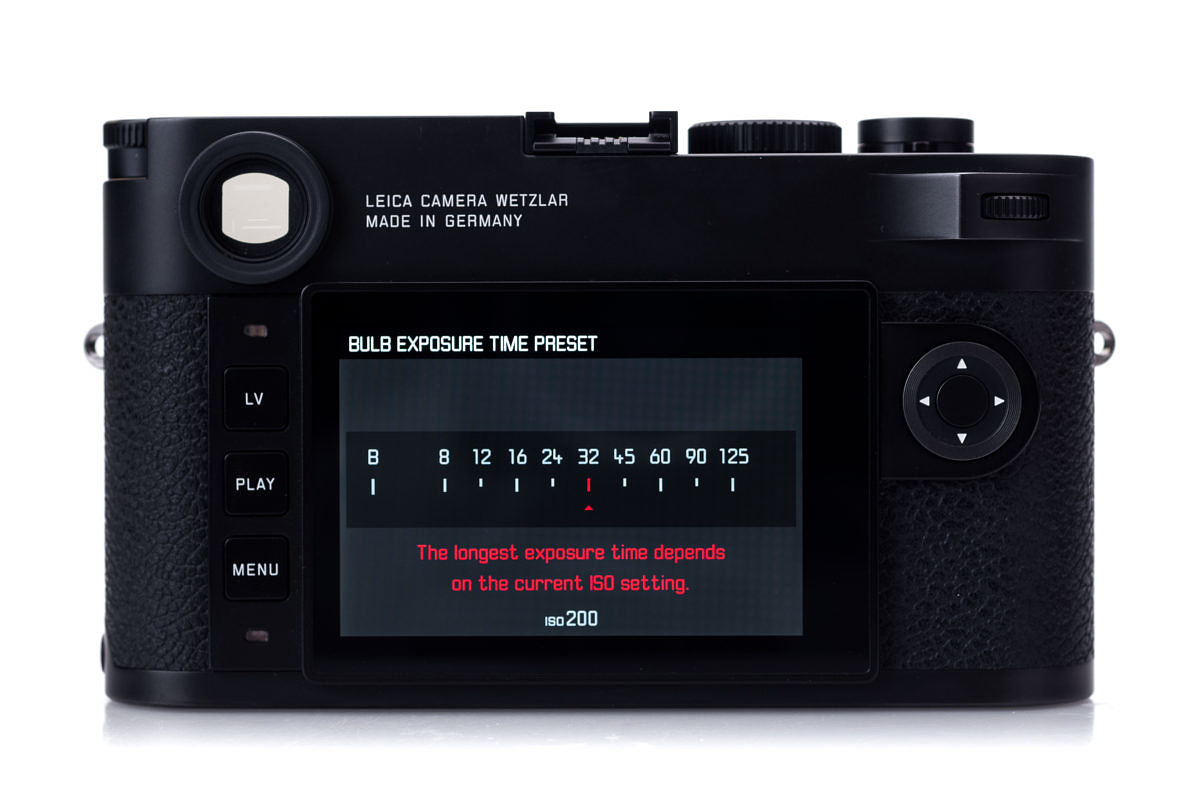
The longest shutter speed is 125 seconds, but selecting speeds longer than 8 seconds isn't immediately intuitive. I found myself struggling on this one. The secret is to press and hold the front focus assist button while the shutter speed dial is set to B (Bulb). This will in turn bring up a sub-menu on the display, which will allow you to select your desired shutter speed from 8 – 125 seconds. Note that as you go past ISO 400, the range of available speeds will be reduced by one stop for each stop of ISO. By ISO 6400, the maximum is 8 seconds. This shouldn't pose a problem as most long exposures will be at low or base ISO anyway. The most sensitive setting will be 125 seconds at ISO 400, offering a two stop advantage over the same shutter speed at ISO 100. Also note that if the ISO dial is set to Auto, the Bulb menu will not allow you select a value.
Improved 6-bit coding
The identification of 6-bit coding on lenses has gotten a nice update. Let’s say you have a non-coded M lenses mounted, like a classic 50mm Cron rigid. As such, you are using manual lens selection, and have picked out the lens in the menu. After a good run with the classic lens, you decide to swap it out for a current 28mm Summilux ASPH. On all previous digital M cameras, if you forgot to go into the menu and change back to automatic lens detection, all your EXIF data would be wrong, and worse, built-in corrections would be incorrectly applied as the camera thought your 28 was a 50.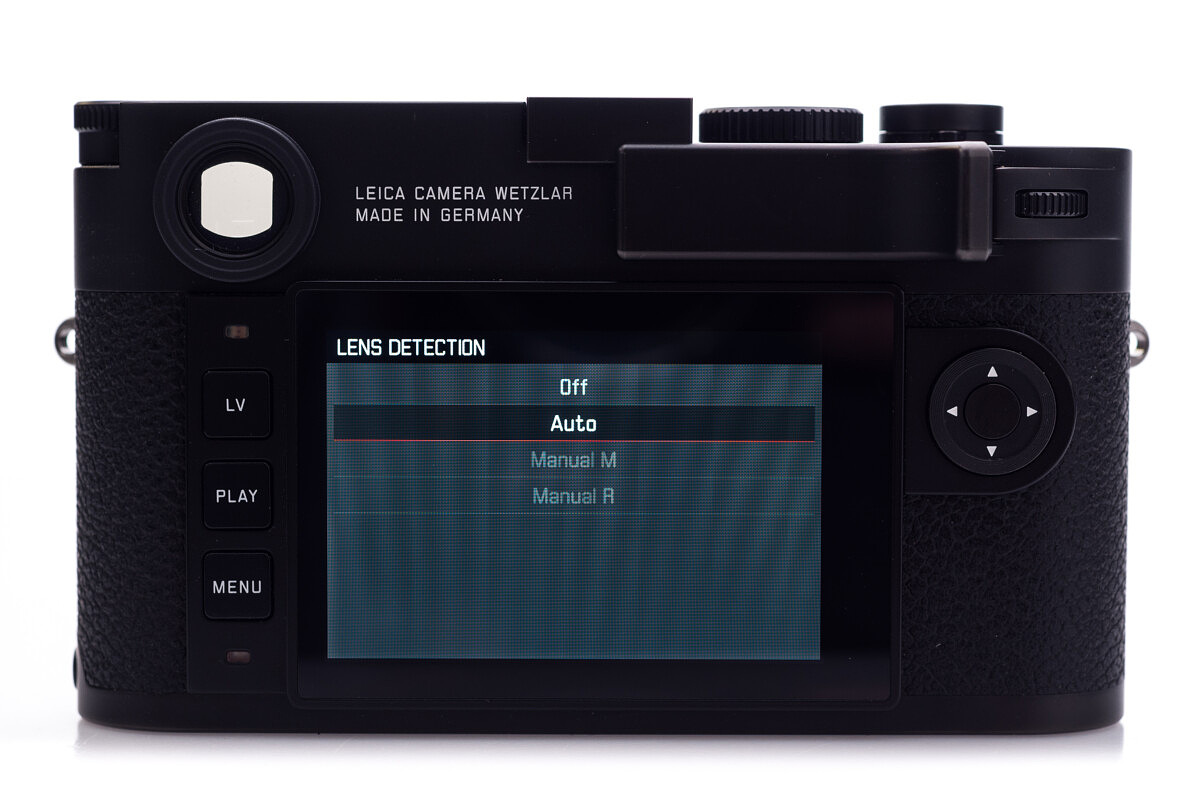
Now, on the M10, even when the option is set to Manual lens selection, it will automatically reset to Auto Detection once a 6-bit coded lens is mounted. This one has been a long time coming. If you check my M9 review, I suggested this functionality eight years and many camera releases ago. I’m happy to see it finally implemented on the M10.
No video
The M10 has no video recording capability. Not outwardly, at least. I’m sure that the hardware, the sensor and Maestro processor, are more than up to the task. But, Leica, again listening to their M users, heard that this was an unnecessary, and often unwanted, feature. So few were actually using it. And, as Jesko explained in our interview, those wanting video, want it done right with HDMI out, Log recording, audio inputs, etc. The result would have been in the completely opposite direction to what the design team was setting out to accomplish. It’s not a great loss. For those who wish to shoot video with M lenses, get an SL. The SL offers an extremely high quality solution for professional 4K video production. In fact, that’s what we use to produce all of our video content for the Red Dot Forum YouTube channel.
Why M10, not M11 or M (Typ XYZ)?
Leica switched to the Typ number naming scheme so that they could just call it a Leica M, similar to how Porsche just has a 911. This way people would just talk about the M. But, they realized that products need to be differentiated, so the Typ number was added. The unintended result of this naming convention was that the Typ number, which was not intended to be part of the product name, became part of the product name. Even worse, it got simplified from M (Typ 240) into M240, which was absolutely not the initial goal. The Typ numbers also started to get confusing: 246, 262, 240. With the new M, a decision was made to return to the classic numbering. Why M10 and not M11? According to Stefan and Jesko, the decision was actually somewhat random. So, don’t overthink this one or get too deep into conspiracy theories.
Heading back to New Orleans
The last time I visited the Big Easy was in Spring 2015 for the LHSA Spring Shoot and to test out the then soon-to-be-released Leica M Monochrom (Typ 246). I recall the struggle I faced when first starting my test shooting. You see, I’m a color photographer at heart. I loved using the Monochrom and was extremely pleased with the B&W results I produced with the MM246 (see my review here). It’s low-light prowess and perfect synergy with my M lens kit made it a joy to shoot with.
But, seeing all the color, texture and gorgeous light and not being able to fully capture it was an exercise in photographic austerity. Maybe even torture. Okay. I know that probably sounds overly dramatic. Just as I wrote at the time, I felt that the Monochrom enabled me to capture images that I just couldn’t with an M240. Now, with an M10 firmly in hand, and ready to serve me in my low-light endeavors, I’m ready to showcase the colors of NOLA and make good on the promise to my color-loving self that I would come back when the technology and opportunity presented itself.
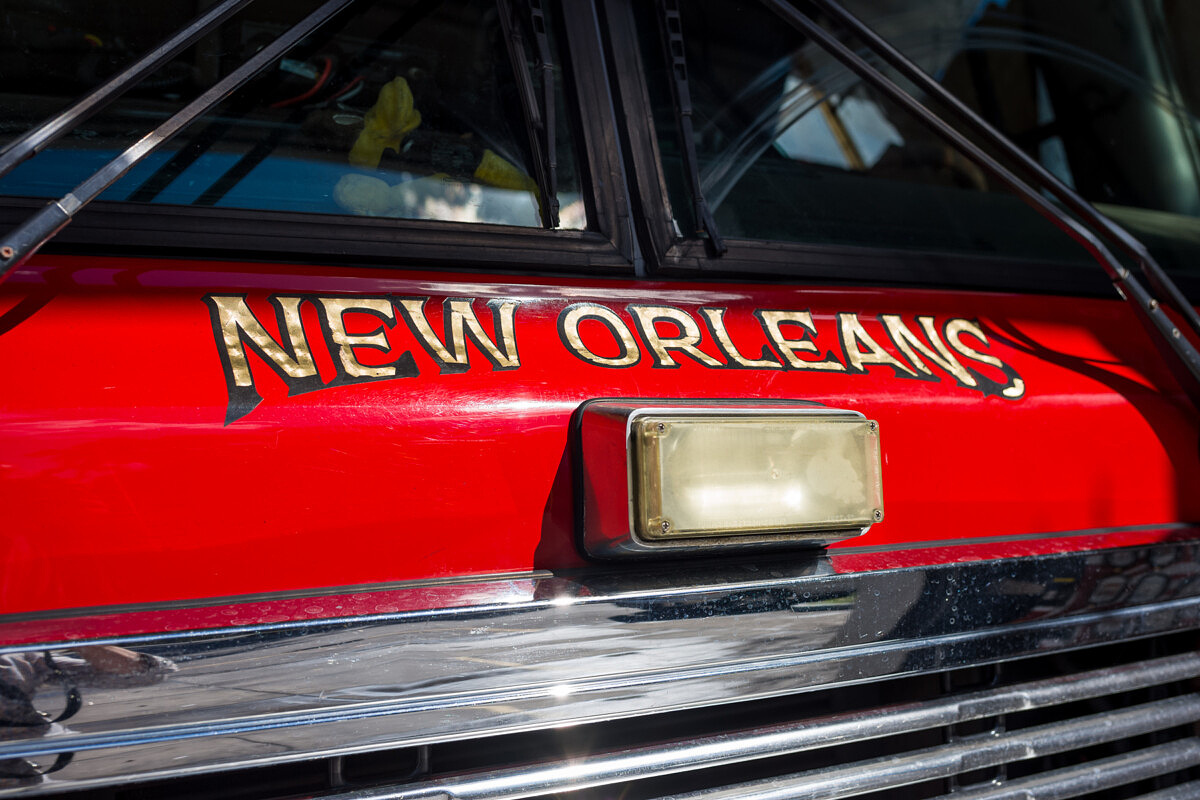
After attending Leica’s announcement of the M10 in Wetzlar earlier in the month, I decided NOLA would be the perfect place to give the M10 a thorough workout. That, along with the fact that almost everywhere else in the Northern Hemisphere was freezing cold and was either raining or just plain overcast and bleak. The weather in New Orleans looked fantastic. Cool, not cold. Forecast calling for clear skies and sunshine. So, with the M10 and my usual collection of lenses ready to roll, I booked a flight from Frankfurt to Louis Armstrong International, bidding farewell to chilly Germany and hello to the sunny South.
I was also lucky to have an expert guide to show me around. Photographer, author, teacher, and New Orleans local Richard Sexton was generous enough to take me to some spots off the beaten path for my first two days in the city. He moved to New Orleans in 1991 and knows the place inside and out. Richard has published more than ten photography books, contributed to numerous magazines like Smithsonian and has his work in the permanent collection of several museums. He’s also a super-nice guy with an affinity for American history, an eye for architecture and impeccable taste.
Half-awake after flying for 15 hours the night before, I willed myself out of the oh-so-comfortable hotel bed and pulled back the curtains to see a familiar sight from my last trip there. Gray skies and pouring rain. Awesome. These conditions had plagued my last trip here. A tall cup of coffee in one hand, M10 in the other, and Arc’Teryx rain shell on my back, I was determined to make the most of it. When he picked me up at my hotel, Richard assured me the weather would pass. I had my doubts, but was hopeful nonetheless.
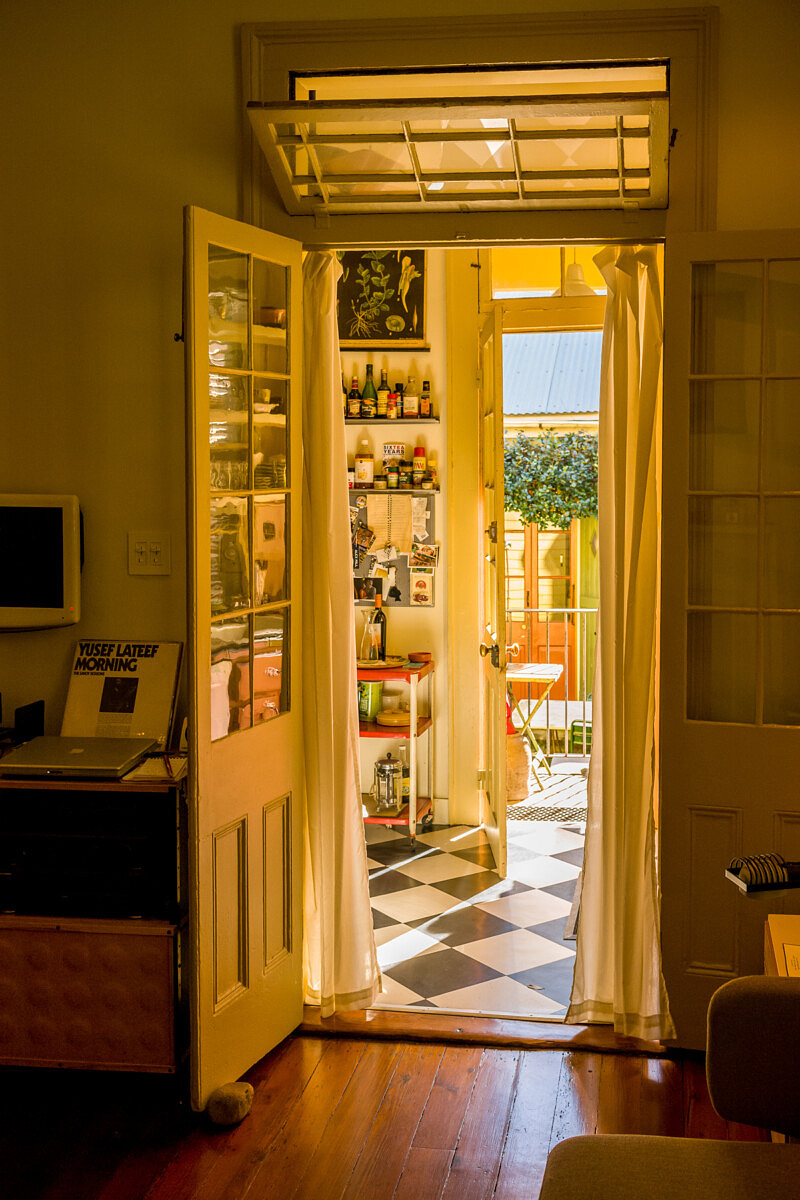
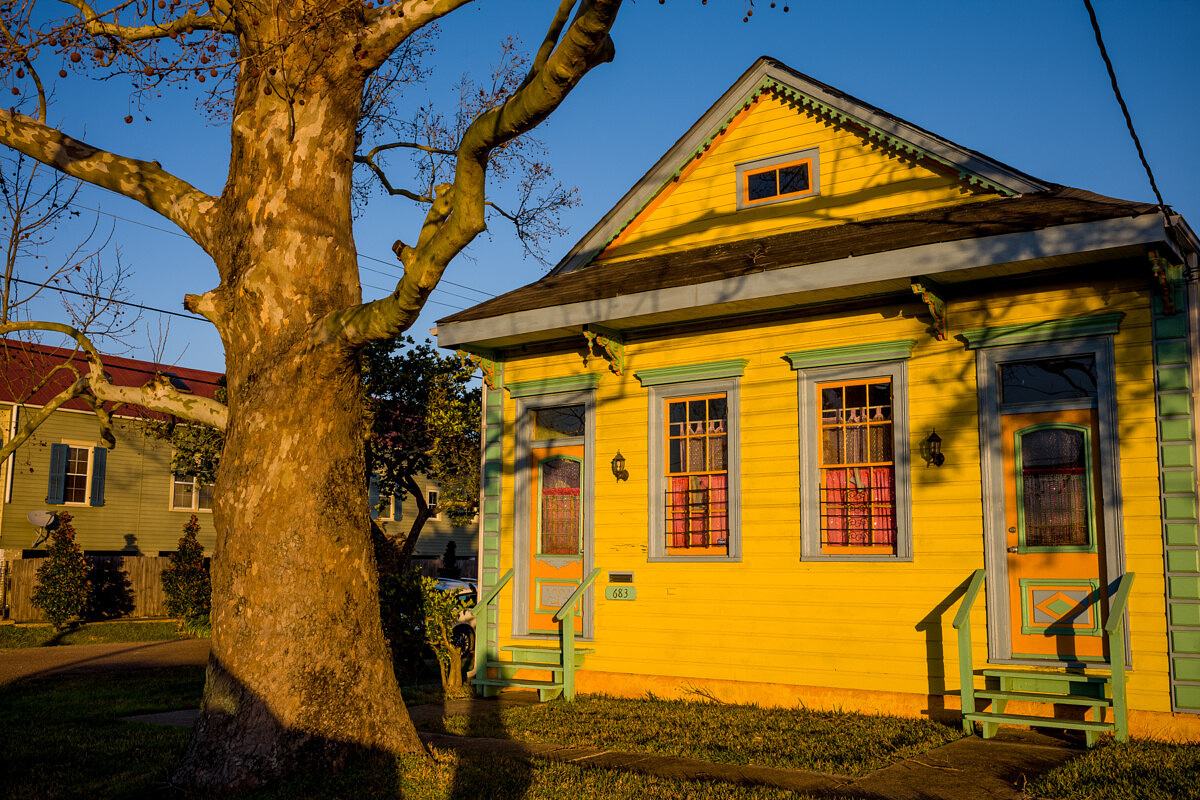
Our first stop was at Richard’s house, a lovely Creole Cottage in the Marigny, just a few minutes’ drive from my hotel in the upper Quarter, and a stone’s throw from Frenchmen Street. We hashed out our game plan for my visit, talked about New Orleans history, discussed architectural styles, then geared up to head out.
And by the time we finished our coffee and wrapped up our conversation, the weather had blown over, just as Richard had promised, with the gray haze magically replaced by a stunningly clear blue sky and beautiful, crisp winter light.
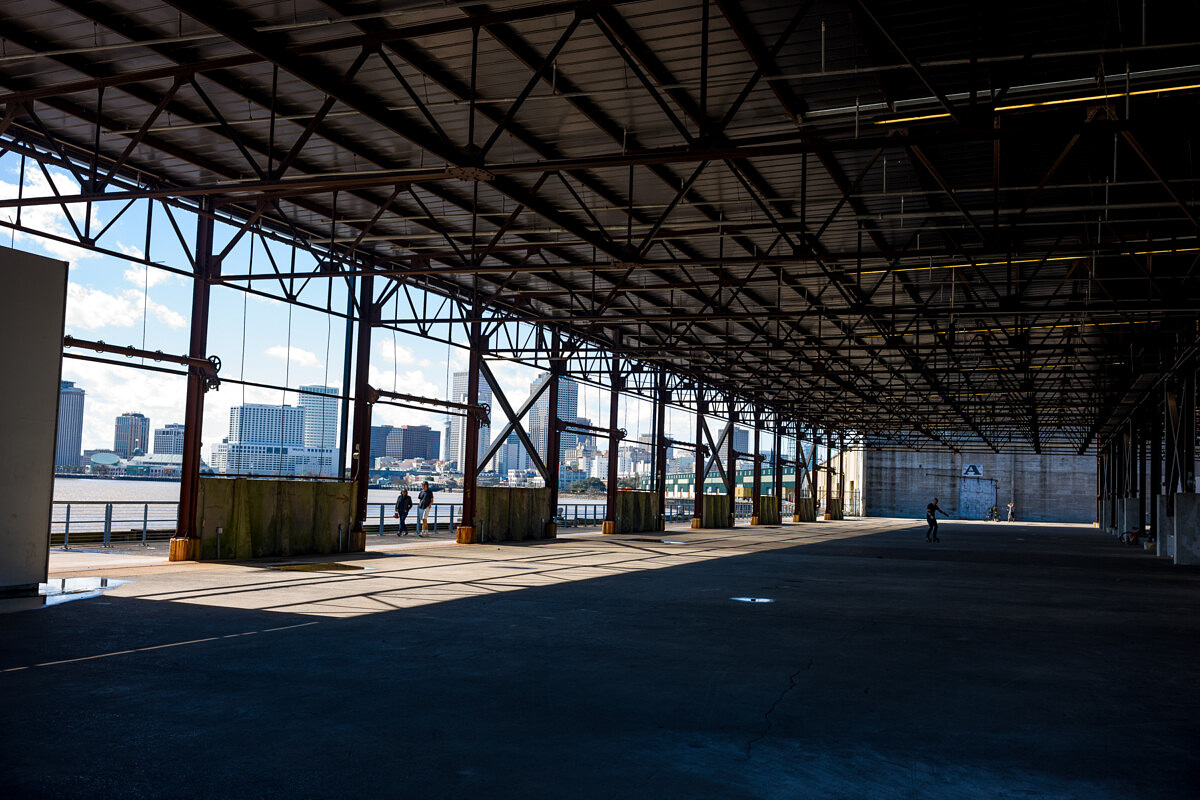
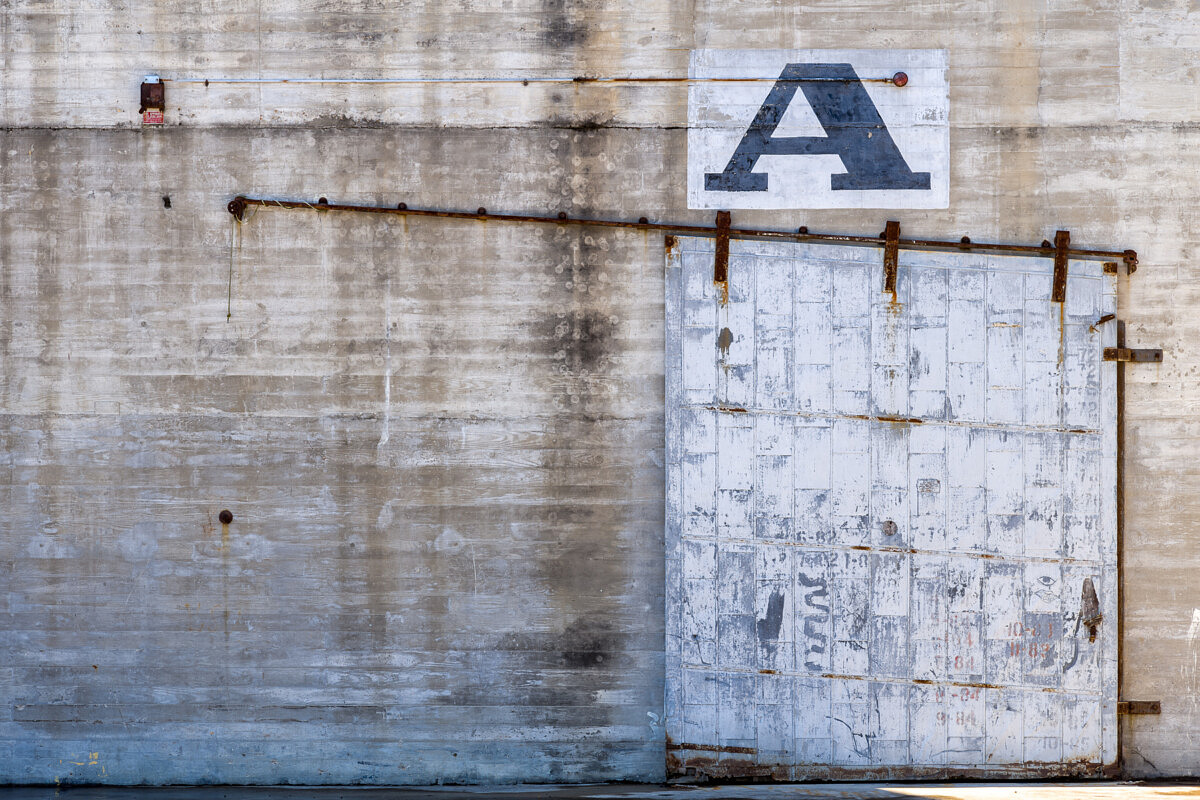
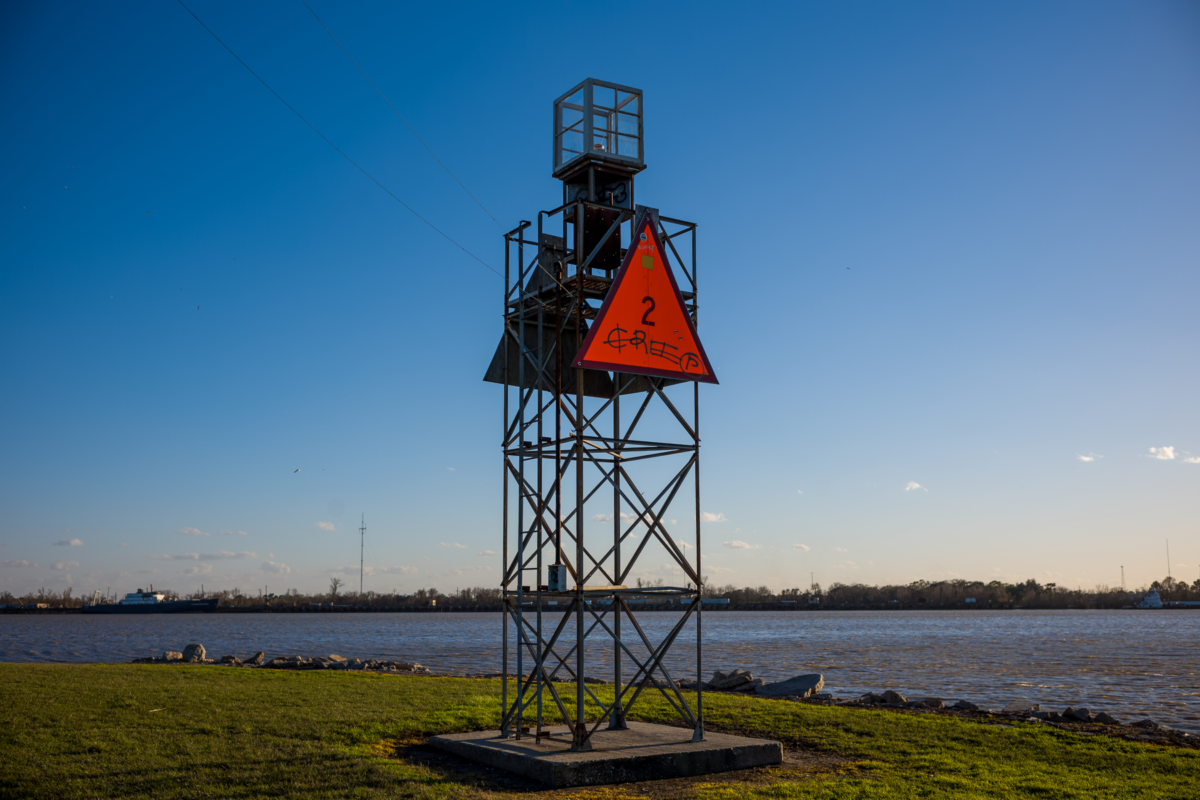
We walked from his place towards Crescent Park, which runs for over a mile along the bank of the Mississippi, and features some interesting industrial structures. We had the place to ourselves, save for the occasional local out for a morning jog or bike ride. Crossing over a pedestrian bridge took us over the train tracks to a former warehouse, The Mandeville Wharf.
During Hurricane Katrina, the building caught fire, damaging it considerably. Exploding propane tanks finished the job. The city rebuilt the structure, but left it without walls. Now a public space, the Wharf serves as a venue for everything from yoga classes to movie nights.
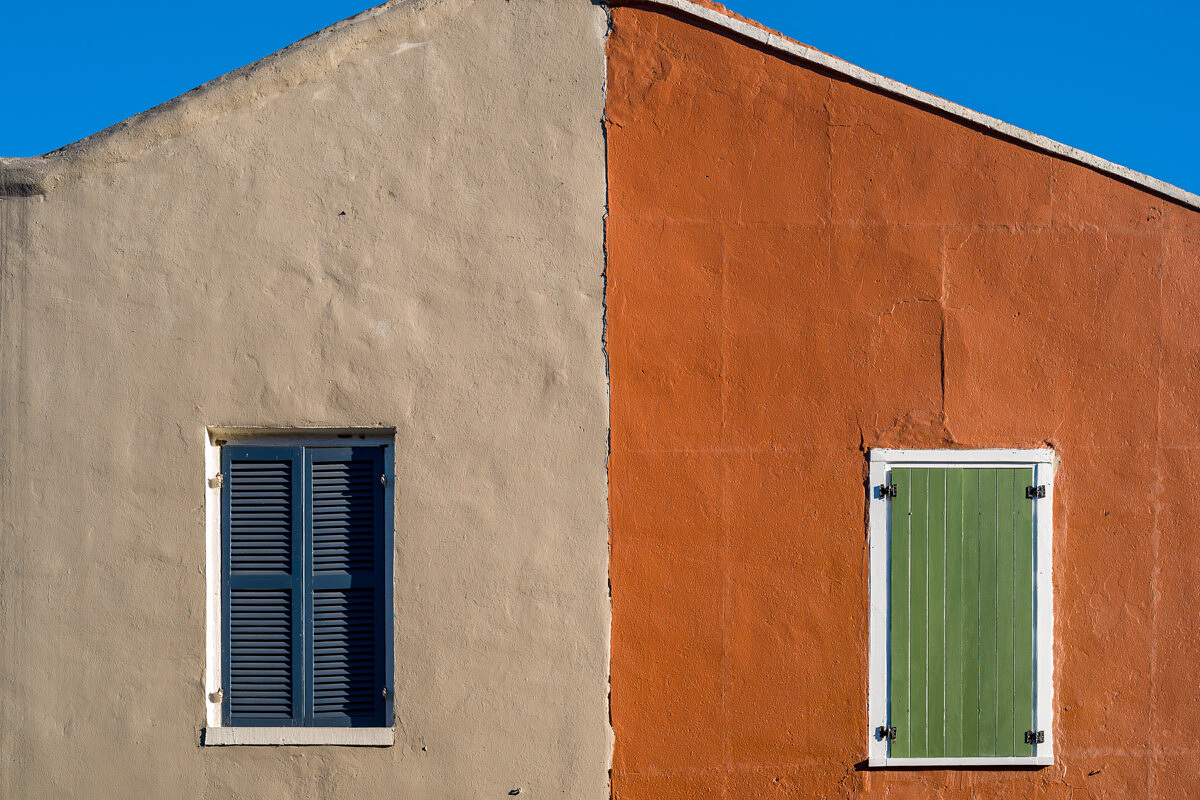
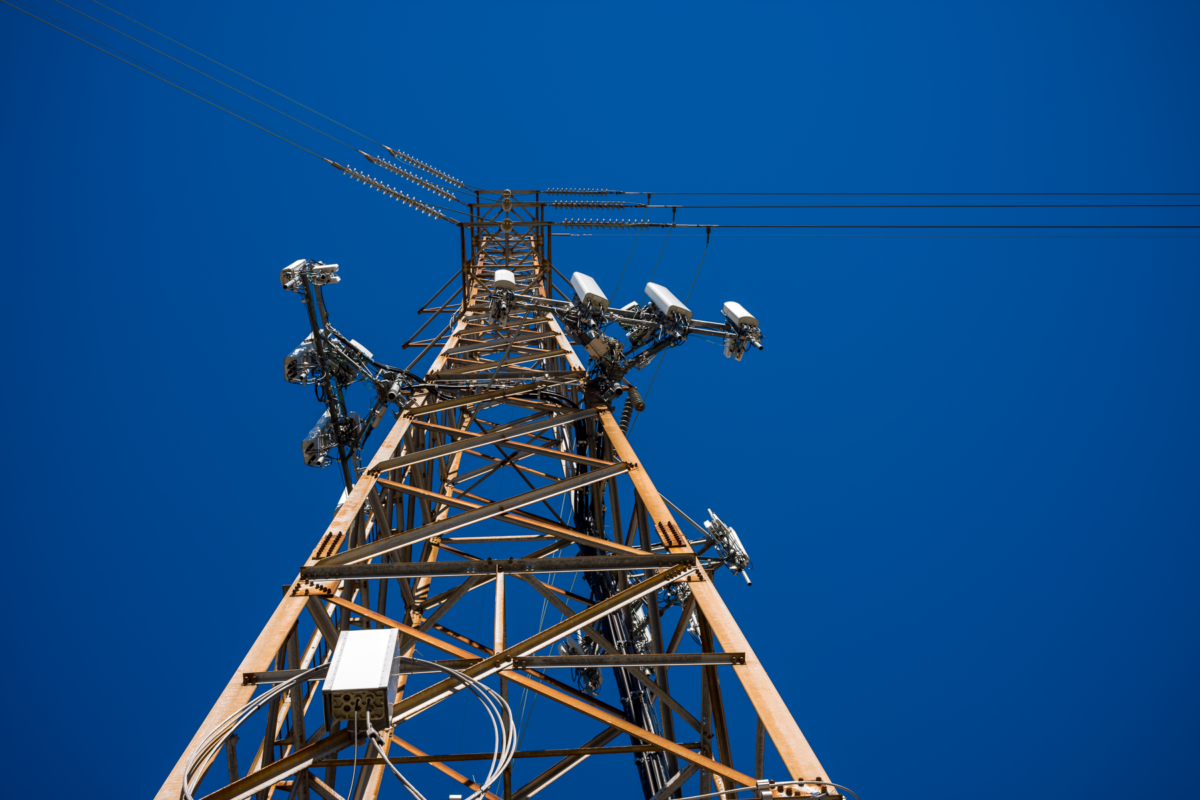
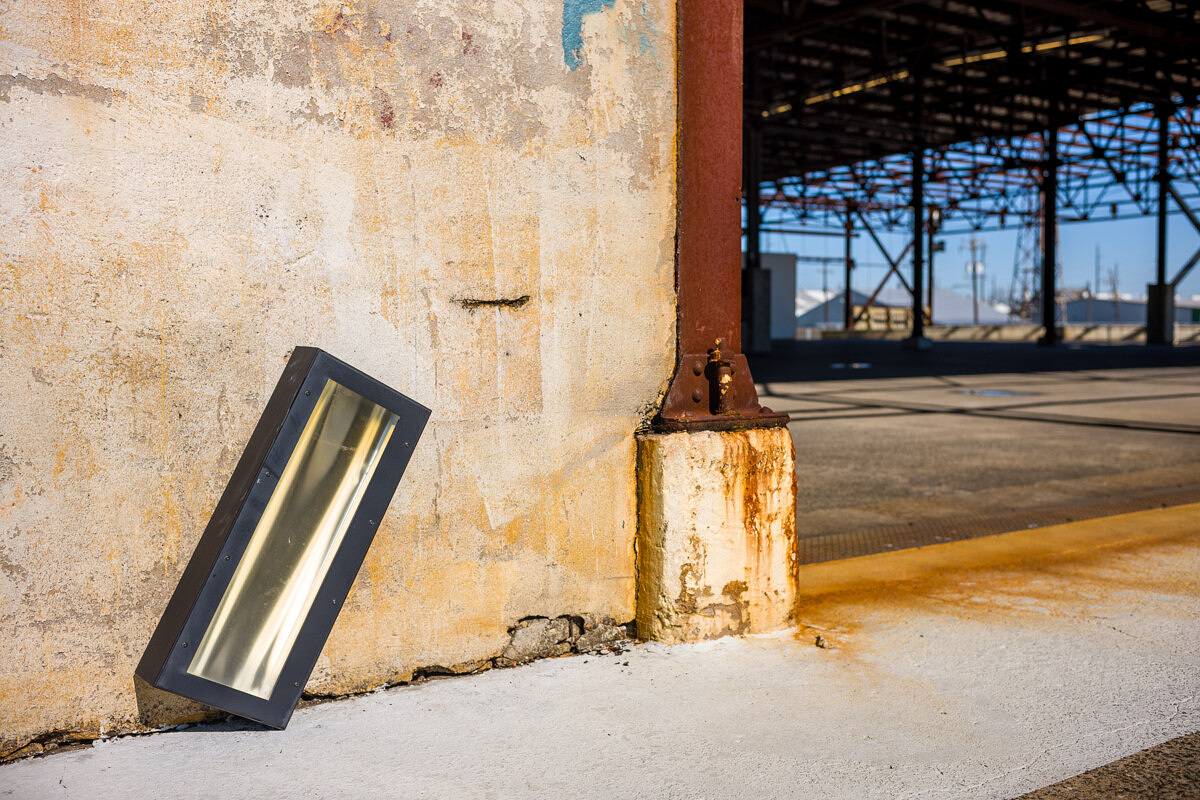
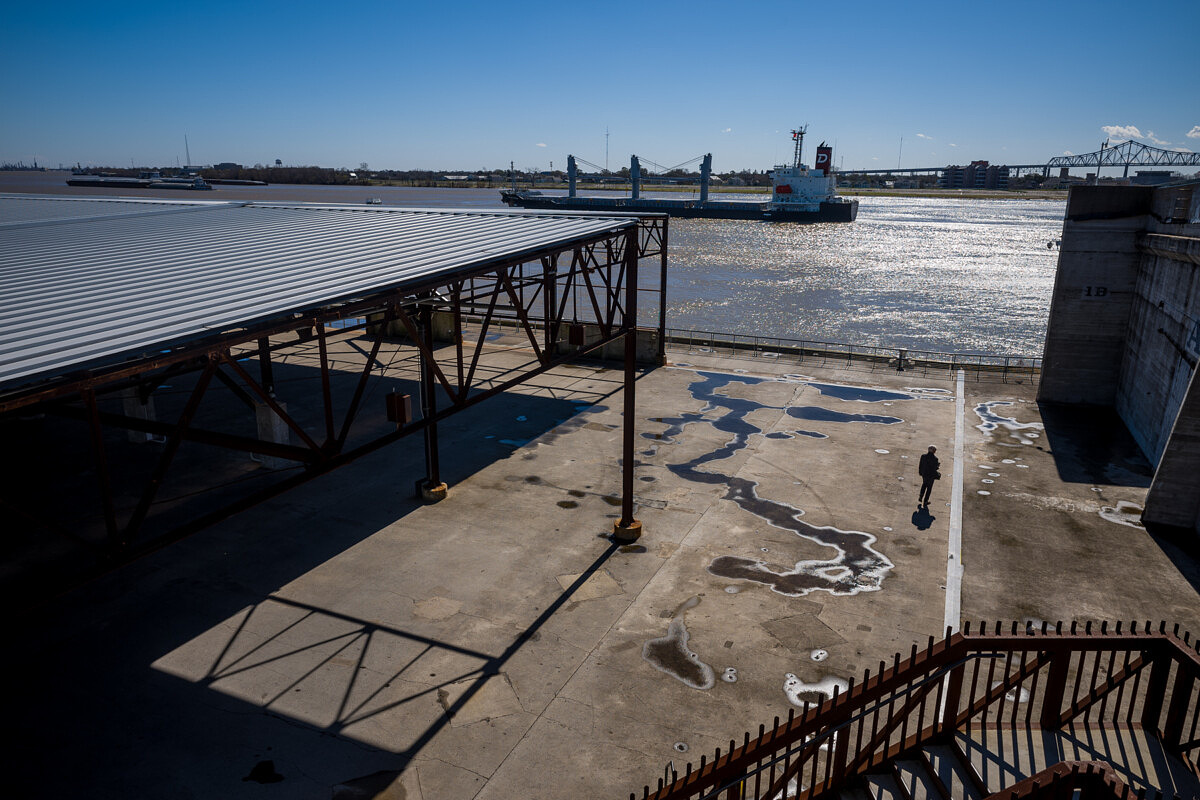
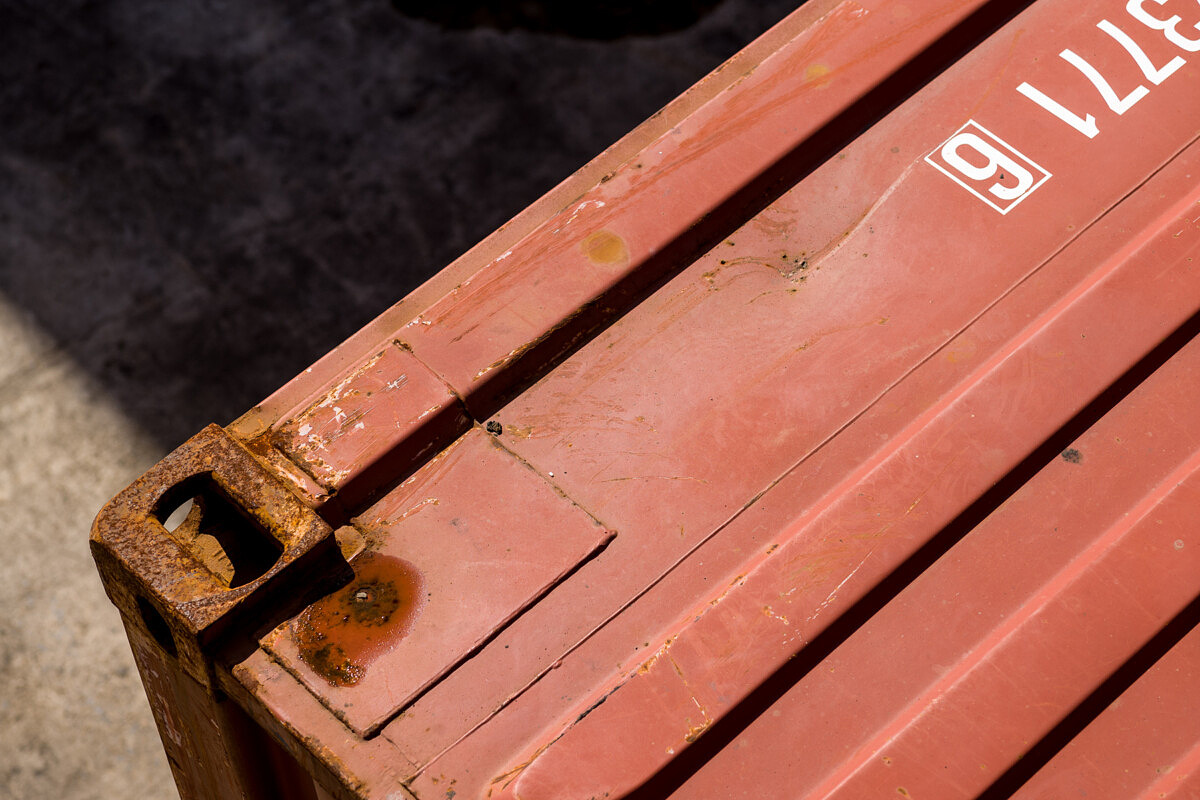
The light coming from across the river was glorious and I was really digging the color contrast of rusted metal against the rich cerulean sky. The high contrast between the areas of deep shadows and bright sunlight also allowed me to push the M10’s dynamic range.
As we explored the area, large container ships made their way upriver towards port and downriver back to the Gulf, as the morning sun glistened off the Mississippi.
Subject matter was abundant, and I was starting to have fun with the camera, but concern started creeping in as I noticed the battery indicator on the camera falling rapidly. This became even more pronounced every time I dared to switch into Live View for more precise framing of architectural elements.
Just a few minutes looking through the Visoflex and the battery percentage would notch down another 5%. I began to wonder how I was going to get through an entire day with just one battery.
From the riverfront, we made our way back to Richard’s house, hopped in the car and drove to the St. Roch neighborhood. First order of business was to grab ourselves some lunch, along with a quick battery charge for the M10, at St. Roch’s Market, an indoor food court of sorts.
Different vendor stalls, serving up everything from Vietnamese steamed buns and Pho to southern BBQ to fresh oysters and martinis, lined both sides of the hall-like building. Music filled the air as a three-piece band played in the center of the space.
We found a table right next to an open outlet and I plugged the battery in, wishing I had been able to continue taking pictures in this subject-rich environment. Instead, I watched the slowly blinking light on the charger, which was bringing my sole power source back up to fighting shape. During the time it took to place our order and eat our lunch, the battery had gone from 20% to 95%. My earlier battery woes were somewhat alleviated with the quicker than anticipated charging.
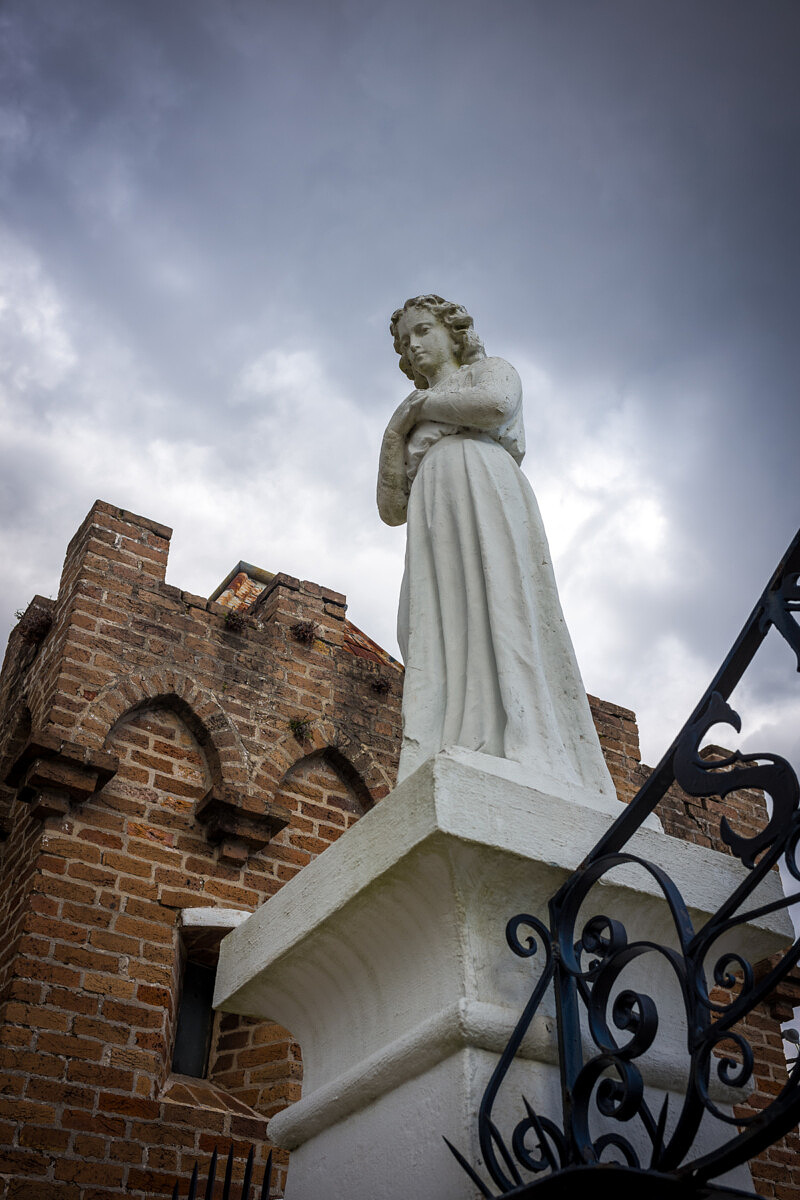
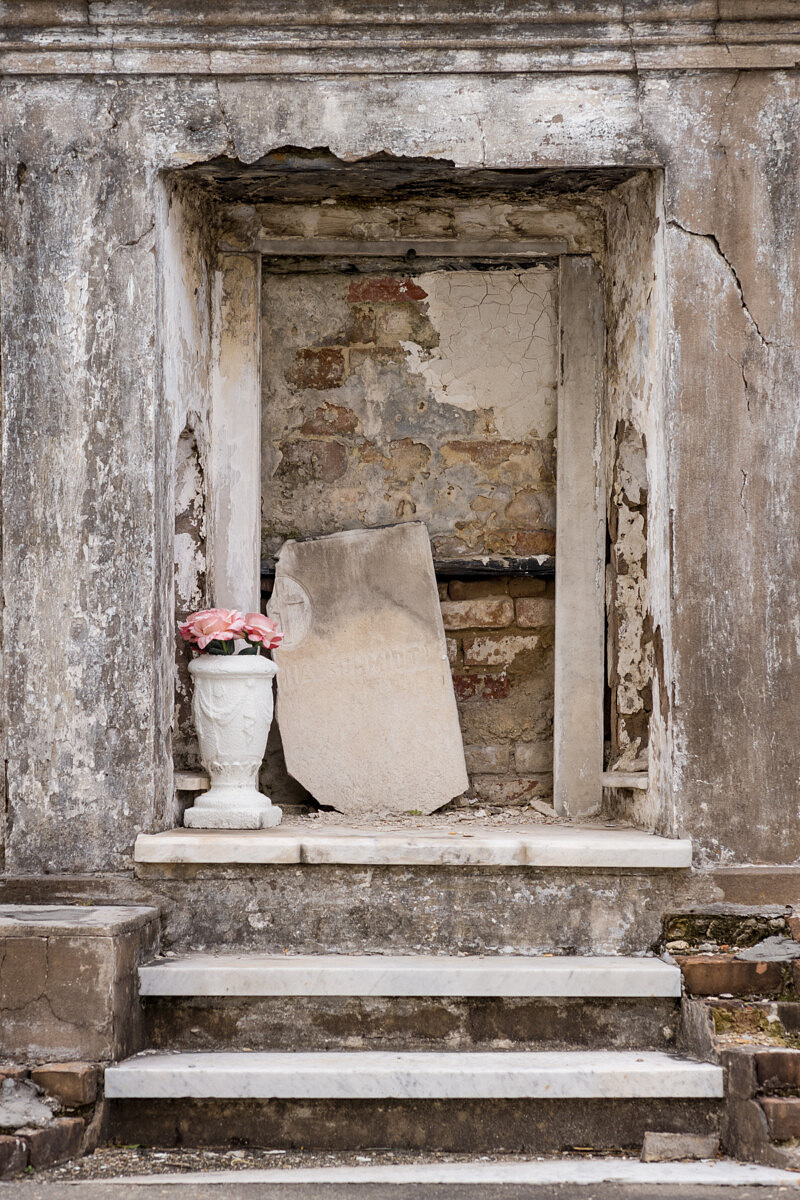
Stomachs and battery topped up, we walked and shot our way through the neighborhood to St. Roch Cemetery. Much smaller than the better-known St. Louis #1 that serves as a major tourist attraction, St. Roch was no less interesting.
And, we were alone, free to wander without maneuvering around crowds of people ferried in by the busload. Up until this point, there wasn’t a cloud in the sky. But as we made our way to the gates to the cemetery, the temperature dropped a good 10 degrees and dark, swirling clouds stretched in every direction, accompanied by strong gusts of wind. Ominous much? I wasn’t complaining and took full advantage of the instant, yet creepy, mood enhancement.
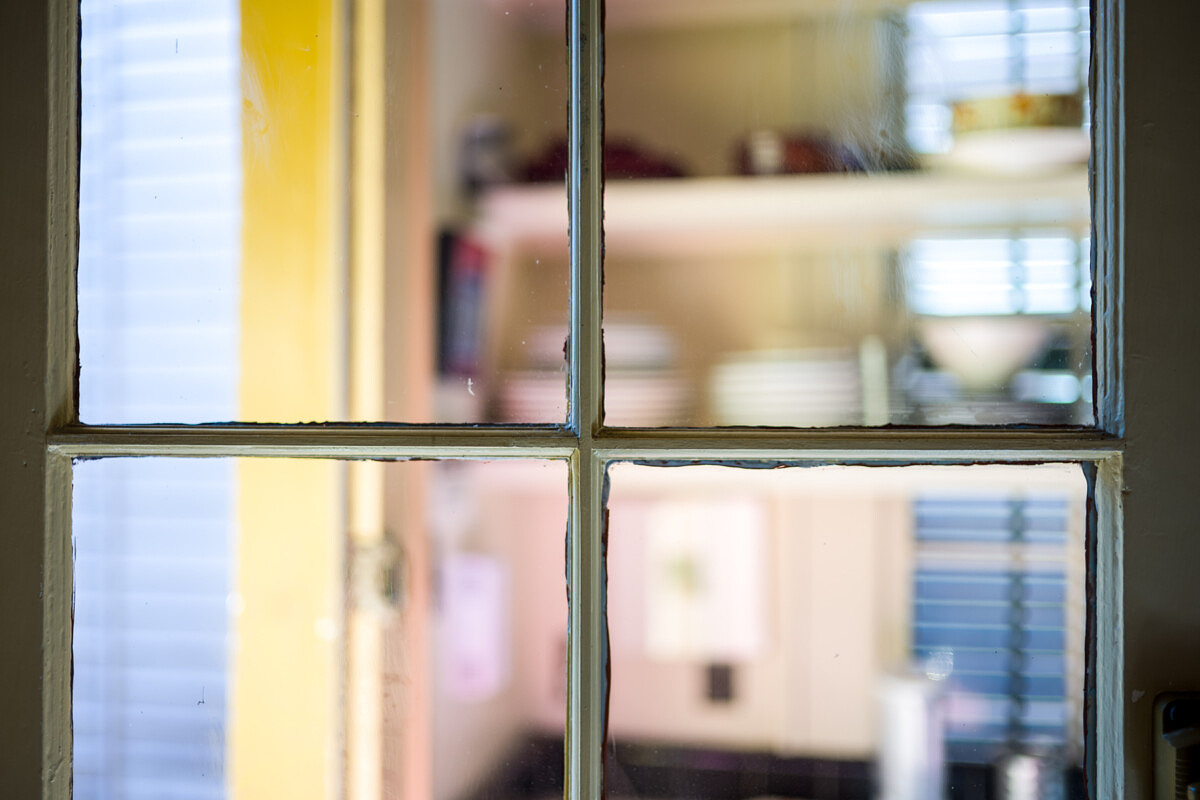
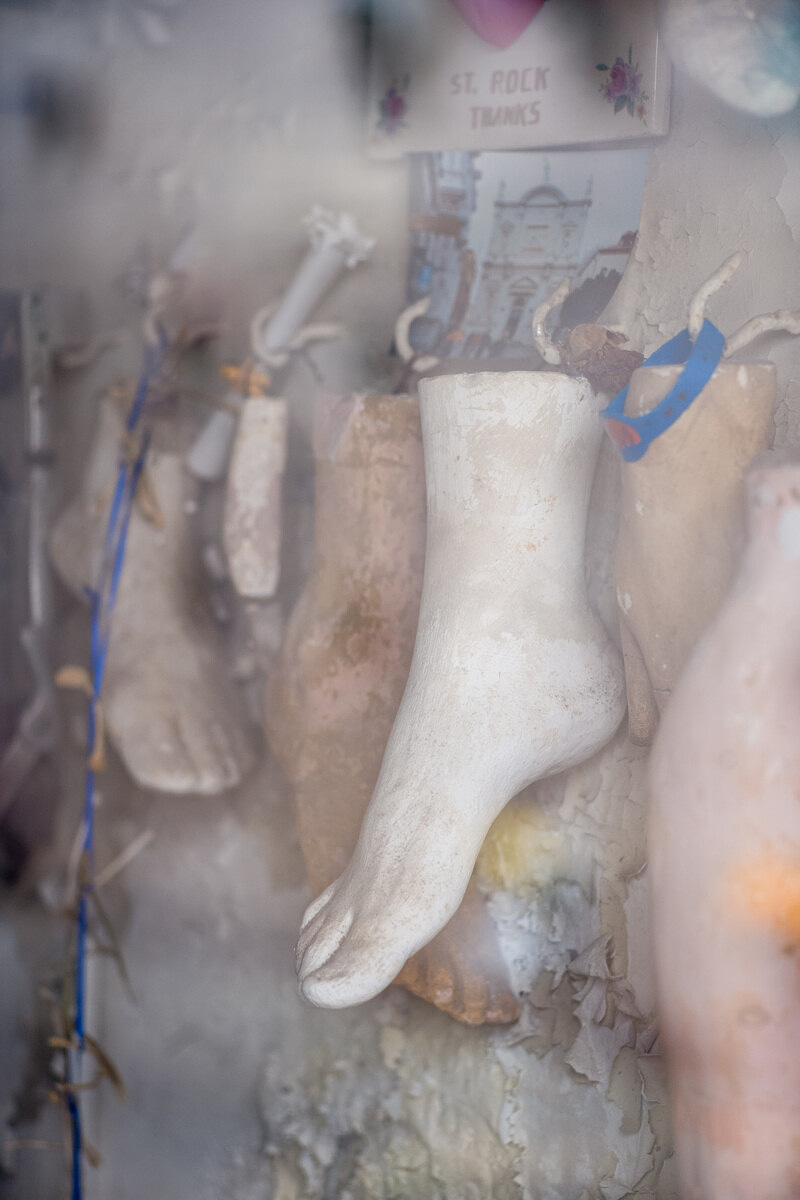
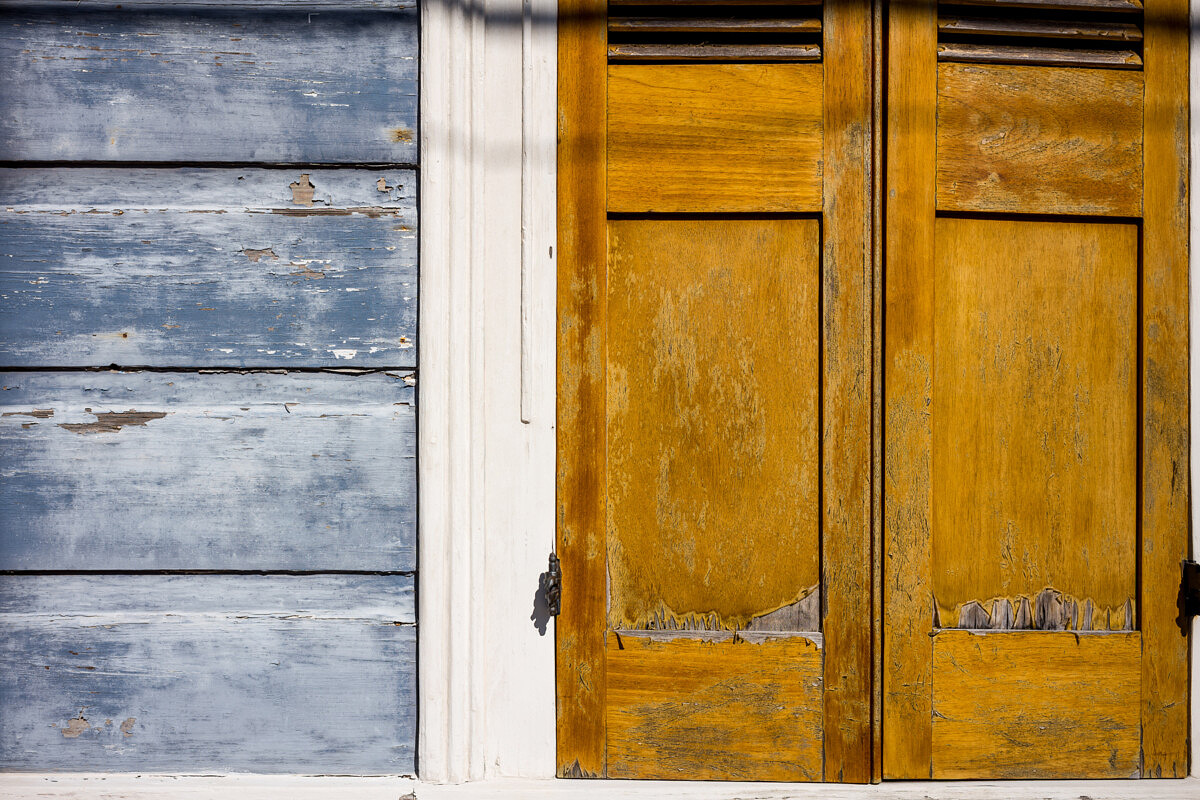
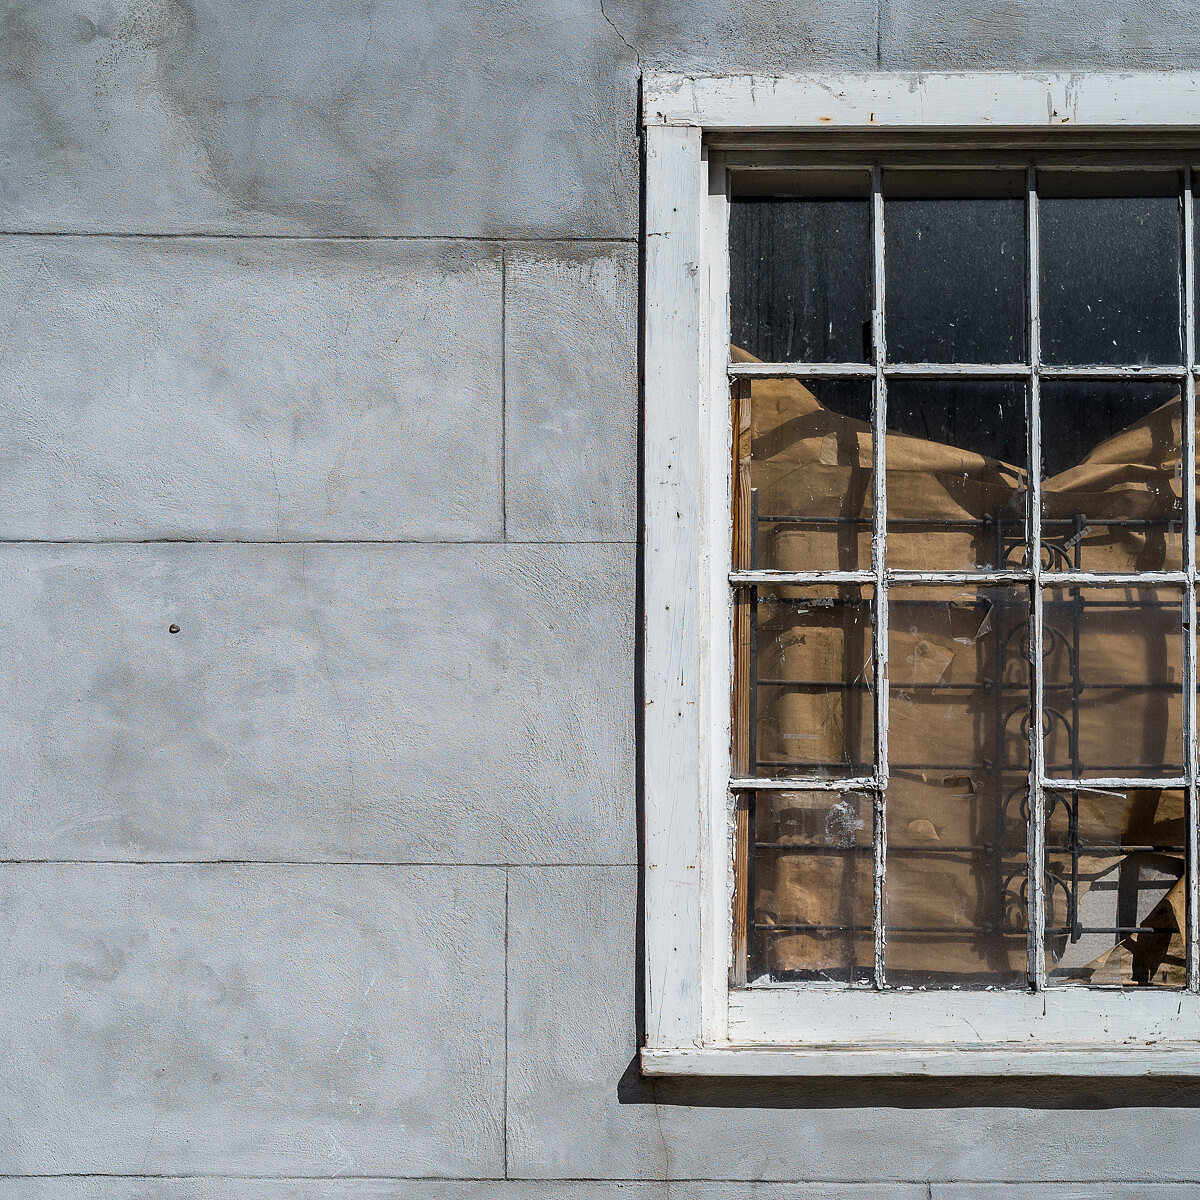
St. Roch Cemetery was like most of the cemeteries in New Orleans, old and crumbling. There was also a room in the central church with fake body parts, which was more than slightly macabre. Shooting through a dusty, grimy window only added to the spooky feel.
Richard thought that I might enjoy heading downriver for a change of scenery, so we got back in the car and explored the far end of Crescent park in Bywater.
I figured this was a good opportunity to try out my 180mm APO-Emarit-R lens on the M10, as we had some nice light falling on boats on the river. Focus was easier than with the M240 and EVF2, but not at the same level of ease as the SL. I wasn’t surprised. With its best-in-class EVF, the SL is designed specifically for live view shooting. The M was certainly acceptable, though. The Visoflex has a noticeable rolling refresh, so on longer lenses like the 180, at high magnification, don’t pan too fast. You might get a little woozy as the image ‘sloshes’ around. For shorter, typical M focal lengths, this didn’t prove to be as problematic. In fact, I happily used the Visoflex for much of my testing.
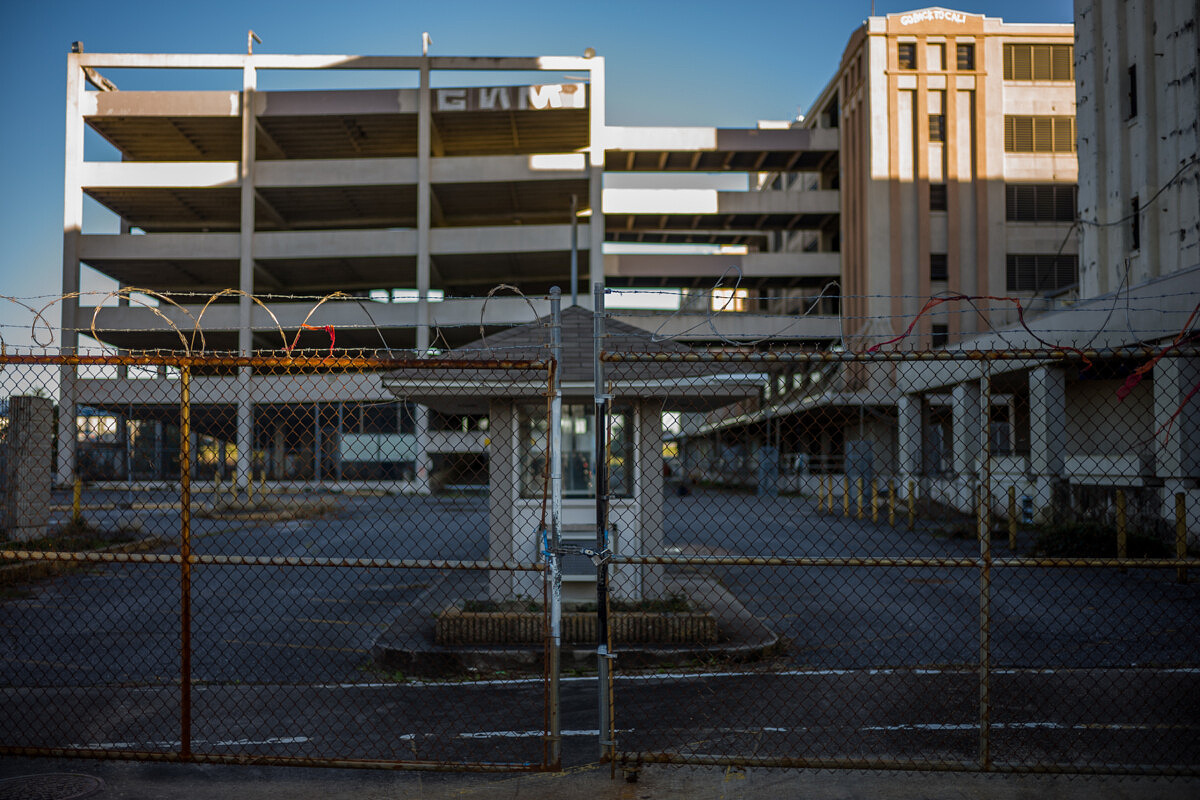
We pressed on toward the Lower 9th Ward, passing an abandoned US Navy complex, now owned by the city. The site has been vacant for ten years but hasn’t been developed yet. At 25 acres and 1.5 million square feet of office space, it’s a massive site. And if that uninviting gate…or the threat of imprisonment…wasn’t there, I would have loved to go exploring inside for a few hours. Alas, I’d have to be content with a few shots outside before moving on.
If you watched the news coverage of the aftermath of Hurricane Katrina, you might recognize the Lower 9th. This residential area was one of the hardest hit, with floodwaters rising to roof lines, and nowhere for the water to go.
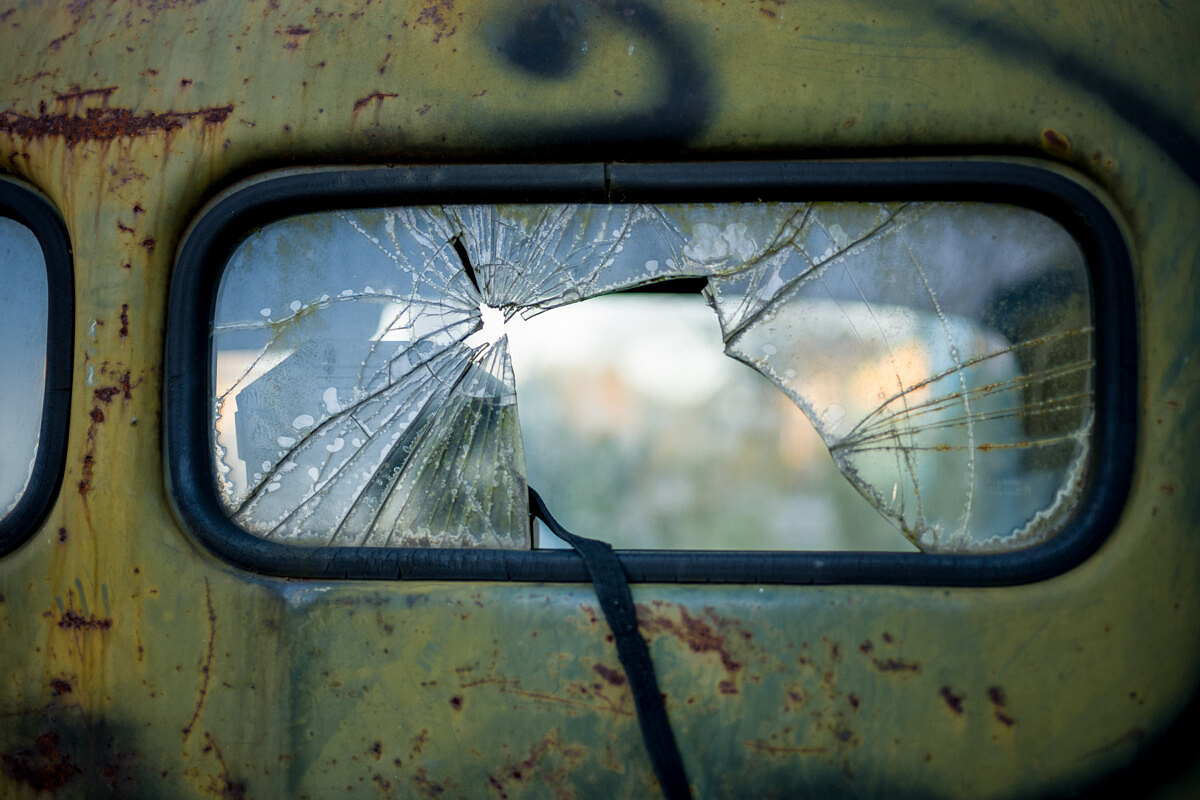
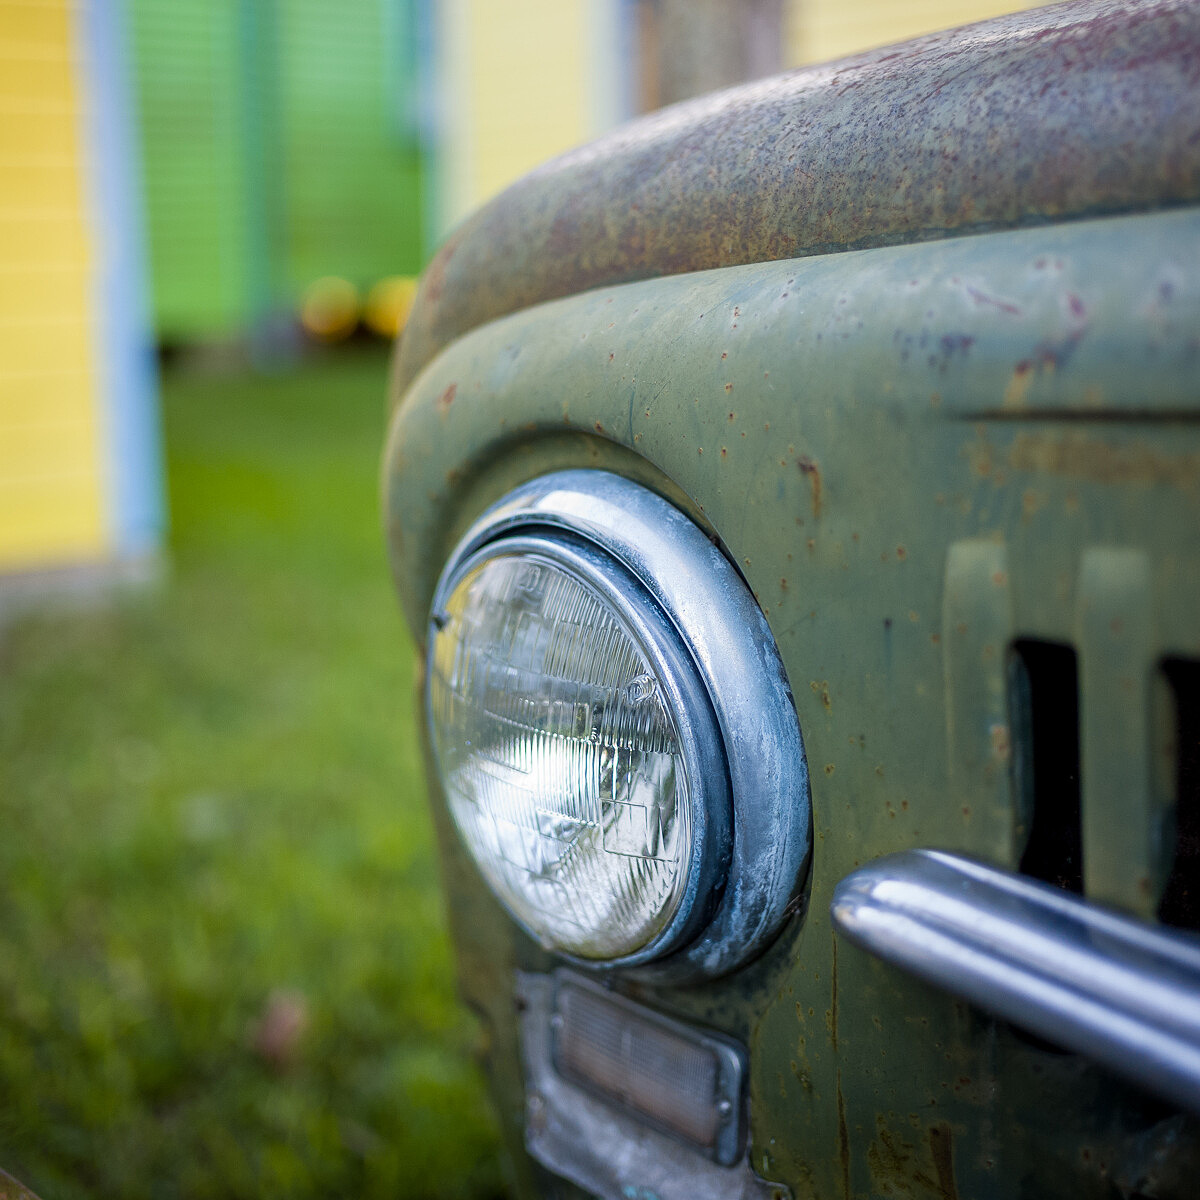
We drove up and down the residential streets, admiring the new construction as well as houses and vehicles that “went back to nature” and were left to decay long ago.
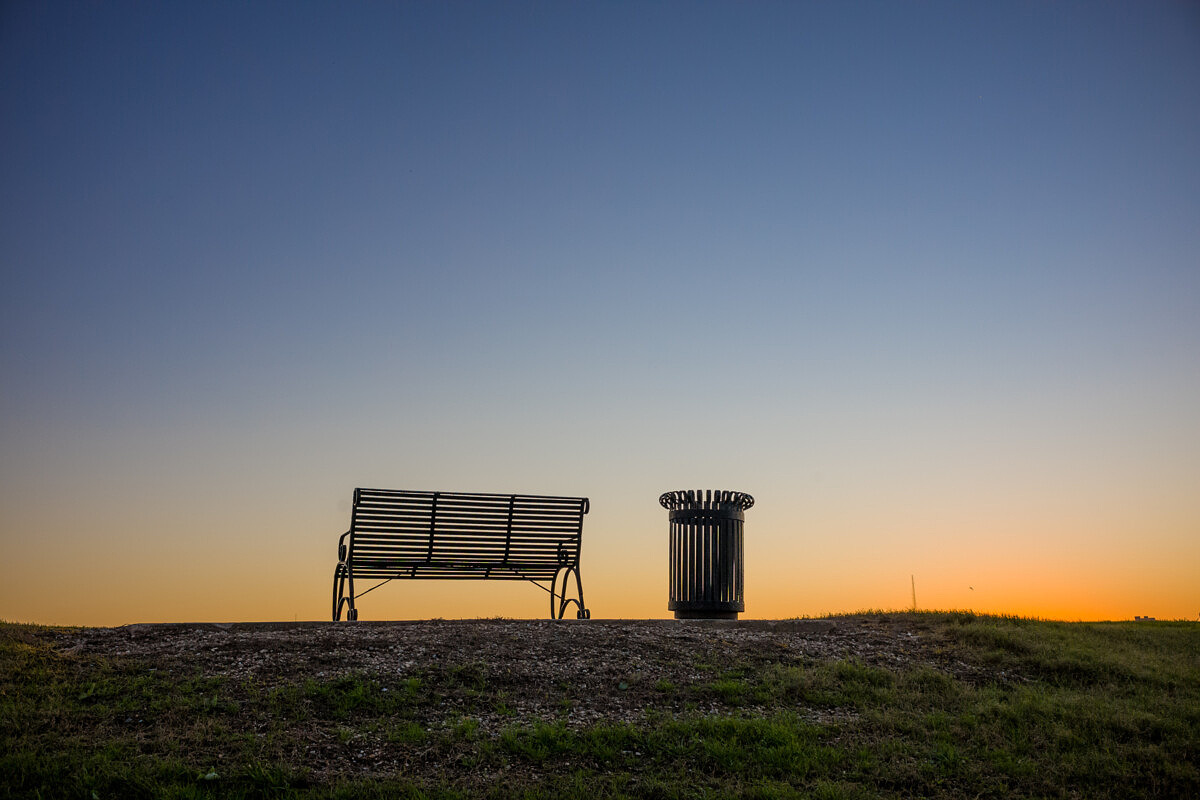
Levies, built by the Army Corps of Engineers, surround the Lower 9th. These imposing mounds of earth and rock, holding back the potentially devastating waters of the Mississippi, also serve as everyday parks and greenspaces.
Richard suggested we hike up to check out the view. On top of the levies we found a handful of locals walking their dogs and admiring the setting sun.
Following a full day of touring and shooting some of the less traveled parts of the city, Richard and I shared a leisurely dinner. Any plans to go out for some night photography afterwards were quickly dashed as I succumbed to jet lag and passed out. No worries. Every night is hopping in NOLA. I reasoned that I’d have plenty of opportunities in the coming days.
The next morning, Richard picked me up for our final couple of hours together. He had to head out of town on business. So, instead of shooting around like we had the day before, Richard took me on a wide-reaching driving tour through Uptown, the Garden District, and Treme so I could get a better feel for the ‘real’ New Orleans, the one most tourists are unfamiliar with. You can tell how passionate and knowledgeable he is about his city.
During our time together, he’d invariably point out a particular house in almost any neighborhood we were in, telling me about its occupant and their common history together, share historical tidbits about each area we visited, express admiration for local artists and musicians, or give culinary recommendations for myriad restaurants along the way.
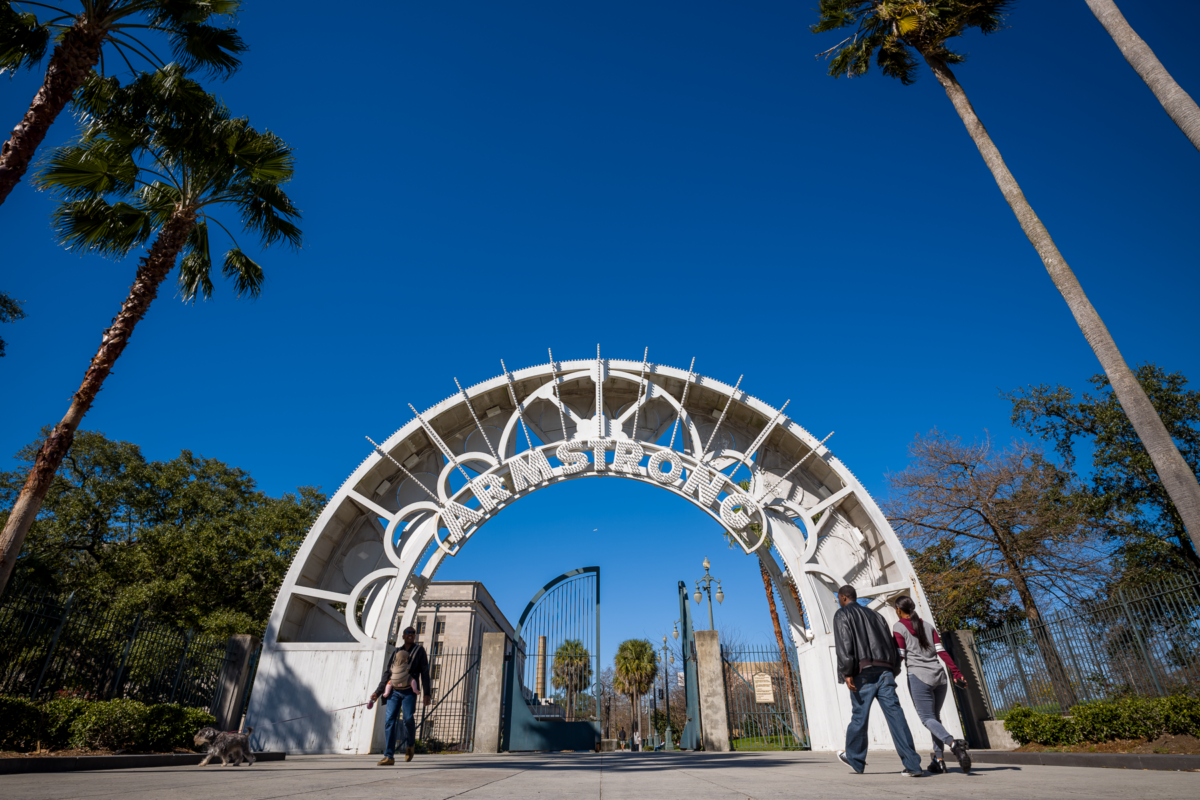
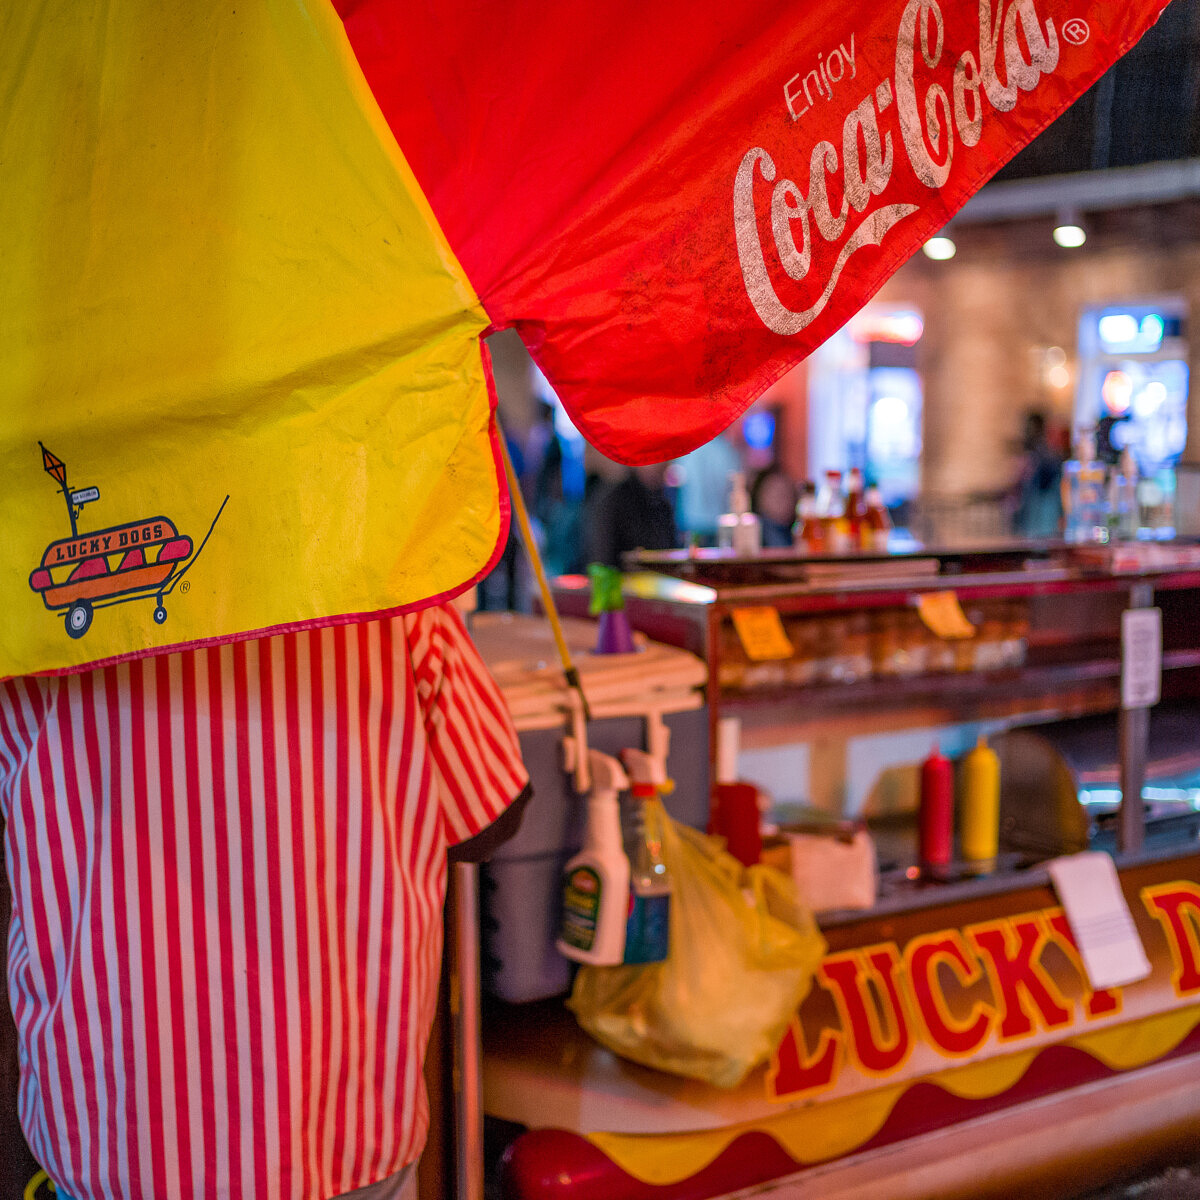
After our drive around town, Richard dropped me off at Louis Armstrong Park, located in Treme, on the boundary with the French Quarter. I figured I’d wander around the park for a little bit, then grab lunch, and yet another quick charge, across the street at one of my favorite hot dog places, Dreamy Weenies.
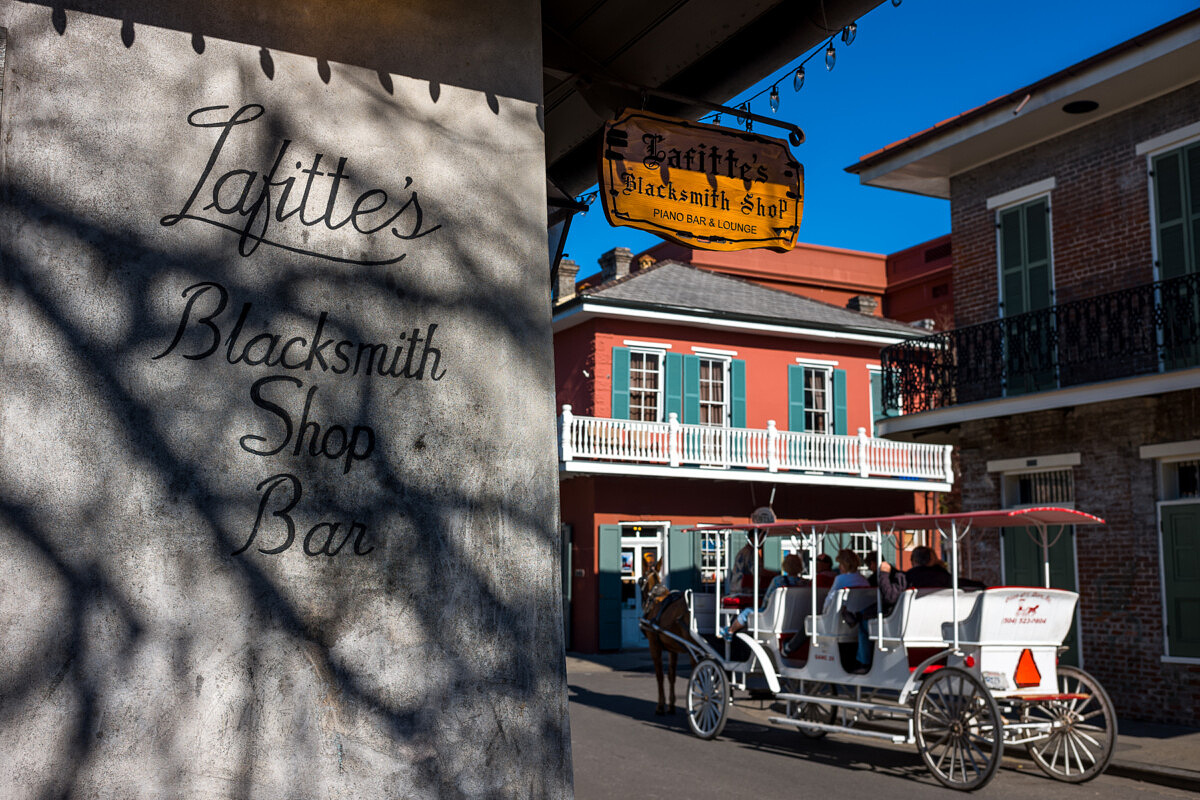
From there, I wandered up and down St. Ann, Dumaine and St. Phillip, splitting my time between the sunny and shady sides of the streets. At the corner of St. Phillip and Bourbon I came upon Lafitte’s Blacksmith Bar, one of the oldest watering holes in New Orleans.
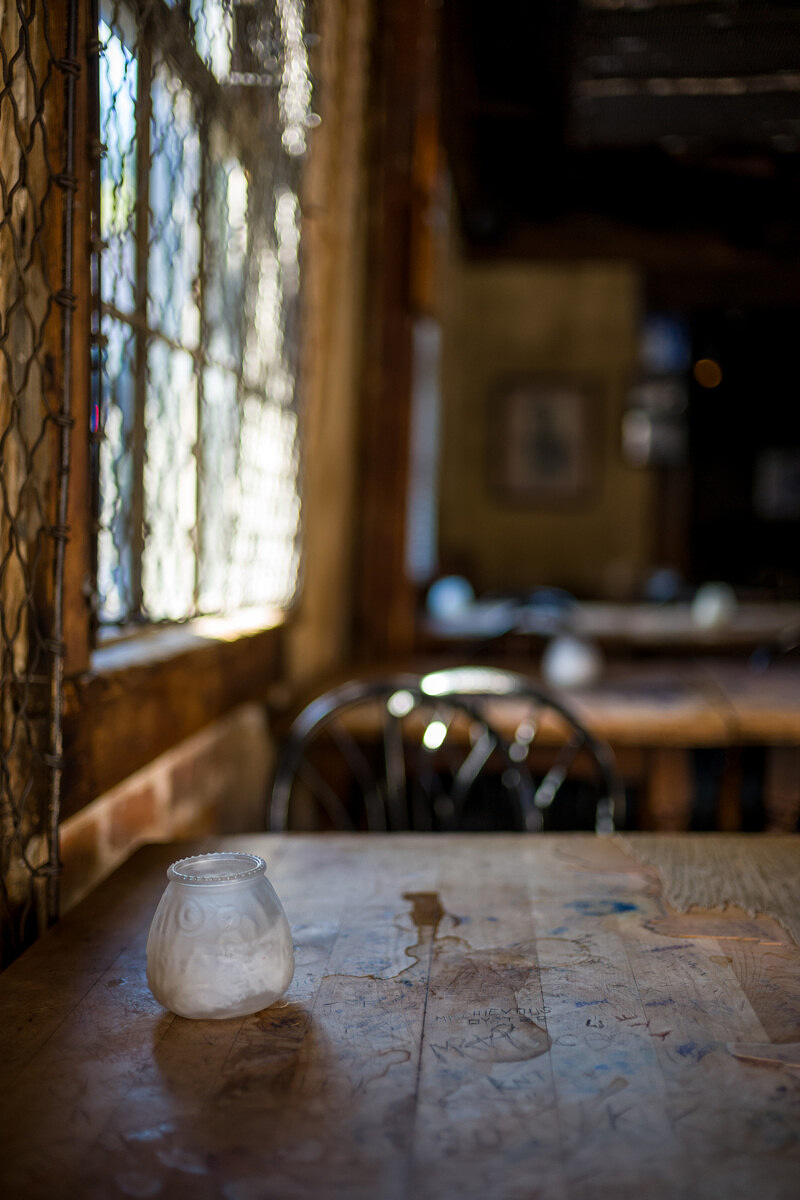
Dating back to the 1700’s, this dimly lit space is loaded with character. No one bothered me as I showed myself around and snapped some pictures.
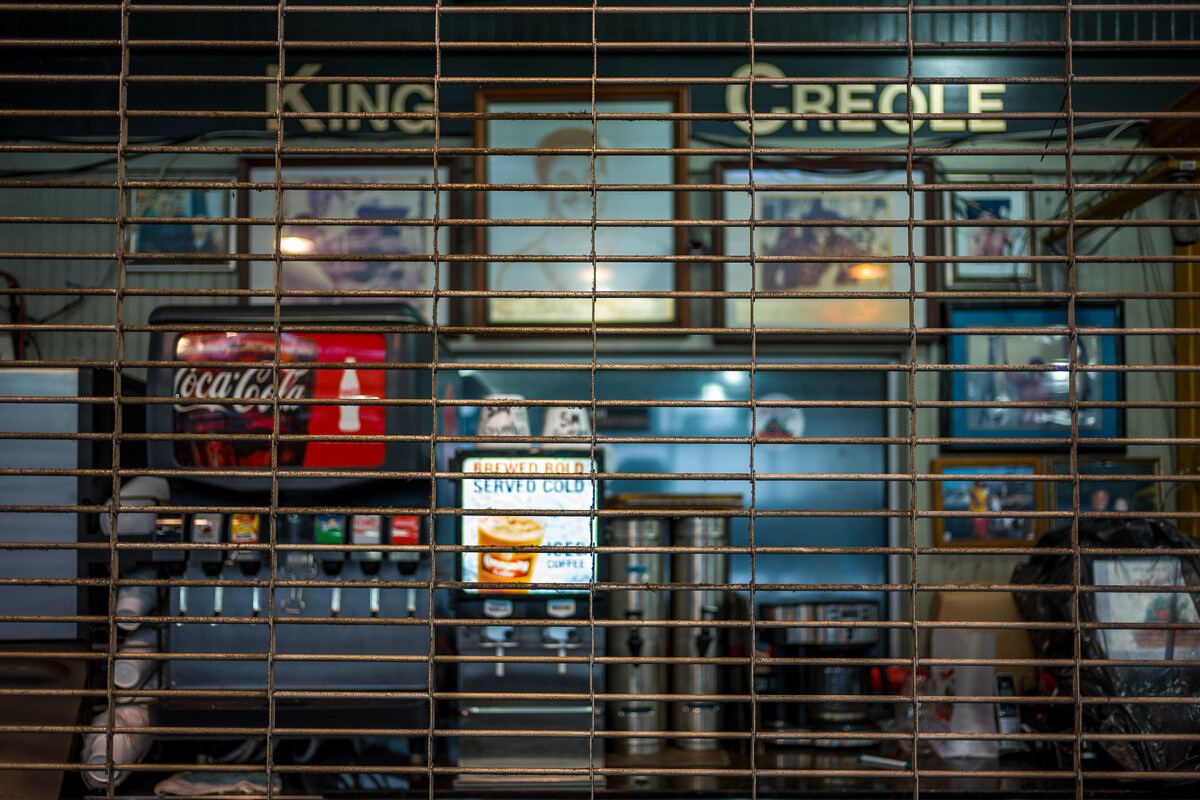
Following St. Phillip towards the river, I found myself at The French Market, an open air, covered market with shops, flea market stalls and food vendors. It seemed like a perfect opportunity to try some Gumbo and grab some shots.
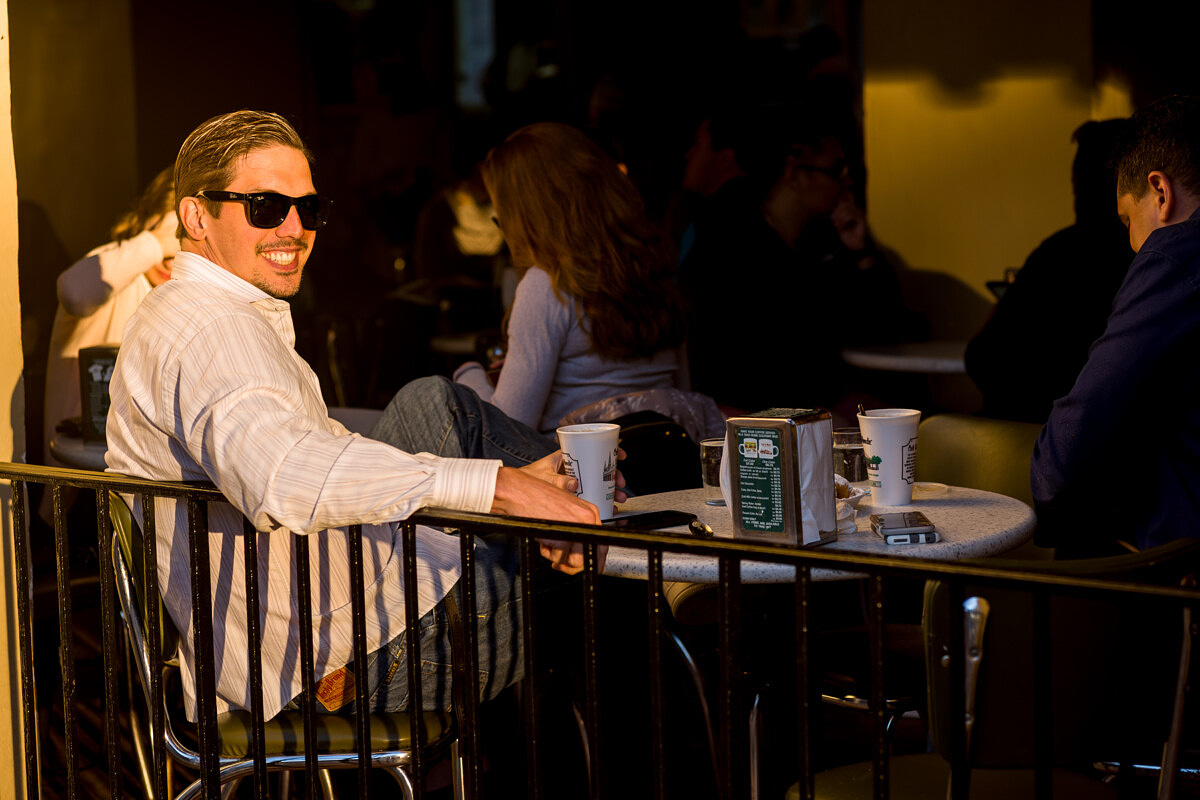
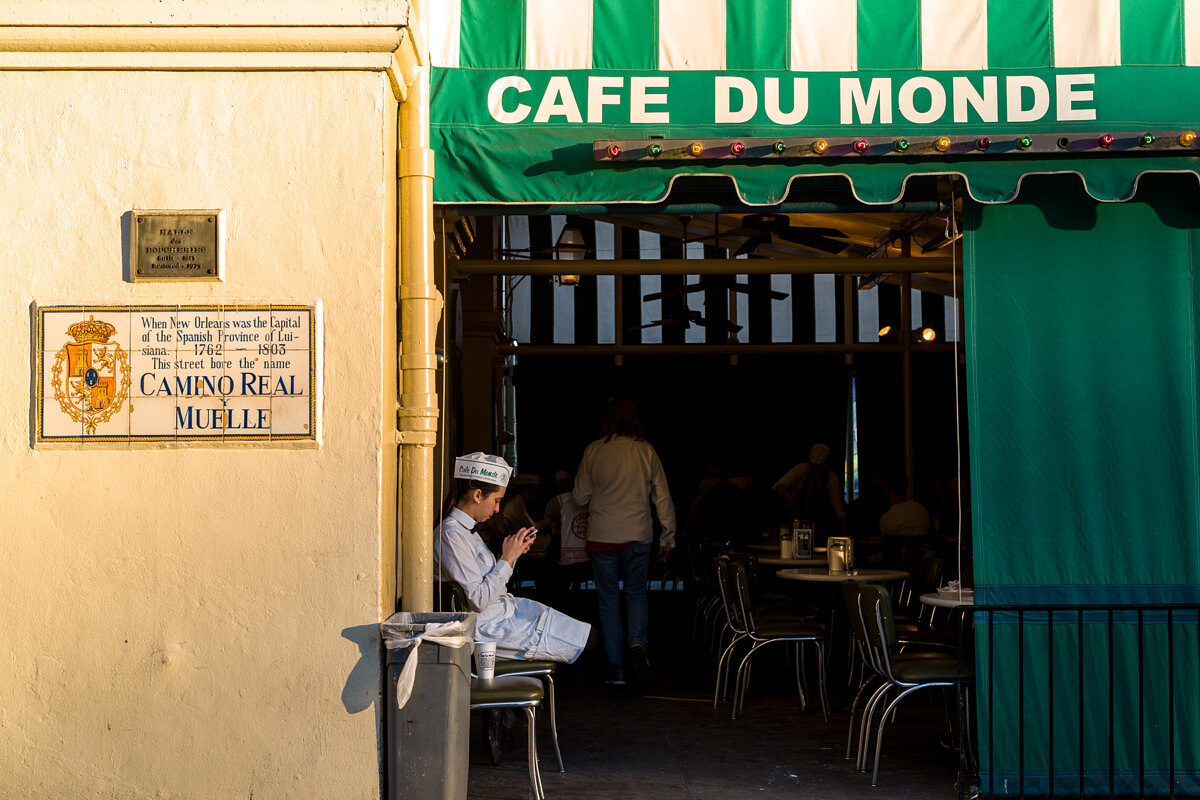
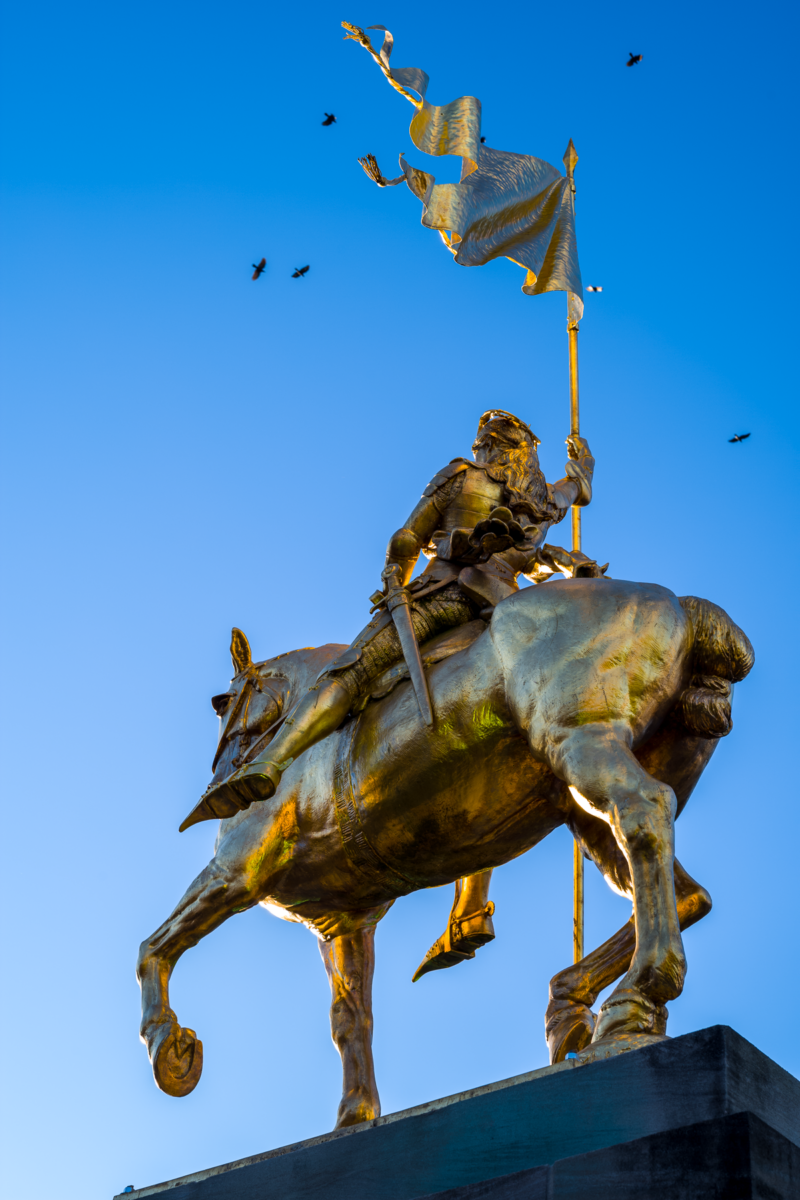
The sun was getting low. At the west end of the French Market, Café Du Monde, a venerable New Orleans fixture and sometimes tourist trap, was bathed in the warm afternoon glow. The M10 handled this tricky light handily, turning out perfect exposure and white balance on its own.
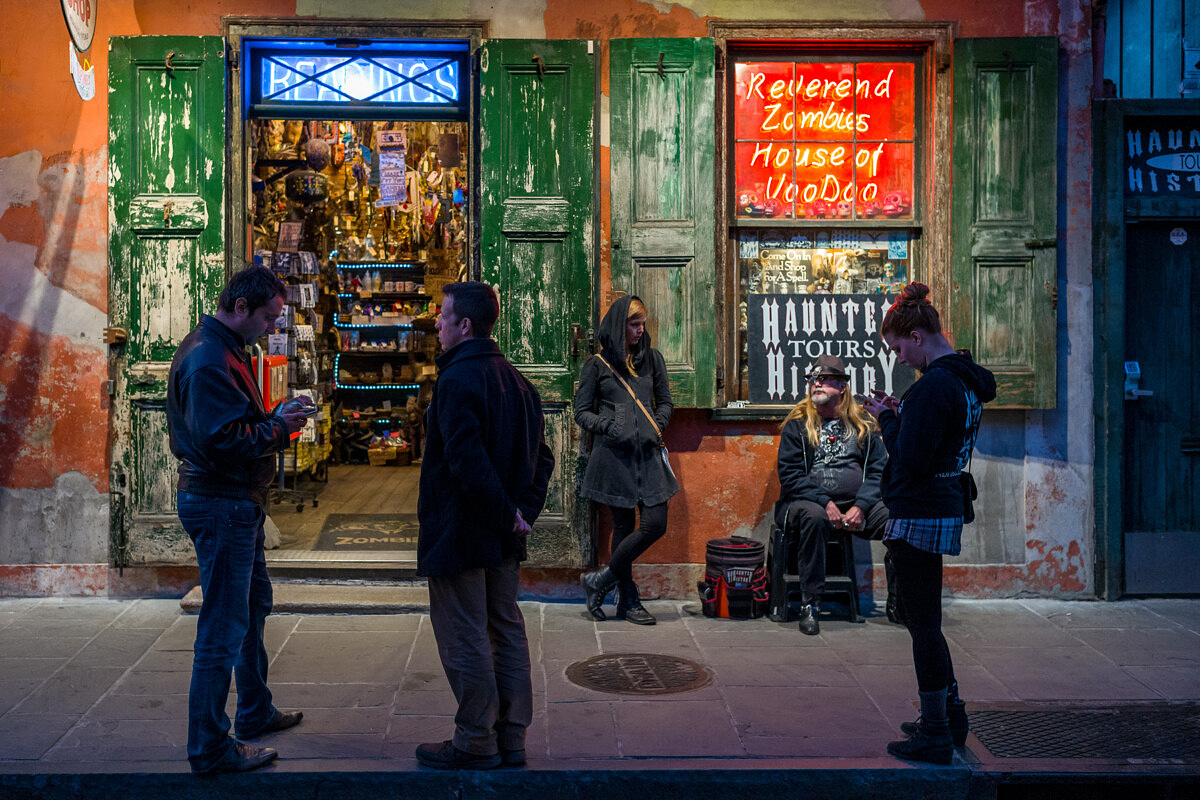
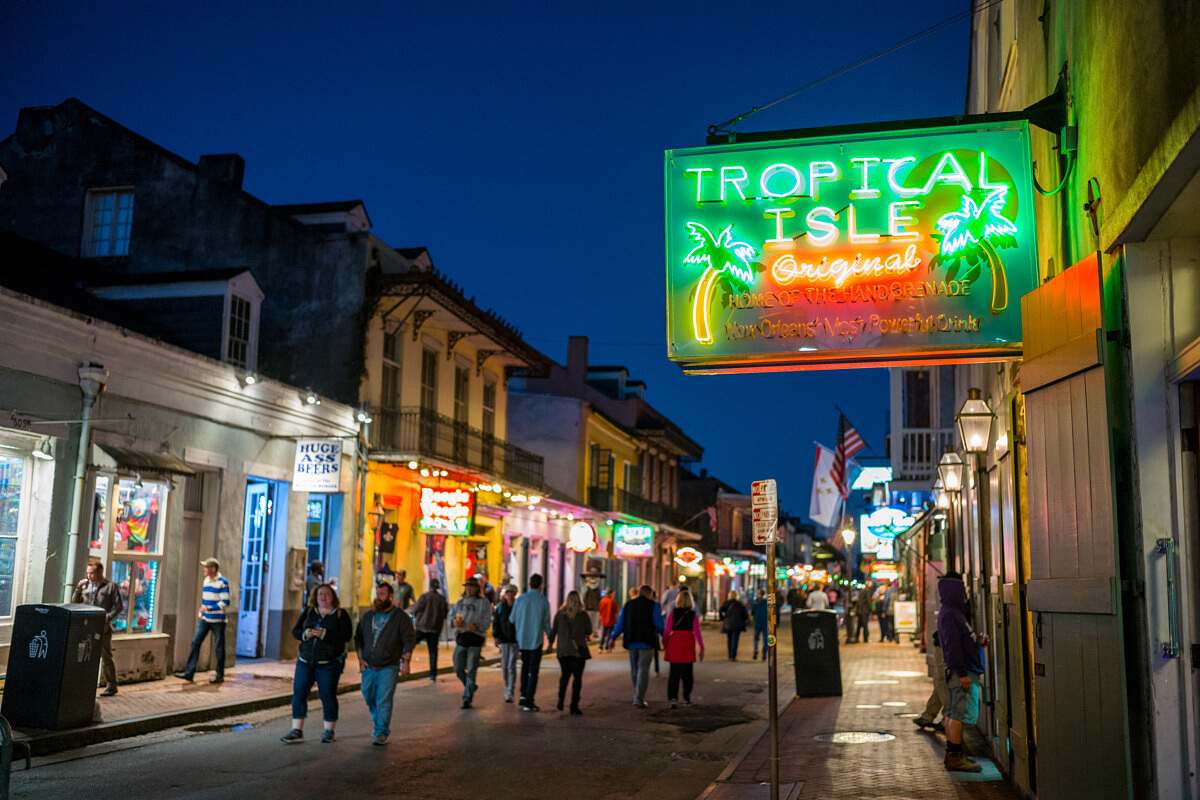
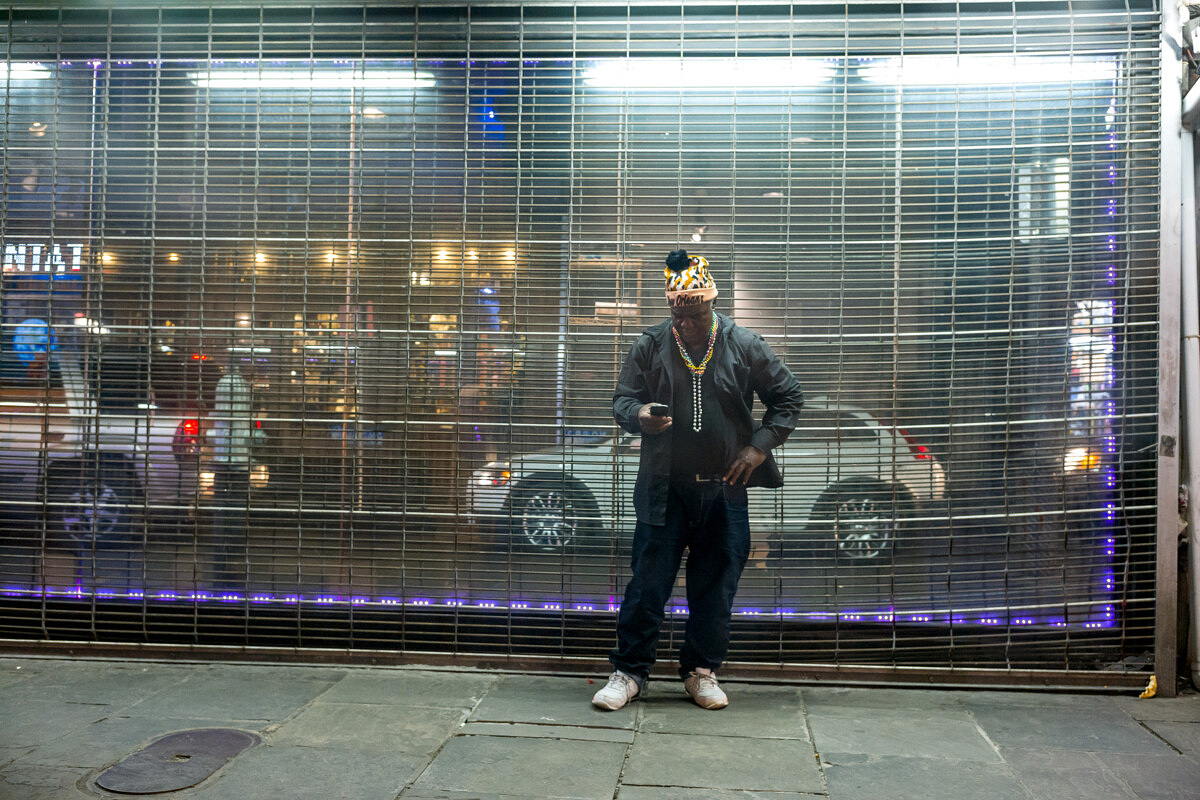
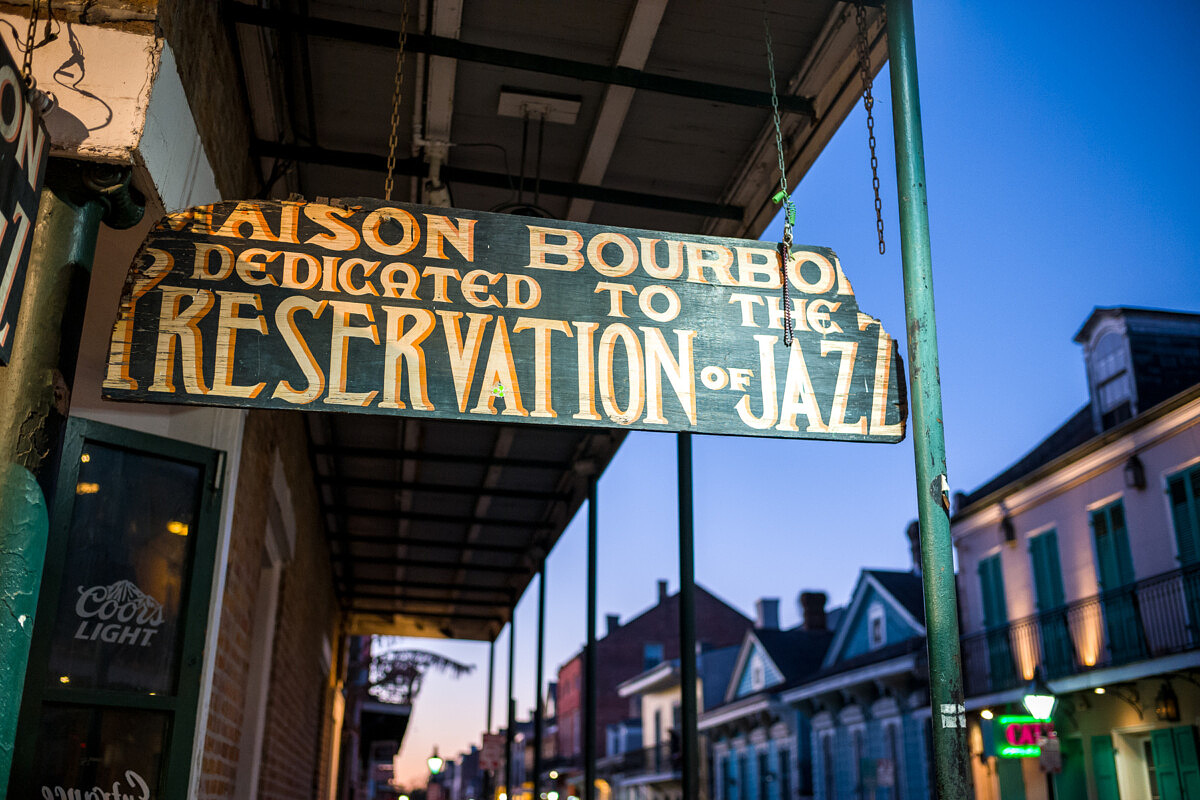
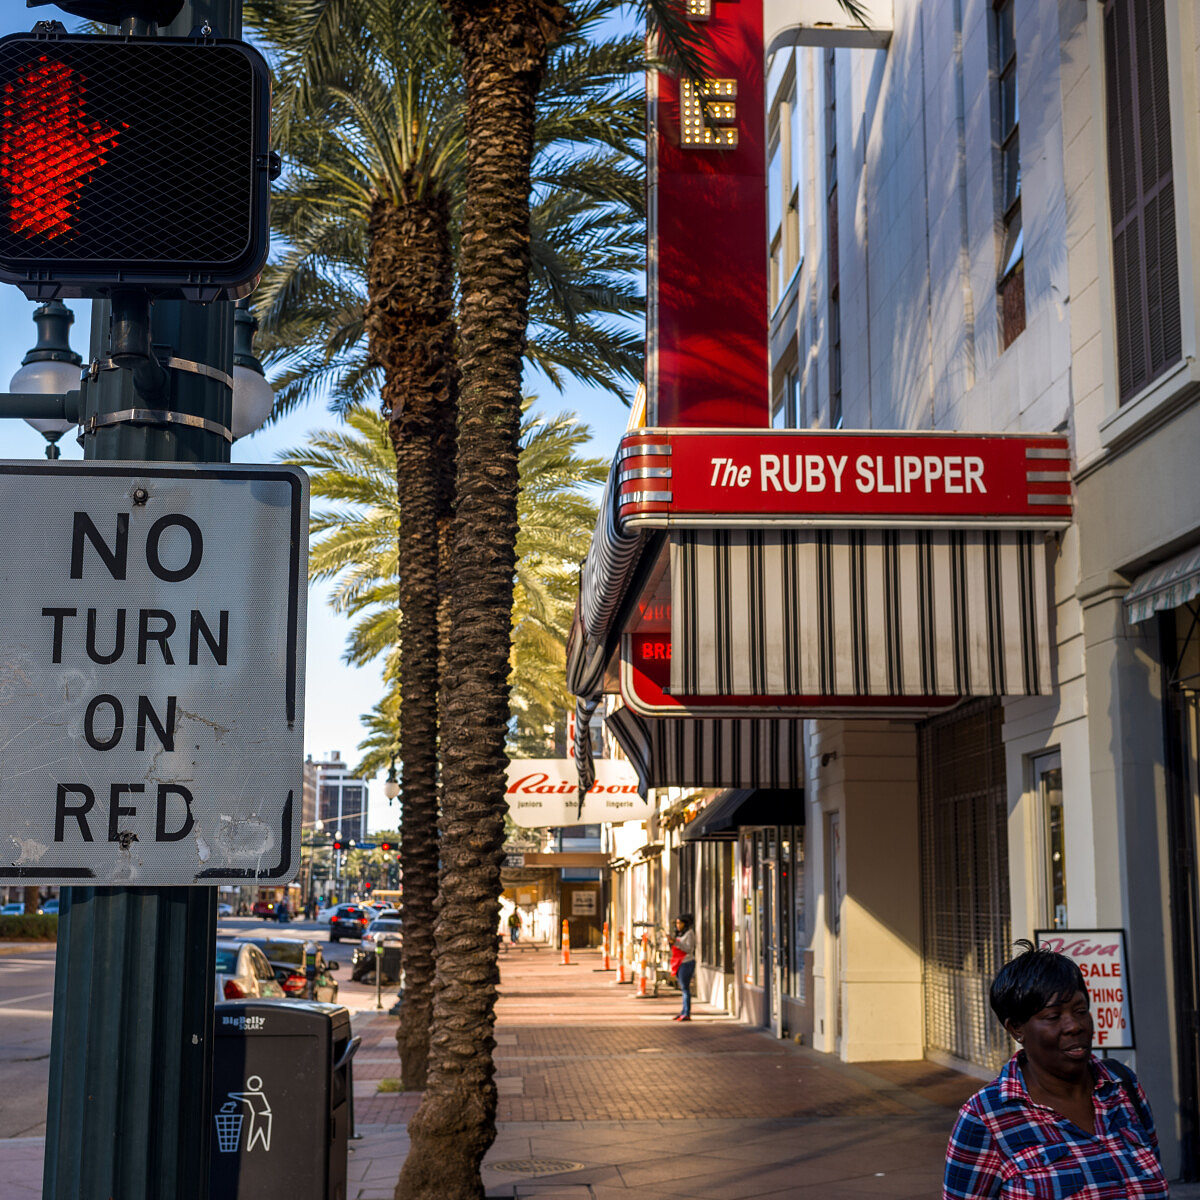
Knowing that blue hour was rapidly approaching as the golden hue quickly turned cool and flat, I picked up the pace making my way towards the heart of Bourbon St. The neon signs played nicely with the deep azure sky, and the resulting dark shadows were easy to recover in Lightroom, even at higher ISO settings.
I ducked into a few clubs, finding bands playing to almost empty venues. I suppose even Bourbon Street has its off times. Monday at 6pm, if you’re keeping track.
After a bit more meandering on Bourbon St., I did a quick battery check – down to 5%. Not good. The upside was that I was only a few blocks from my hotel at that point, so I packed it in and beelined it back to home base for a charge.
Charging up a completely dead battery was going to take a bit longer, so I used the time to start working files from the previous two days in Lightroom. They looked incredible. So much detail. Impressive high ISO. Stunning color. And I even managed to get accurate focus on just about every shot. All good things. I lost track of time, totally absorbed in the M10 images. I decided that perhaps the following night might be better for a full night out.
With no one to meet first thing and knowing that I was committed to a late night shoot, I slept in. Then I worked on files some more. As early afternoon rolled around, it was time to hit the streets, get some grub and take some more pictures. I was well rested and raring to go.
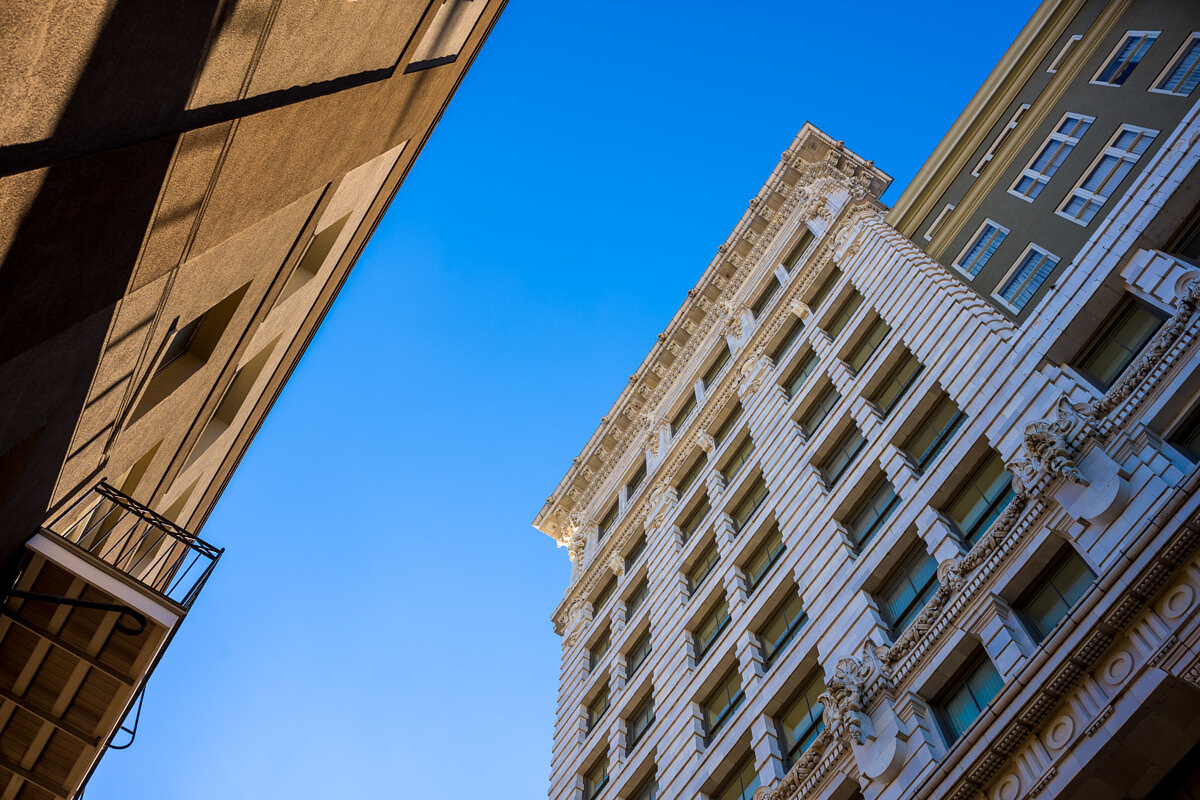
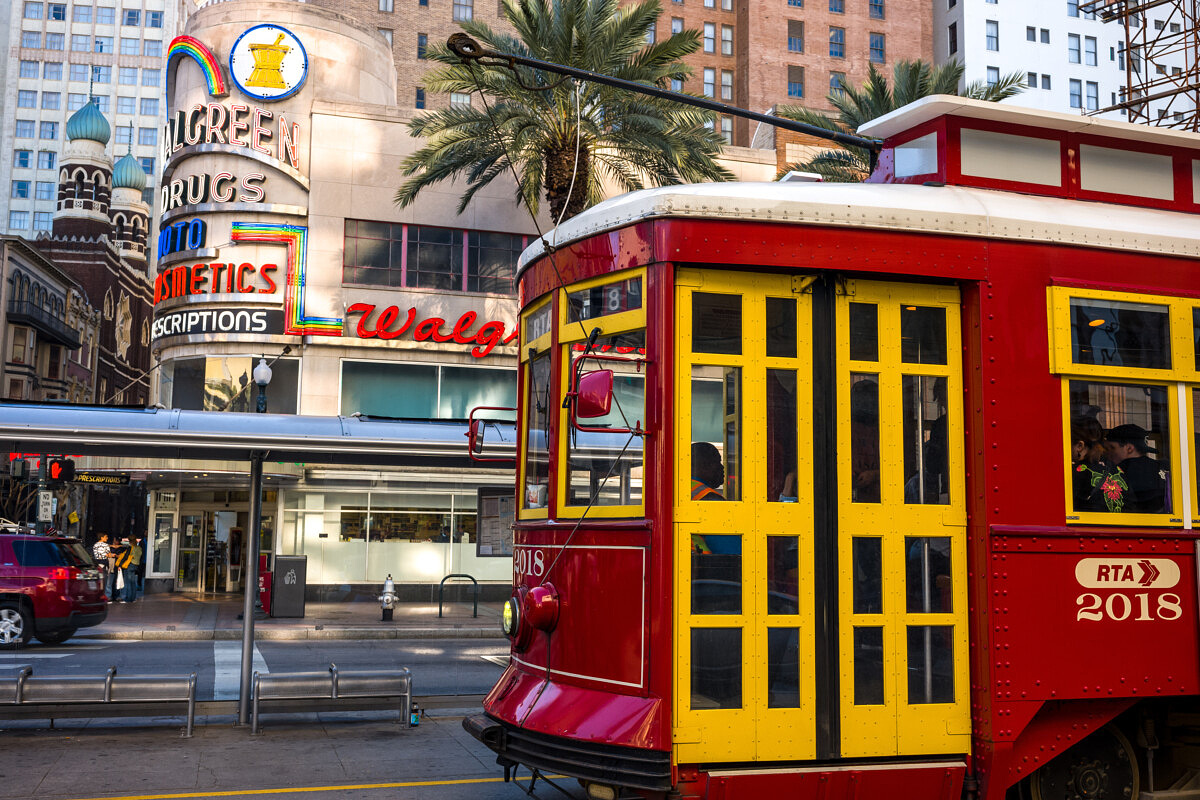
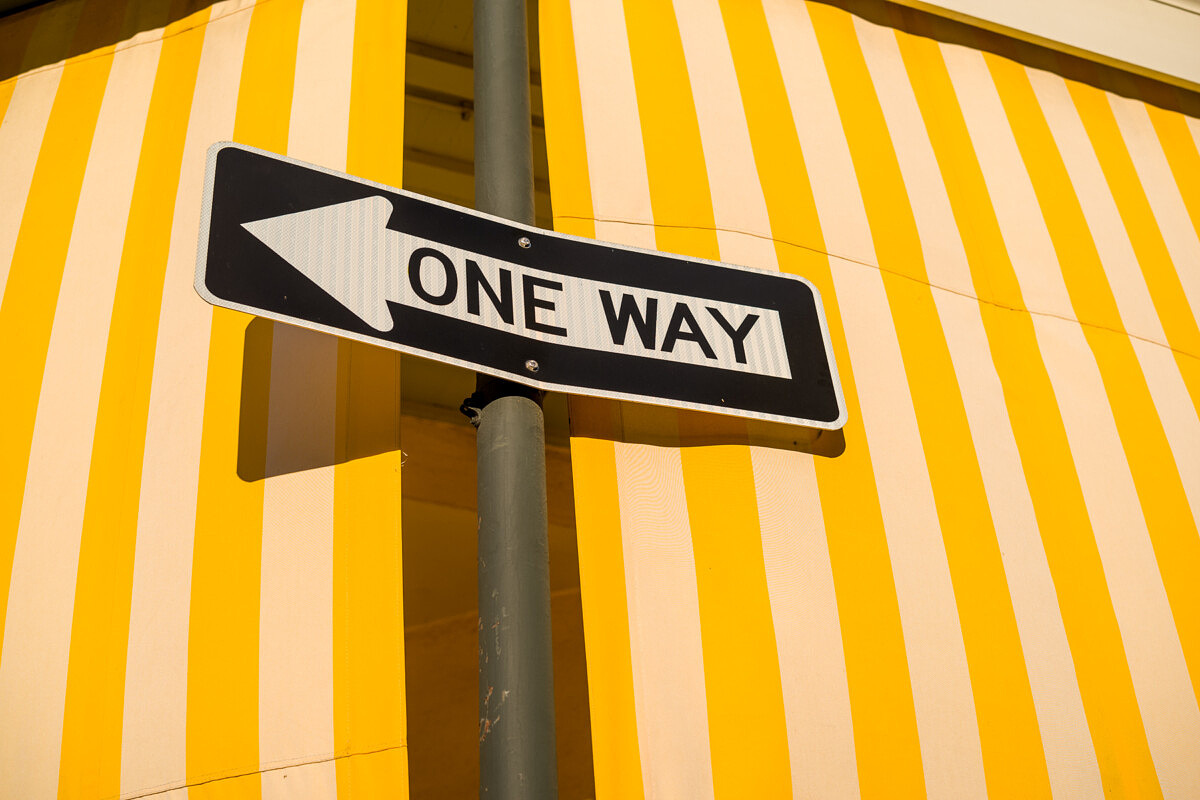
First stop was a close one, the Central Business District, or CBD for short. More of a downtown area with high-rises and larger shops, the main thoroughfare Canal St. also has classic street cars and some vintage facades. I strolled up Canal towards the north end of the Quarter. Much more low key, I figured I might find something, or somebody, interesting. And I did.
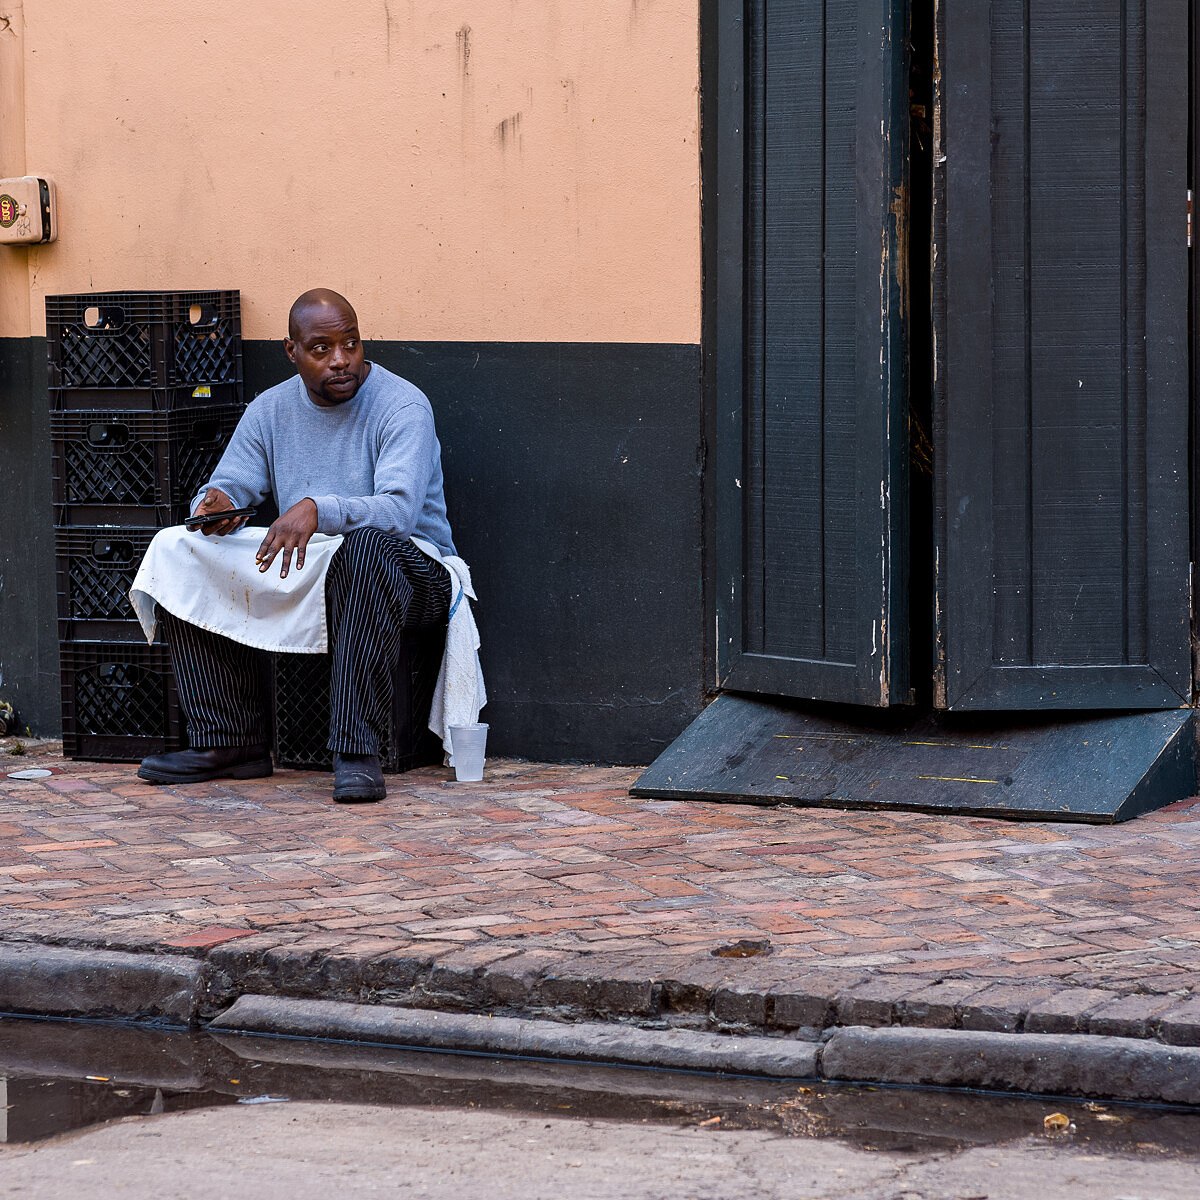
As I was taking pictures of some architectural details, a young man pushing a wheelchair called out to me, saying he wanted to give me a CD. A little skeptical, but always open to unique photo opportunities, I crossed the street, and approached him. He said that he had been an aspiring jazz trumpeter, but was held up and shot multiple times by an armed robber following a late-night gig. One of the bullets found its way into his right hand, putting an end to his music career. A small gray cat was curled up among some towels in the seat of the wheelchair, his doctor-prescribed therapy cat. Then, instead of asking for money, he explained that he saw me taking pictures and wanted to just give me a CD with his music. I accepted, offered him $5 for the disc anyway, talked for a while and then asked if I could take his portrait. He agreed. Just goes to show that you should always try to be open to situations when traveling.
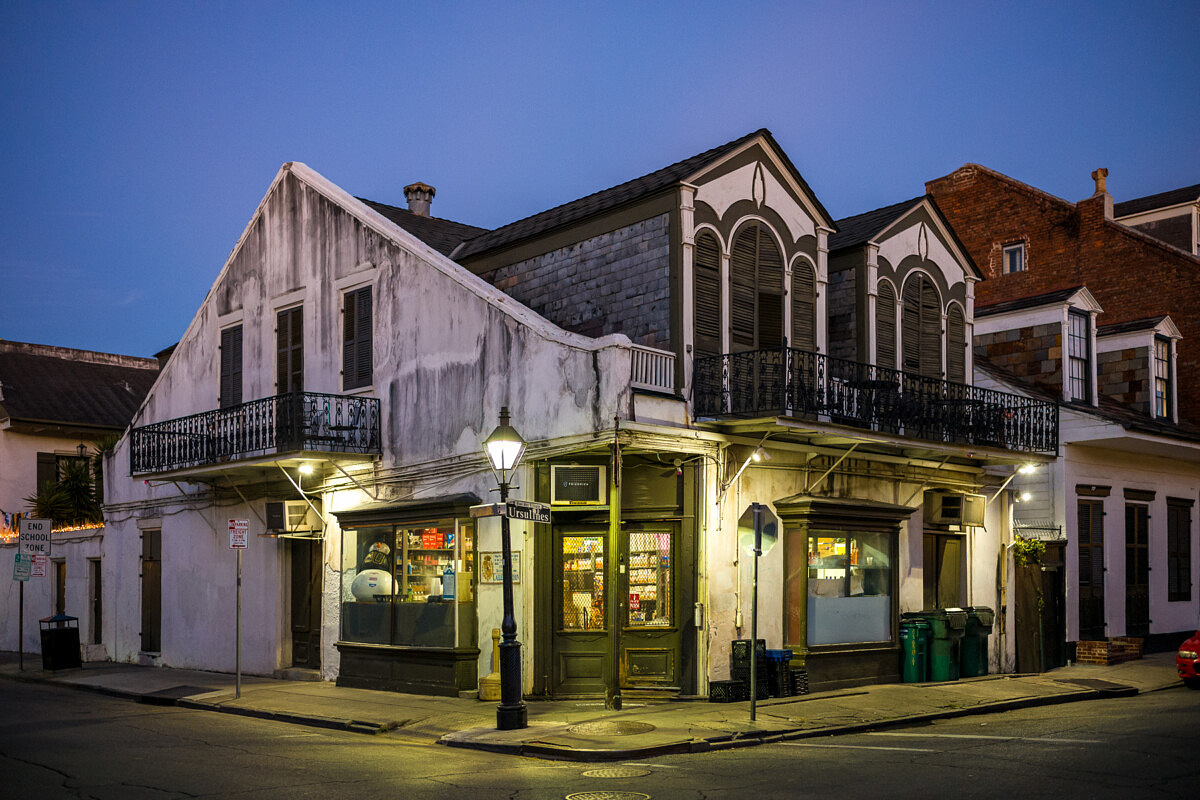
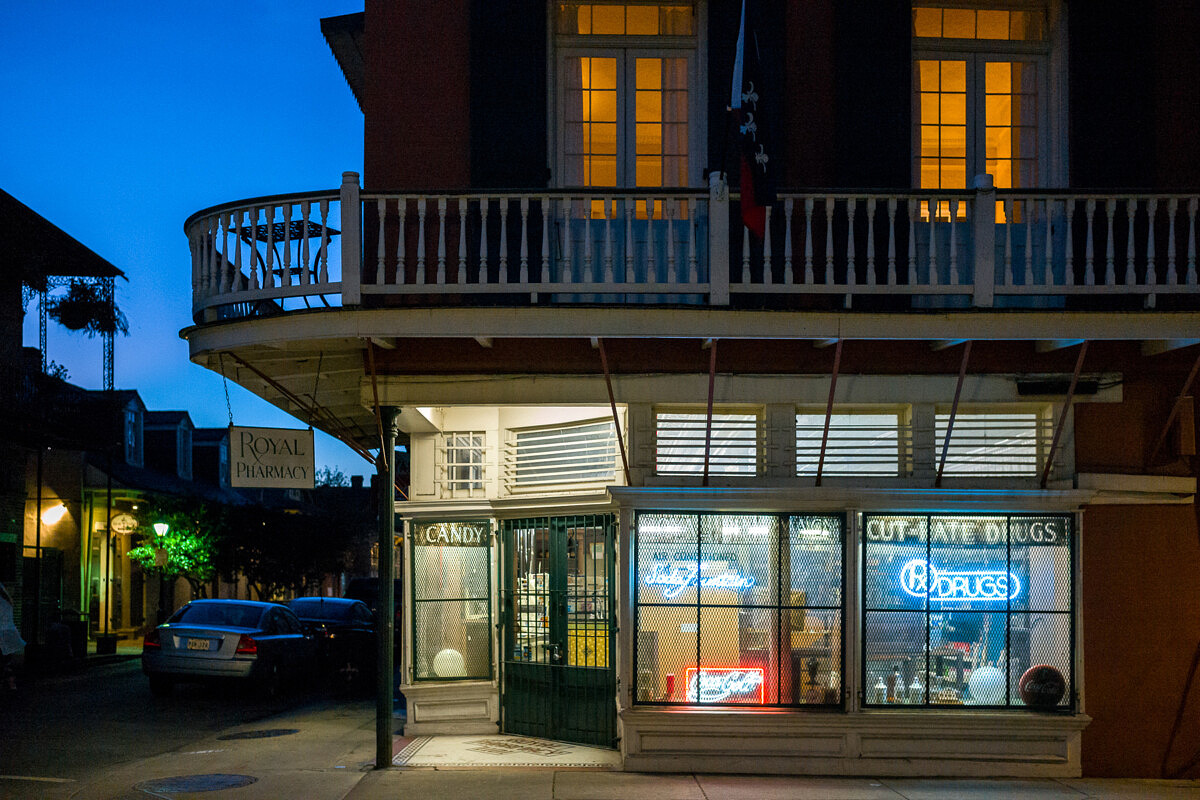
I continued to shoot around the Quarter, but was just biding my time, for what I had planned a little later. From the last time I had been in New Orleans, I remembered an interesting corner store at Ursuline and Bourbon, the Quartermaster, that looked great at night. I figured that if I could time it right, the storefront would make for an even better blue hour shot. As I was exploring the neighborhood, I found an equally interesting corner location just one block away at Ursuline and Royal, The Royal Pharmacy.
So, as day gave way to night and the sky settled into a bold shade of cobalt blue, I managed to capture both. The high ISO ability of the M10 meant that I didn’t need to worry about setting up a tripod and the Visoflex gained up nicely to show me the true colors I’d be capturing. One of the challenges of this type of shot is that the camera captures colors very differently than what our eyes perceive. So, using an accurate preview really helps in the compositional process.
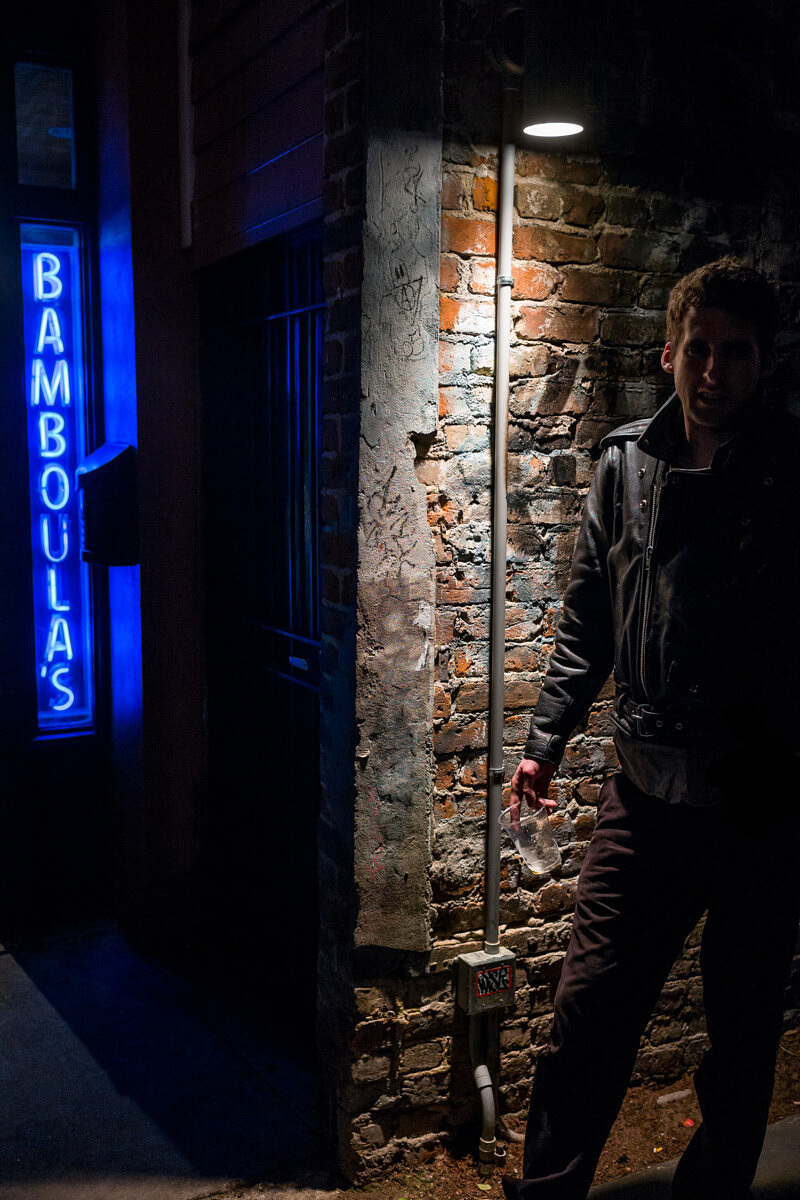
For real nighttime shooting, I knew exactly where I wanted to go, even before I arrived in NOLA. And it wasn’t Bourbon Street. My sights were set on Frenchmen Street in the Marigny. If Bourbon is for tourists seeking drunken debauchery, Frenchman is for those in search of Jazz-infused bliss in a more low-key setting. There were a few spots that I wanted to check out.
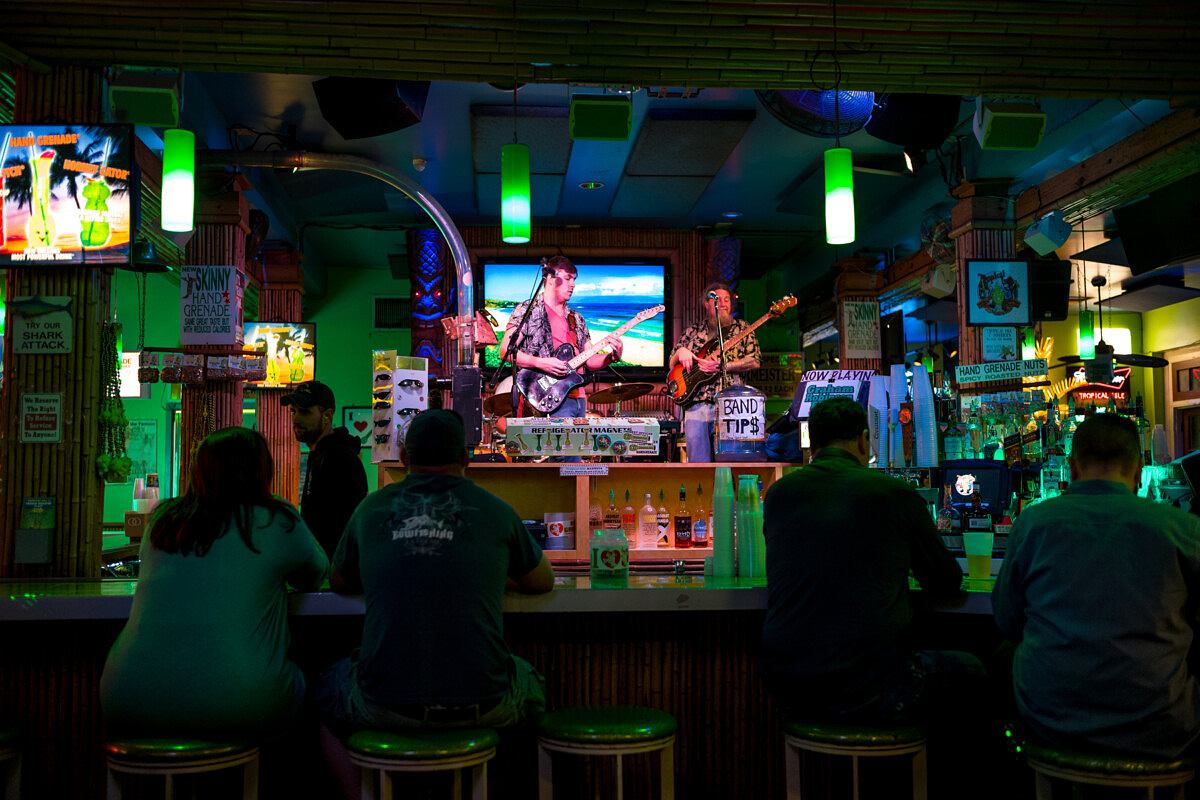
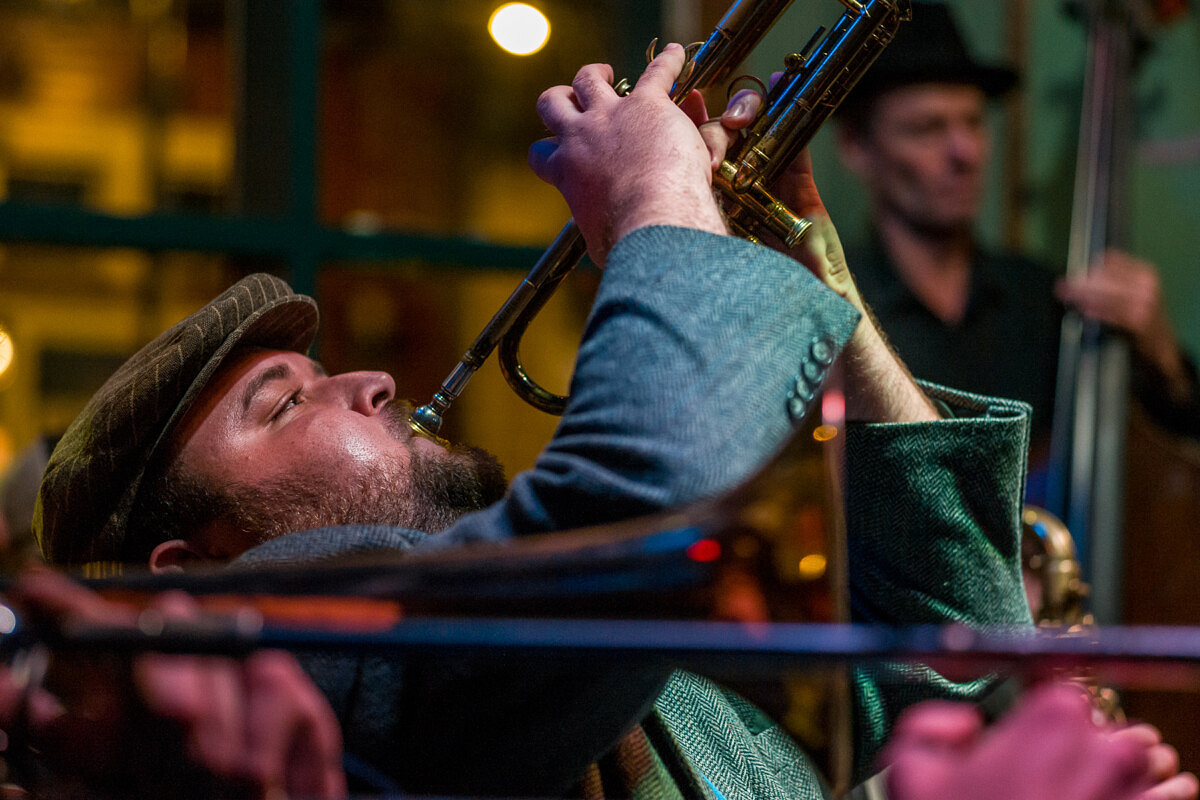
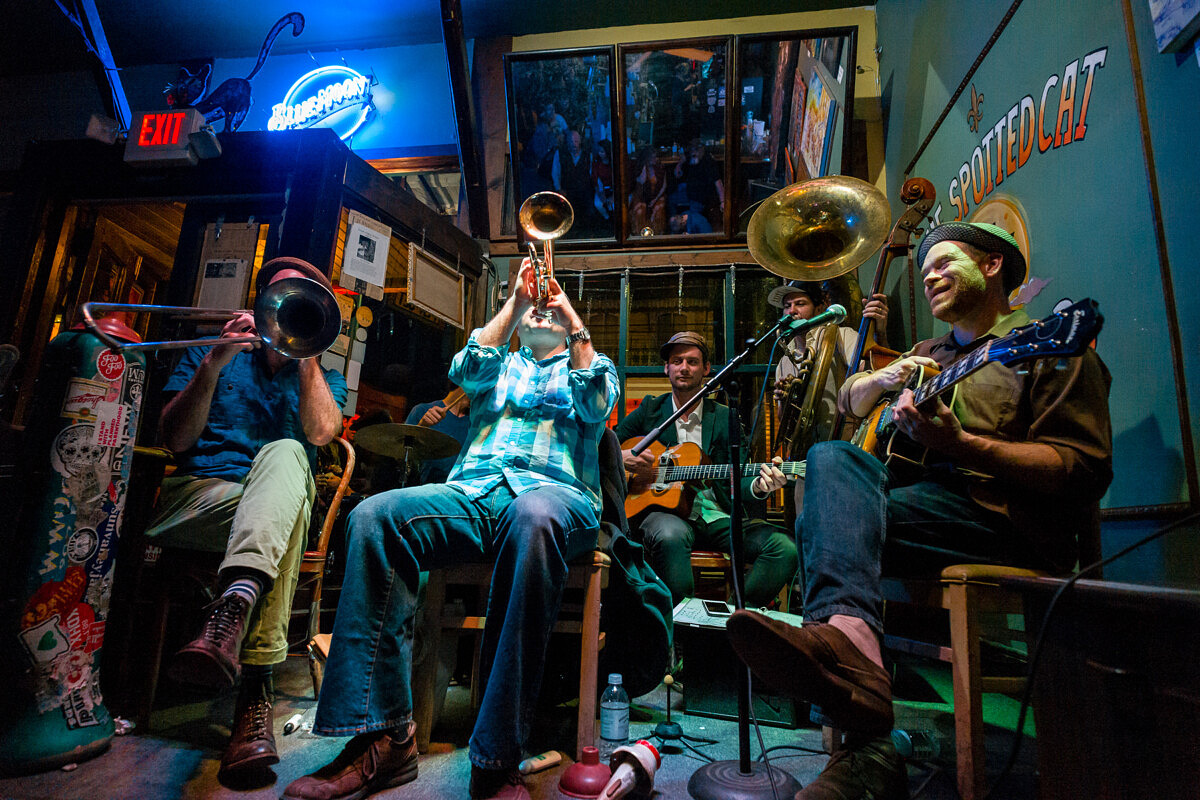
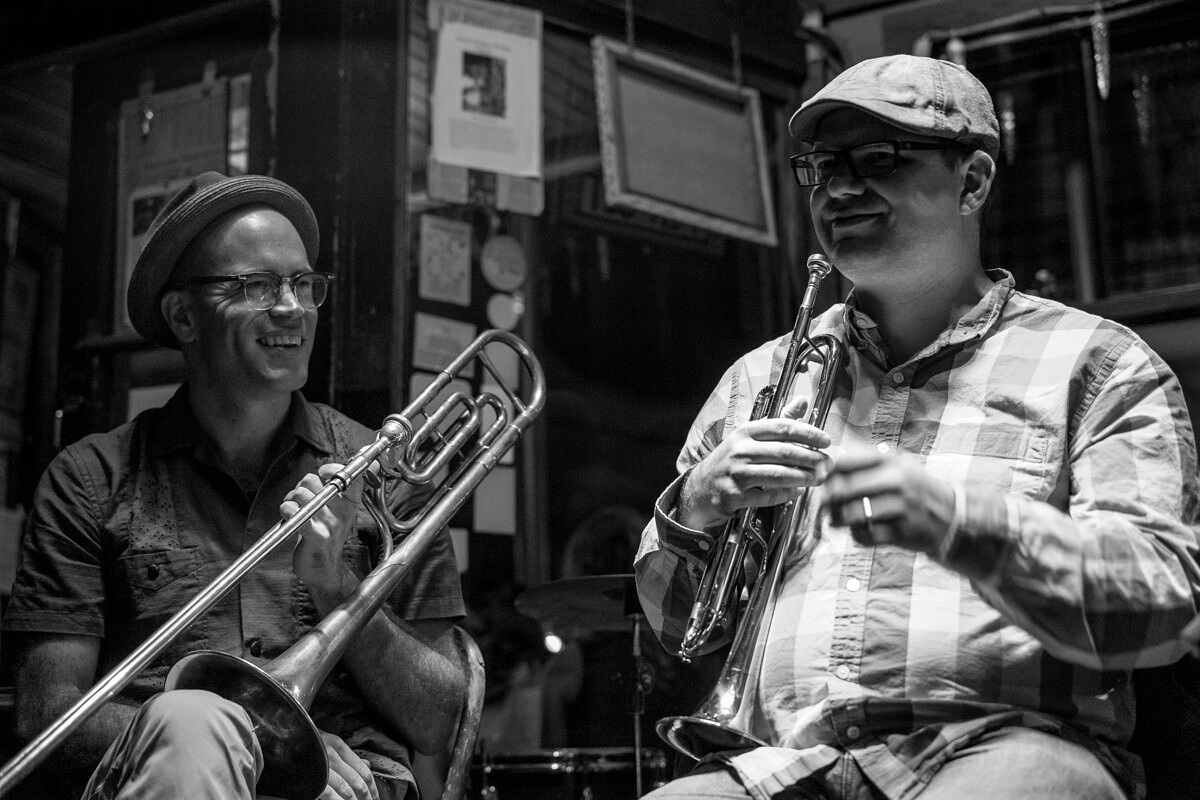
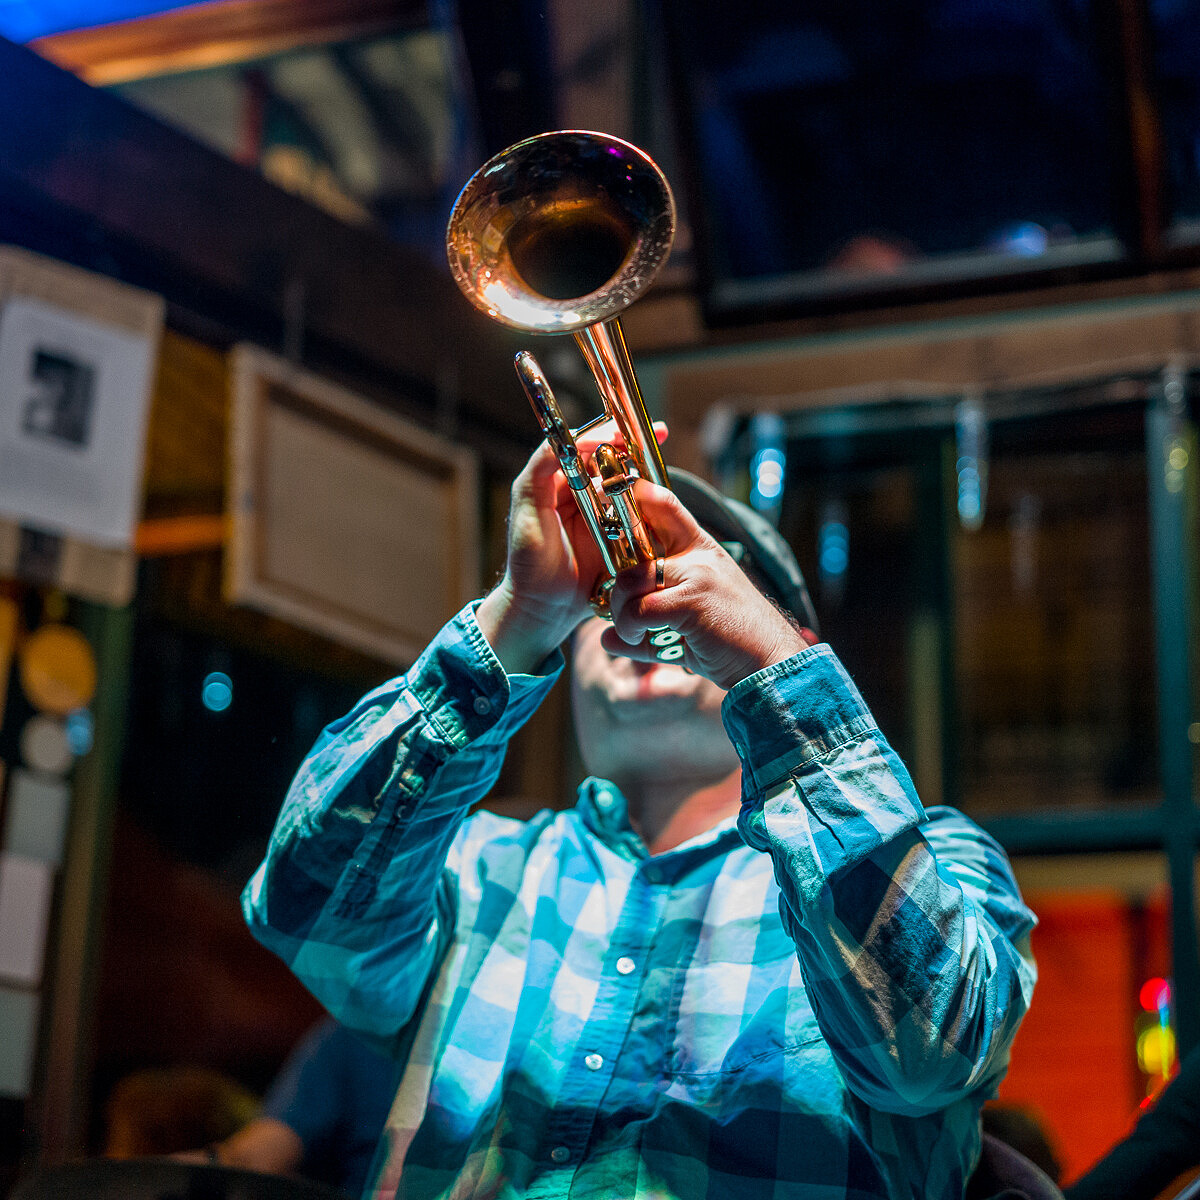
First was a cozy club with seating for about a dozen at the bar and standing room for maybe twenty more. The Spotted Cat Music Club always has great musicians gracing their cramped stage, no cover charge, and a laid-back atmosphere. As I walked in, the 6-10pm act, The Little Big Horns, was already well into its first set. A no-frills trad jazz ensemble, consisting of trombone, trumpet, drums, guitar, and a tuba player who doubled on the upright bass, this was a talented group of musicians. Normally, they would have been fronted by the vocal talents of Meschiya Lake, but she’s on maternity leave until March. So, the trombone player’s brother, Tommy Halloran from St. Louis, sat in, playing second guitar and providing gravelly-sweet lead vocals. These guys were awesome, kicking out Dixieland, swing and ragtime standards along with their own originals.
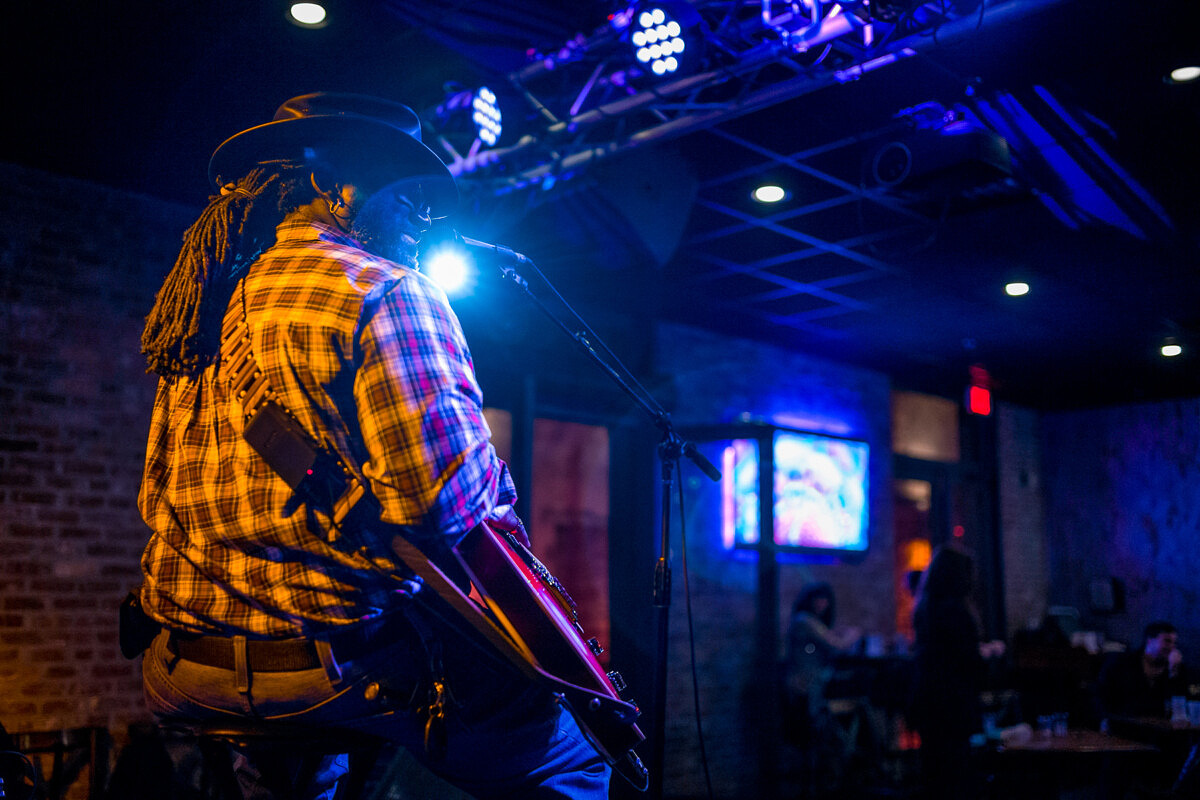
Intimate venues are a mixed bag when it comes to photography. On one hand, there is no crowd to muscle by to get close. But on the other, there is an unspoken courtesy expected that you won’t block the view for others or be too obvious, or obnoxious, with the picture taking. I stood by the door to the side of the stage, trying to not obstruct anyone. After trying out a few different focal lengths on the M, I took advantage of the power outlet on the wall behind me, grabbed a local Abita Amber from the bar and enjoyed the show. During the intermission, I struck up a conversation with a couple band members and asked if they minded me taking some pictures. They didn’t.
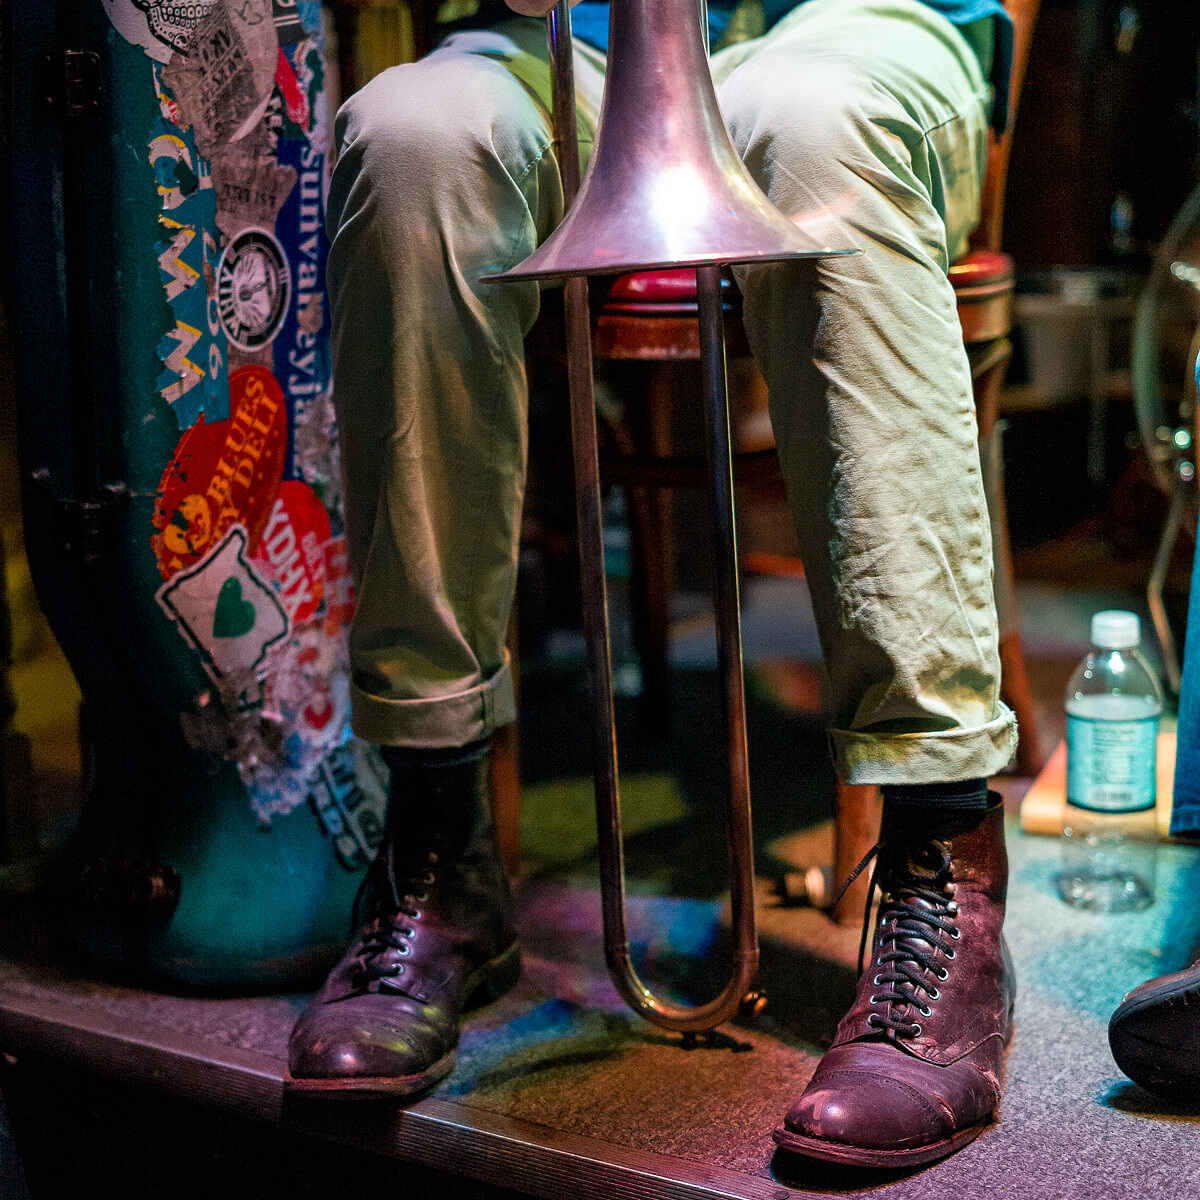
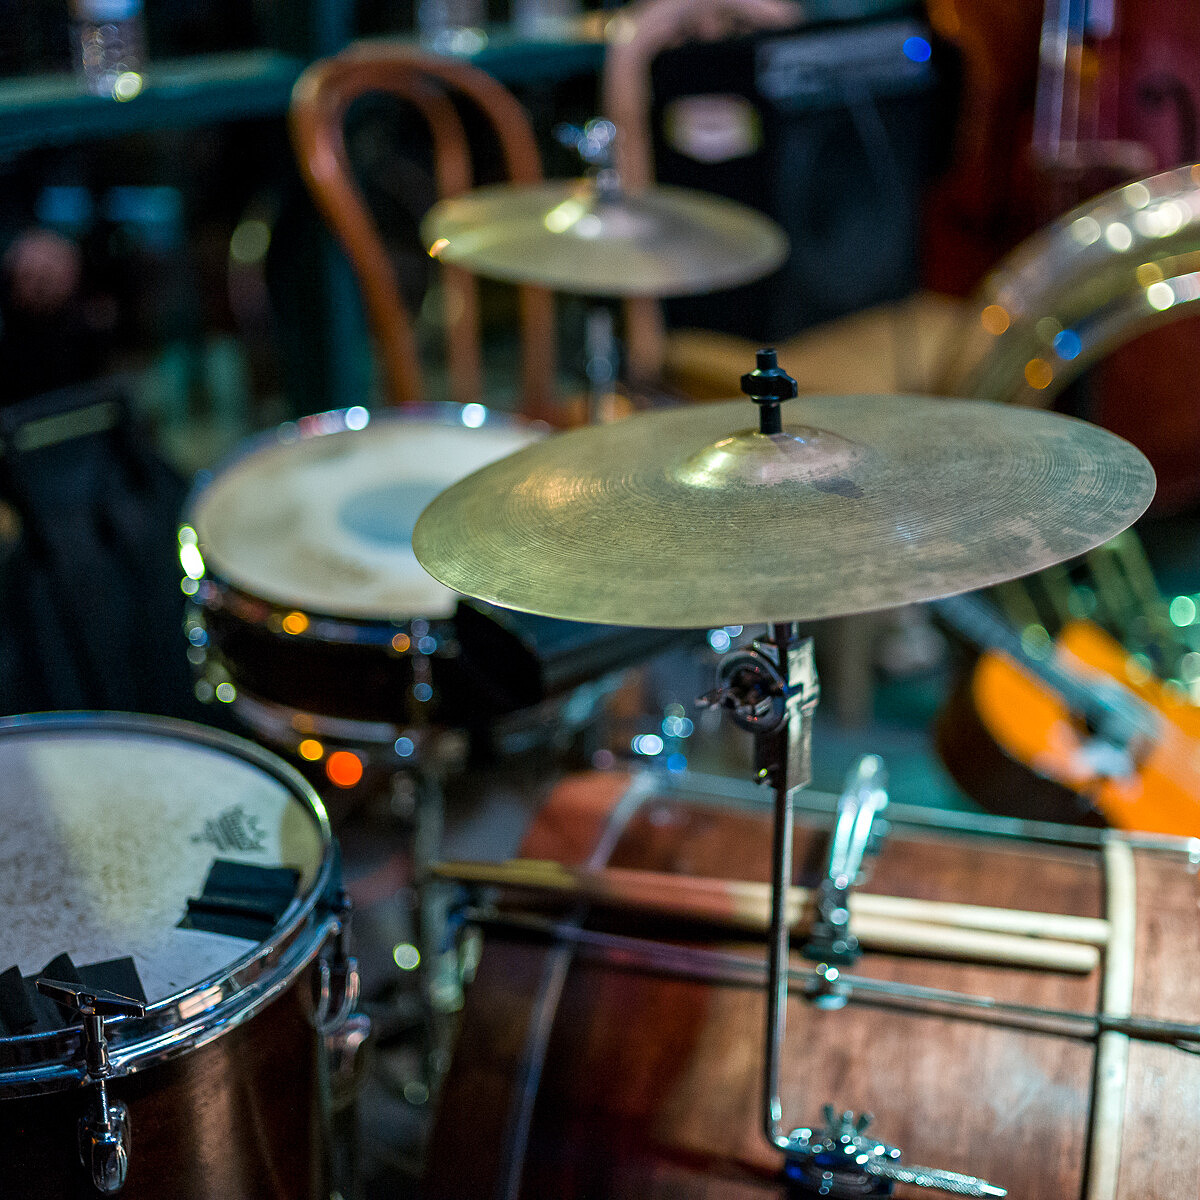
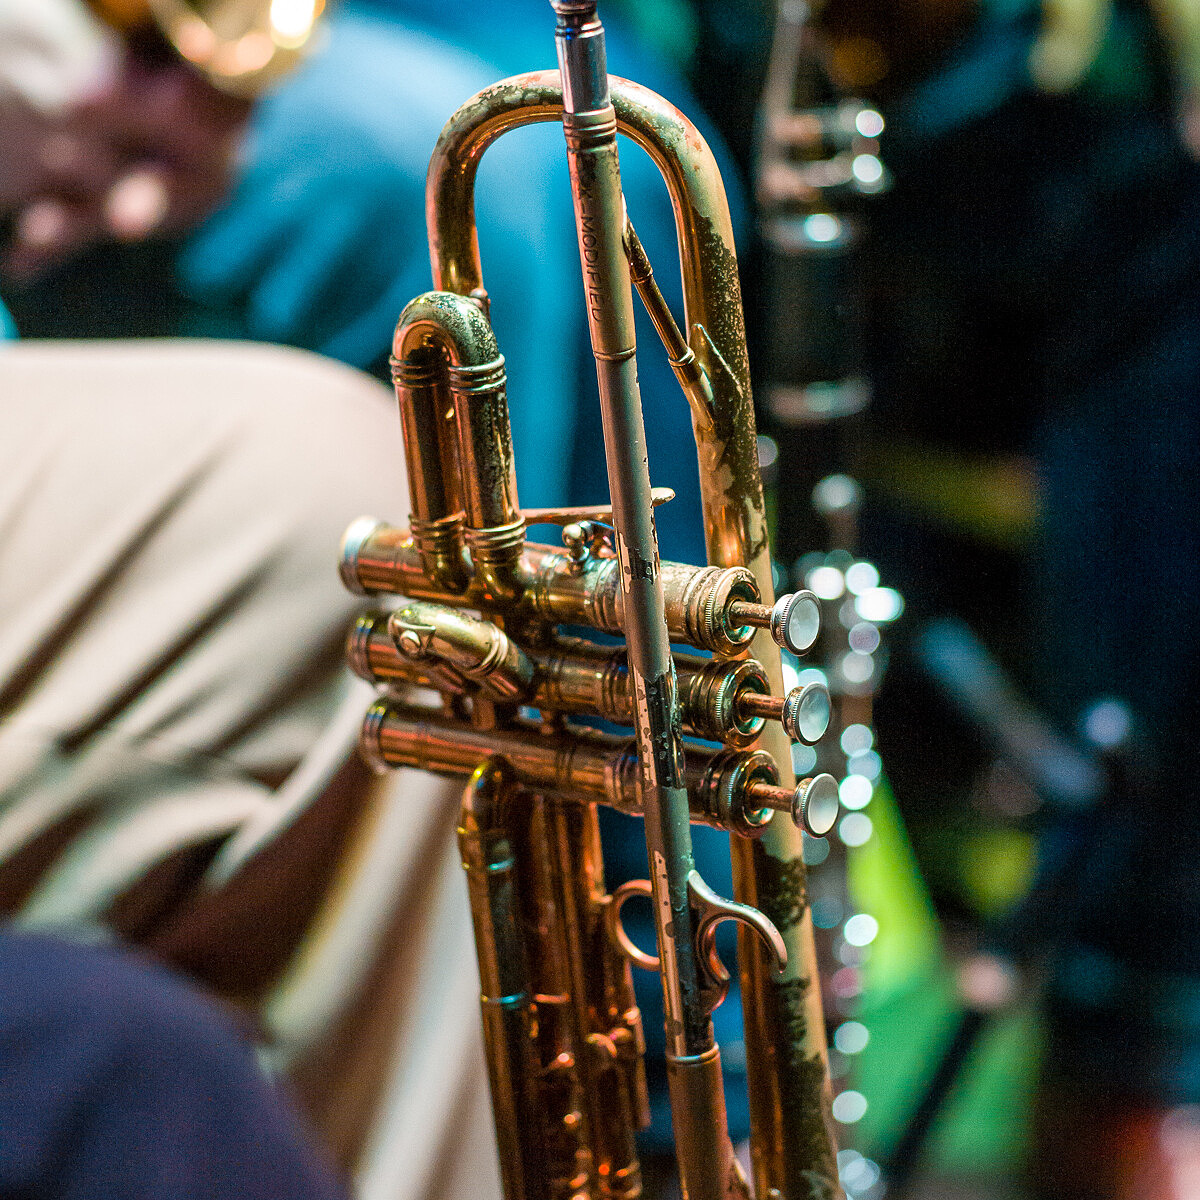
I may have greased the wheels a little by tossing some cash into the tip jar and buying a CD as we were talking. This way, you’re not just a ‘taker’, but rather, a supportive patron. Always a good policy, and a good way to ensure more cooperative subjects. After some detail shots of the instruments, I located a change of perspective for the next set, right in front of the stage on a piano bench from the unused upright pushed up against the wall. From this vantage point I was able to get clean individual portraits as well as the whole stage with my 18mm Super-Elmar.
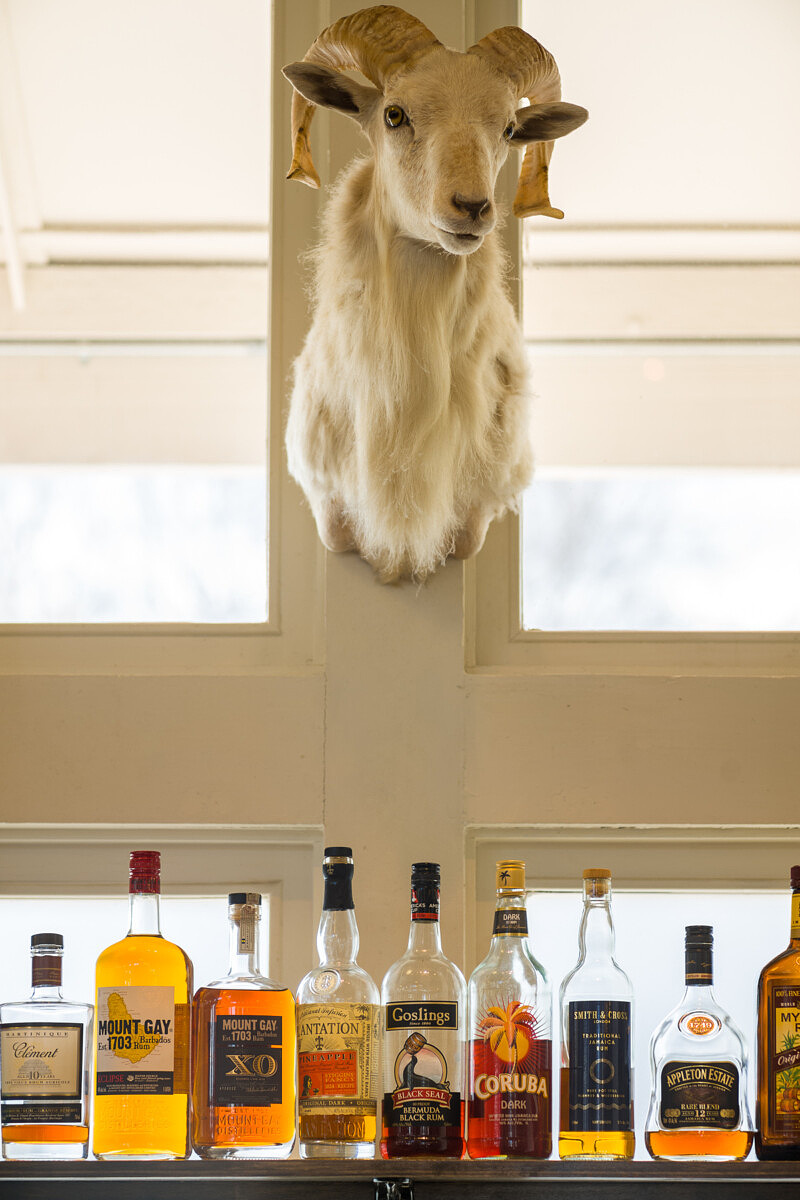
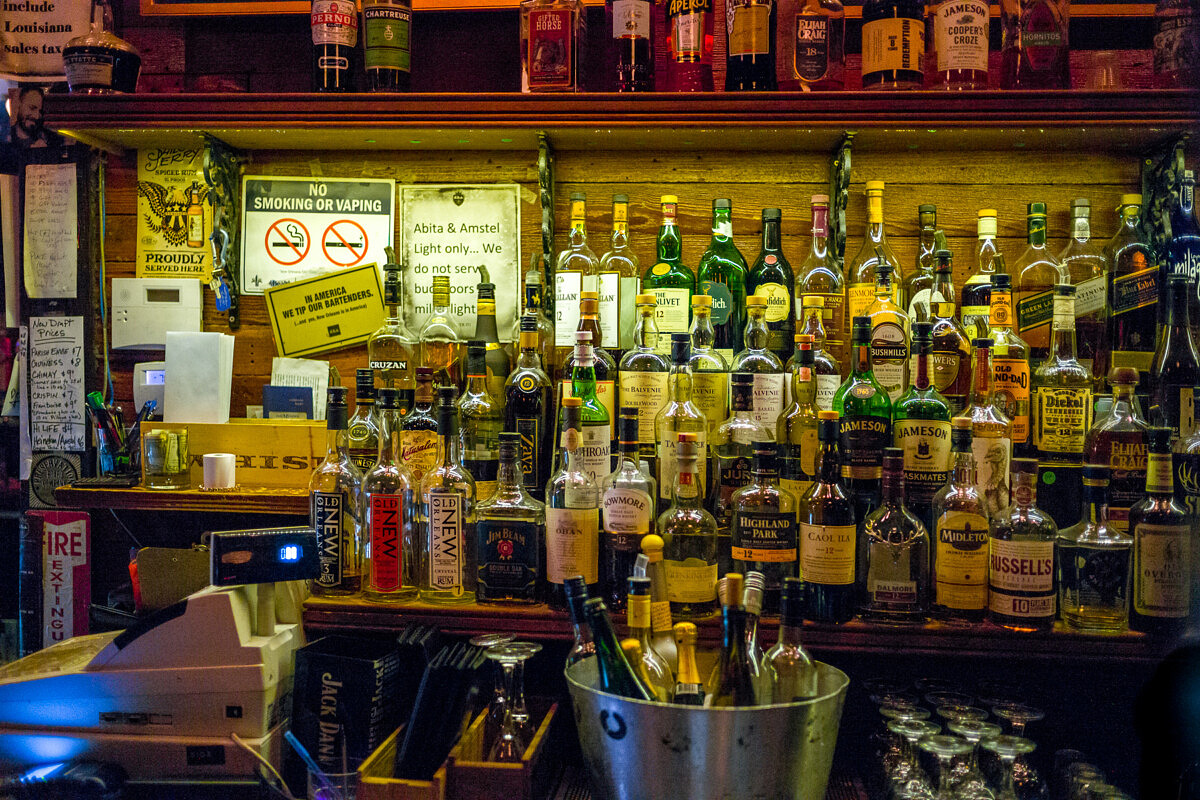
When the band left for their next break, I crossed the street to d.b.a., another super-classy Jazz club. This is where I saw the incredible John Boutte last time around. But on a Tuesday night, there wasn’t much happening until much later. Even without a musical act, I still managed to experiment with some shots of the bar. The M10 handled the dim lighting and multiple color temperatures beautifully.
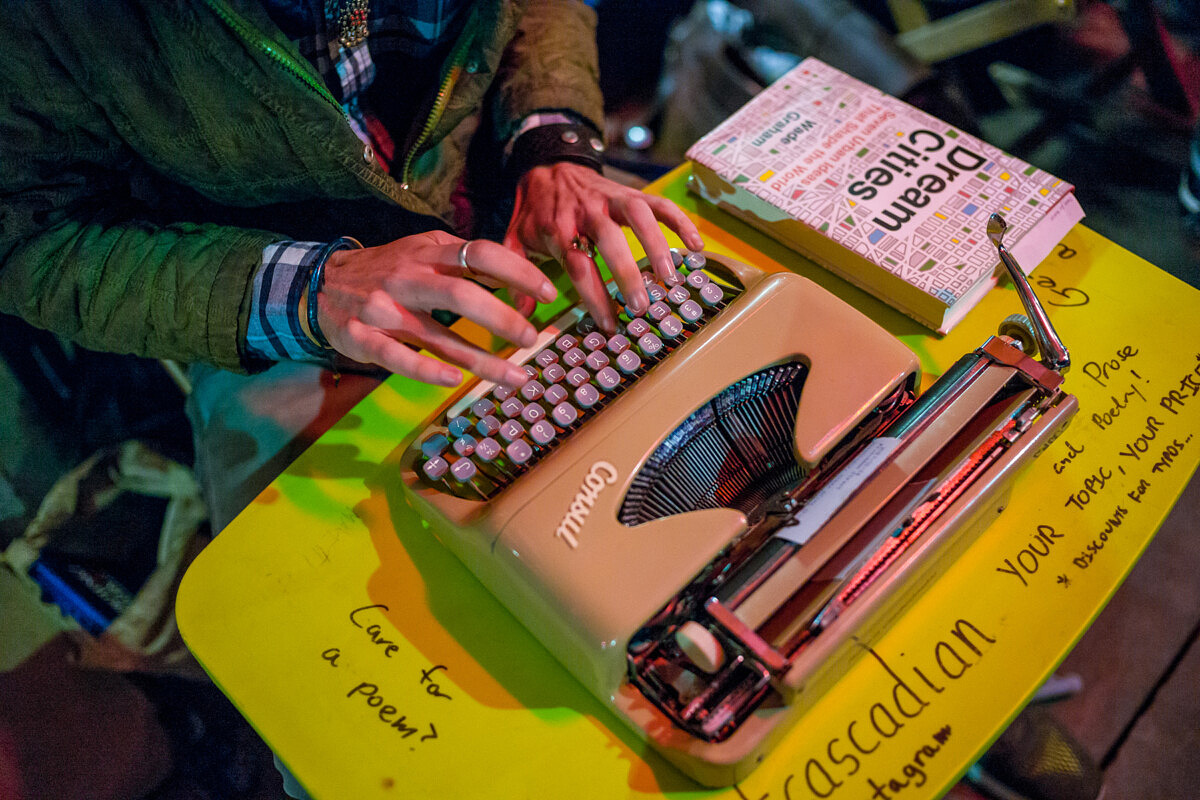
Just like on my Monocrhom trip, on my way out of d.b.a., I stumbled upon a gaggle of street poets who had set up shop on the sidewalk just outside the club. Veteran Kaile H. Glick wasn’t working that night, but one of her compatriots and relative newcomer Zachery Aaron Quale, aka @beatcascadian, served me up with some solid prose while I snapped away. We chatted for a while before moving on.
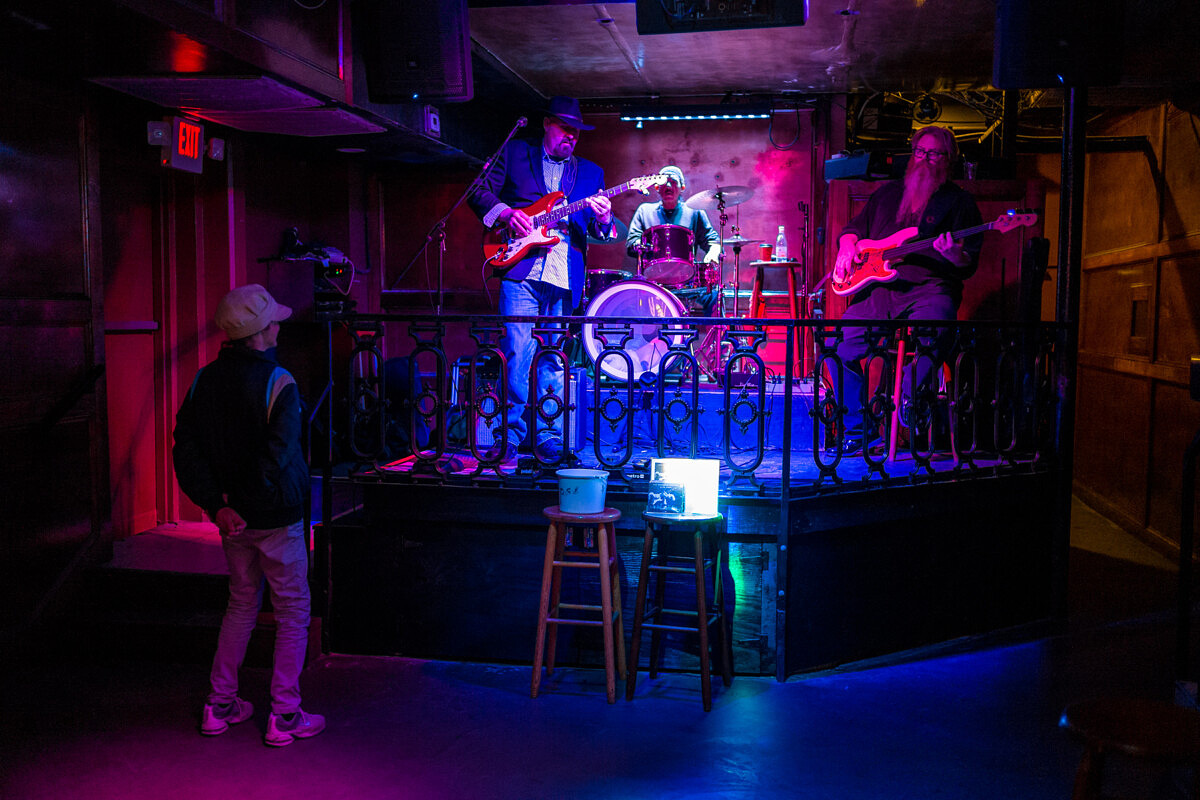
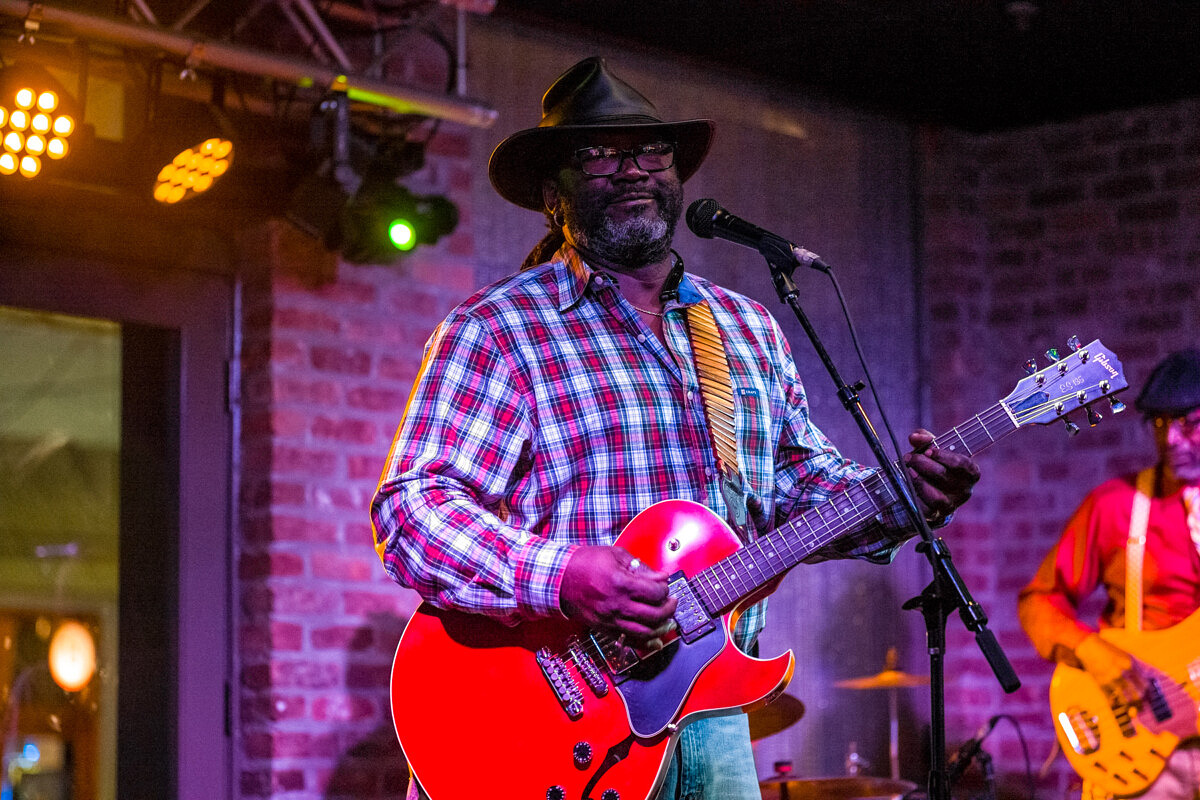
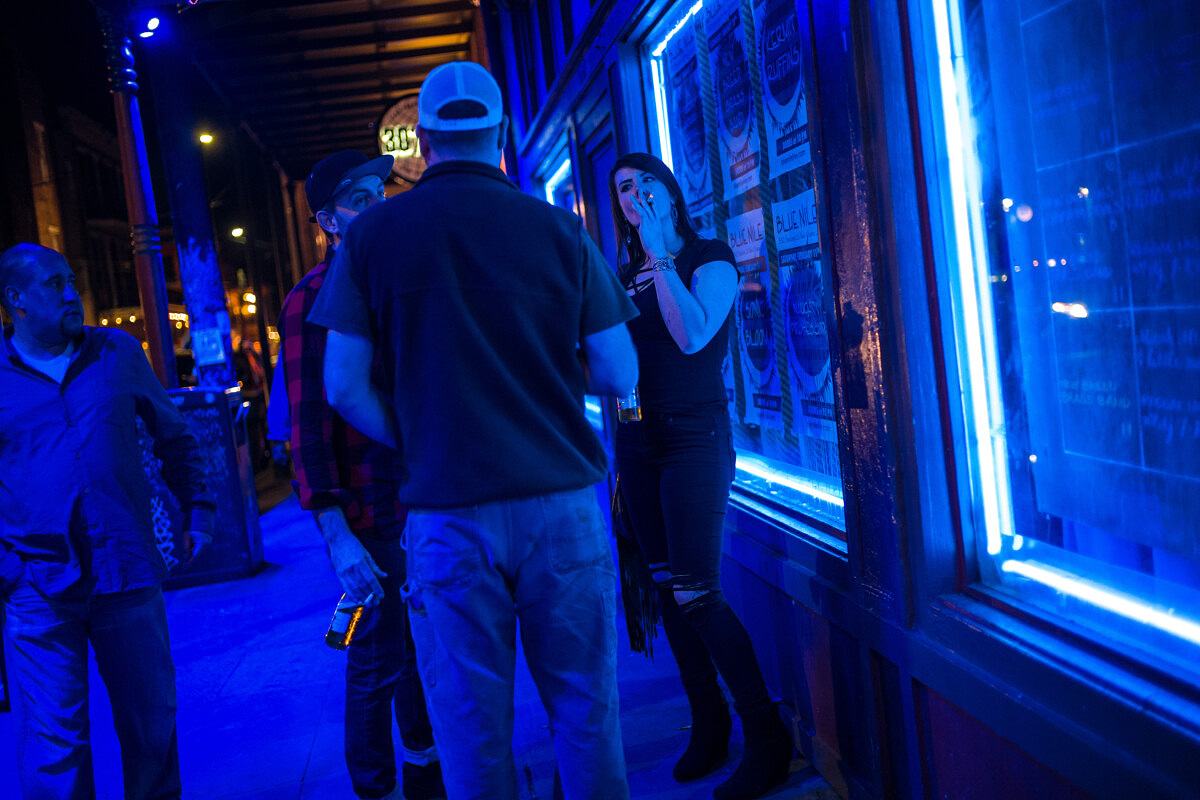
I figured I might as well try to squeeze in one more venue before calling it a night. At 30°/90°, blues guitarist Ed Wills and his Blues 4 Sale band were killing it. Sweet sounds of Stevie Ray Vaughn spilled out onto the street as I walked by. And as I paused at the door, the bouncer invited me to come in, “No cover, man. Go on in.”
My best shot came as I was leaving, after thoroughly enjoying Wills’ proper tribute to some of my favorite bluesmen, greats like BB King, SRV, Muddy Waters and Clapton. A little cash in the tip jar and I was ready to hop a cab back to my hotel.
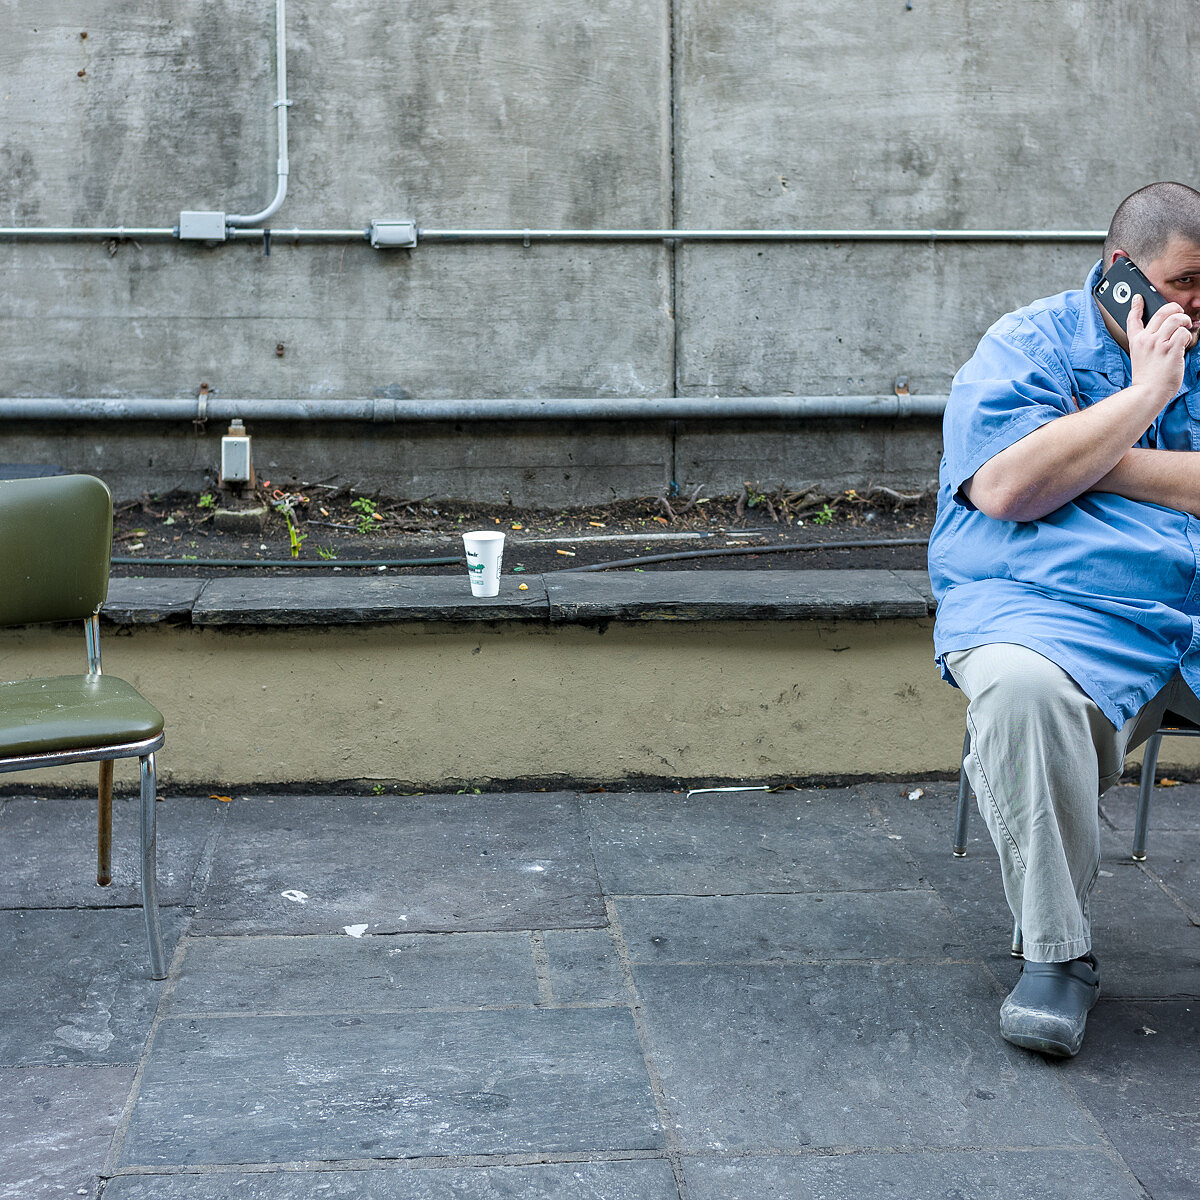
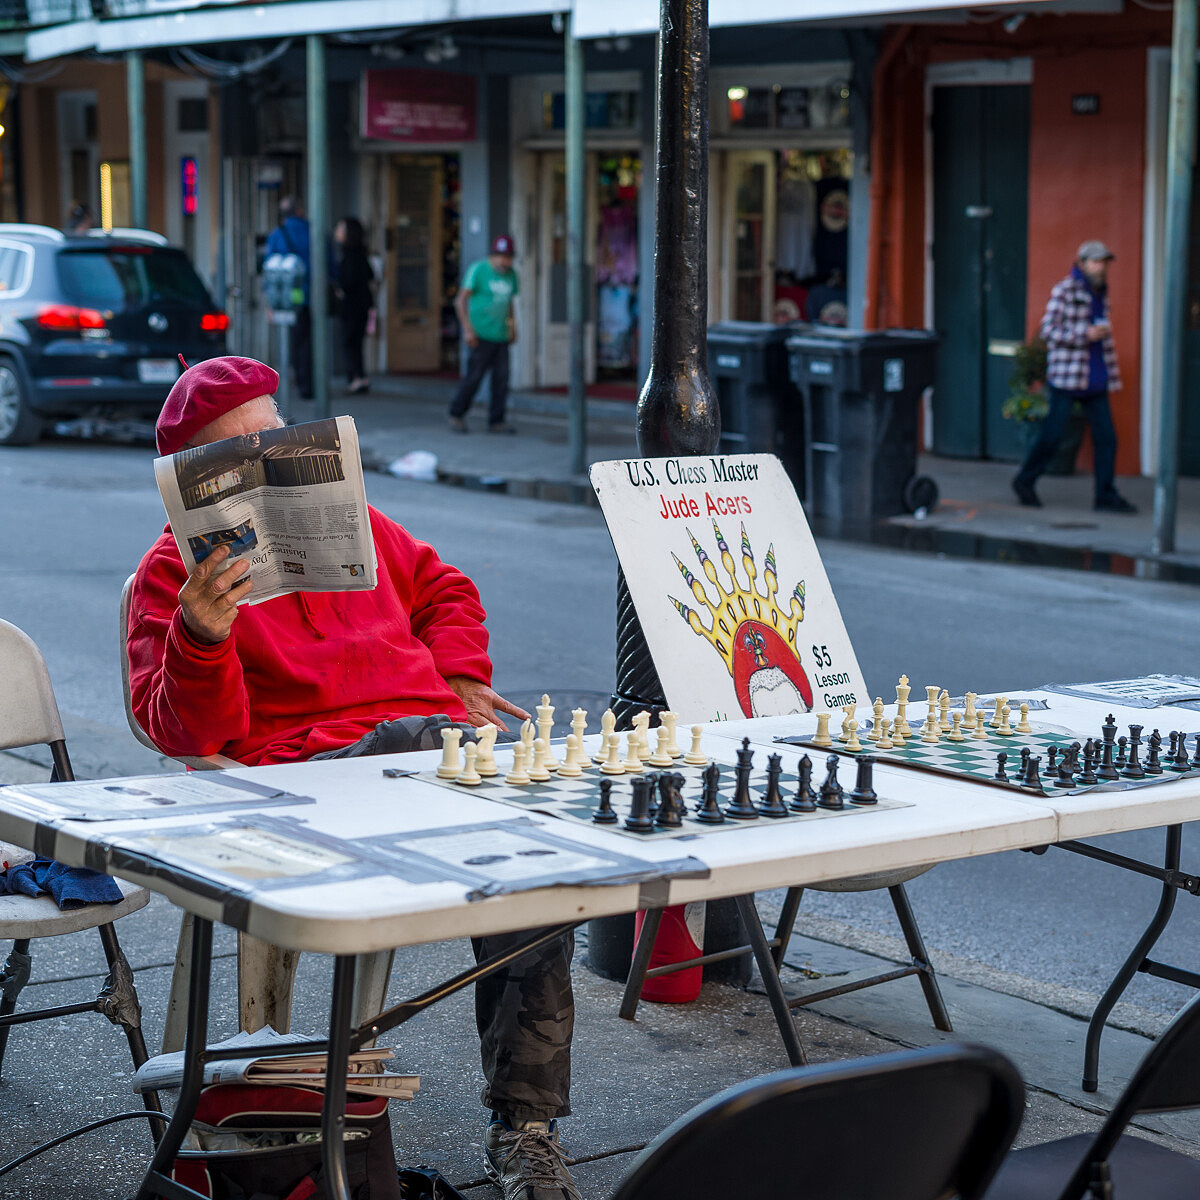
Despite being a little wiped out following the launch event in Germany, I had a fantastic time shooting the M10 in New Orleans. The light and variety of subjects were remarkable.
Photographer Richard Sexton showed me a side of the city few besides locals experience and I got a healthy dose of quality live jazz and blues. Ultimately, I was pleased with the pictures I was able to capture. The M10 never got in the way. It acted more as a trustworthy and capable co-pilot, along for the adventure and ready for anything.
My only regret had nothing to do with photography. I never made it to the Carousel Bar for an authentic Vieux Carre cocktail. I was too busy having a blast shooting with the M10.
ISO performance
In use, ISO 6400 is excellent and 10,000 is totally usable, just like on the MM246. I’d go so far as saying that 10,000 on the M10 is roughly equivalent to 3200 on the M240. While I’m sure other photographers will likely go to 12,500 or even 25,000, that's past my limit. For me, 10,000 strikes the right balance for low light vs. acceptable noise.
And for all my test shooting, this is where I let the camera max out for Auto ISO. Even in wonky artificial light, the results were astonishing. The color information was surprisingly rich and the files could still be tweaked within reason. Usually, at high ISO settings like this, you either get the shot in camera or you end up with a mess on the computer trying to fix it. Not on the M10. The low light ability beats out the SL here.
How was the ISO dial in use? I honestly wouldn’t know. Because of the splendid high ISO ability, and intuitiveness of the Auto ISO settings, I used Auto ISO the entire time. Never touched the dial. Never had to. Perhaps if I had wanted to shoot some longer exposures on a tripod, I would manually set the dial to ISO 100, but really, for walk-around shooting, I can’t see not just letting the camera do its thing. In bright conditions, I set my Maximum Exposure Time to 1/250th. In lower light situations, to 1/125th. That’s it.
Color reproduction, image quality and look of the files
So much of color and tonal reproduction comes down to profiling and processing. I demonstrated this in my The Great Debate: CCD vs. CMOS article series. Properly processed, most people were unable to reliably differentiate between an M240 and M9 in a side-by-side comparison, let alone a blind test. So, I’m going to contradict myself just a little here when I share my conclusions on color and image quality of the M10.
After working with the files in Lightroom CC, I feel that M10 images are an amalgamation of several different looks. They have the biting sharpness of the SL, the crisp nuance of the S007, the subtle painterly smoothness of the M240 and (I’m going to regret putting this in print) the color of the M9. There, I said it.
In all seriousness, though, the rich blues and reds of the M10 files are very similar to what so many love about M9 captures. The colors pop like on the CCD-based M, but less saturated colors exhibit the refined gradation more evident in the CMOS-equipped M240 and S007. Just be sure to make sure that the active profile under the Camera Calibration tab in Lightroom is set to LEICA M10, not Adobe Standard. This is a departure from past M cameras where the Adobe Standard profile was superior to the embedded DNG profile. Here, it looks like Leica fully optimized their embedded profile, and you can't argue with the results. Just lovely.
Under artificial and mixed light sources, the M10 is an absolute champ. Better than the M240 and the SL. Even with deeply saturated color primaries, the color channels didn’t blow out.
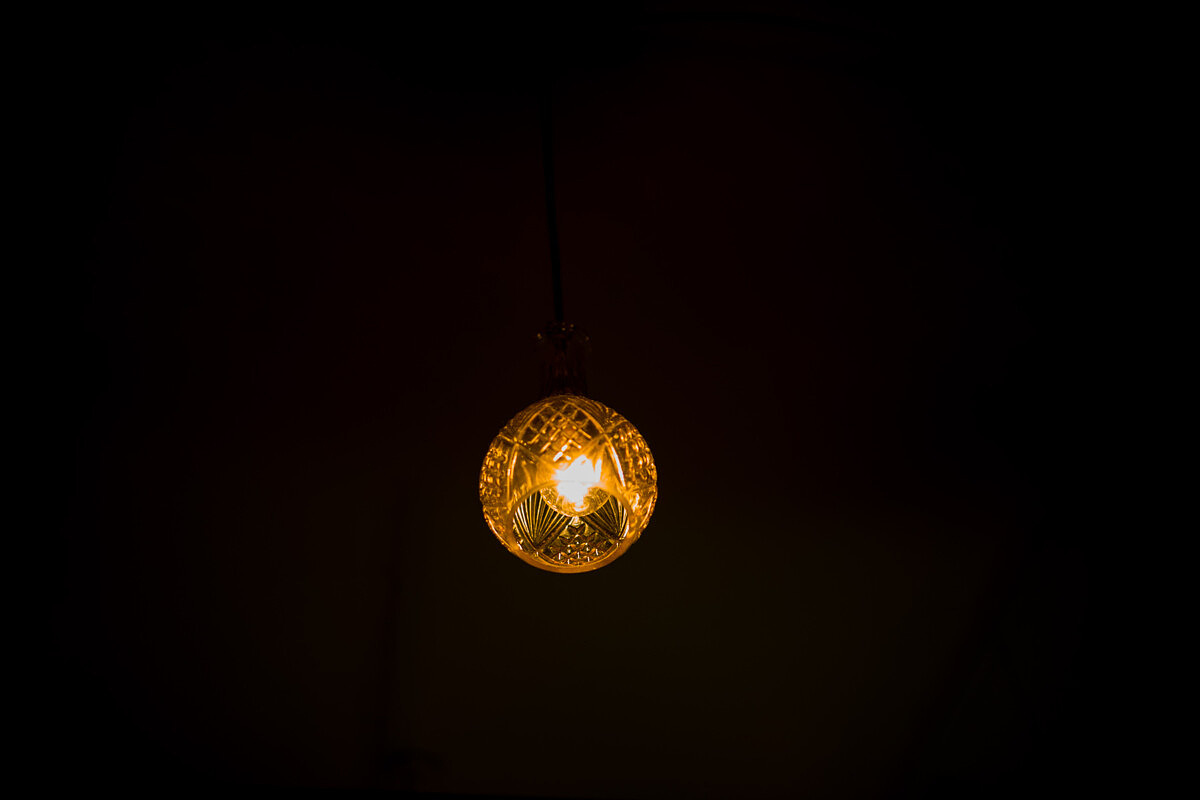
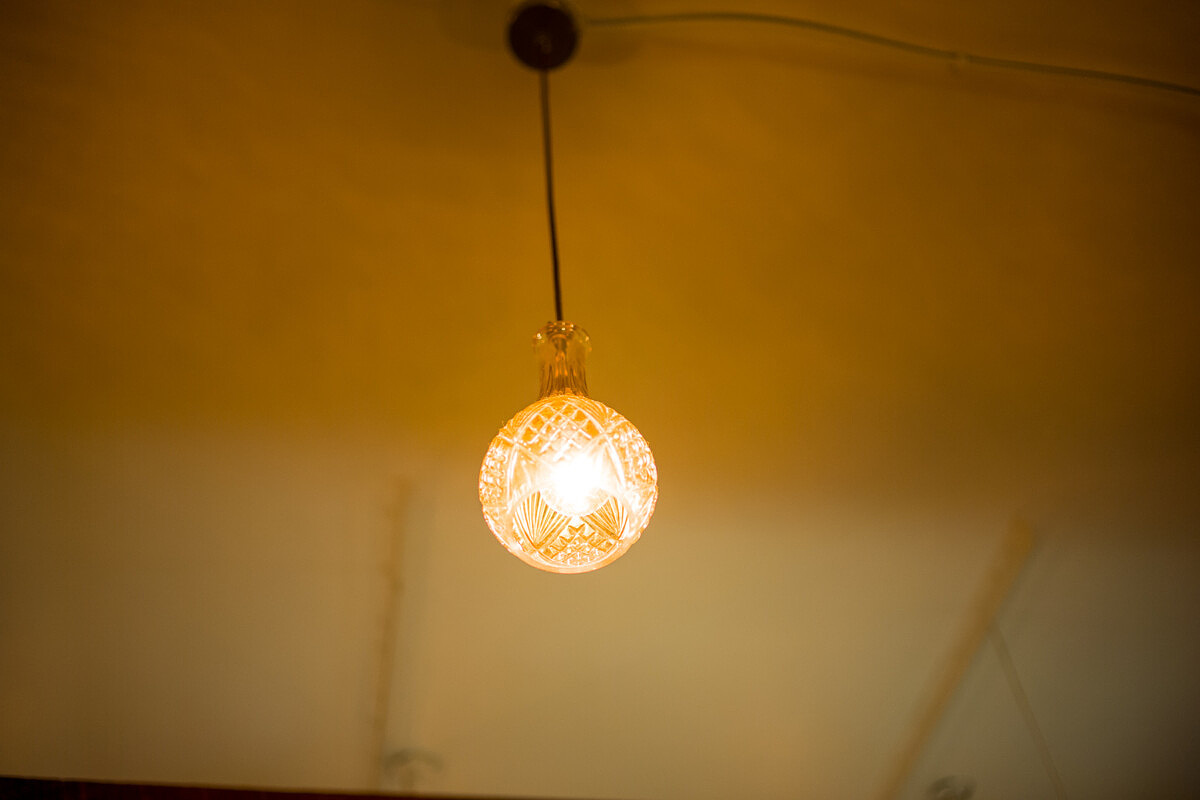
Highlight recovery is insane, easily among the best I’ve seen. I’ve grown accustomed to mind-blowing shadow recovery on the S007 and MM246, but never have I experienced the ability to capture and hold so much highlight detail. And, that same shadow information is there as well. The M10 has an astounding dynamic range, with the files offering up some of the easiest postprocessing I’ve seen. Check out this mundane picture of a light fixture. After lifting the exposure four stops in Lightroom, we can now see details in what was pure black in the original capture. And, the bright sections of the light bulb and glass fixture still have plenty of detail.
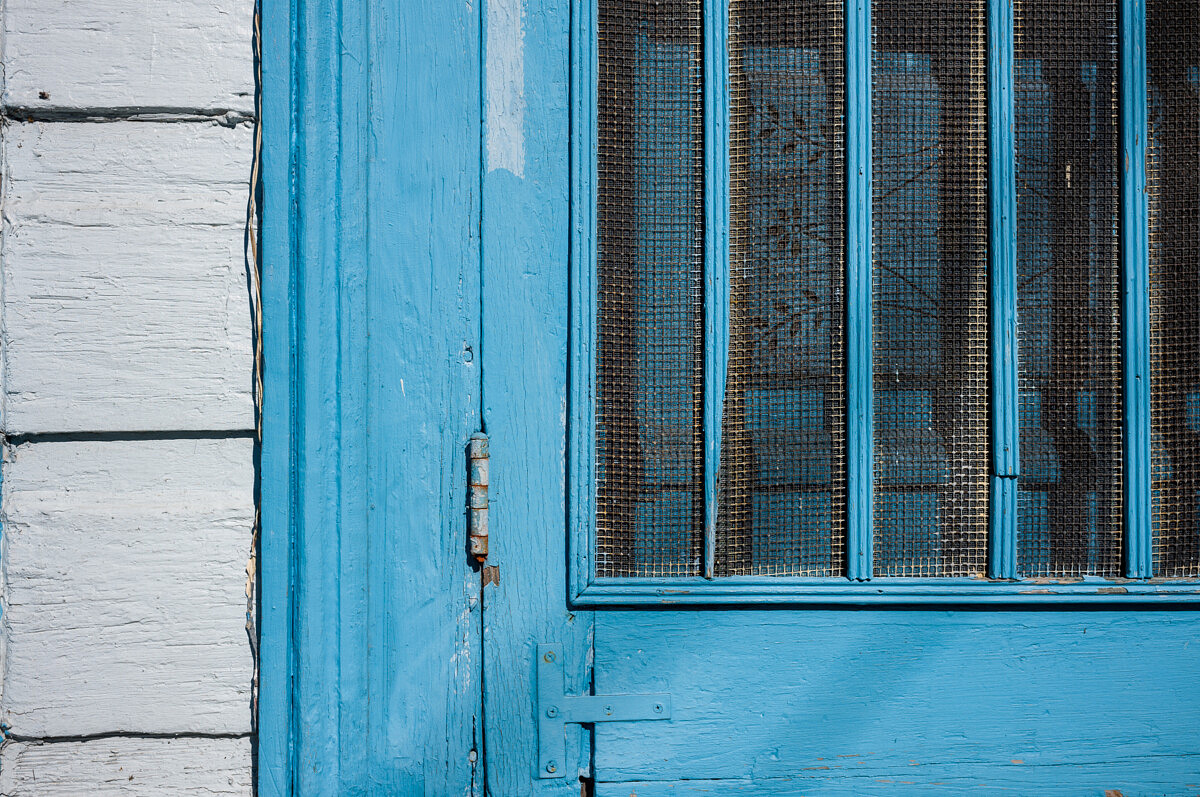
Another example: This one of a wicker seat on a porch has very contrasty lighting streaking across the frame. The white bench has sections in direct sun and in full shade. What impressed me here is not only the ability to get full shadow detail, but not having to sacrifice highlights when boosting exposure. Of course, I still prefer the picture as shot, but it's nice to know that the information is in the file if you need it.

Same shot, with exposure lifted 2.6 stops in LR.
Leica M10 with 90mm Elmarit-M
1/250th sec @ f/8, ISO 200
On a per-pixel basis, the images are extraordinarily sharp and crisp, with detail you can just dive into and texture that you can almost touch. My subject matter in New Orleans proved to be a worthy palette for the M10. All my lenses paired wonderfully on the M10, which comes as no surprise. The same kit graces my M240 and has never disappointed.
I know some will question whether the M10 can replace their existing Monochrom. Honestly, I'm not sure just yet. But I will say that from the few B&W conversions I did, the M10 is certainly capable of pleasing results without a lot of work. Do they have the full-on Monochrom magic? Perhaps not, as the MM246 tonality is just luscious.
Now, if history is a guide, we may see an M10 Monochrom within the next couple of years. Given the roughly two stop advantage over the previous color versions, a hypothetical M10 Mono might be able to shoot cleanly up to ISO 25,000 or even 50,000. We can certainly dream, can't we?
Final Verdict
The M10 is an awesome camera. Apart from somewhat lackluster battery life and possibly the omission of an electronic shutter option, I find it hard to fault. Image quality is stunning. The color output out of the box is the best yet from any digital Leica. Used with the right lenses, sharpness is off the charts. With its M7 analog proportions and rock-solid build, the camera feels amazing in hand. The optical viewfinder is a revelation and the Live View experience has been vastly improved from the M240.
As a company obsessed with excellence and honoring tradition, Leica took their time with the M10. For such a pivotal product, it needed to be right. And ultimately, I think that they have succeeded with their effort to streamline and create the essential M experience. That M-ness I referred to earlier? The one photographers have gushed about for sixty years? Well, the M10 has it in spades. For a long-time M user who still remembers shooting film Ms, this latest generation digital camera is like coming home. It evokes feelings of confidence, admiration, and a bit of nostalgia. The camera encompasses everything that has made the M a classic, while simultaneously pushing the boundaries of image quality.
And for Leica, this was precisely their goal – to make a pure M for the digital age. They finally have with the M10: the quintessential M.
The Leica M10 is going to be difficult to get for a while. Leica is a relatively small company and can only hand-make so many cameras per day. If you are interested in getting one sooner than a year from now, your best bet is to get on a waiting list. Consider supporting Red Dot Forum by placing your pre-order with Leica Store Miami. They don't require any deposit and are happy to take trade-ins. Give them a call at 305-921-4433, or send an email to info@leicastoremiami.com.
Even more images!
And, if you just can't get enough M10 pictures, please have a look at the some additional images in the gallery below. If you have any questions on the M10, or how I post process images, please leave a comment and I'll do my best to answer.


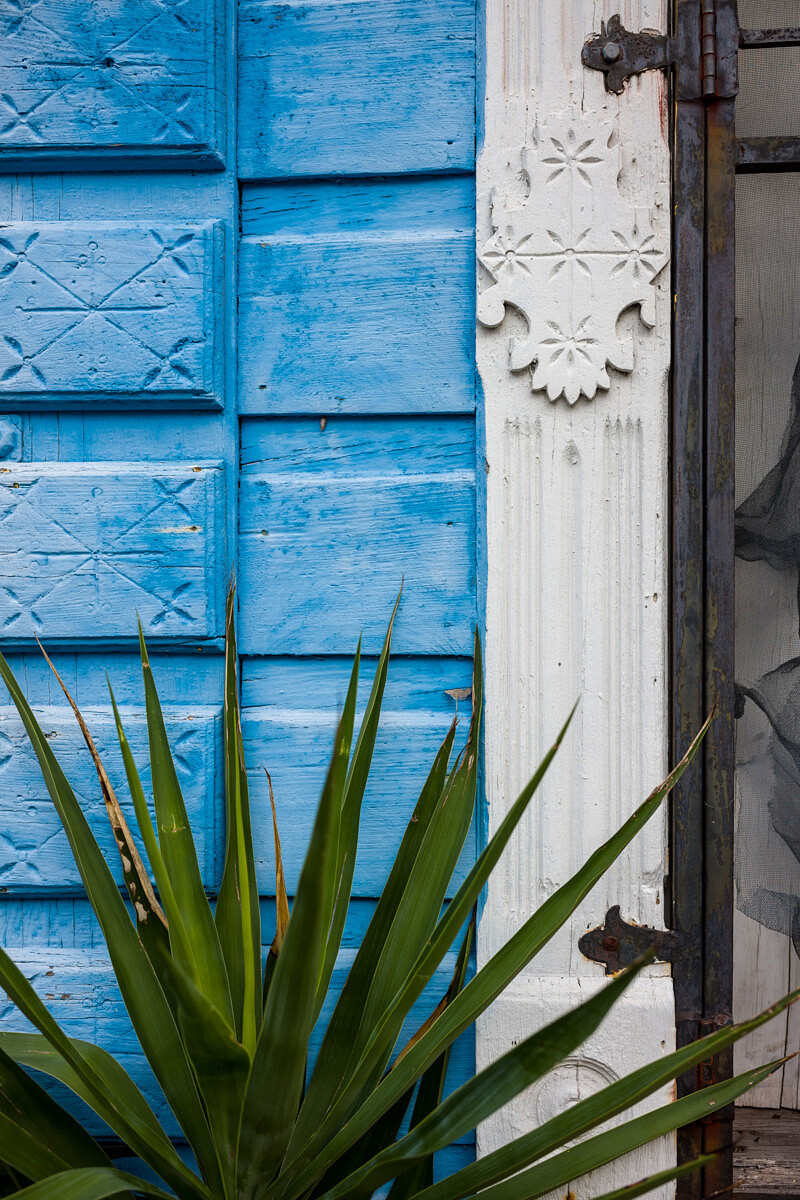




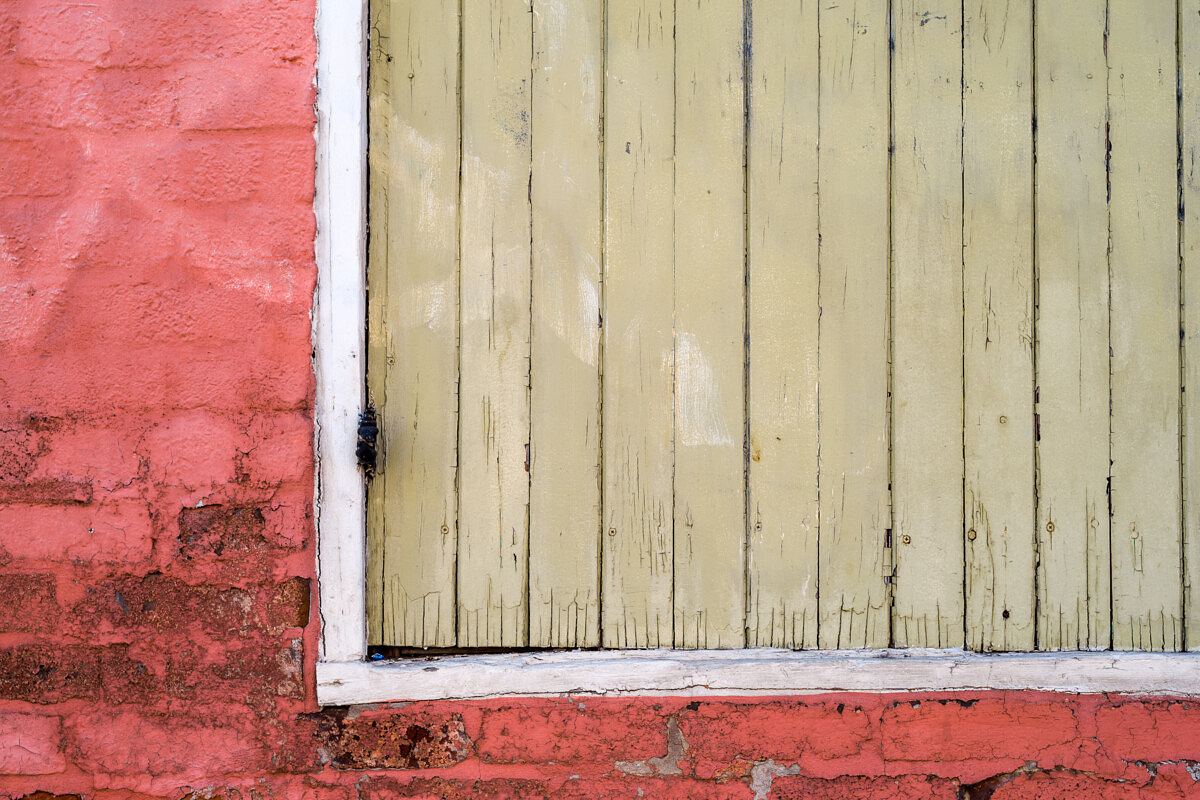






















No, the frame lines for the M240 are the same 2m as on the M8.2; that’s one of the reasons those have been my 2 digital M models.
Jeff, thanks for catching that! Fixed.
Thanks David, great review. Really nice to see the dynamic range and ability to pull out shadows when needed. Also nice to see the 10,000 iso shots come out with great color and so smooth. – David Knoble
Great review David,
I’m in a bind right now maybe you can make a recommendation.
I am all in with Leica having the M262, SL and a S006.
I was thinking about upgrading my S006 to the S007, yet with everything I have read as of recent it seems that Leica is abandoning the S system, with the issues with the S lenses AF motor issues and now with the X1D and Fuji GFX.
I love my SL and would love to upgrade to the M10 also. My delima is what to do with my S006, I love the S but was wondering if it’s time to trade in my S system for a M10
I realize they are totally different systems, yet for the days I don’t want to shoot my SL and want to shoot a RF I like the idea of the M10 with it’s new sensor, better color and DR.
Thanks
Steven,
Leica is absolutely not abandoning the S System. Please see my interview with the head of Professional Photo, Stephan Schulz from Photokina this past fall. We talk about this very topic. The S007 is still top dog in the Leica line-up with regards to image quality (15+ stops of DR, amazing color, great glass, larger sensor, etc). The S lens motor issues have been resolved with new assemblies, which are making their way into repairs and new lenses alike. And just because they aren’t rolling out new lenses isn’t because the system is dead. Rather, the system has reached maturity.
The SL is also a fantastic camera, one that bridges the M and S, with lens compatibility for both, along with stunning native SL glass (and more on the way this year). It offers all the latest tech, has speed to spare and offers incredible versatility.
And yes, the M10 is without a doubt, the best M to date. So, there are some tough choices here. Add in the Q and it becomes tough to say which is best for each user. Right now, Leica seems to be firing on all cylinders. Every product line is really, really good. I suppose this isn’t a bad problem to have.
Sorry for all of you guys but as an amateur nor professional, there is no reason to shoot with a digital m. I know almost all lenses of leica are perfect both optical and design. But come on guys, its 2018 and they’re still stucked in a fixed rangefinder with silly frames. Still limited with that fixed view range. We still cant get any close to a subject and even crappy iphones does that. This is totally misreading the technological trends. This is not the innovation style of Barnack or Ernst. I love my m3 and i never end up using it with all my leica lenses old or new. But now leica is just a design company for me on cameras. And you know what, i still prefer the old design
Great photos as usual David.
Hey David, great story, great test and review, great photos, great history summery, and I have to say it again, Great Story!
However, now I’m lusting after the M10 !
Oh well, may one day!
Nice story and great pictures! Did you miss the chance to do a little video while you were there?
Hi There David
I really enjoyed that – great writeup and pictures. I also really enjoyed your interview with Jesko and Stefan. . . and of course meeting up again at Wetzlar. Hopefully we’ll meet up again before too long.
With all best wishes
Jono Slack
Very nice article+photos
I never used an EVF. Could you please tell me why i should use the EVF and not the viewfinder
Is there any advantage.
Thank you
Danny
Thanks, Danny. The optical viewfinder in the M10 is the best Leica’s ever put into an M camera. You are more than welcome to use the viewfinder.
The advantages of the EVF are more precise framing (WYSIWYG), accurate exposure preview and the ability to zoom to 100% to aid in manual focus. Additionally, the Visoflex 020 for the M10 also confers GPS functionality for geotagging your photos. The great thing about the M10 is you can use a combination of both, which is exactly what I did when testing.
You will need the evf or visoflex when using some great old or cine lens which is not RF coupling, such as Zeiss Contarex, Contax, etc
The Visoflex is also very useful with anything shorter than a 28 mm and anything longer than 50 mm. Also nice to use with extra-wide-aperture lenses (f2 and below) to check precise focusing.
incisive and comprehensive….
great job as usual!
Albert
Great review!
Can you say something more about white balance? Have you used only Auto WB?
PersonalIy I prefer to switch to day light or use WB card because it its difficult to trust auto position (from my experience).
Regards
Olgierd
Yep, I had the camera set to Auto WB the whole time.
The M10’s auto white balance algorithm is excellent, even under mixed and challenging lighting.
Excellent photos and interesting review, thanks!
As an M7 shooter who never took the plunge into the digital Ms i think now it’s the time to do it. The M10 seems very similar to my analog M and a possible purchase. Only worried because of the sensor cleaning procedure and eventually RF calibration in future…but for sure this must be an interesting camera…
robert
Thanks for this nice write up and lovely pictures.
Under “Improved 6-bit coding” you mentioned: “The identification of 6-bit coding on lenses has gotten a nice update. Let’s say you have a non-coded M lenses mounted, like a classic 50mm Cron rigid. As such, you are using manual lens selection, and have picked out the lens in the menu.”
Does this consequently mean that within this menu for choosing the setting of my classical 50mm f/2 rigid Summicron (from the early sixties), these lenses are now also incorporated??
Best regards,
Guenter
I’d have to check to see if additional lenses were added. My main point for improved 6-bit coding was to say that if you had a manual code selected for a non-6-bit coded lens then changed to a modern 6-bit lens, the camera will automatically assign the correct profile even though you might have forgotten to change from Manual to Auto.
Thks David, Your main point is/was clear to me and appreciated. Just would be very (pleasantly) surprised to see the list extended to the effect to also include the Classic Rigid Cron’s from the early sixties…since you started off with these as an example.(so I understood).
Sorry. The oldest 50 Cron in the manual selection menu is a version III, model 11817, introduced in 1969. Honestly, I don’t think the lens corrections would be much different between this and a version II.
Excellent review David, all pertinent and to the point !!! Much appreciated.
Have been able to shoot the M-10 enough to agree with all the information written, it is one sweet camera, hope to be getting a spare once there are readily available !!! Thanks
al
I didn’t find any reference to weather sealing….how does it compare to the M240? Another site indicated the M10 is not as effectively sealed.
Regarding your comments that the S system is “mature” and will continue to be supported, that. doesn’t give optimism for an eventual S008. Did you mean to suggest otherwise?
Nice job as usual , glad you included lots of low light shots which most reviews never carry
David,
Thank you for this thorough review and the stunning images along with your daily experiences being shared. Love it! And your jewel of a store in Miami is beyond stunning with its incredibly informed staff. Had purchased my M6 there last year, since my son had attended UM prior transferring to NYU.
Ralf
Outstanding review and excellent images, seriously many thanks. 5th in a queue at my Leica dealer for a chrome M10 and a new 35mm Summicron to replace my non aspheric one.
Once again, thanks….
David,
Would you please comment on the Summilux 35 that you used (great shots), and the Summicron 35 mm f2? I don’t need the speed of an 1.4, but I have heard that the current Summilux is outstanding and can be used for landscapes. Does the current Summicron produce as good images as the lux? I have read comments that the lux has more of a ‘Leica look.’ What is your take?
I used the 35 Cron ASPH for many years before moving to the 35 Lux FLE. Both are wonderful lenses. The Cron has a little more pop, with higher contrast and more saturated colors. The bokeh is pleasing and natural. The only shortcoming of the 35 Cron ASPH is that is prone to flare under the right conditions.
The 35 Lux FLE is stunning. I love the way the lens handles direct light. It is incredibly sharp wide open, with lovely bokeh. The lower contrast of the lens lends itself to higher contrast lighting situations. The Lux has no drawbacks that I have found. It is my desert island lens and the one that I most often shoot with when I want to just have one camera, one lens on my shoulder.
So while the 35 Cron is a great lens, the 35 Lux is just that much better. If you can swing it, I’d go for the Lux.
Best review I’ve read on this camera, I have a follow up question, the saturation of the colours is amazing, did you use any filters or do any post work?
Thanks!
No filters were used on the lenses. I added +14 vibrance and +5 saturation as part of my M10 preset when importing into Lightroom, so not an awful lot.
Perfect! That’s very much appreciated!
As a related question, did you or do you use UV filters on the lenses or do they take away from the sharpness of the lens?
Thanks!
Zee
I don’t use UV filters on my lenses, but I do know many photographers who do. They offer protection, but I find that filters can be harder to clean than the lens itself. If you shoot with scratched or dirty filters, the image quality can degrade. If you use a good quality multi-coated B+W or Leica fitler and keep it clean, it shouldn’t impact image quality in any meaningful way. For landscape shooting, I do use polarizers, ND and GND filters, often stacked, and image quality is fine.
Dear David,
Seeing your shots with M10 it is hard not to be impressed with this camera, to say nothing about your technique and artistic flair.
I have a broader question: cameras such as M10 make you shoot while looking through the range finder. However, you must have also worked with cameras with tilting back screen that let you shoot “from the hip.” In comparison, is working with M10 and the likes a limitation or does it requires a different set of “street smarts” and etiquette in street photography?
Many years ago I started with all manual Pentax MX slr. But I always dreamed of a Rolleiflex of Vivian Maier (years and years before I found out about her photography). Finally I got what I wanted! Now, I shoot exclusively with Olympus OMD EM10 always “from the hip.” It’s nothing compared to M10 but it probably would have been very hard if not impossible to take many of my shots with M10 and certainly not with any bulky DSLR. Street photography seems to me almost impossible with a camera that has to be put to your eye – particularly in places like Morocco and many others. What is your take on this? Why are there not more cameras with tilting screen? Or do I just have to grow up into M10?
Hi David
Reads like an end-game version of the digital M has arrived — almost!
I would really like an M with just one frameline per lens. Is there some reason why Leica do not do this and do you think they ever will?
Thanks
Robert
Again an excellent user review. How much is the ISO improvement to m9.
The M10 has a usable ISO 10,000. The M9 tops out around 1,000. So, about a 3.5 stop advantage.
Hello David, I really like this article, and an excellent ‘advert’ for the Leica gear too, I wish I had the funds for some of this gear.
Can you tell/give me any tips on getting such vibrate but believable colours?
Thanks for the feedback.
Tips for getting colors like these: use a Leica 😉 All kidding aside, Leica doesn’t get the credit they deserve for the color science in their digital cameras. Doesn’t look fake, flat or overdone. The resulting look is like real life, but the better version.