- October 5, 2011 at 5:31 am #1042Jack MacDEstablished Member
 USA, St. Louis, MO and Phoenix, AZJoin Date: Jun 2011Posts: 367Currently using:
Leica M, Leica S, Leica CLOffline
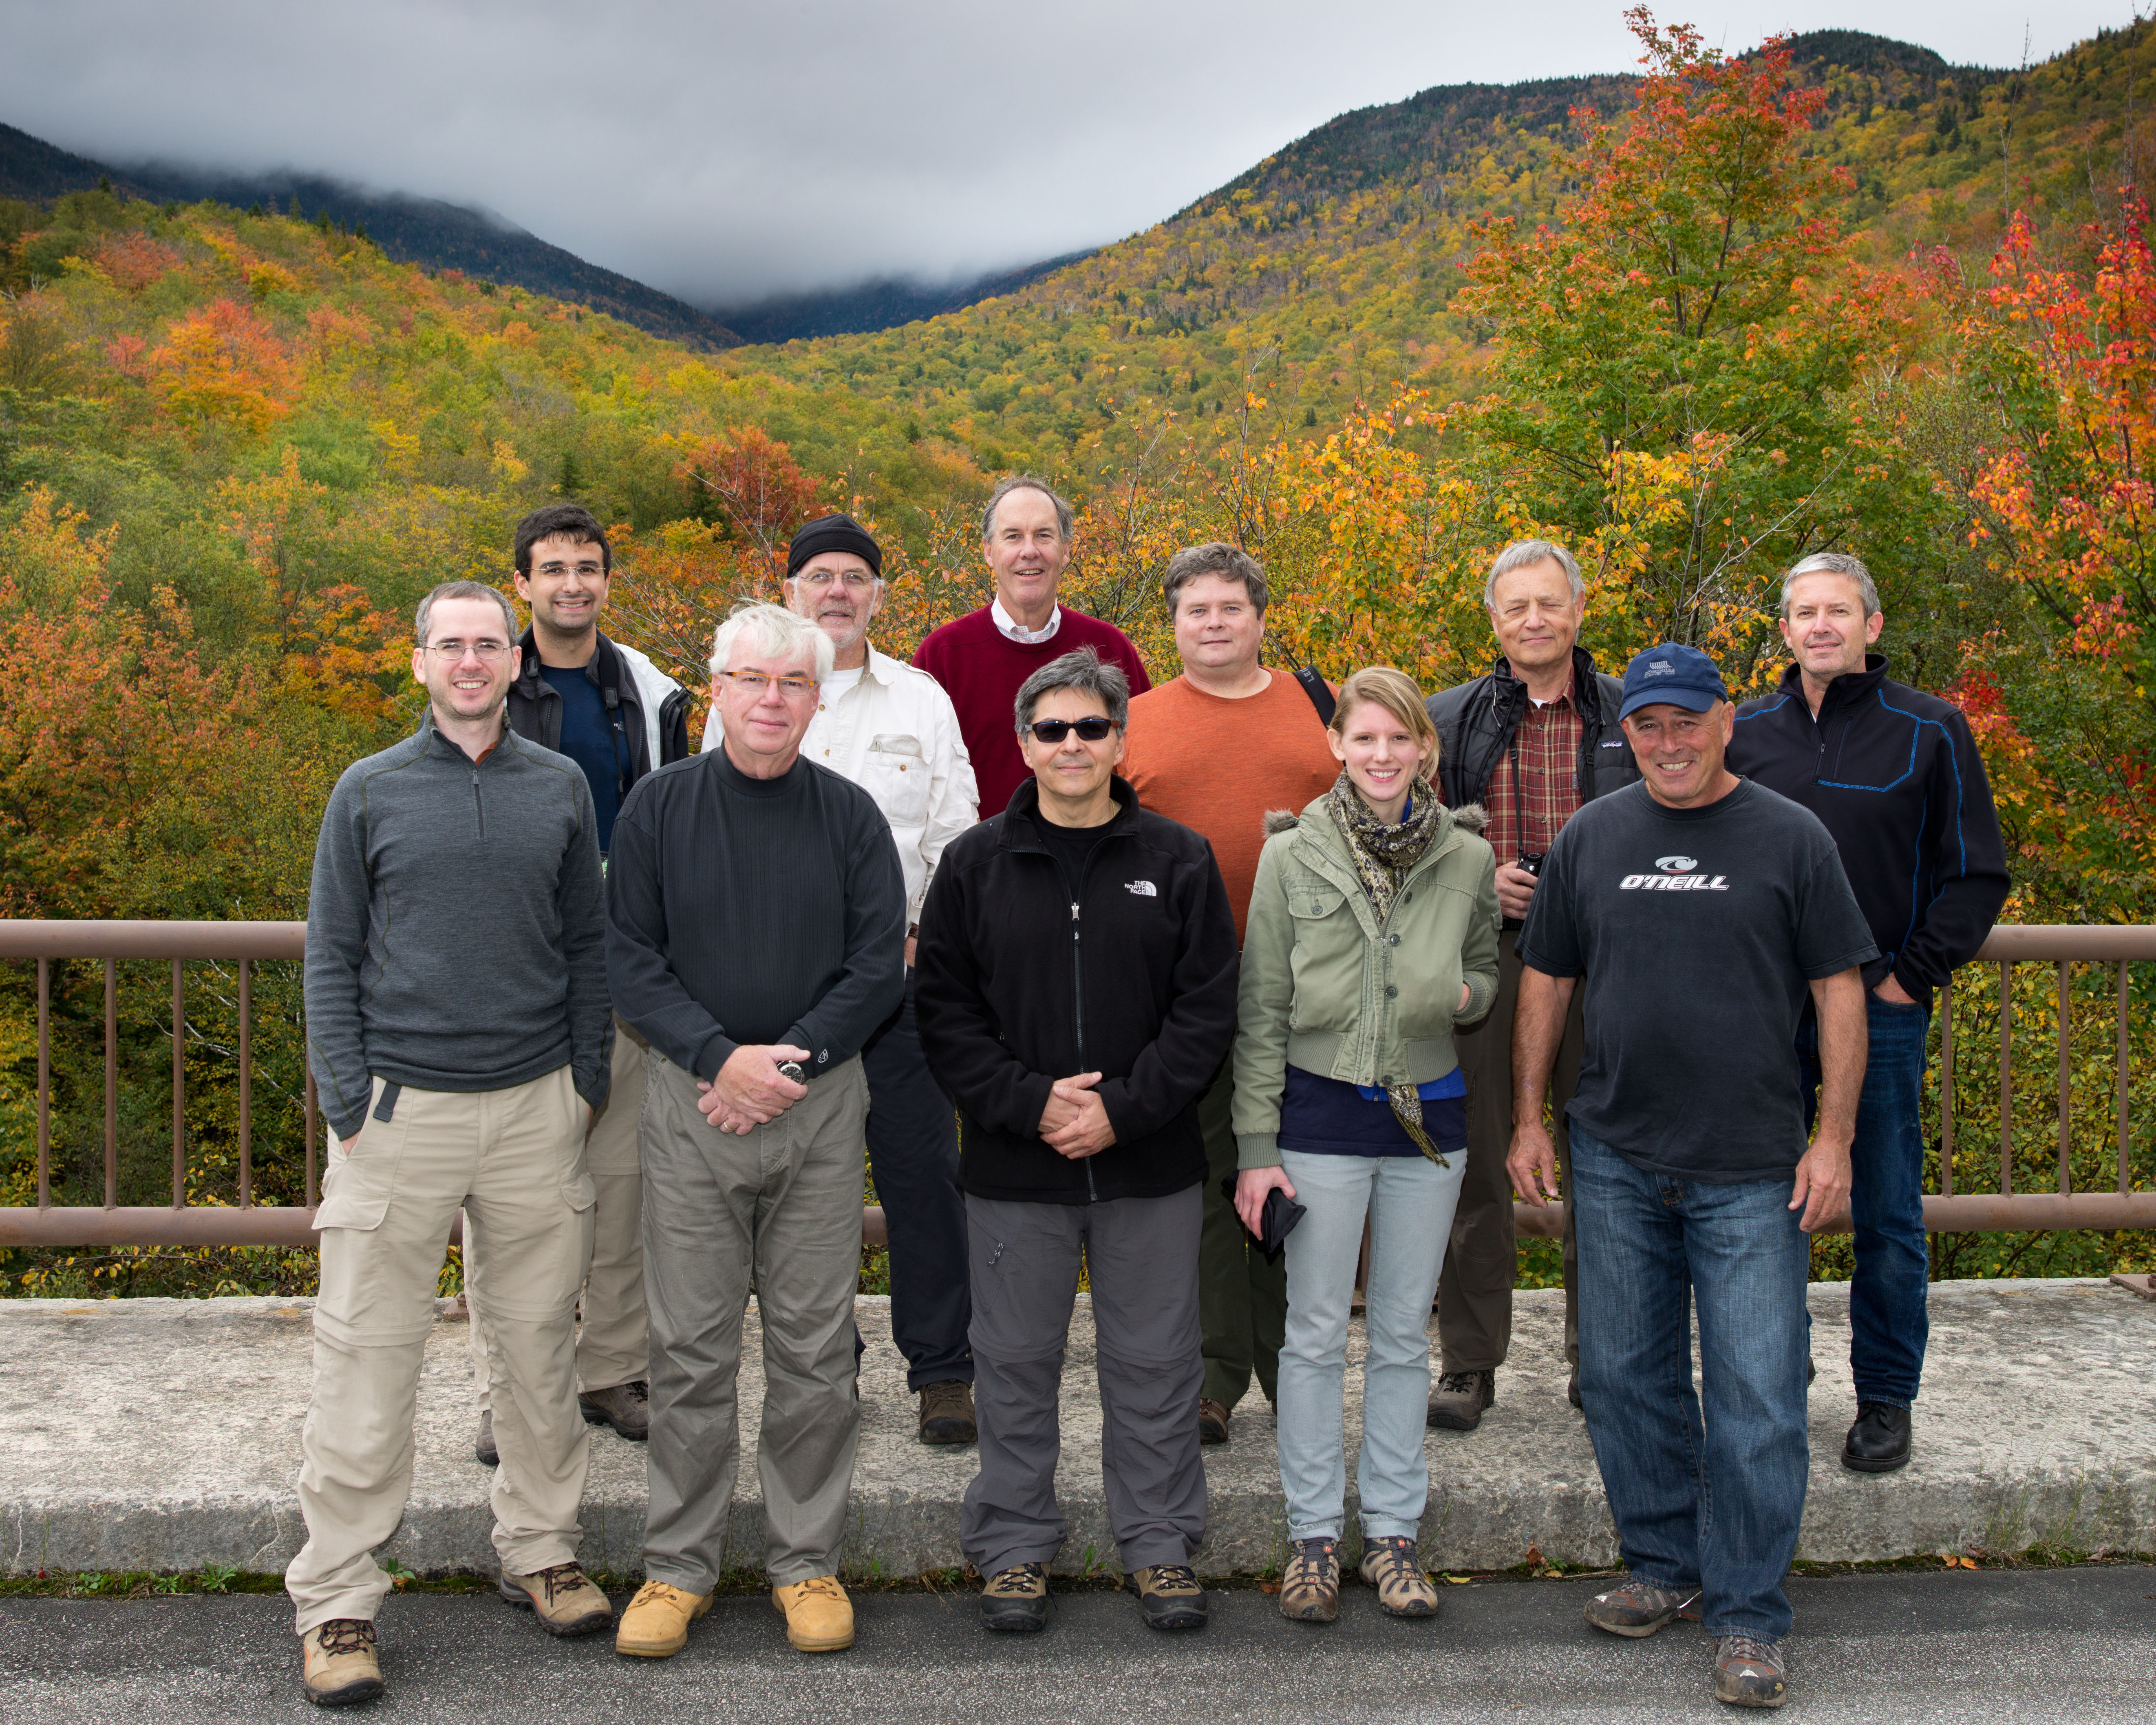
There are eleven S2 photographers out here in New Hampshire.
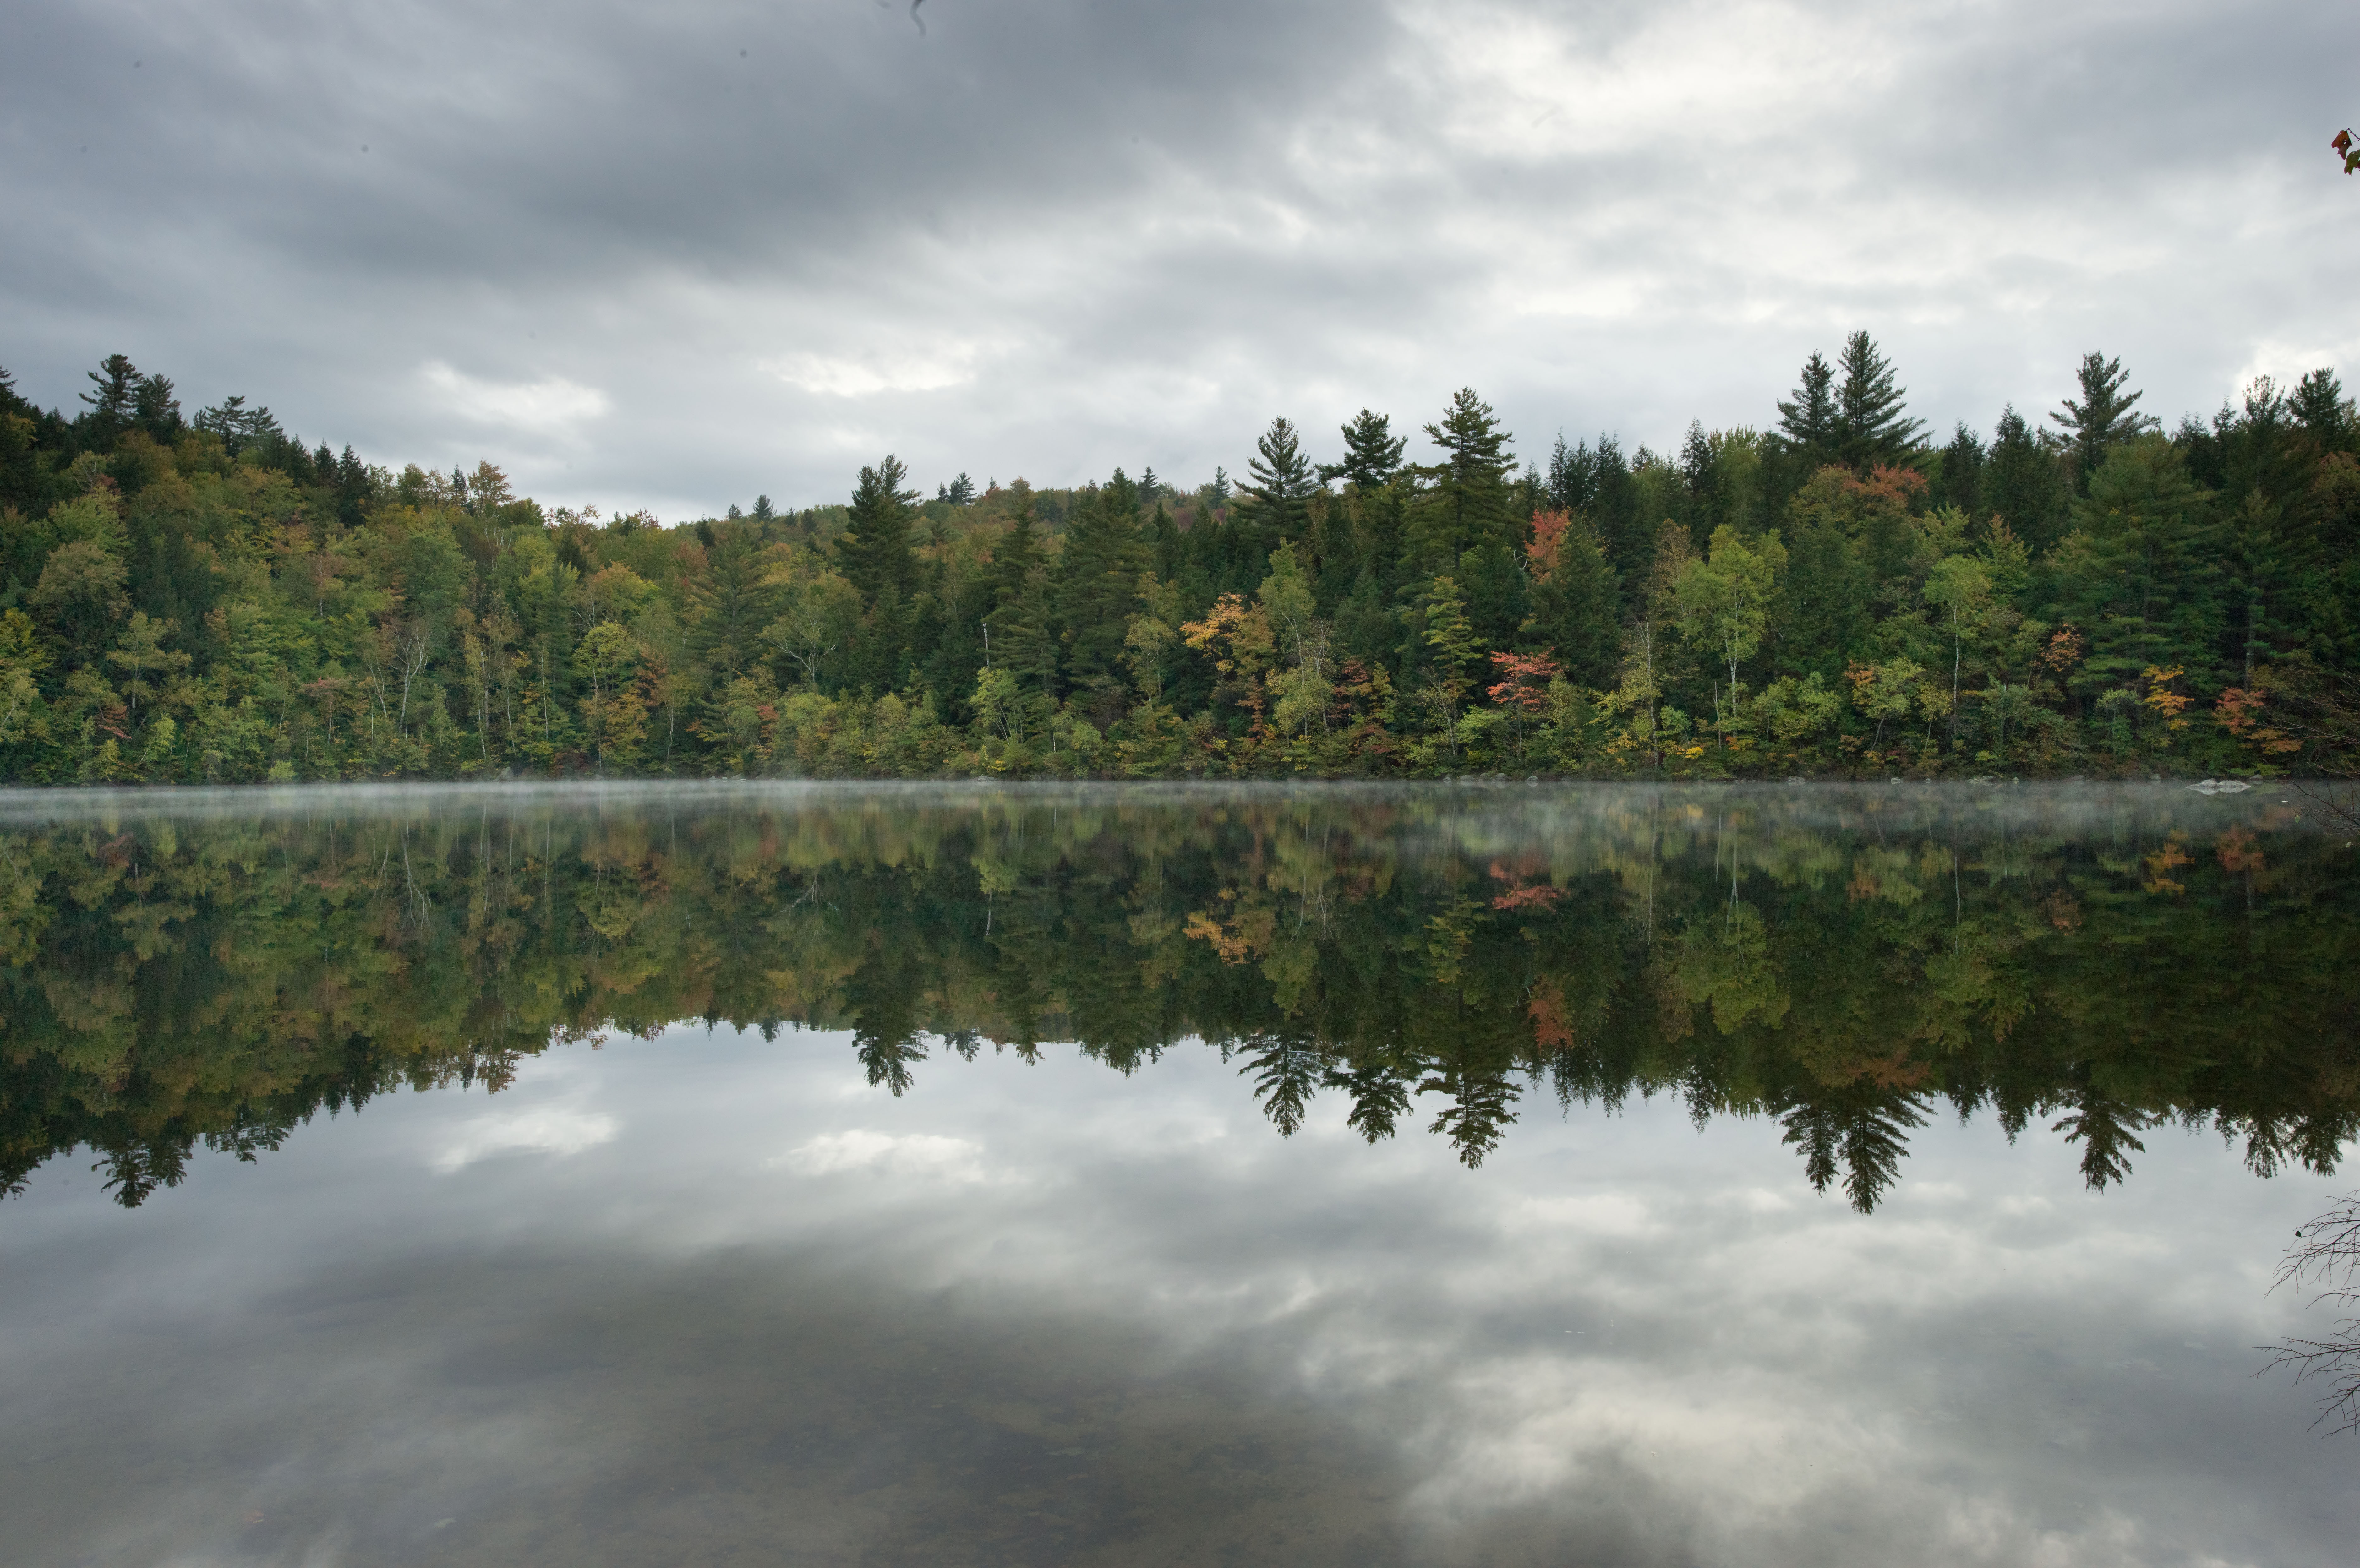
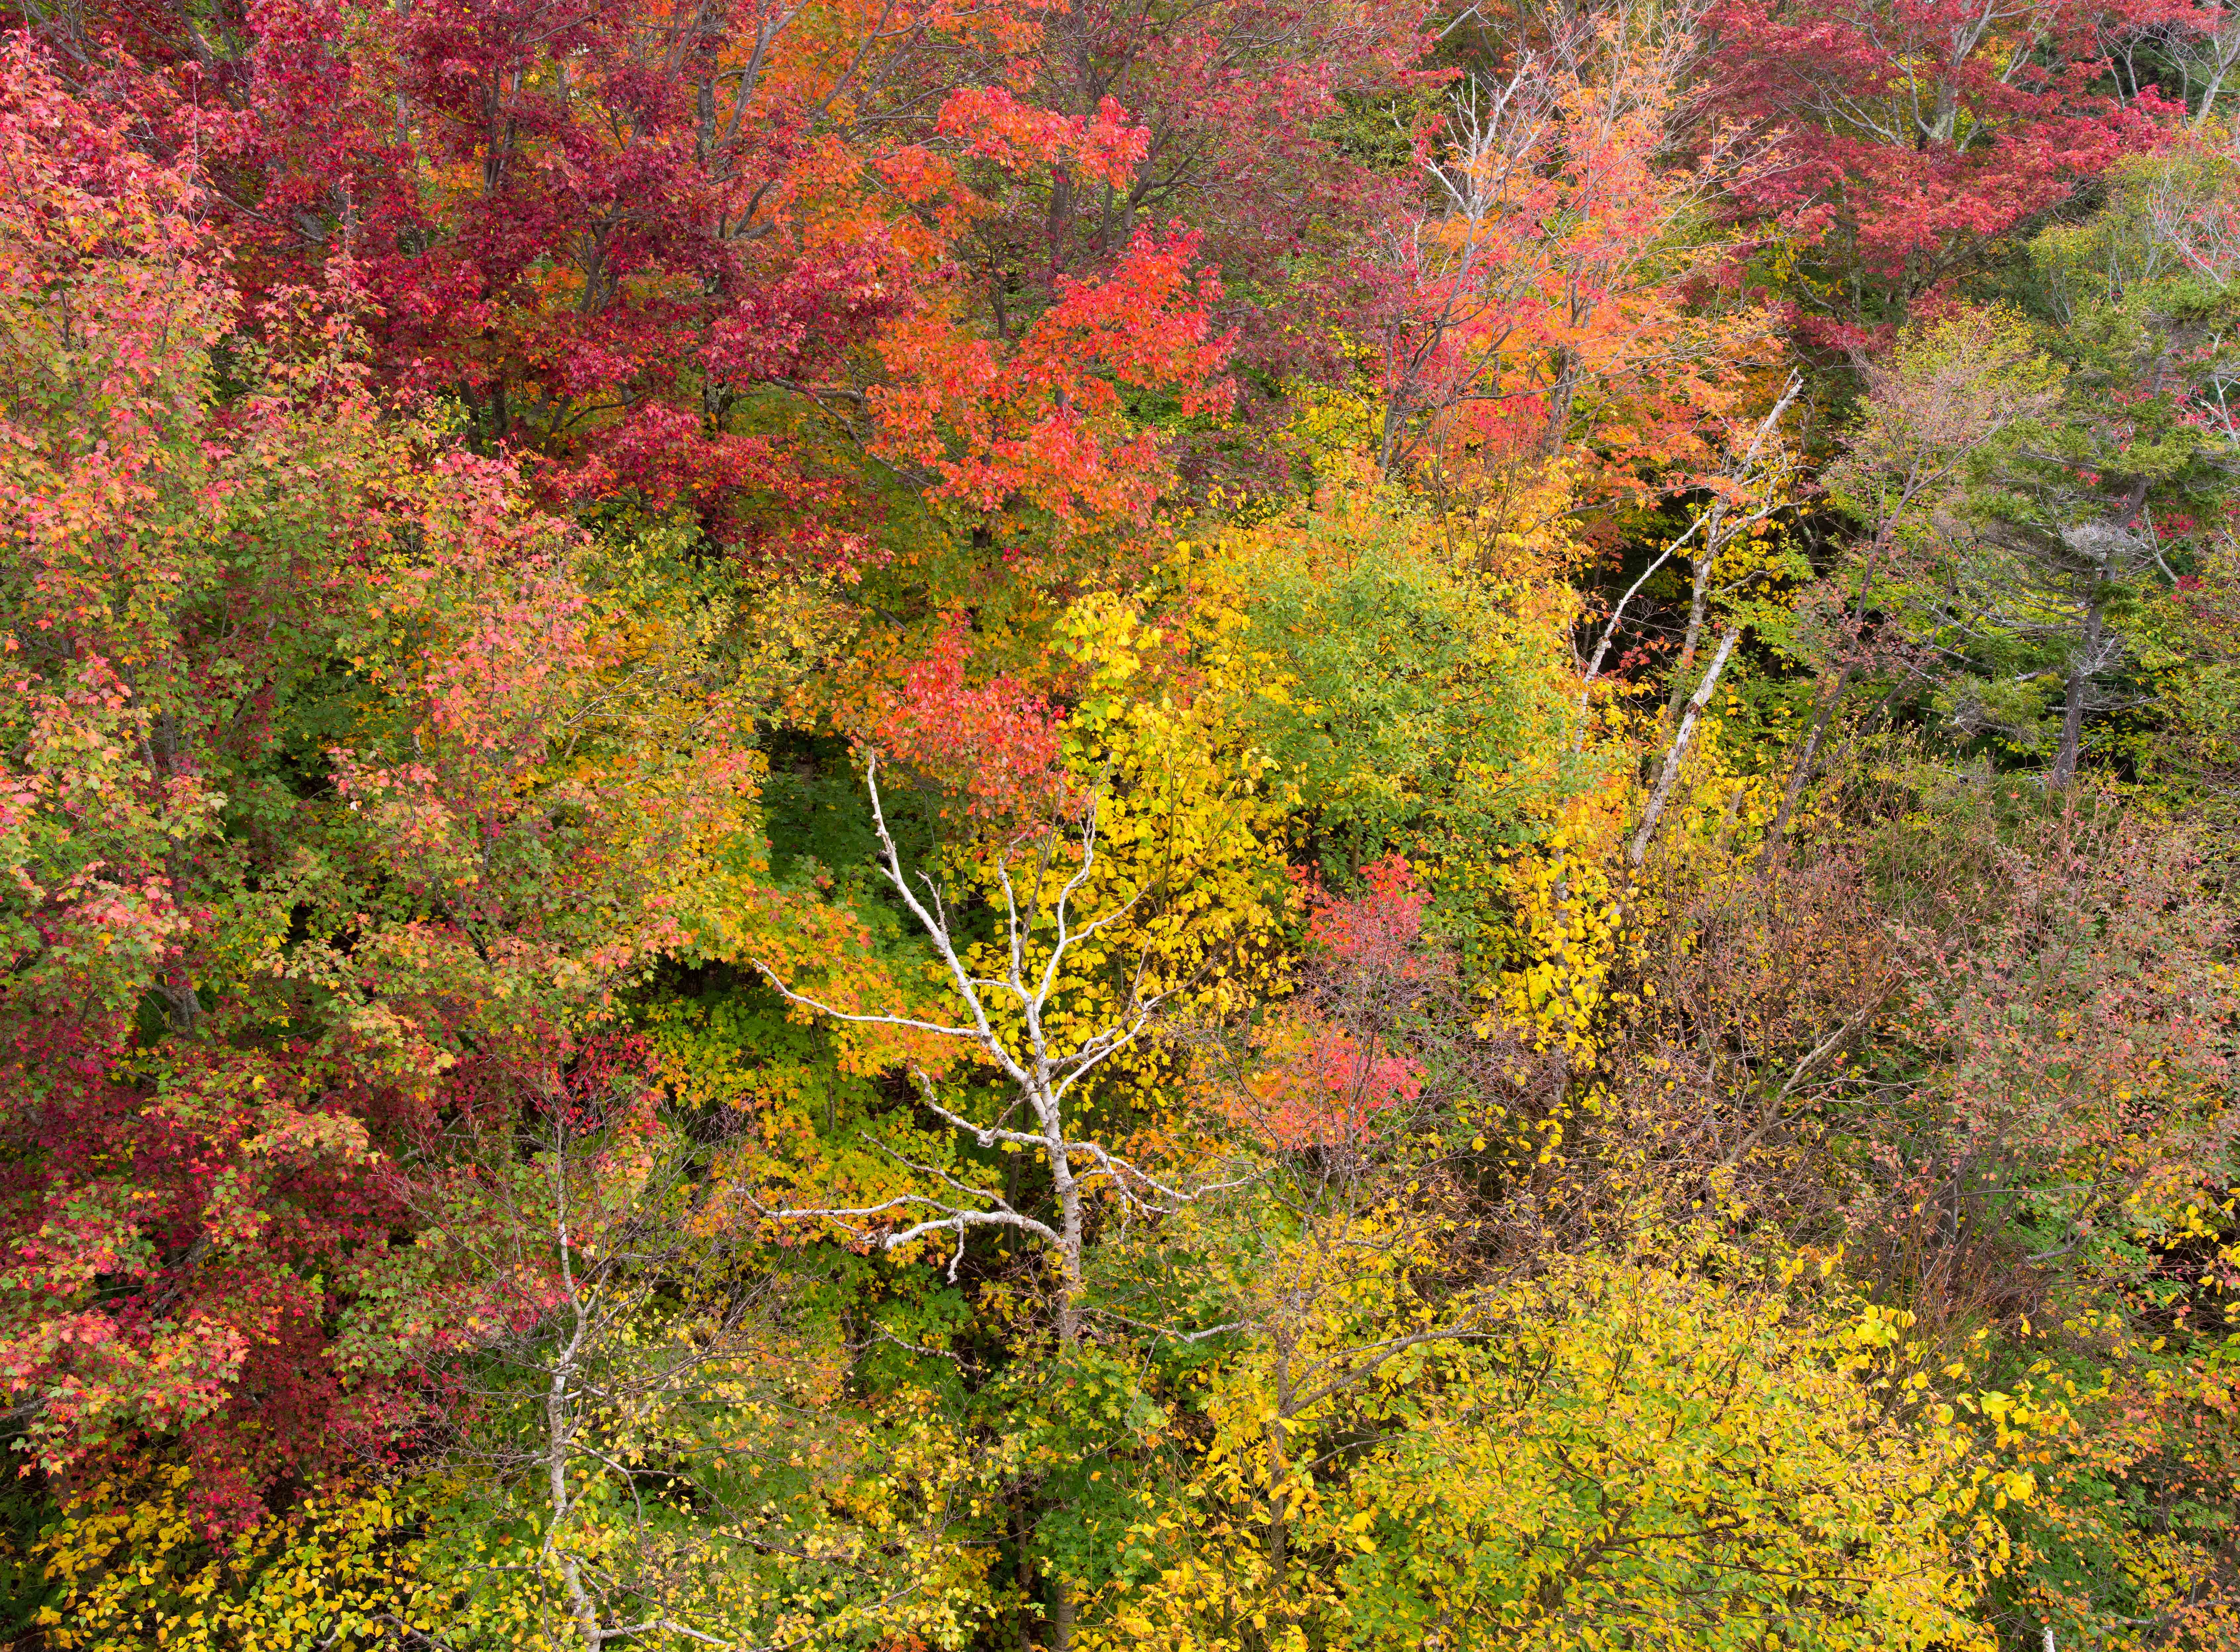
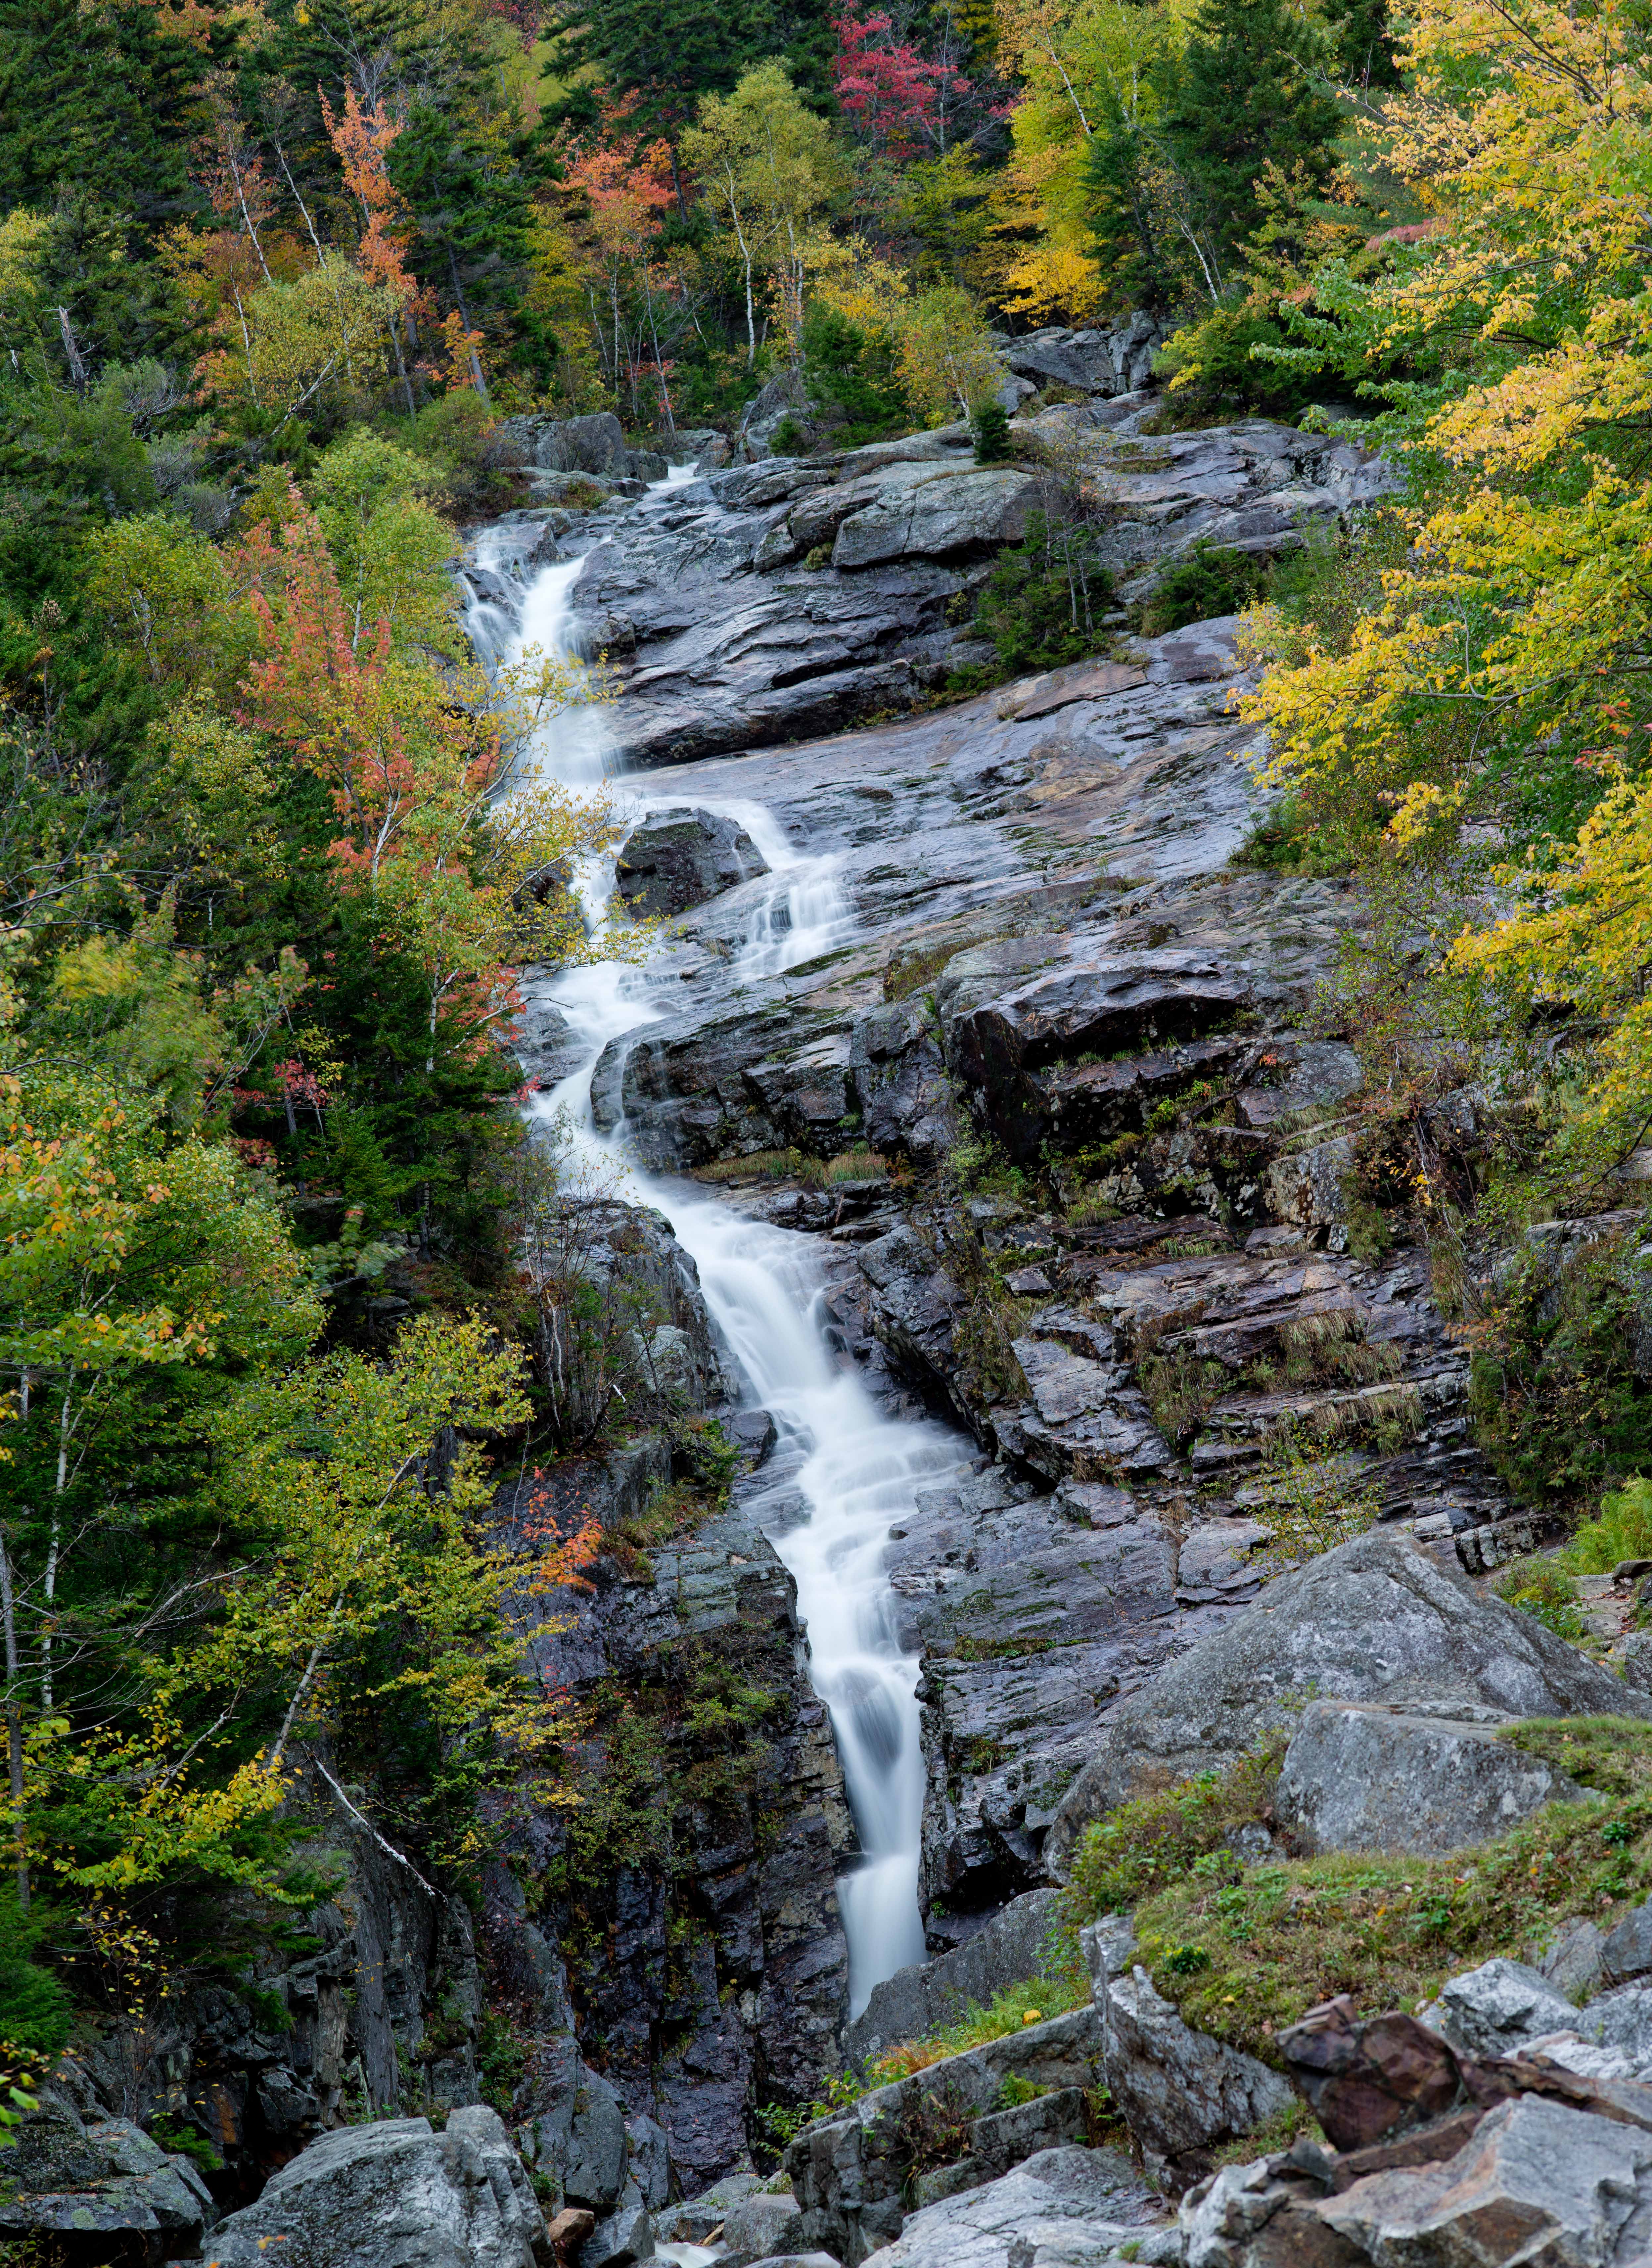
Here is a group shot and three samples of today’s work. We photographed from 6 am to 7pm. Attached are roughly processed.
JackJack - October 5, 2011 at 10:42 am #1043
Great. Enjoy your trip and keep us posted. 😉
- October 5, 2011 at 11:55 am #1044David FarkasNewbie
 Hollywood, FLJoin Date: Aug 2014Posts: 414Currently using:
Leica M, Leica S, Leica SL, Leica CLOffline
A few of my shots from our first day….
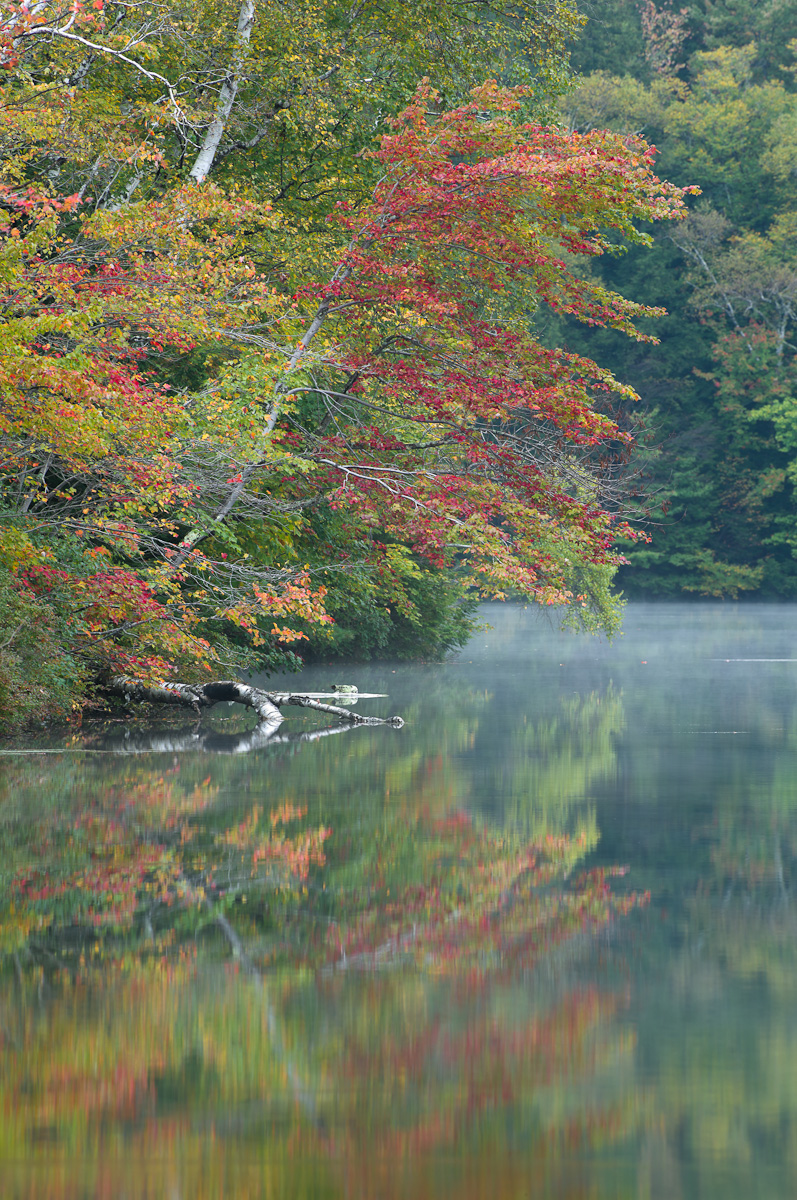
Mirror Lake in Woodstock, NH
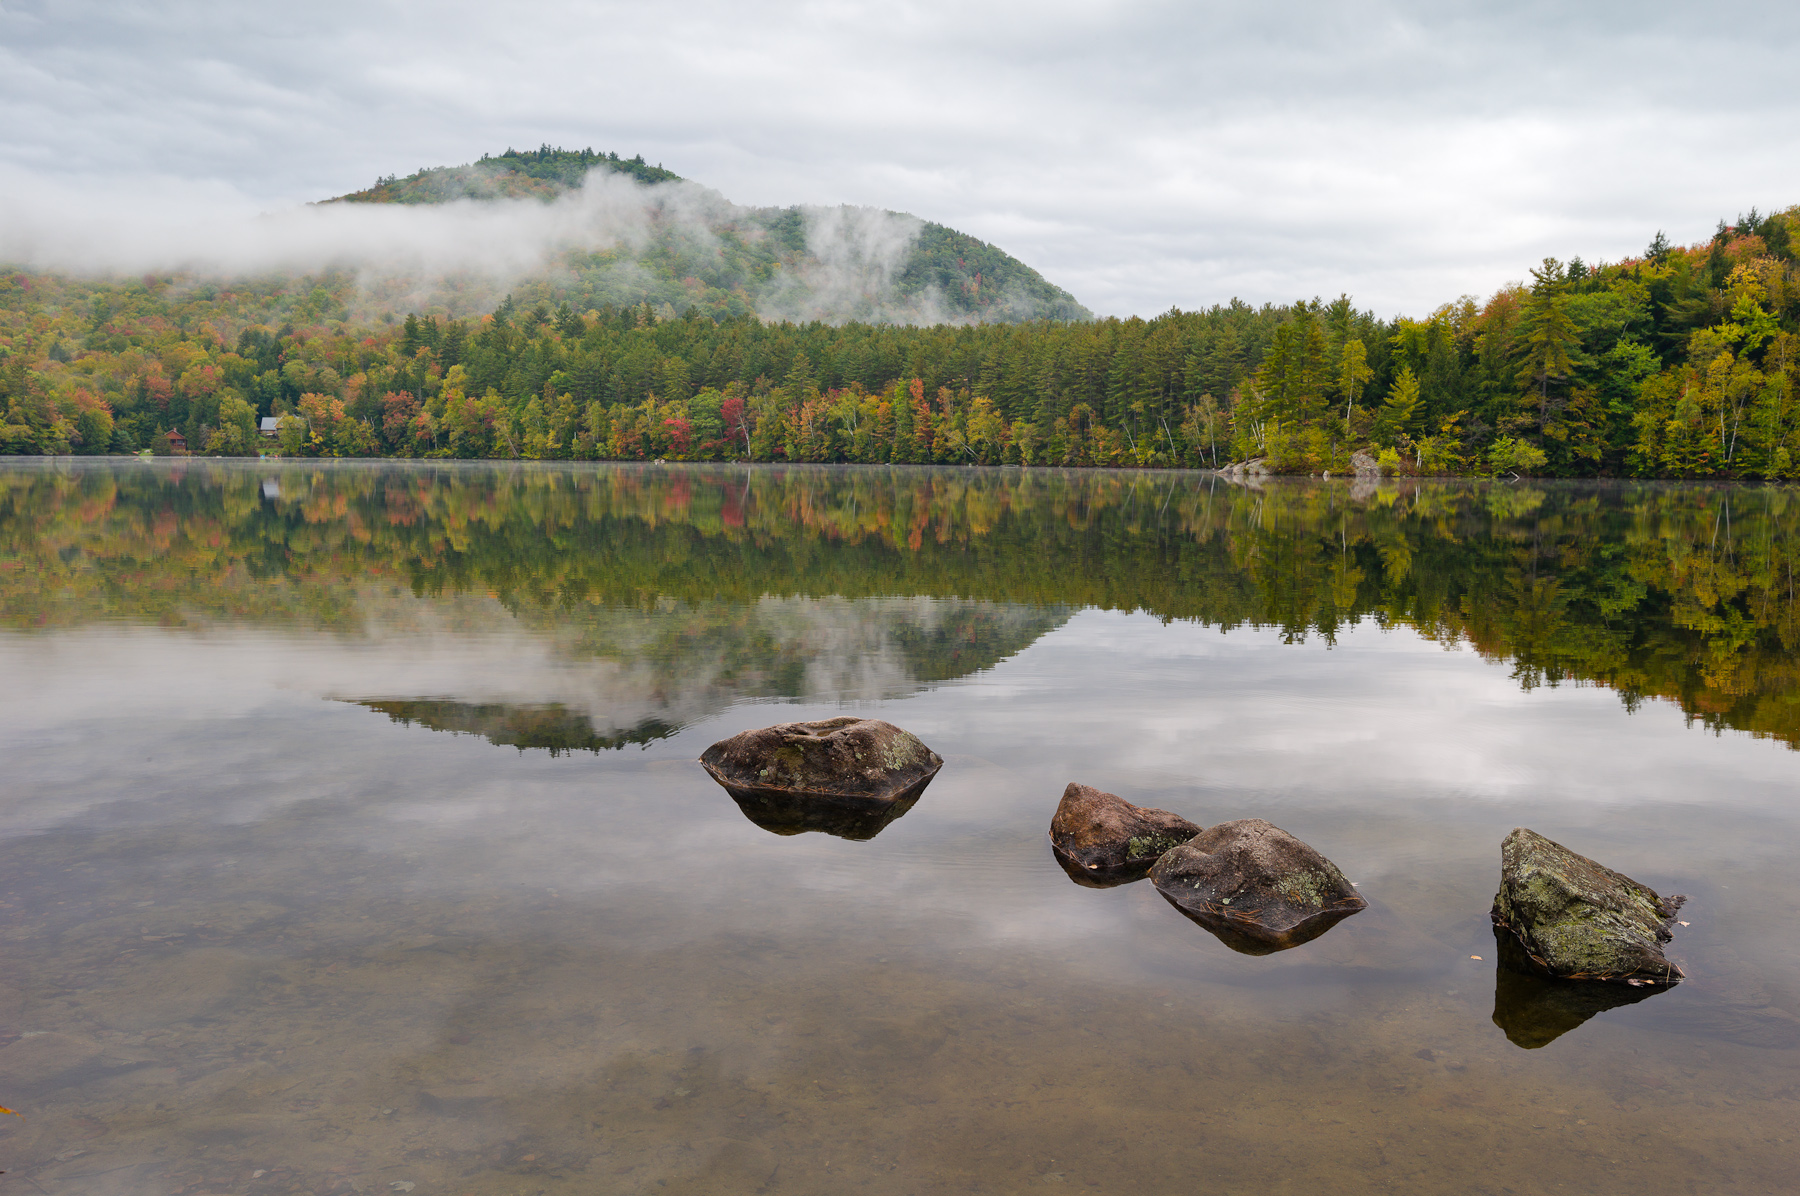
Leica S2 with 35mm, 1/30th @ f/11, ISO 160, Schneider 0.9 Soft Grad ND, Tripod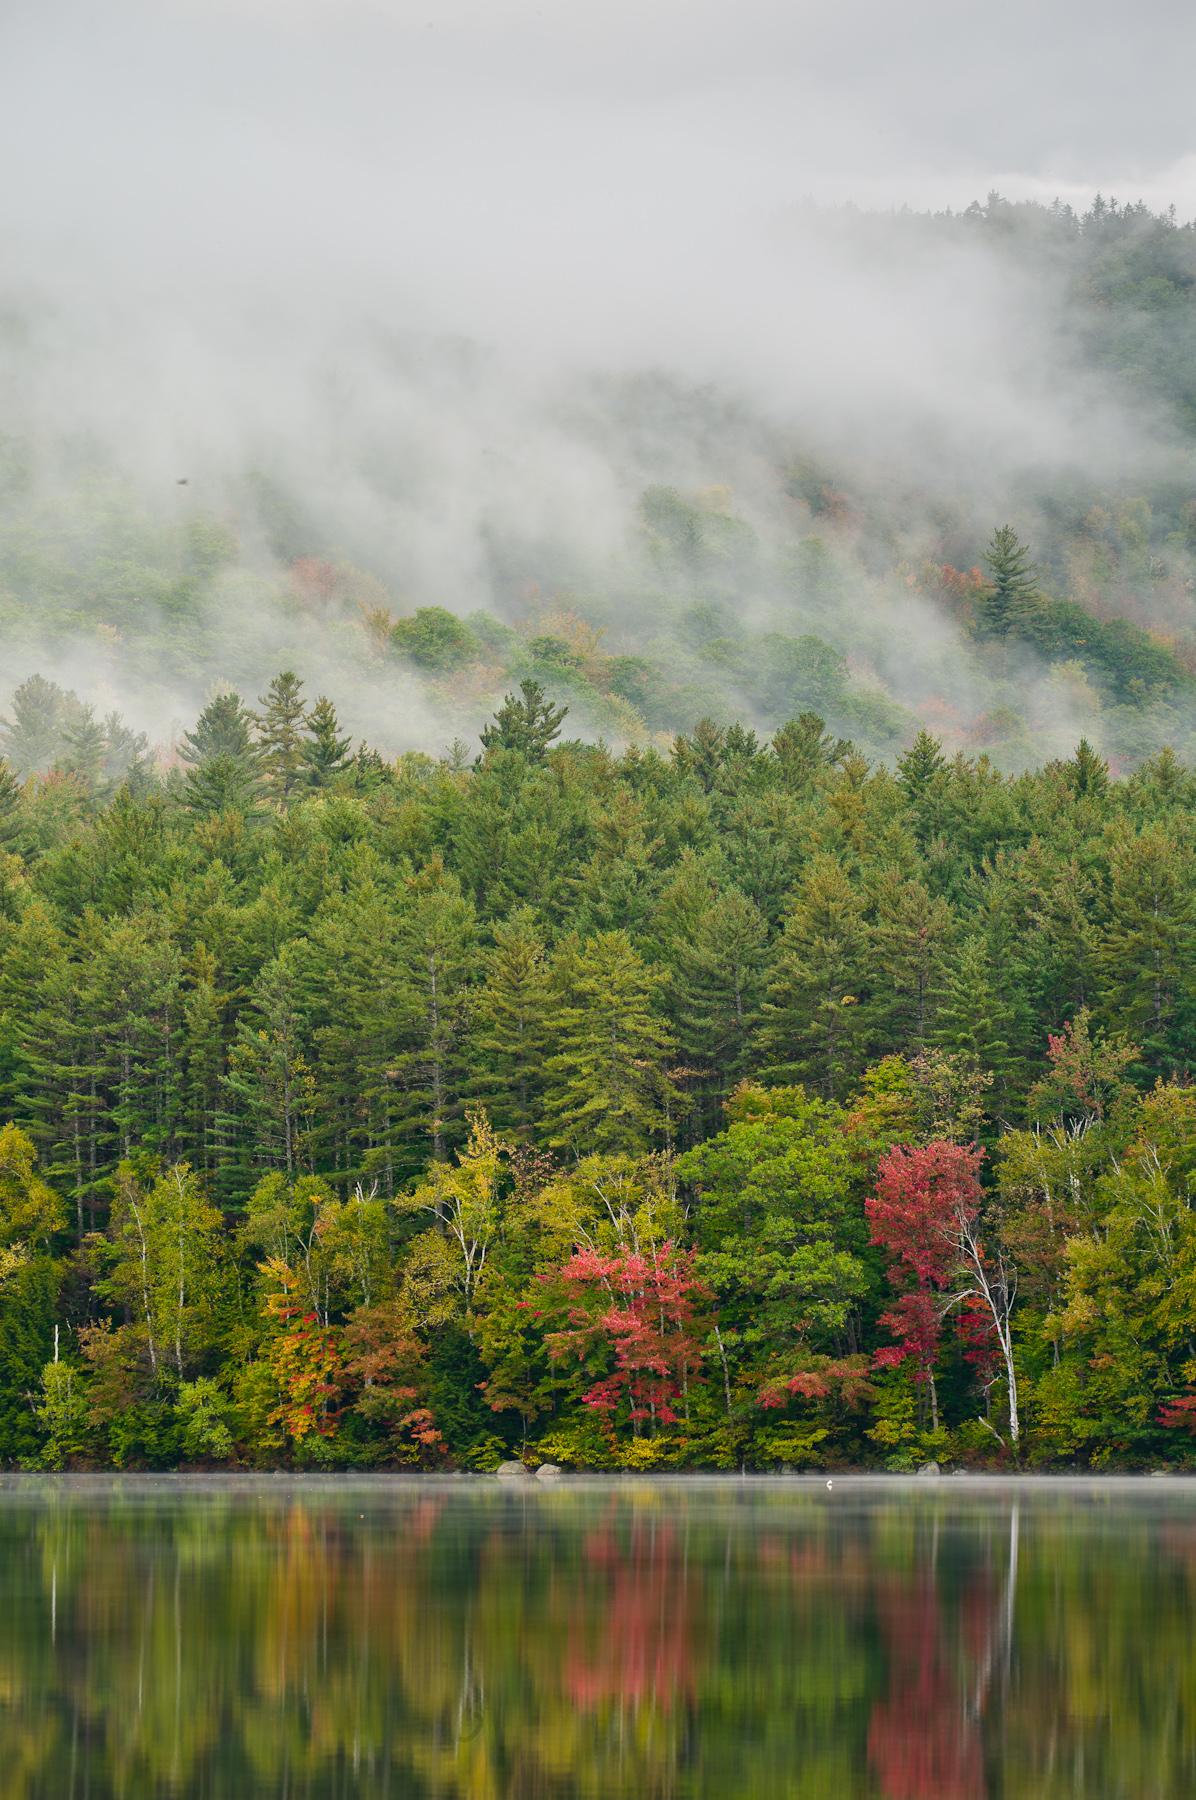
Leica S2 with 180mm, 1/4th @ f/11, ISO 160, Schneider 0.9 Soft Grad ND, Tripod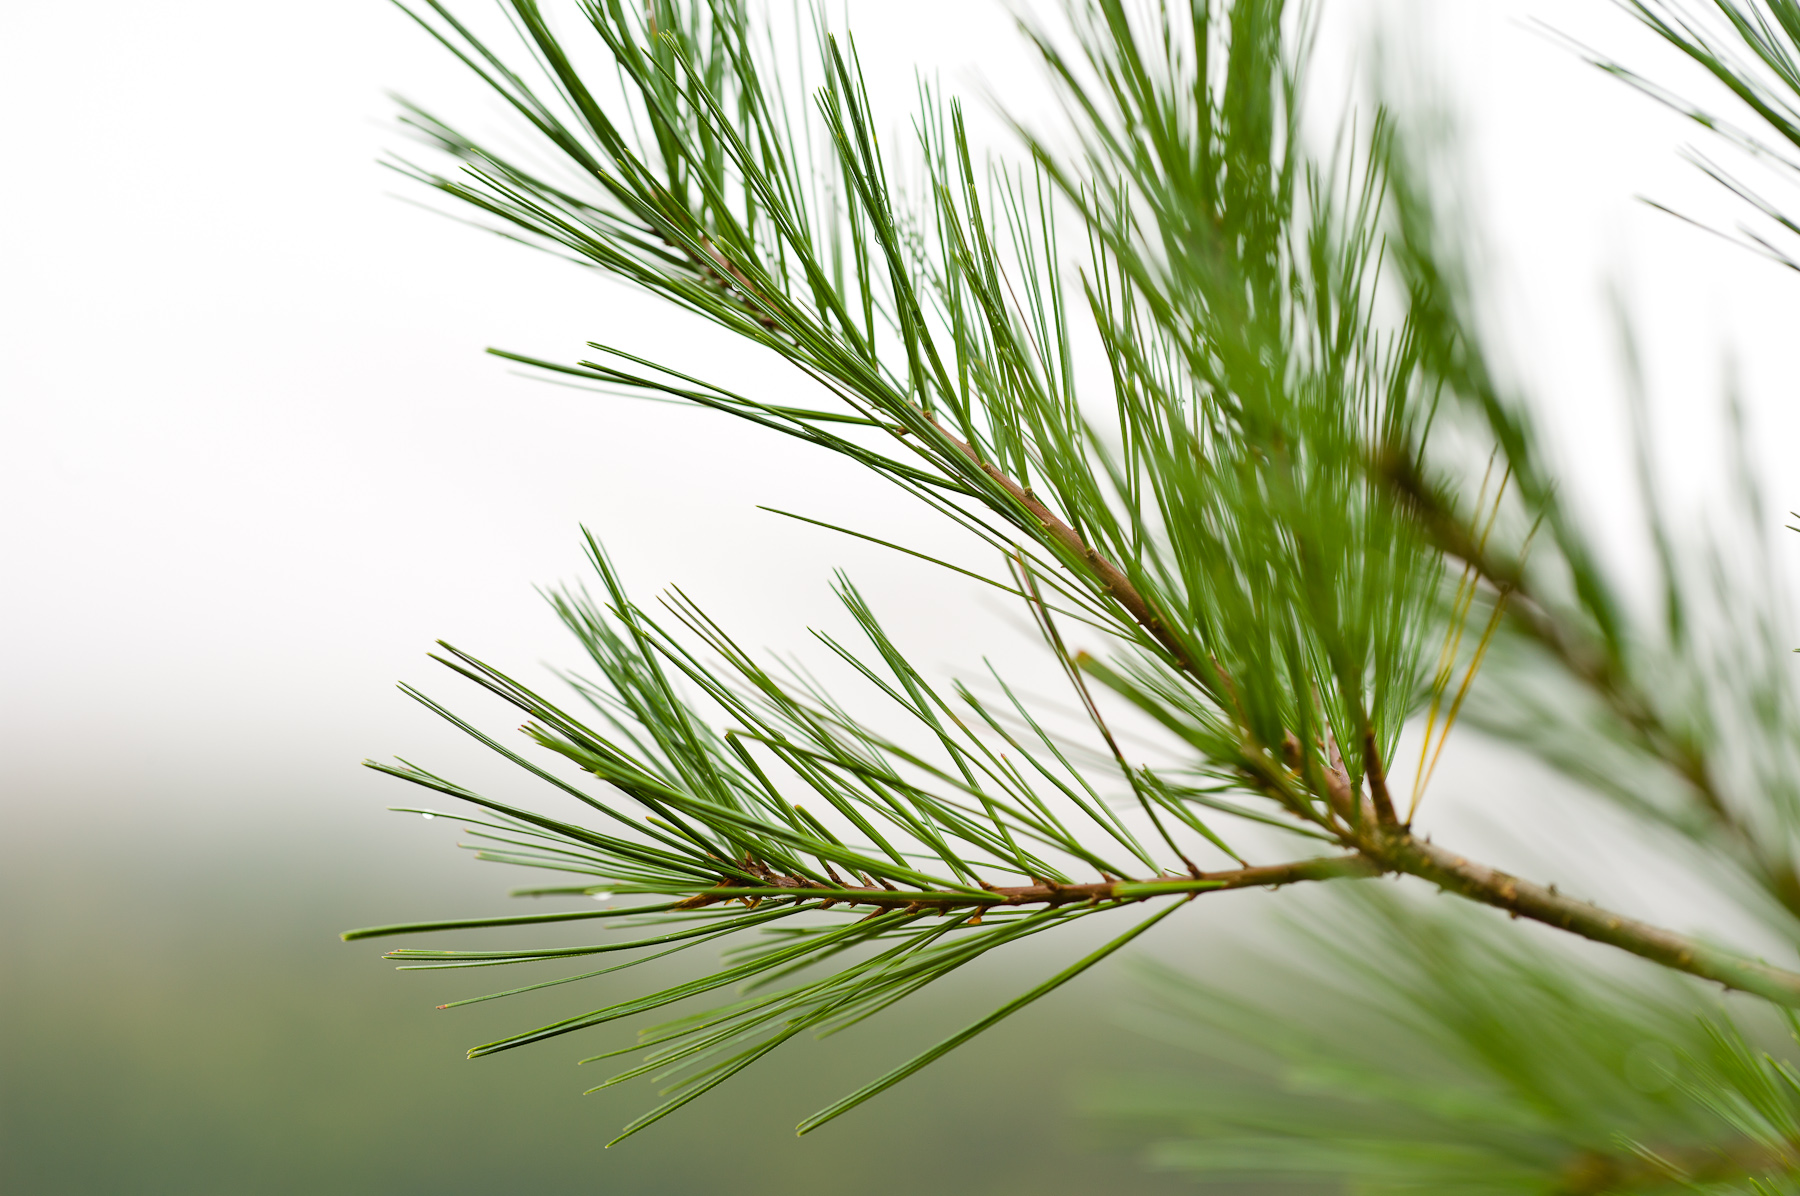
Leica S2 with 120mm, 1/30th @ f/4, ISO 160, B+W Circular Polarizer, Tripod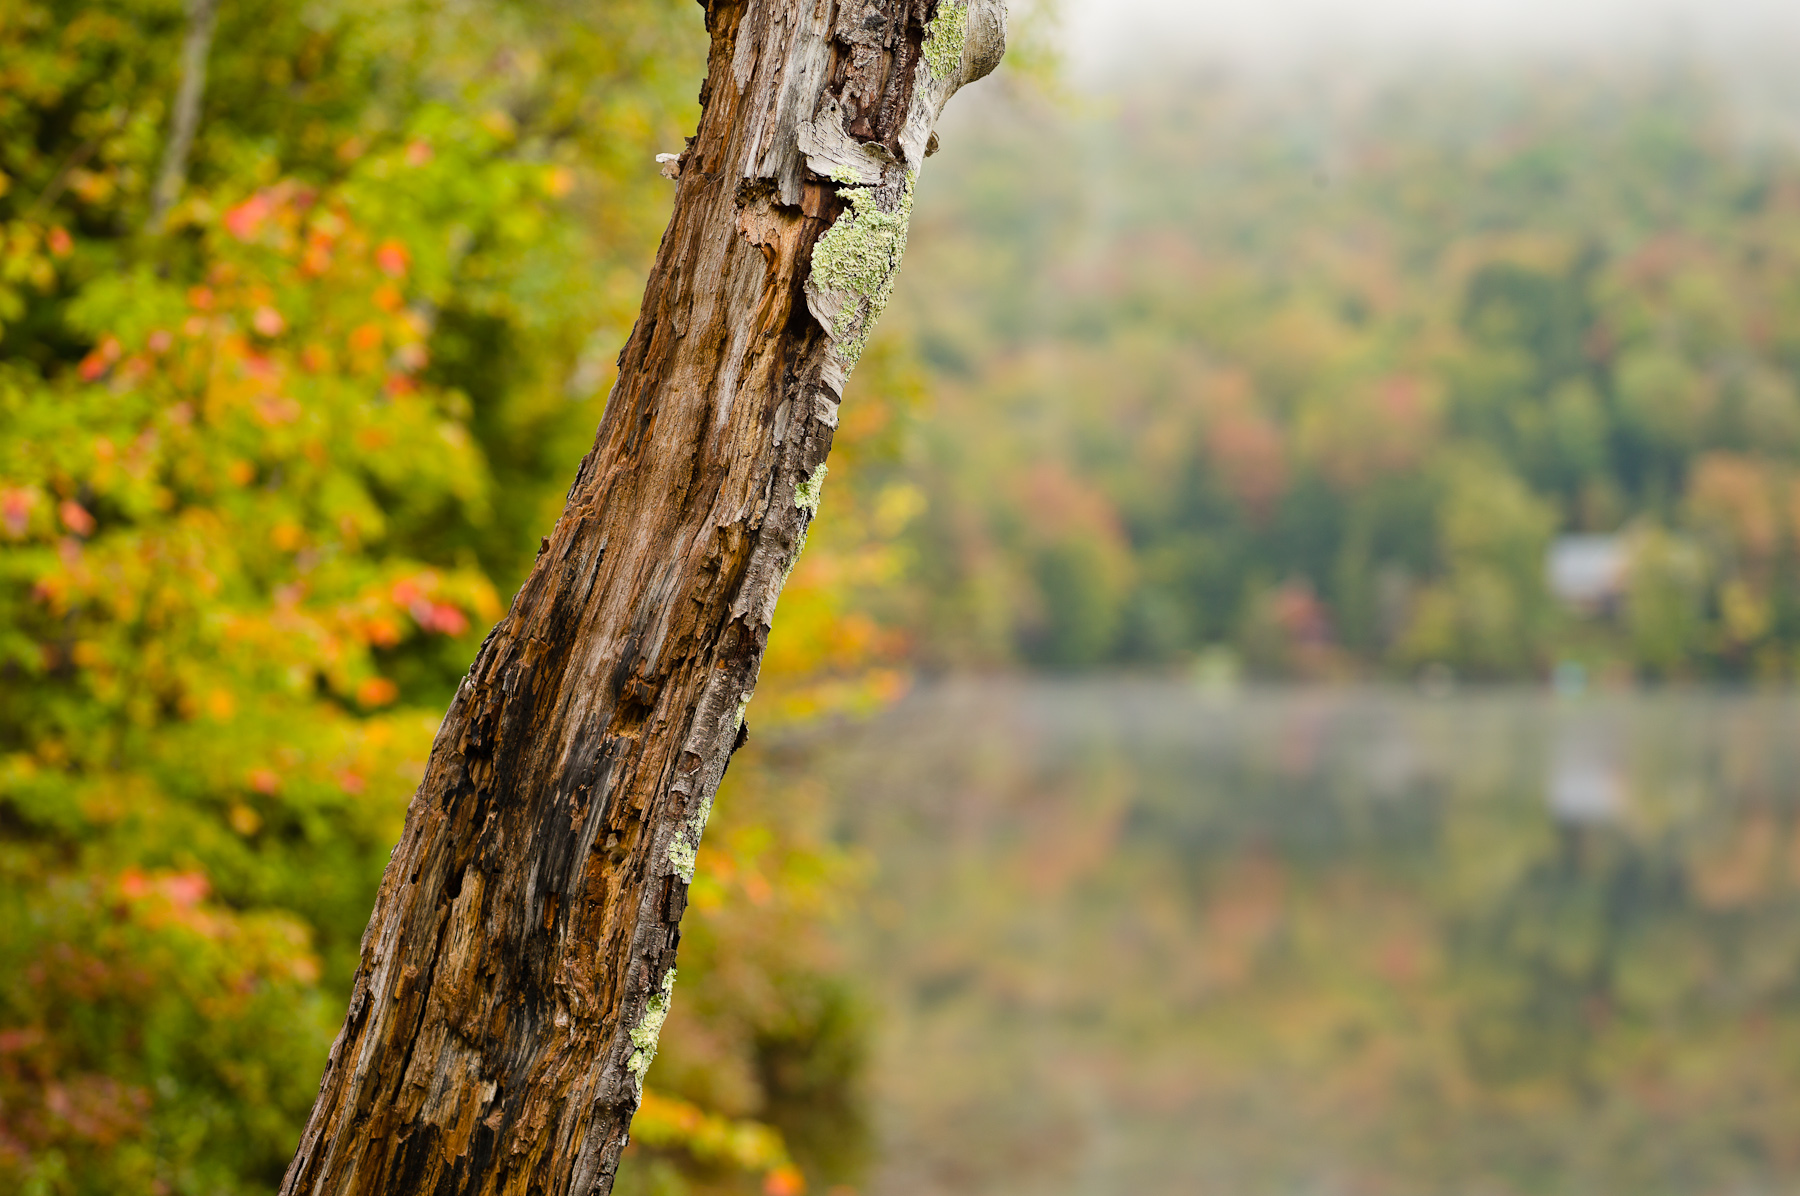
Leica S2 with 120mm, 1/45th @ f/3.4, ISO 160, B+W Circular Polarizer, Schneider 0.9 Soft Grad ND, TripodFraconia Notch, NH
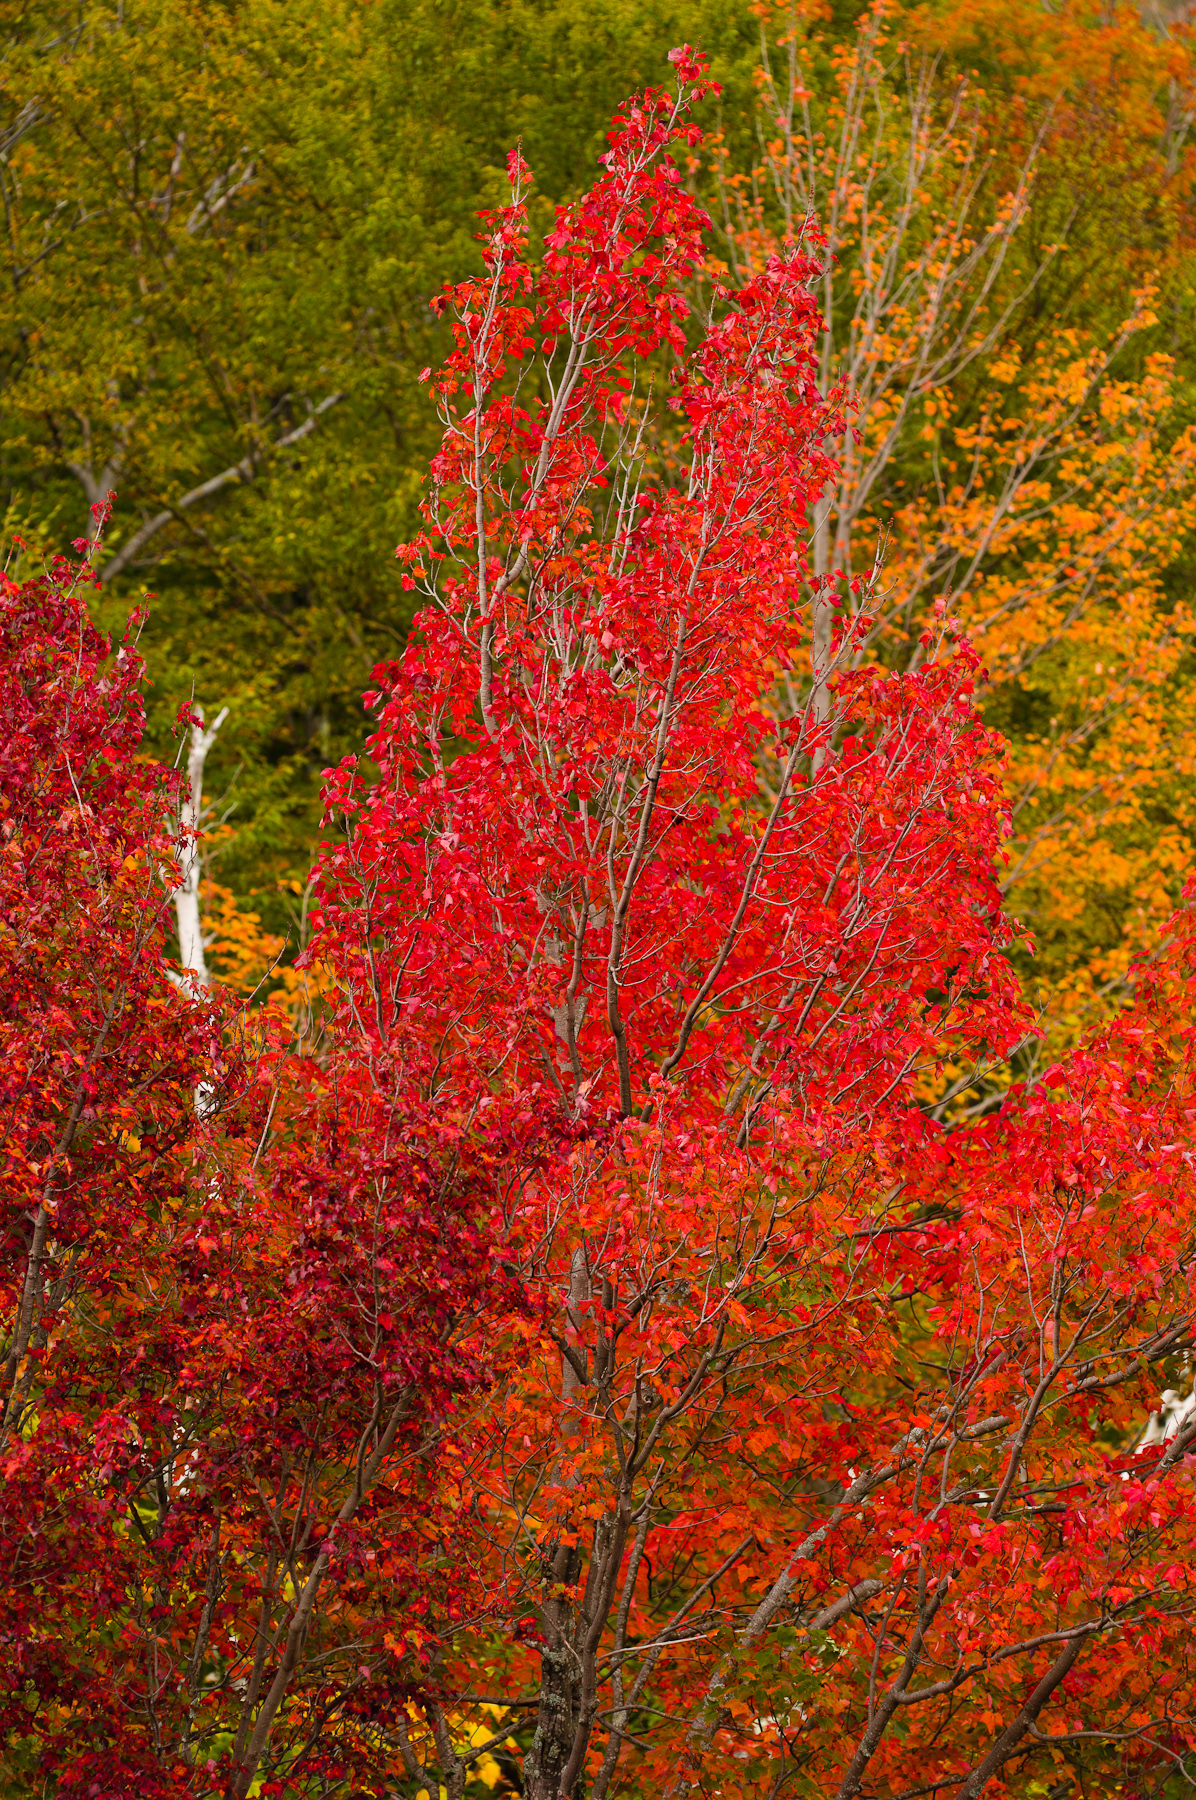
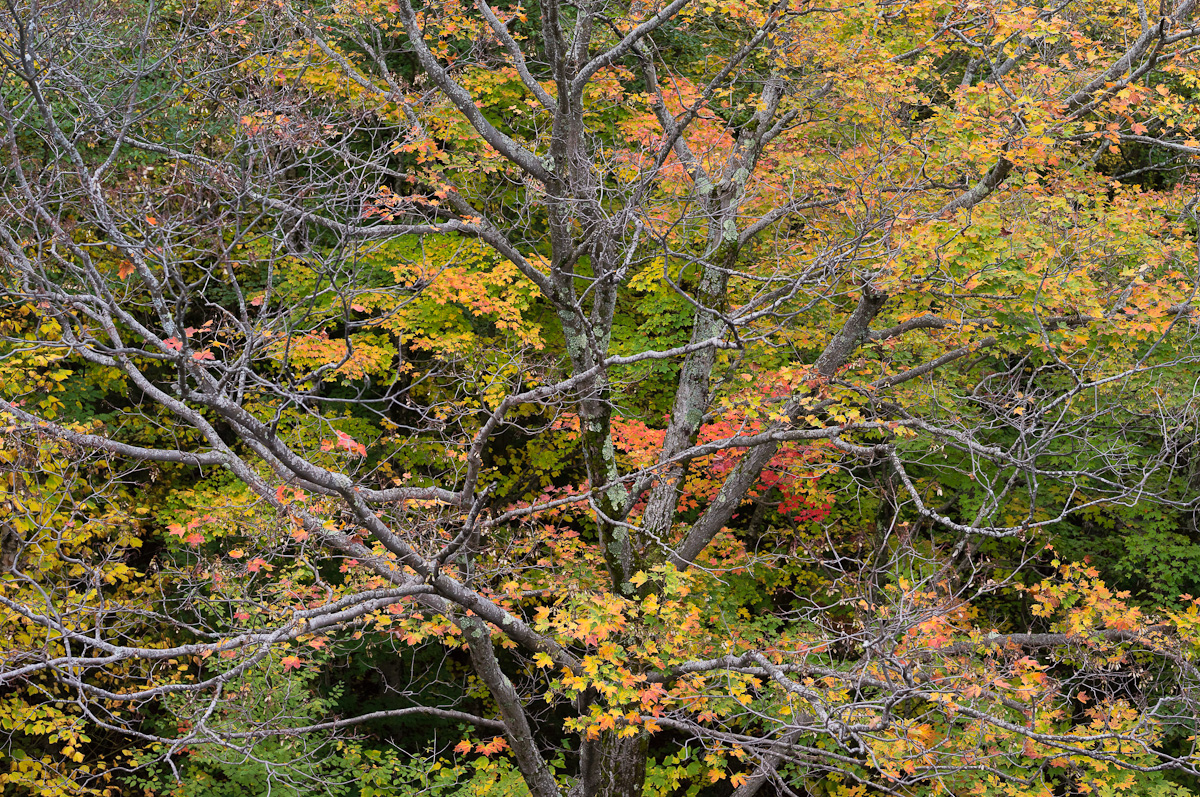
Leica S2 with 180mm, 1/90th @ f/5.6, ISO 160, B+W Circular Polarizer, Tripod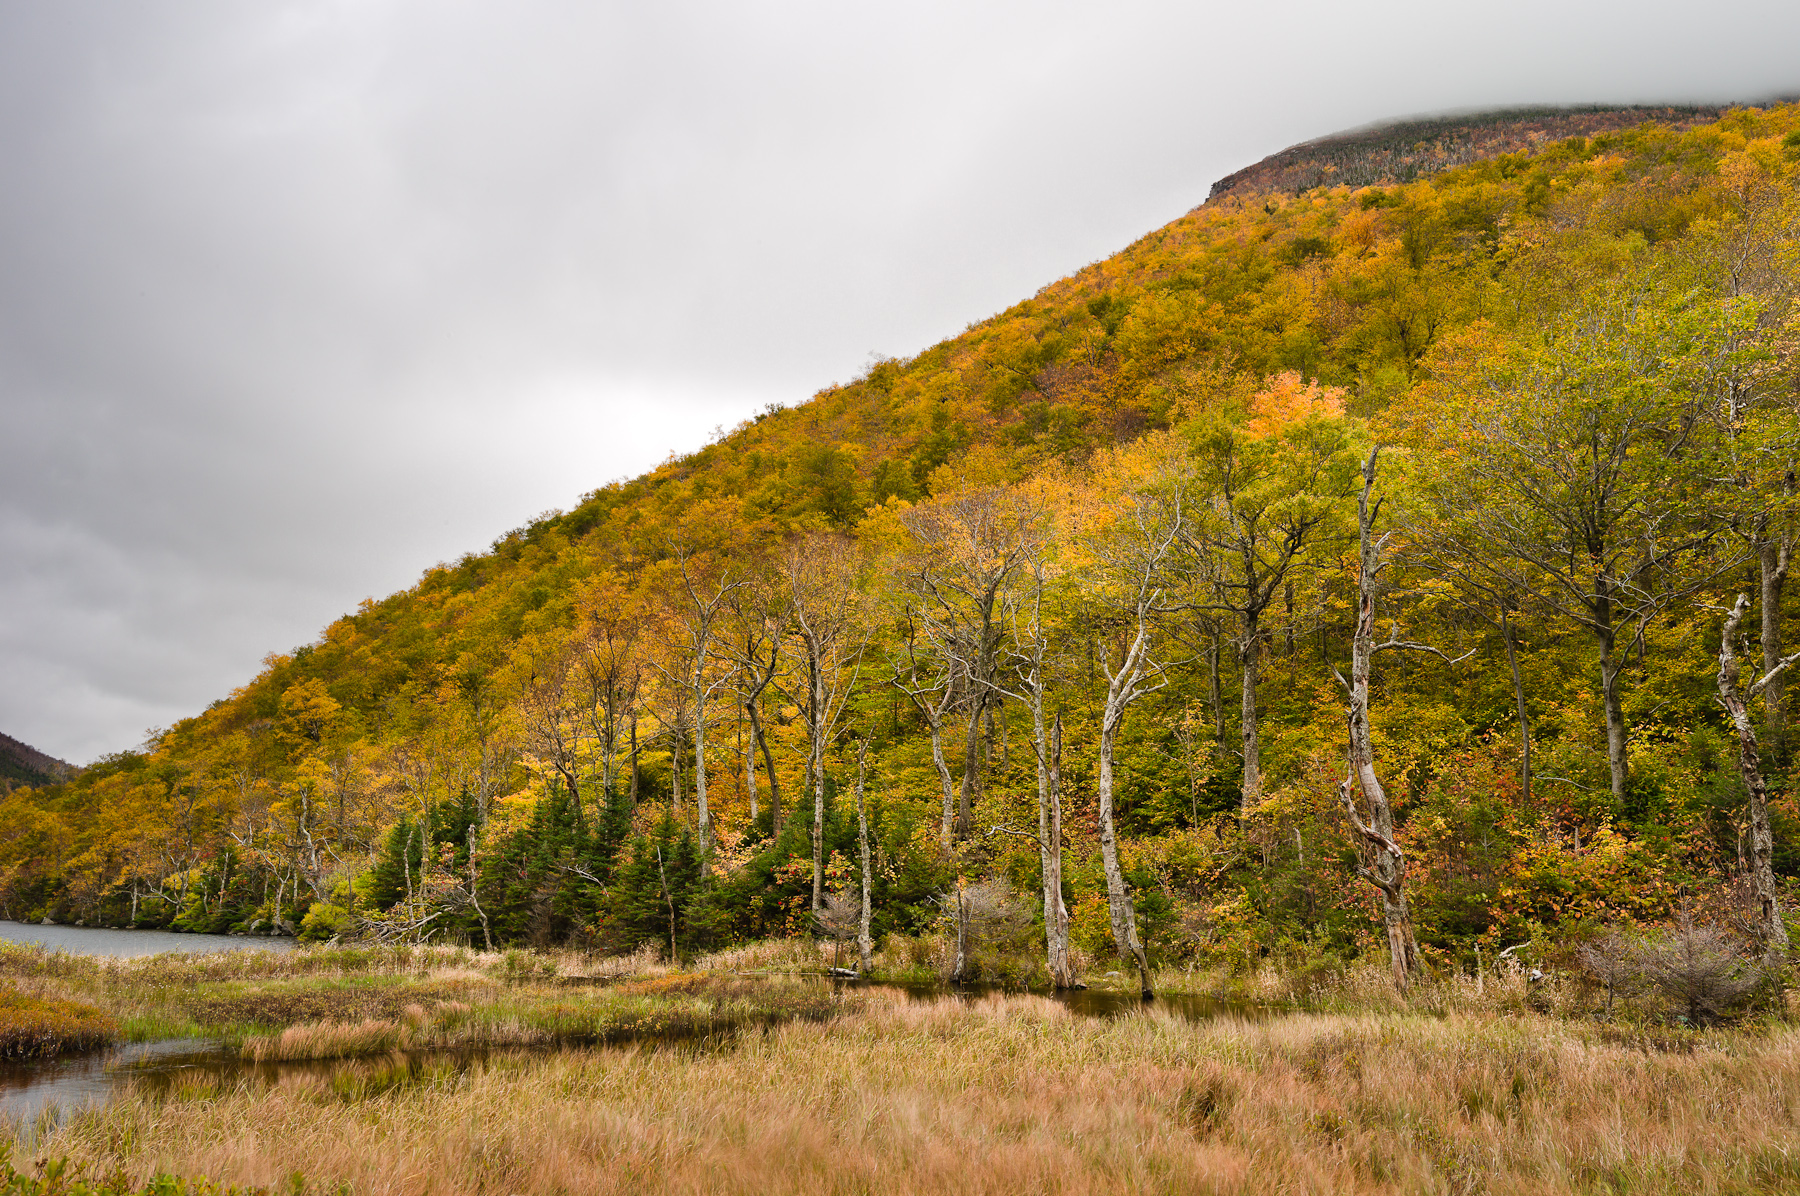
Leica S2 with 35mm, 1/4th @ f/11, ISO 160, B+W Circular Polarizer, Schneider 0.9 Hard Grad ND, Tripod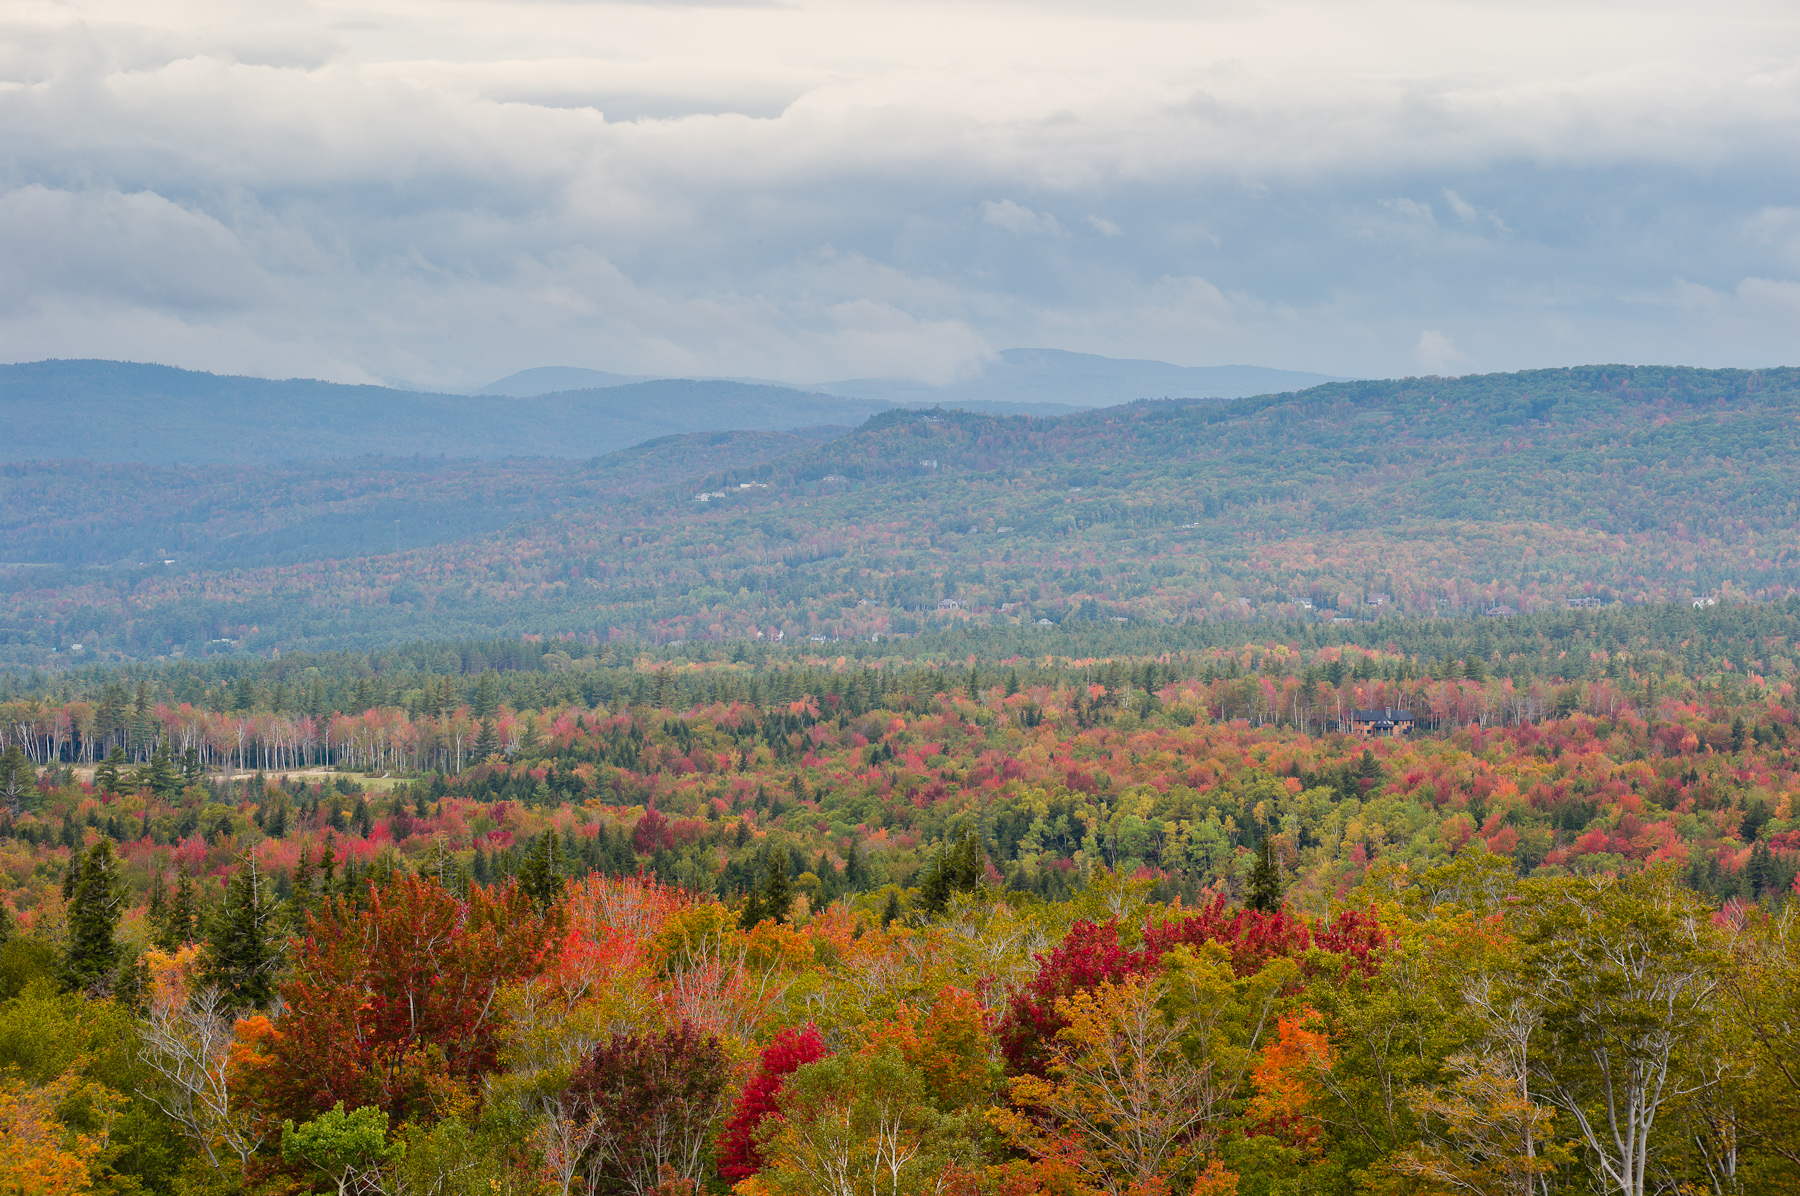
Leica S2 with 180mm, 1/30th @ f/11, ISO 160, B+W Circular Polarizer, Schneider 0.9 Soft Grad ND, Tripod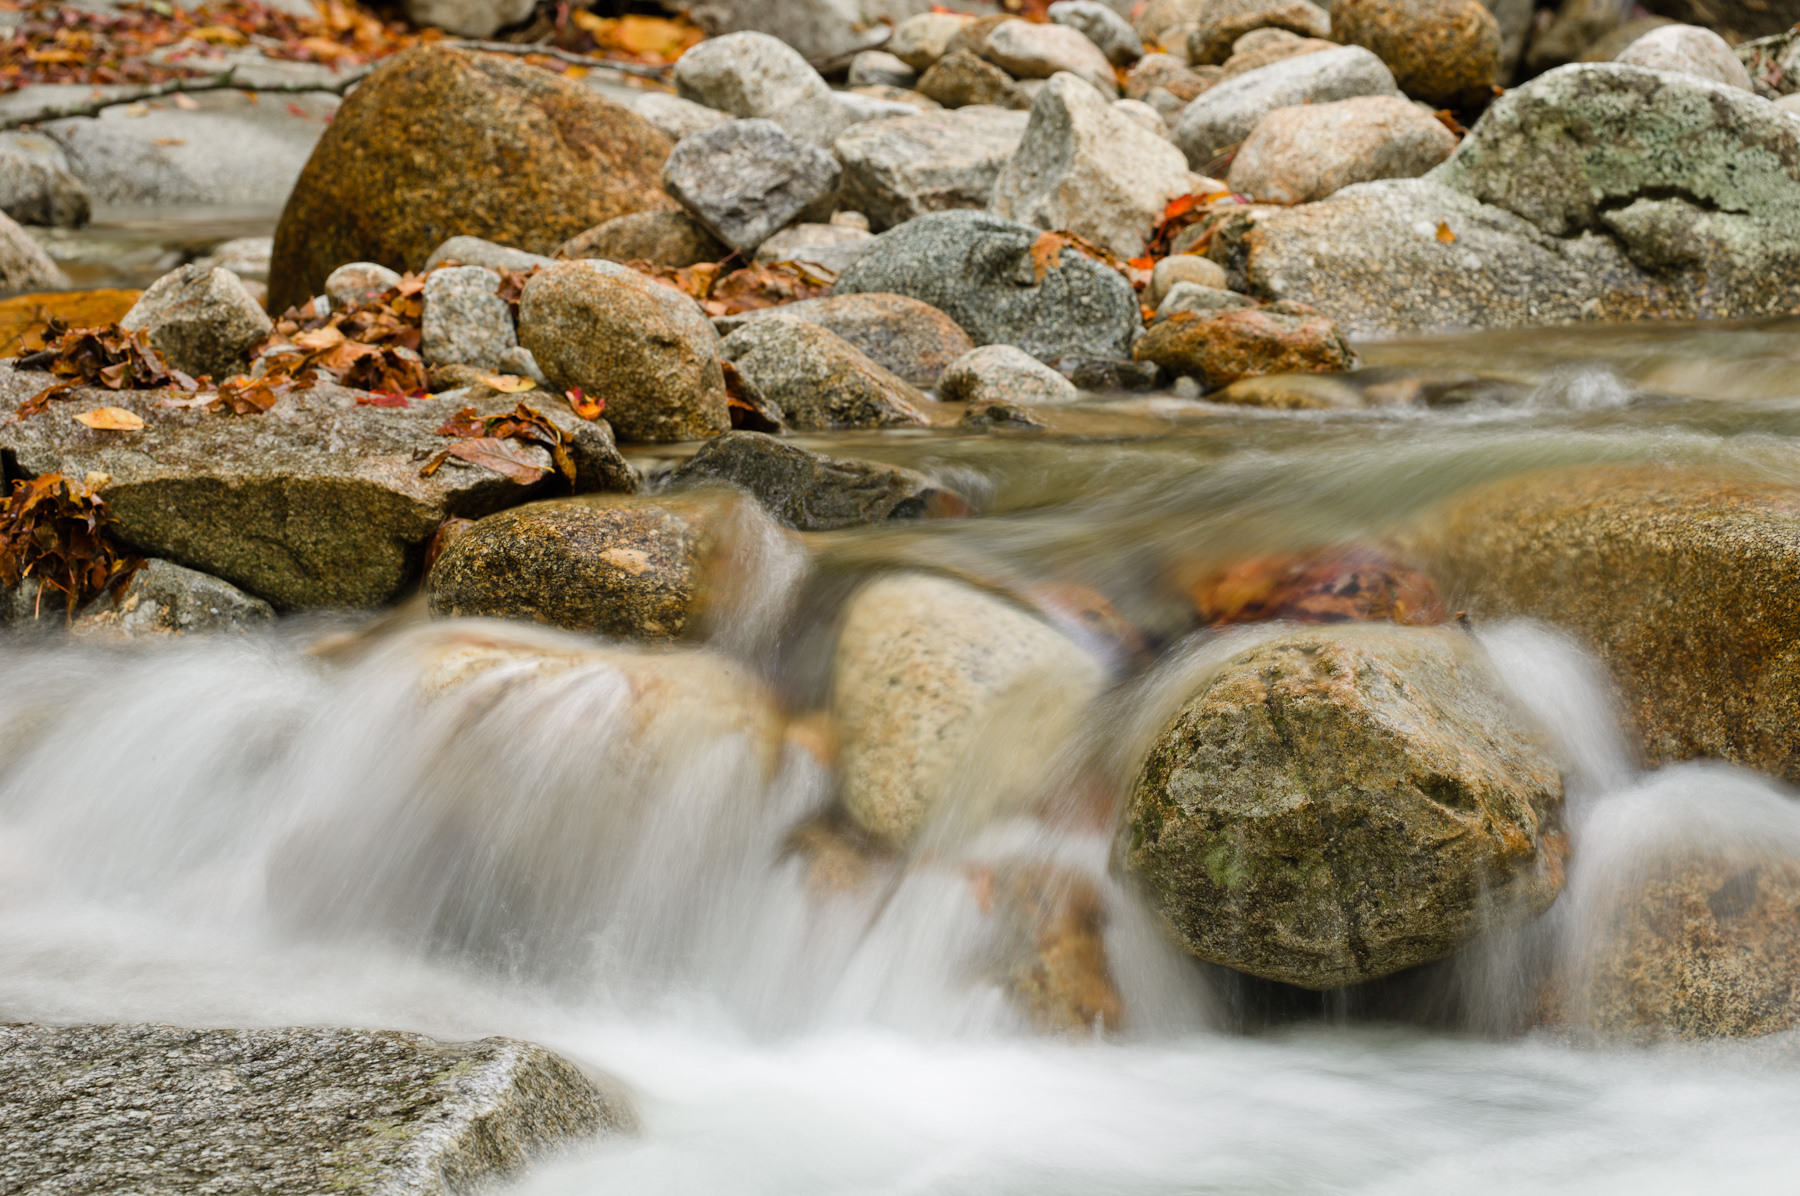
Leica S2 with 180mm, 0.7 sec @ f/13, ISO 160, B+W Circular Polarizer, Schneider 0.9 Soft Grad ND, TripodCrawford’s Notch, NH
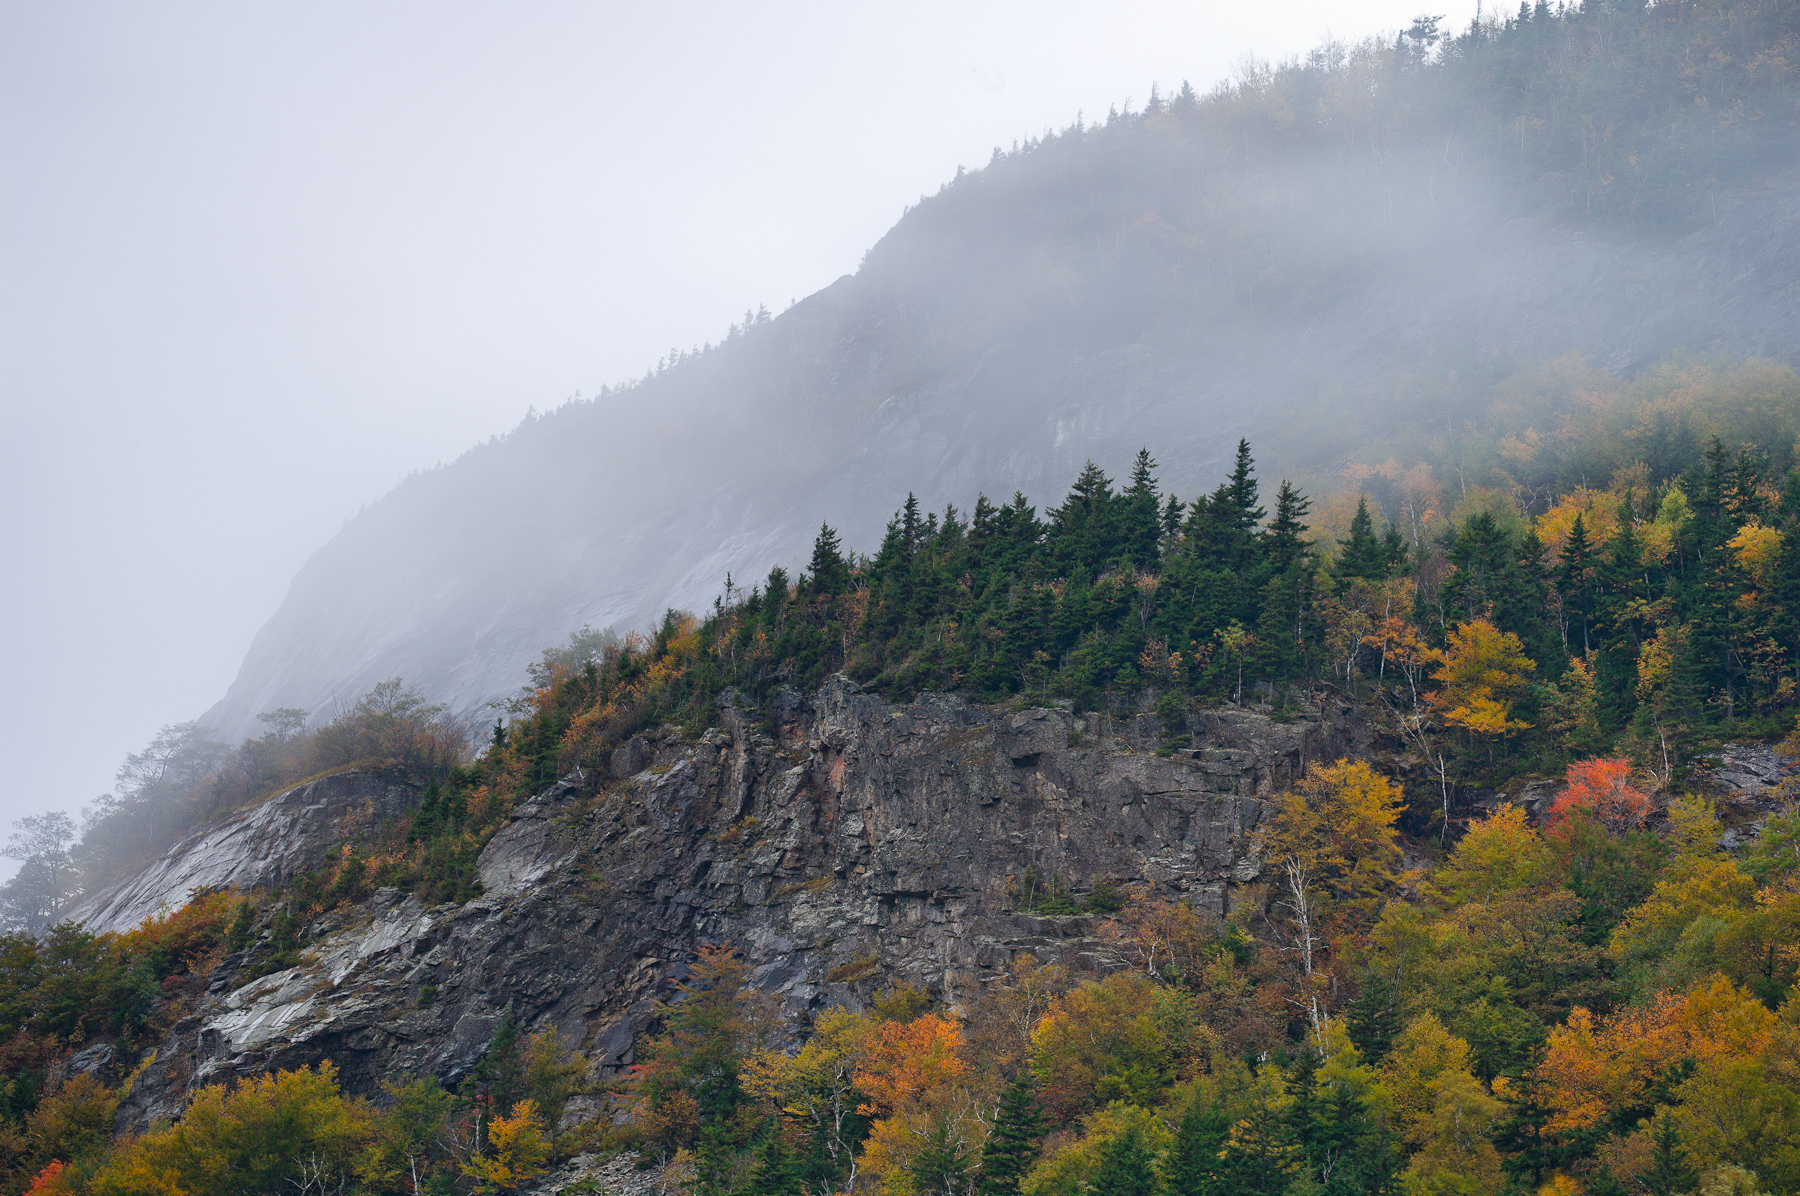
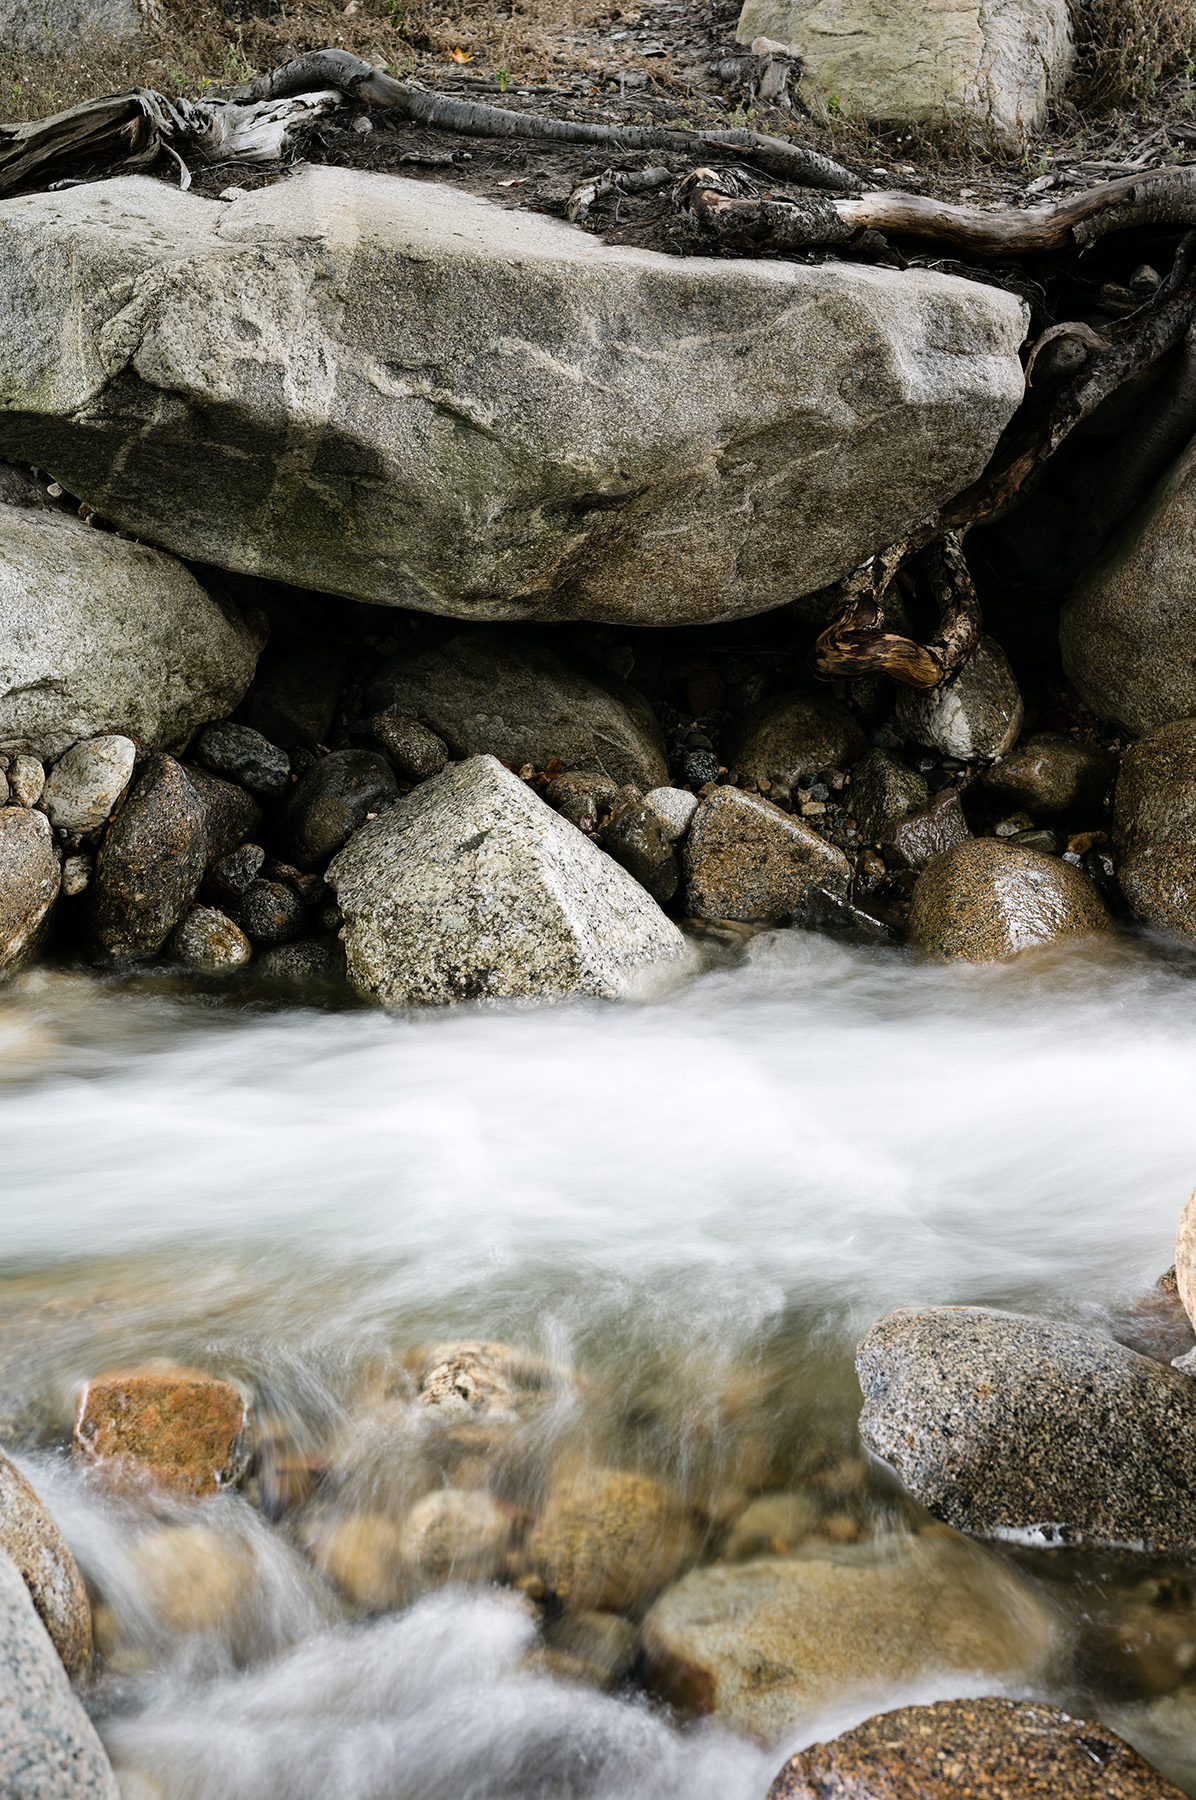
Leica S2 with 180mm, 6 sec @ f/6.8, ISO 160, B+W Circular Polarizer, Schneider 0.9 Soft Grad ND, Tripod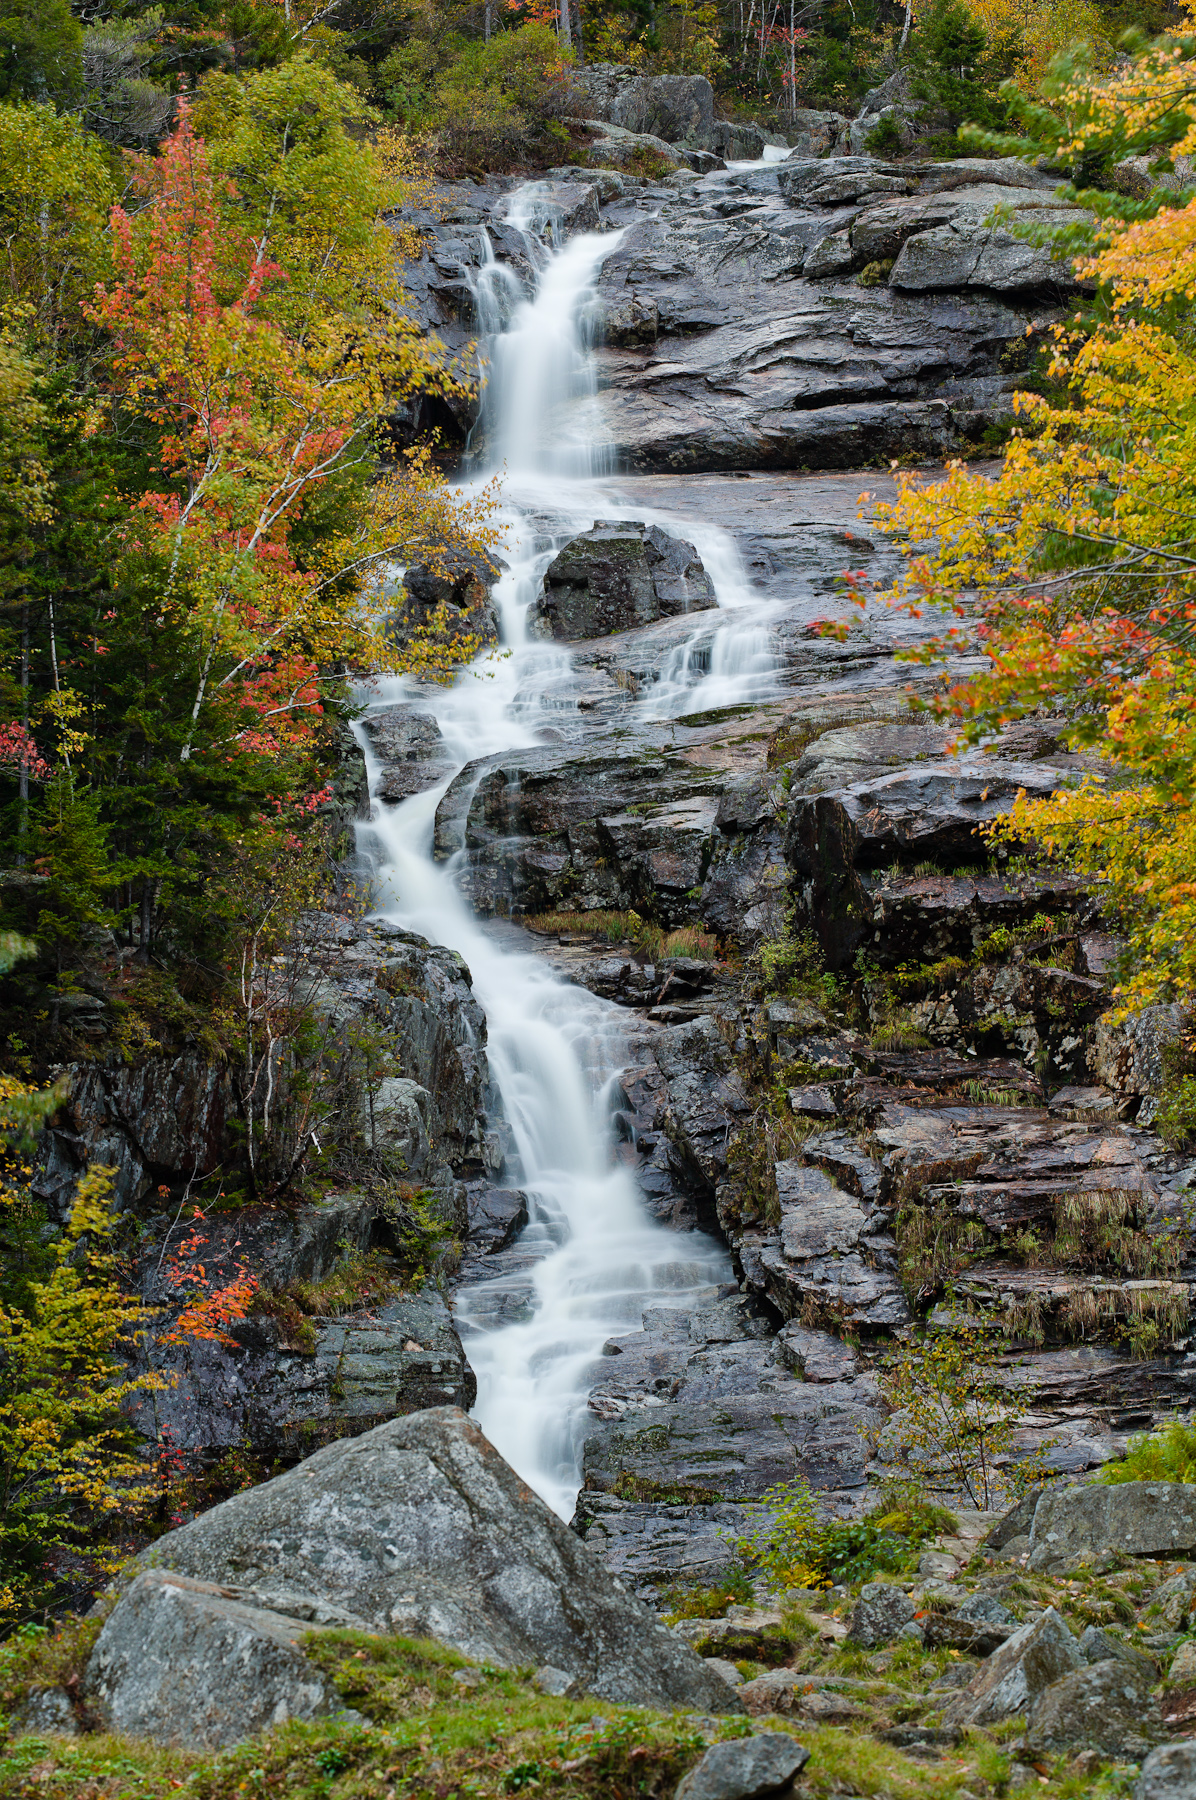
Leica S2 with 180mm, 6 sec @ f/11, ISO 160, B+W Circular Polarizer, Tripod
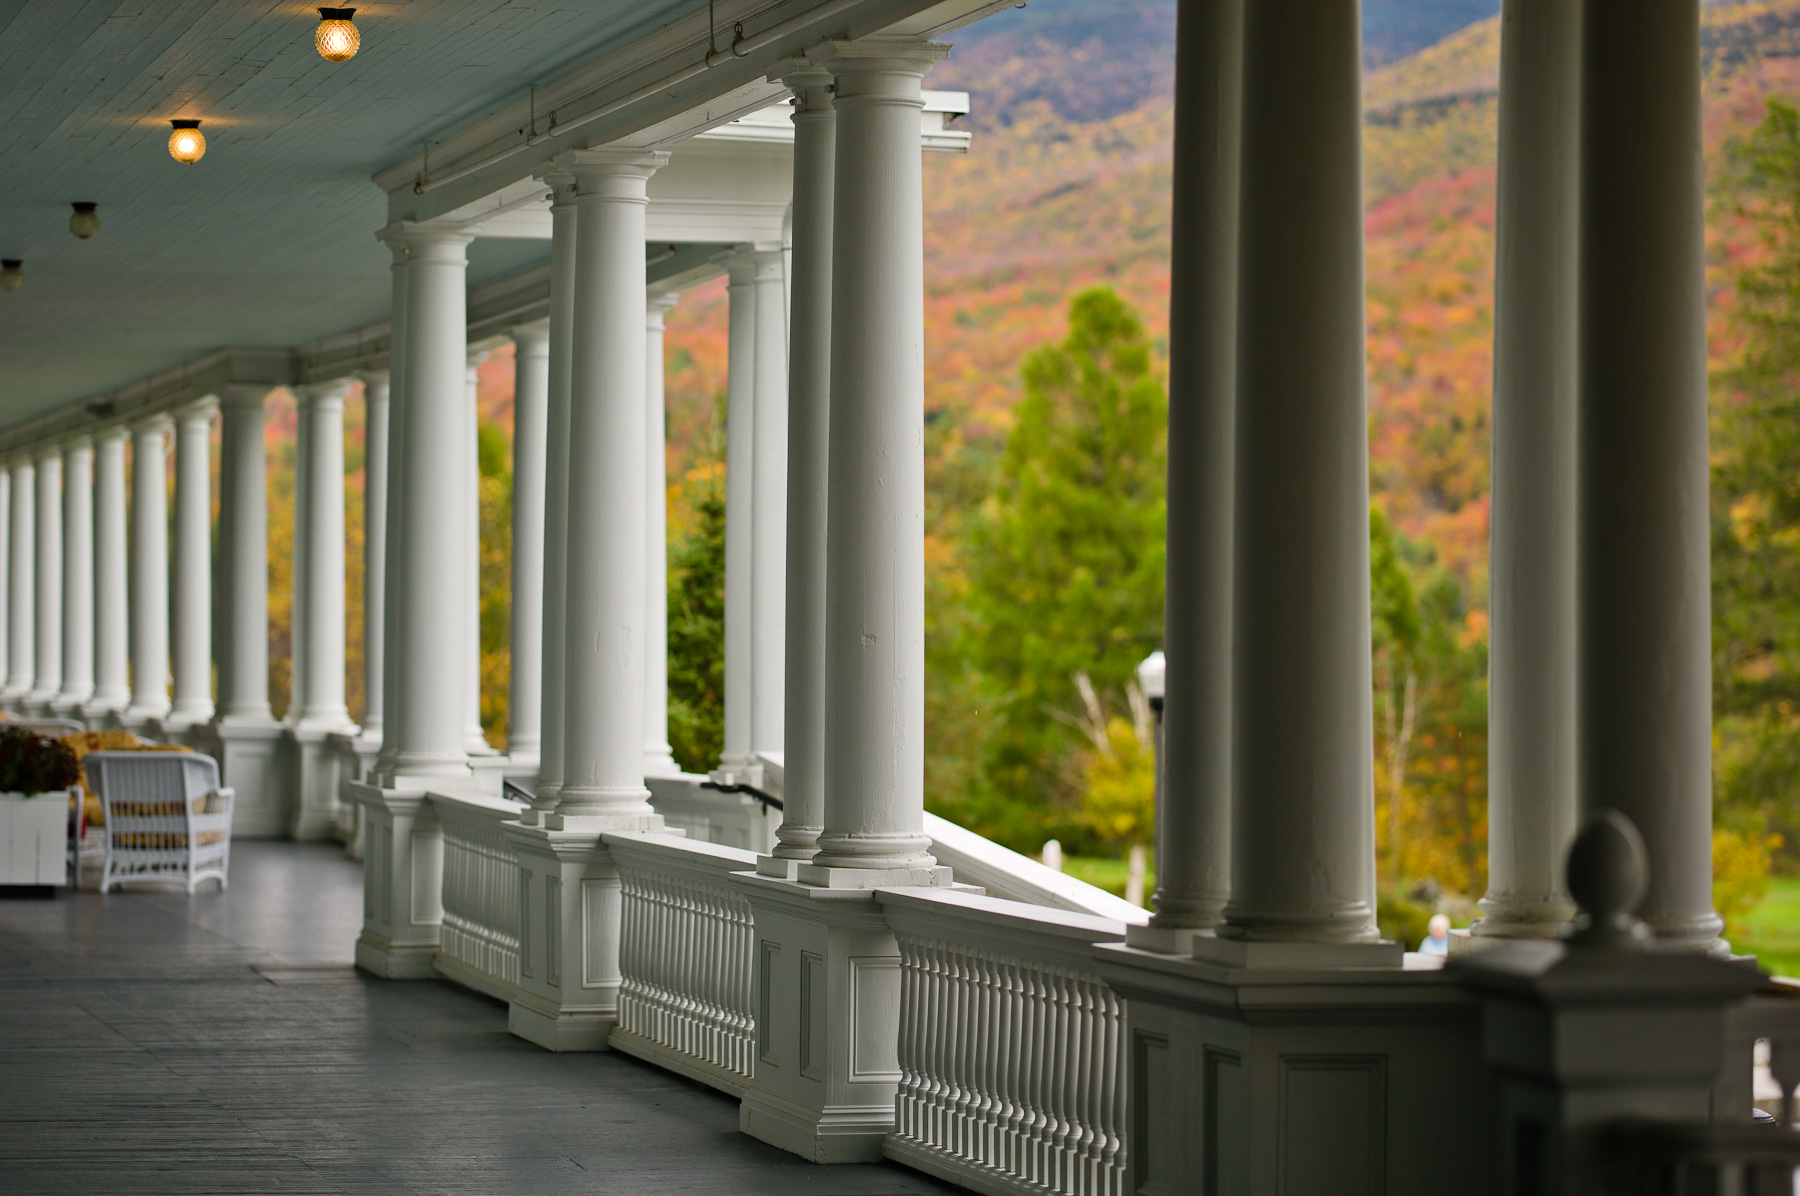
Mount Washington Resort, Bretton Woods, NHDavid Farkas
Red Dot Forum
Leica Store Miami - October 5, 2011 at 3:28 pm #1045
This week i am the armchair traveler. Wish i could have attended but maybe next year.
Definitely a motley crew that sleeps in their clothing. I noticed that jack was prepared for the group shot ? LOL
Miss being there best wishes for great light!
- October 5, 2011 at 6:55 pm #1052Jack MacDEstablished Member
 USA, St. Louis, MO and Phoenix, AZJoin Date: Jun 2011Posts: 367Currently using:
Leica M, Leica S, Leica CLOffline
Roger,
You guessed right. It was my idea to take the group shot at the start of the trip, as I will be sleeping in my clothes as the week progresses.Jack - October 5, 2011 at 7:17 pm #1053
I too wish that I was there. Thanks for starting the thread Jack so that we can all vicariously participate. Beautiful shots and colors, Jack and David. Maybe I’ll be able to make it next year … or the trip can be moved to Bali or somewhere else exotic in Asia. 😉
- October 5, 2011 at 7:47 pm #1054
Wish I was with you… keep the images comming…
- October 7, 2011 at 12:20 am #1062
Another vote for Bali or somewhere exotic in Asia 😉 Wish I was there but my S2 is at Solms in any case (seems Leica Japan cannot replace the LED on the top 🙁
Looking forward to the great pictures,
Arif - October 7, 2011 at 4:28 pm #1072
Arif;840 wrote: Another vote for Bali or somewhere exotic in Asia 😉 Wish I was there but my S2 is at Solms in any case (seems Leica Japan cannot replace the LED on the top 🙁
Looking forward to the great pictures,
ArifArif, we’ll have to try to arrange our own Asia S2 gathering. (I’ll be moving to the Philippines in November for the next two years.) Also, I just received my S2 back from Solms so that they could replace the top panel with a brighter LED. In my opinion, it is definitely worth having it replaced if you sent it in because it wasn’t bright enough. There is a significant difference in top panel LED brightness now that mine has been updated.
Kurt
- October 9, 2011 at 9:03 pm #1085
Kurt Kamka;850 wrote: Arif, we’ll have to try to arrange our own Asia S2 gathering. (I’ll be moving to the Philippines in November for the next two years.) Also, I just received my S2 back from Solms so that they could replace the top panel with a brighter LED. In my opinion, it is definitely worth having it replaced if you sent it in because it wasn’t bright enough. There is a significant difference in top panel LED brightness now that mine has been updated.
Kurt
Kurt, sounds great. Looking forward to having you in the neighborhood and let’s definitely plan something for the Asia users. I am looking forward to being back in Tokyo to pick up my camera (just finished a Burn workshop with David Alan Harvey).
- October 11, 2011 at 5:43 pm #1098
Jack MacD;820 wrote: There are eleven S2 photographers out here in New Hampshire.
Here is a group shot and three samples of today’s work. We photographed from 6 am to 7pm. Attached are roughly processed.
JackJack,
Having the devil of a time cloning everyone else out and making it look like it was just me and Kelsey 🙂
David
- October 12, 2011 at 8:48 pm #1118Josh LehrerLegendary Member
 Join Date: Aug 2014Posts: 233Currently using:
Leica M, Leica S, Leica CompactOffline
- October 18, 2011 at 10:09 pm #1185
Just wanted to add a few images from our Day 1 Fall shoot.
Great trip, great company, great experience.
Thanks to all,
Joe
- October 19, 2011 at 3:53 am #1187Jack MacDEstablished Member
 USA, St. Louis, MO and Phoenix, AZJoin Date: Jun 2011Posts: 367Currently using:
Leica M, Leica S, Leica CLOffline
Joe,
I like them all, but your rocks in the water at Mirror Lake with the trees on the left was a look I like a lot, and missed myself. Good for you.
JackJack - October 19, 2011 at 2:20 pm #1191
Trying to find a few shots that aren’t too similar to the excellent ones already posted. I liked these two from Day 1.
- October 20, 2011 at 2:37 am #1207
Wow! Great photos everyone. I wish I had time to post my photos much earlier. It is tough to follow such good photos. Like David I will try to post some different views.
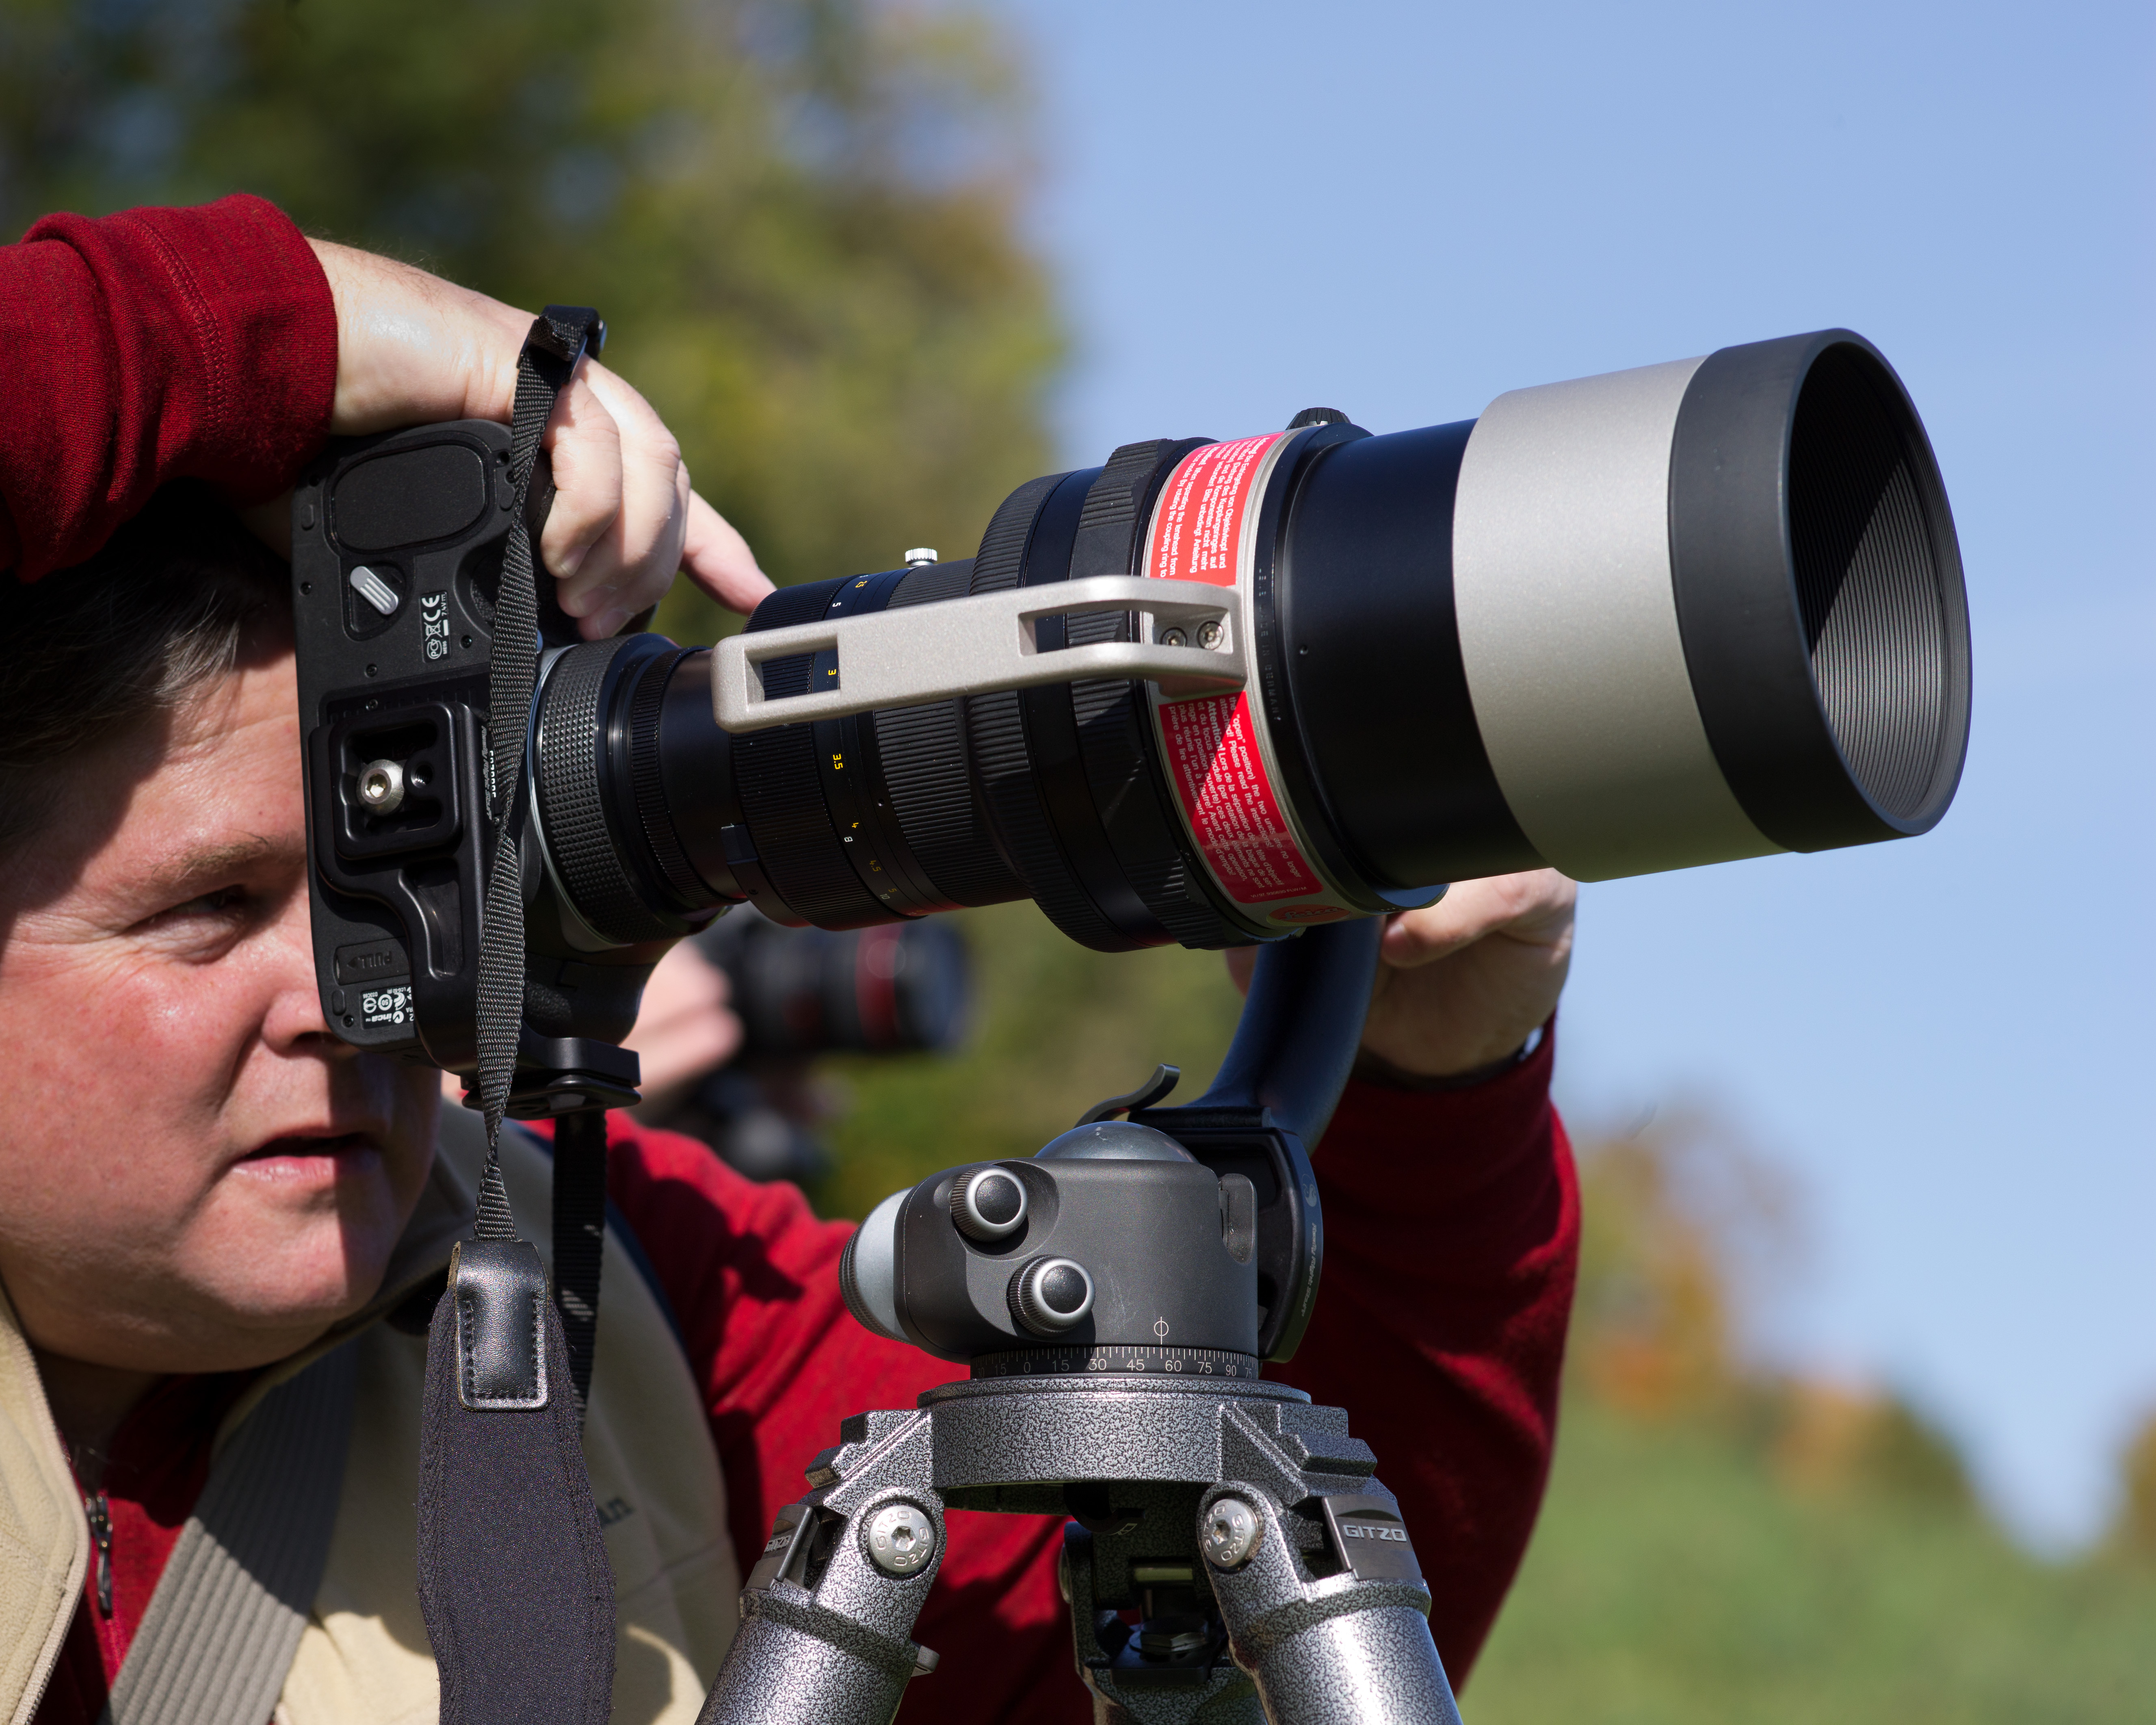
S2, Leica 400mm APO-Telyt-Modular R lens converted to S mount, ISO pull 80, 1/3 sec, f8.0 (estimated)
S2, 70mm, ISO 640, 1/90 sec, f8.0
For some reason my photo attachments are much more subdued than when viewed in Lightroom. If anyone has any ideas on how to correct that, I would appreciate it.
- October 20, 2011 at 2:57 am #1208Josh LehrerLegendary Member
 Join Date: Aug 2014Posts: 233Currently using:
Leica M, Leica S, Leica CompactOffline
Mark, usually that happens when the photos are uploaded with a color space other than sRGB. When the browser converts it to sRGB for web viewing, it gets very dull.
- October 20, 2011 at 12:54 pm #1212
Mark,
Assuming you create your images by exporting a file in LR there is a drop down menu for Color Space in the File Settings portion of the dialogue box that pops up when you go to export. As Josh noted, this should be set to sRGB. Let us know if that does the trick.
- October 20, 2011 at 6:25 pm #1215Jack MacDEstablished Member
 USA, St. Louis, MO and Phoenix, AZJoin Date: Jun 2011Posts: 367Currently using:
Leica M, Leica S, Leica CLOffline
Mark,
Just for our learning, would you reexport one of your images from LR with sRGB selected so we can see the difference please.Meanwhile here are a few shots of you.
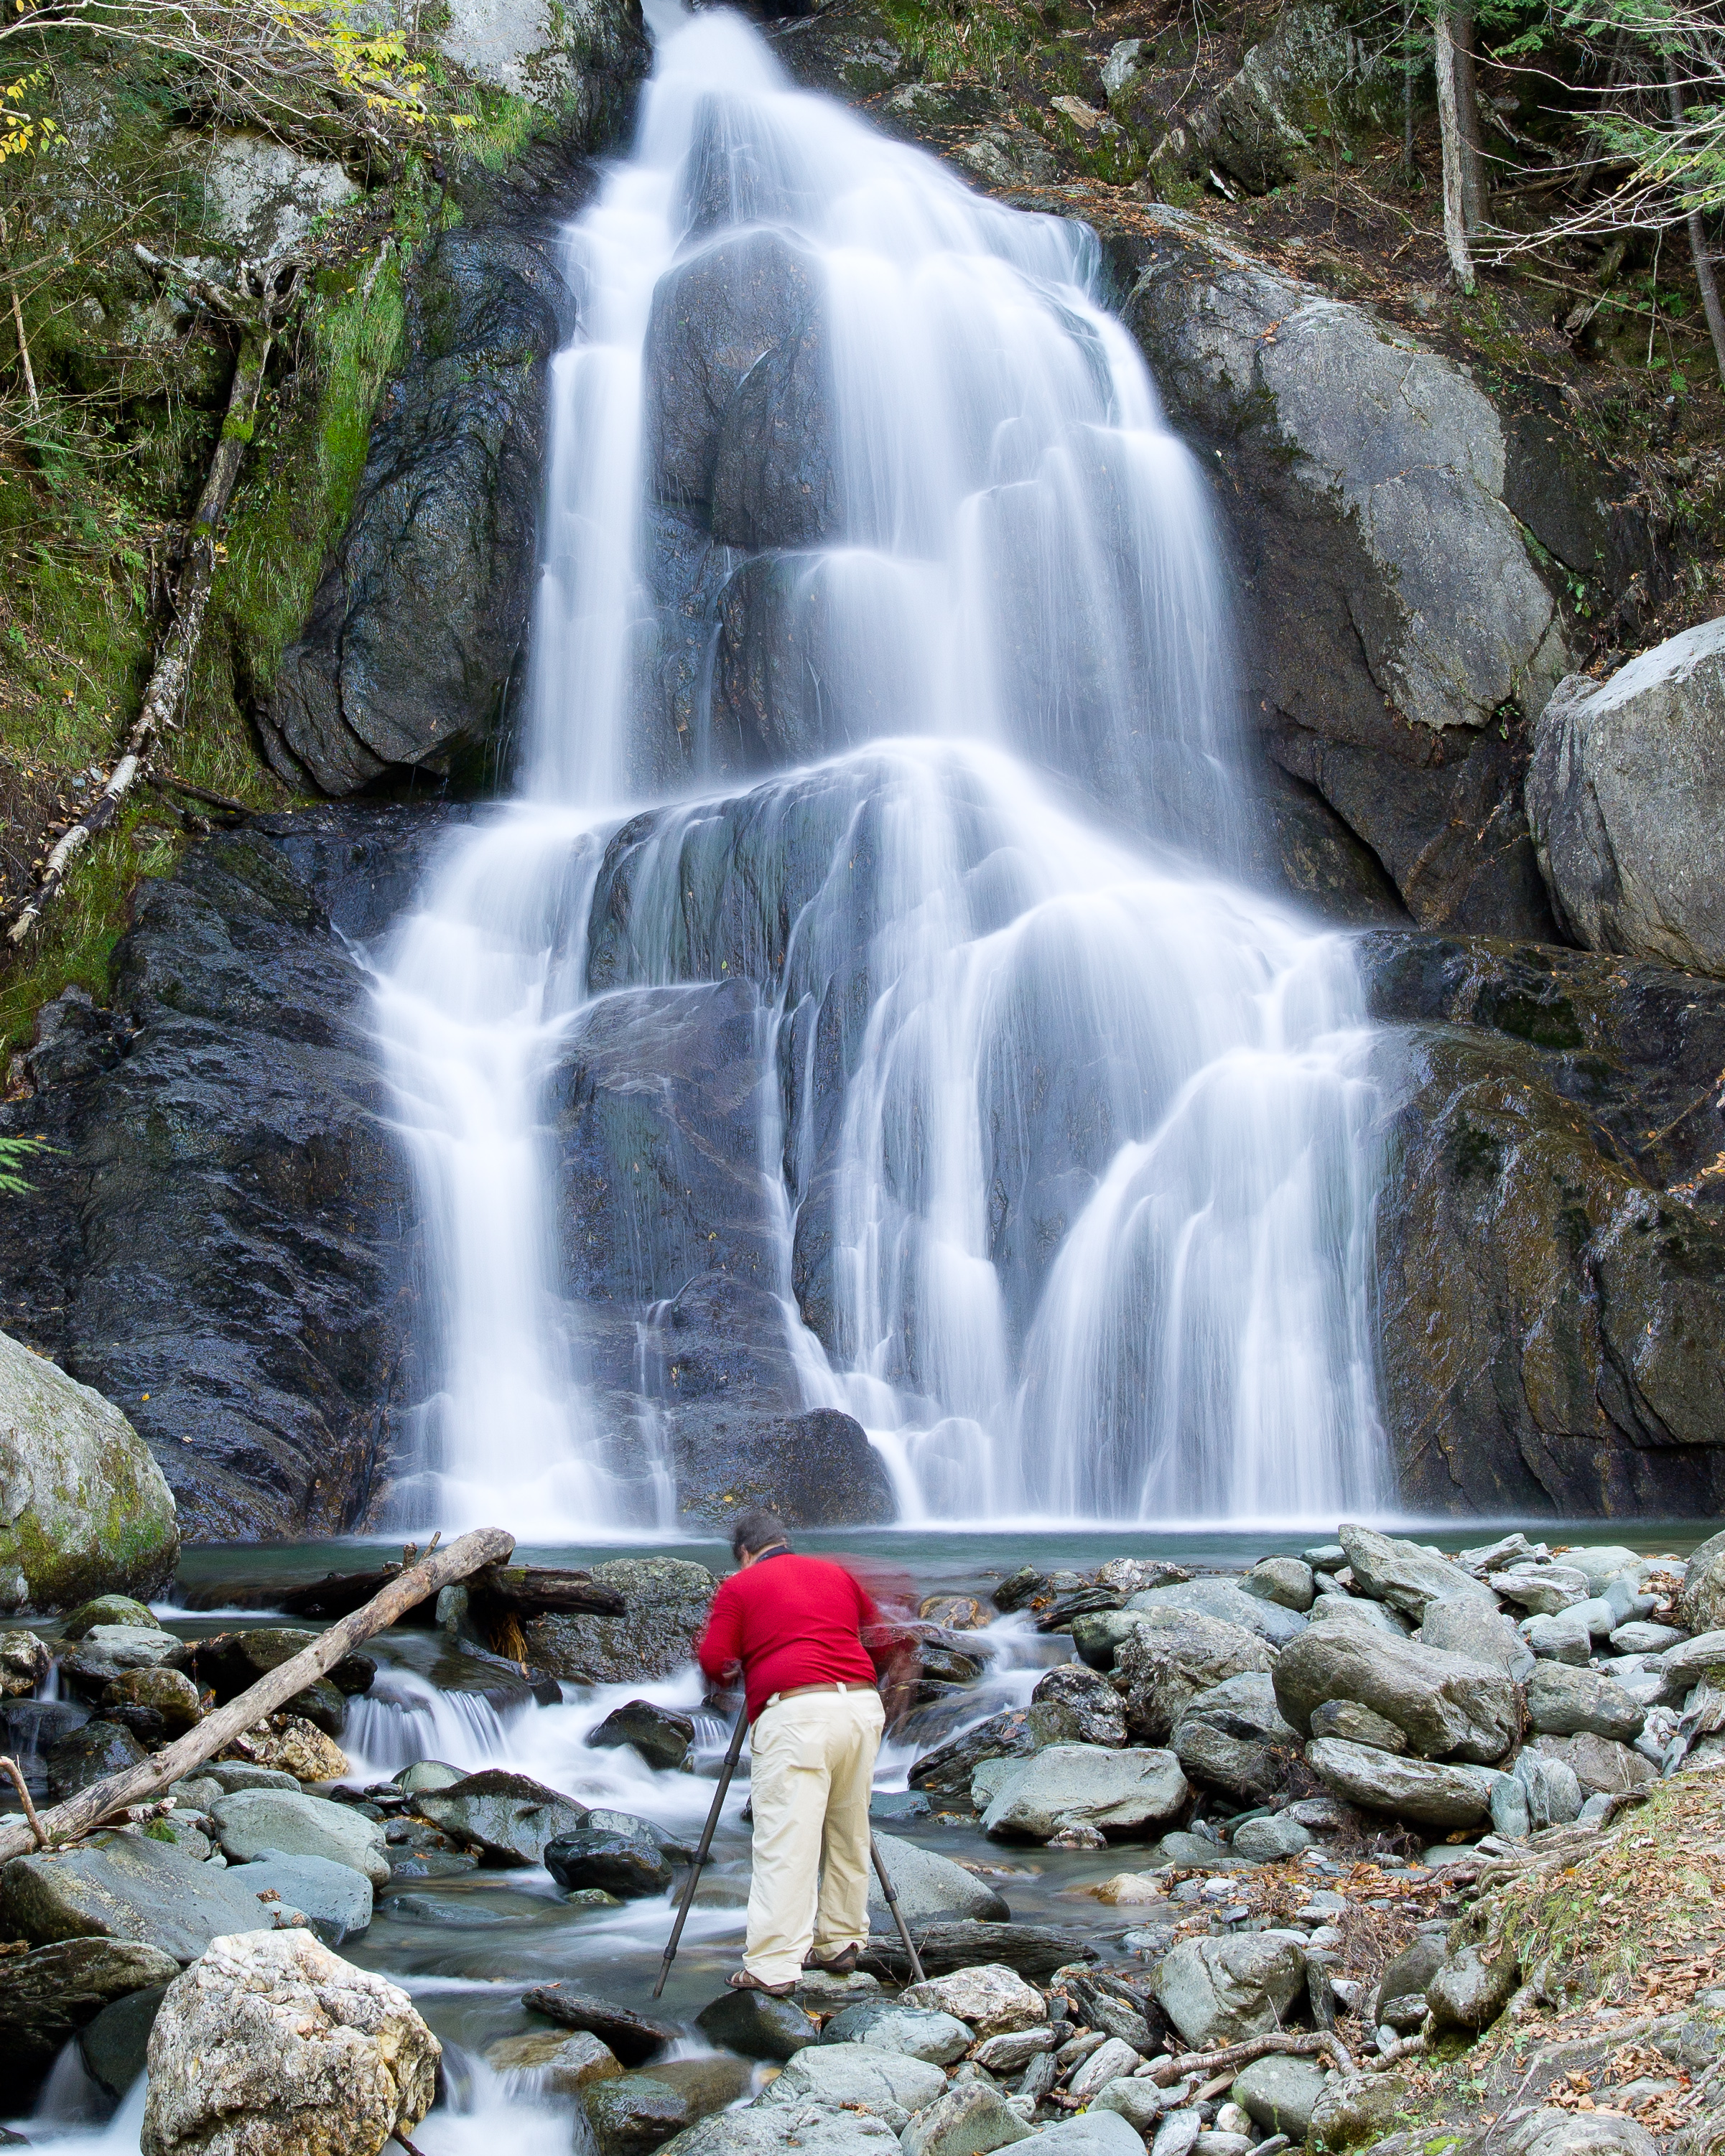
The one of you in the falls is my favorite. You were wearing the right color for the shot. I captured your right arm in movement.
For others viewing this, There was a good awareness of not getting in another’s shot. This shot was one that I was purposely framing Mark in the shot, as I had already gotten the shot without other photographers. I might add that an additional reason to shoot some sites early was to get there before a bus load of people descended on a site. There was one suspension bridge that one could onely shoot time exposures from if no other photographer moved. The bus load crossing that bridge ended that shot. Mark and David did a wonderful job of scouting not only the locations to shoot, but the proper timing.
Jack - October 21, 2011 at 2:44 am #1222
Josh, David, and Jack,
Thank you for the sRGB advice. I have been exporting in sRGB color space and only recently noticed an issue. Perhaps my export preset got inadvertently changed. I will check.
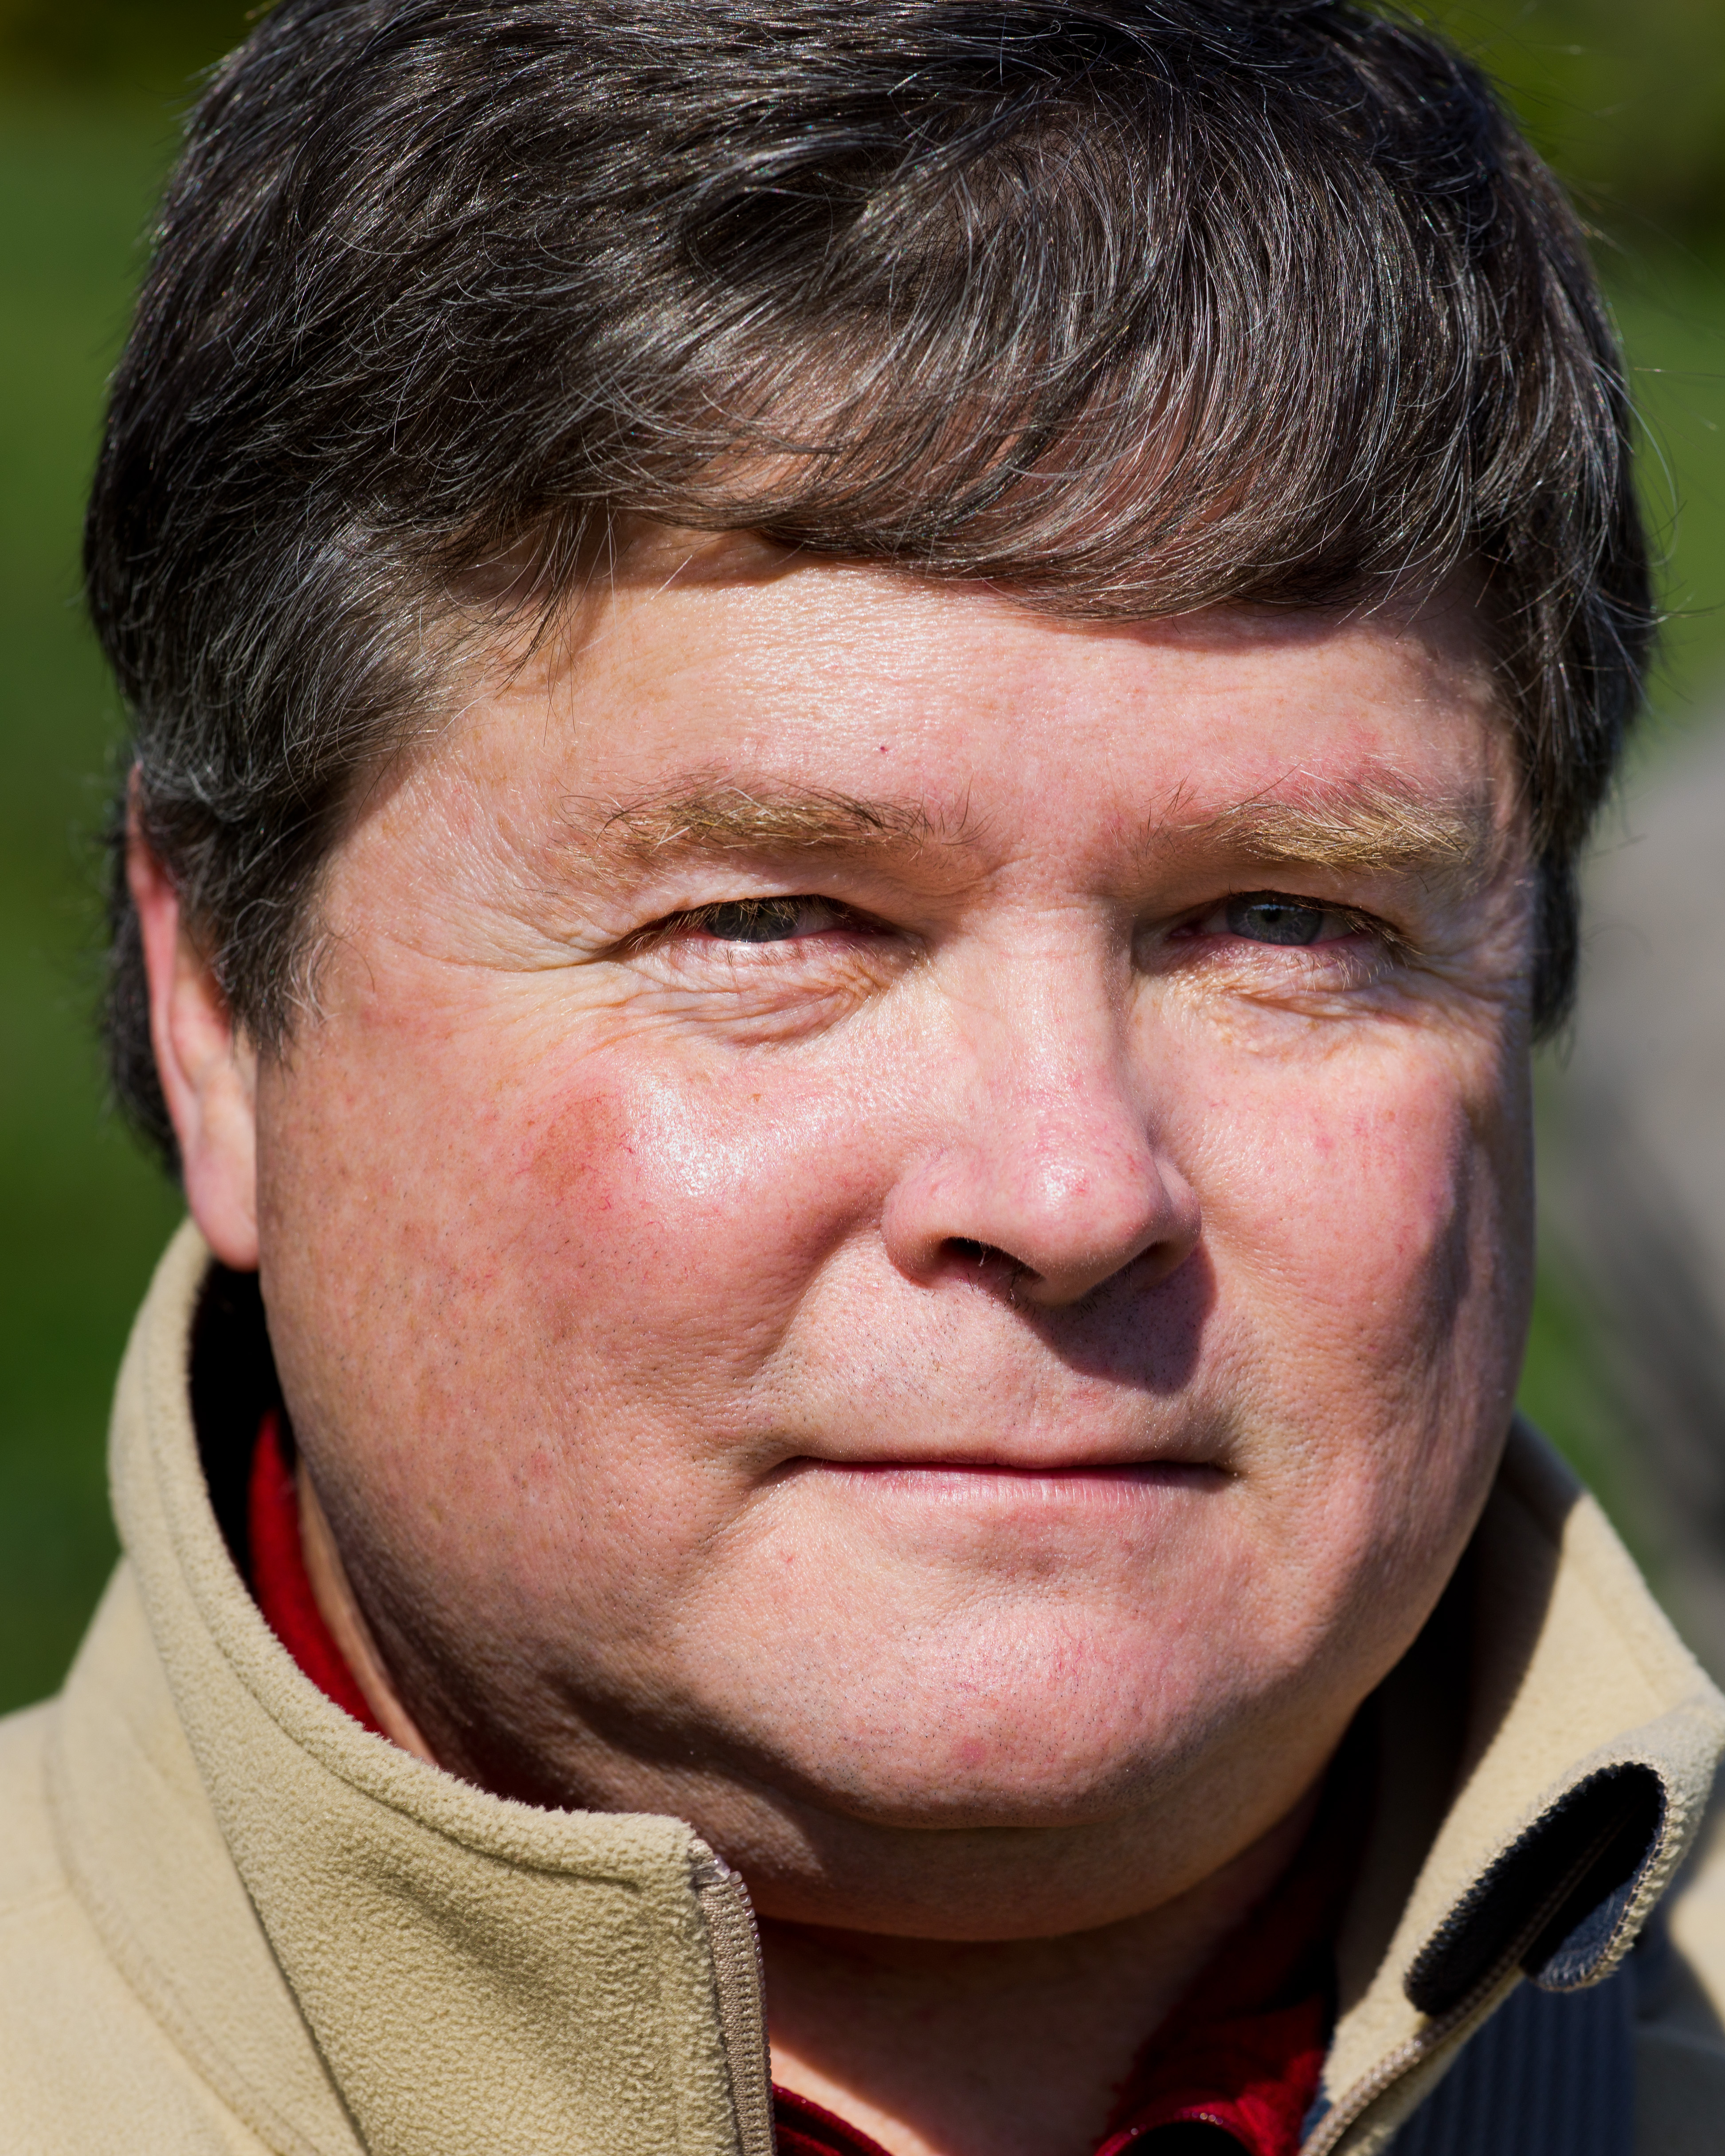
Jack, your photos posted in this thread have good pop to them. Also, my ugly mug is proof that someone my age and stature should not be in front of an S2. But, there were way to many S2s on this trip to avoid it.
- February 6, 2012 at 2:24 pm #1917Jack MacDEstablished Member
 USA, St. Louis, MO and Phoenix, AZJoin Date: Jun 2011Posts: 367Currently using:
Leica M, Leica S, Leica CLOffline
It’s winter and I have time to go back and work some shots again from the S2 New Hampshire trip. Unfortunately I was on the computer rather than Indianapolis.
These are a few versions of the same shot from Mirror Lake. Thanks to David Farkas who pointed out the shot to me.
I’d appreciate some suggestions as to which version is preferred.
!. Added punch to the dull day
2. B&W
3. Pretty much straightThanks,
JackJack - February 6, 2012 at 5:00 pm #1918David FarkasNewbie
 Hollywood, FLJoin Date: Aug 2014Posts: 414Currently using:
Leica M, Leica S, Leica SL, Leica CLOffline
Jack MacD;1770 wrote: It’s winter and I have time to go back and work some shots again from the S2 New Hampshire trip. Unfortunately I was on the computer rather than Indianapolis.
These are a few versions of the same shot from Mirror Lake. Thanks to David Farkas who pointed out the shot to me.
I’d appreciate some suggestions as to which version is preferred.
!. Added punch to the dull day
2. B&W
3. Pretty much straightThanks,
JackJack,
It’s a tough one because I like them all. I’d like to see the punchier one with a little less red, but overall I love the ominous nature of the clouds. The B&W is just classic and the natural one is very true to what we saw when we were standing at the water’s edge fighting over tripod space. 😉
Curious to hear what others think….
David Farkas
Red Dot Forum
Leica Store Miami - February 7, 2012 at 12:10 am #1920
My first reaction was go with the punchier version…but after looking at them for a while I’m going with the B&W. On the one hand it’s tough to throw away those beautiful fall colors…but on the other hand I think the image is strong enough to go B&W. Having said that, you can’t go wrong with any of them. Perhaps a triptych 🙂
- February 7, 2012 at 12:35 am #1921
David K;1773 wrote: … Perhaps a triptych 🙂
I about spewed my drink when I read that. Good one David.
I like the drama of the B&W. I know we were there to capture fall colors, but in this case the B&W looks best to my eye.
- February 20, 2012 at 9:52 pm #2021Jack MacDEstablished Member
 USA, St. Louis, MO and Phoenix, AZJoin Date: Jun 2011Posts: 367Currently using:
Leica M, Leica S, Leica CLOffline
As I said, I am using some blah winter days to reexamine some shots from the fall shoot. This is oddly enough, a merge of two horizontal 120mm shots, then cropped into a vertical panorama. Yes, if I had had a 70mm I could have gotten it in one shot, but less resolution. And I don’t have a 70mm. For those of you who want to see the original shot, I have included it. Some may prefer the original merge to a square. Apparently I don’t, but if it sells I might.
Several years ago, David knowing I shoot and sell triptychs, suggested that I do vertical triptychs as well as horizontal so that’s what I then did with this, Had to…Kipper and Mark would have been disappointed if I hadn’t. Here the choice of panorama or triptych depends on the installation of the print. I added the second panorama to allow for a border to ease comparison to the triptych. It is not full resolution.
Anyway, thanks David for the encouragement to try vertical.For those of you not there, the sun had gone behind a mountain, and this waterfall was in darkness. So much for those saying an S2 can only be shot in full light. I sec and f4.8 ISO 160 120mmS
Jack - February 21, 2012 at 1:56 am #2022
Thanks for posting these photos Jack. I caught myself with a big grin when viewing these photos. That was a good time.
I was wondering how you could make triptych from the waterfall and you didn’t disappoint. I also like the tall skinny one also.
- August 14, 2013 at 8:34 pm #4134Jack MacDEstablished Member
 USA, St. Louis, MO and Phoenix, AZJoin Date: Jun 2011Posts: 367Currently using:
Leica M, Leica S, Leica CLOffline
Attached is the installation of the vertical triptych. 11 feet high.
Again, thanks David F. for the idea three years ago, and the trip from which it was taken two years ago.I told the client we had enough resolution to print on fine art paper, but the client preferred the look of canvas wrap to match other artwork in the area.
Jack - August 14, 2013 at 8:41 pm #4135
Would you kindly share how you have mounted the images?
Thank you - August 15, 2013 at 12:28 am #4136
I apologize for the previous post– just noticed that you said canvas wrap.
What I really meant to ask, is IF you had used fine art paper (which I agree would
be nice), how would you have mounted the work such that a frame would not
“interrupt” the flow of the image?thanks
- August 15, 2013 at 1:53 pm #4138Jack MacDEstablished Member
 USA, St. Louis, MO and Phoenix, AZJoin Date: Jun 2011Posts: 367Currently using:
Leica M, Leica S, Leica CLOffline
If I had been able to sel the client onl the use of fine art paper on the triptych, I would have mounted it bare onto sheets of aluminum backing, or I would have had them laminated onto the back of plexiglas, given that the client did not want any frames or borders to break up the flow so to speak.
Jack - August 15, 2013 at 3:05 pm #4139Jack MacDEstablished Member
 USA, St. Louis, MO and Phoenix, AZJoin Date: Jun 2011Posts: 367Currently using:
Leica M, Leica S, Leica CLOffline
How Large Can You Print?
I had been talking to Joe Donovan whom I met on David Farkas’ New England Trip about his large format Epson printer, a 9800. He offered to print one of my images on his printer as an example that I could use to show myself and clients what very large format fine art printing looks like from an S2. Earlier in this posing I discussed that I have clients who have huge prints of mine, but on canvas. I sent him the image from Mirror Lake discussed and shown higher/earlier in this post. BTW, several of us had shot this set of rocks that day, and each of us had slightly different interpretations. Joe has a very nice B&W version of the rocks himself. I suggested that he make this print whatever large size he thought the file could hold up to. He subsequently decided that it could go all the way to 40″x60″, the max of his printer.
He sent the finished print off to me saying he thought I would like it. Well the old adage for a given photo was print it big, never envisioned wide format digital printing. This big is breathtaking in it’s fine detail. Joe did a masterful printing job. He also sent me some smaller versions of sizes more normal.
I will keep this unframed for a bit, as it is useful to carry around to clients to show just how much detail can be held in a large fine art print. I am also taking my time to figure out how best to frame large prints. Any advice would be appreciated.
I would urge any S user to have a little experiment in seeing just how good an S file prints when one goes truly huge. But find a top printer. The photo below captures the size if you remember I am 6’4″. It’s just a snap shot of a fine art print, so you have to take it from me that Joe’s print perfectly matched the color in the file shown earlier in this post.
Thanks Joe for your offer, expertise, and execution.
Thanks David Farkas for getting a group of photographers together who keep working together long after the shoot.Jack
Jack - August 16, 2013 at 12:33 pm #4144
That looks fantastic…
- August 17, 2013 at 2:36 pm #4150
Jack
Thanks for sharing what a great print and illustration of the 4’x6′ size .
Roger
- August 18, 2013 at 12:54 am #4151
Jack,
The print looks really great and Joe is a real gentleman who is so humble about his vast printing knowledge. - August 29, 2013 at 10:39 pm #4181
Jack, the large print looks great from hear. I can imagine just how good it looks in person. That was very nice of Joe to make the print for you. He is a very helpful person and a joy to go shooting with.
- September 3, 2013 at 11:41 pm #4192Jack MacDEstablished Member
 USA, St. Louis, MO and Phoenix, AZJoin Date: Jun 2011Posts: 367Currently using:
Leica M, Leica S, Leica CLOffline
Arif, Mark, Roger, and RVB,
Thanks for your comments. Joe and I have been coordinating ideas on how best to frame such large prints going forward. He was considering mounting frameless on aluminum, but services that we have found to do that, also unfortunately require their own printing. If anyone knows of a service that mounts ones own prints on unframed aluminum, please let us know.
For now, it will be framed using museum glass and a three layer matte, with a simple, clean, black, wooden frame. Because of the size, glass adds a great deal of weight, acrylic was considered to lighten the load. But acrylic with IR filtration is not only three times the cost of museum glass, it so easily scratches when cleaned.
To frame a 40″x60″ with a matte, plan on ordering a custom matte board of 48″x96″ for several hundred dollars in materials. The largest standard matte board comes in a size of 40″x60″ which costs a mere $25 for materials.
Net, to avoid further custom costs in framing with a matte boarder, others might choose to limit the maximum print to say 34″x 51″ keeping a 2×3 image ratio and allowing for a matte width of 3″ on a side and the use of a standard 40″x60″ matte board.
BTW, you can print images wider than 40″ on some printers, but if the maximum width of a custom matte board is 48″ you may not want to. Perhaps someone out there knows of a matte supplier who goes wider? When I have needed to print wider, I use a white linen liner in place of a matte.
It will be about three weeks for the frame to be finished.
Jack - September 6, 2013 at 1:38 am #4197
Jack,
Seeing the print laid flat with the lady standing behind it really demonstrates just how big it is. It will be considerably larger with the mat and frame. You will need a large wall to hang it on. It should look awesome though.
The cost of framing is a huge obstacle for large prints. I am guilty of getting my big prints done on canvas wraps to avoid the framing cost. I would prefer to hang a high quality inkjet prints for the better detail. I have seen 40″ x 60″ prints dry mounted on fiberboard (or something like that) with a recessed stand-off that looked pretty good and didn’t require a frame.
Mark
- September 6, 2013 at 2:36 am #4199dalethornEstablished Member
 South CarolinaJoin Date: Oct 2012Posts: 316Currently using:
Leica QOffline
Jack MacD;4972 wrote: How Large Can You Print? I will keep this unframed for a bit, as it is useful to carry around to clients to show just how much detail can be held in a large fine art print. Jack
Apologies if this was answered, but how do you carry the large print around, and protect it?
Leica X2 Paul Smith edition, Leica X-E, Panasonic ZS-100. - September 6, 2013 at 10:14 pm #4201Jack MacDEstablished Member
 USA, St. Louis, MO and Phoenix, AZJoin Date: Jun 2011Posts: 367Currently using:
Leica M, Leica S, Leica CLOffline
Mark,
Regarding framing cost, I have an amazing museum quality wholesale printer who estimated this will cost under $1,000. Normal framers wouldn’t even try this. I will report the actual cost when I see it. I agree with you that canvas wraps can simplify framing, but when we have cameras that have this quality and resolution, printing on paper is amazing.
I have clients in cities outside Wisconsin, and shipping canvas wraps is very easy. Shipping a frame like this is a challenge. It would probably run $3,000. For a client in a 400 mile area, It is smarter to pay a friend to drive it in a truck to them, or have it framed in the client’s city. In those situations the framed retail price would be over $10,000. One more reason that you don’t see that many framed prints this size.
Dalethorn,
Joe shipped the print to me with a protective paper liner, and loosely rolled in a 12″x12″x48″ FedEx box usually used for shipping golf clubs. That avoided rolling the print up too tight, and protected it in transport. It was more expensive than a tube, by about $30, but the retail value of this kind of quality print makes the shipping a small part of the proposition.Jack - April 30, 2014 at 6:52 am #4677Jack MacDEstablished Member
 USA, St. Louis, MO and Phoenix, AZJoin Date: Jun 2011Posts: 367Currently using:
Leica M, Leica S, Leica CLOffline
Last September I promised I would report actual data regarding the framing and shipping cost of the large 60″x40″ Mirror Lake print. It was shipped to a client in Las Vegas a couple months back. The framing was just over $700 using museum glass. For shipping I had it couriered to USP for $50 to then have UPS pack it and it shipped by rail (rather than truck because of the size). The shipping was thankfully less than I had earlier estimated. It was about $800 to pack and ship. I arrived unbroken and thankfully in perfect shape.
About two years ago (Feb 6, 2012), earlier in this thread, David K joked that I should somehow redo the large 60″ by 40″ scene as a triptych. He made that joke since I do so many triptychs. Perhaps the joke is on him, since Joe D is printing the triptych version this week which will be framed next week and shipped to a client in NYC.
The triptych version is represented here, but once I get it actually framed, I will update this thread and show the actual framed version. Thanks for the suggestion Kipper.
This forum is proven to allow fellow photographers to enhance each other’s creativity.
It’s also fun that a photo taken three years ago is still evolving.Jack
Jack - June 9, 2014 at 12:45 pm #4721Jack MacDEstablished Member
 USA, St. Louis, MO and Phoenix, AZJoin Date: Jun 2011Posts: 367Currently using:
Leica M, Leica S, Leica CLOffline
Mike Johnston of TOP TheOnLinePhotographer liked the huge version of “Beside Still Waters” and wanted to offer to his readers a sample of what an S print can be. The print is 36″x24″.
The offer can be viewed here:
http://theonlinephotographer.typepad.com/the_online_photographer/2014/06/the-leica-s-series-print-offer-jack-macdonough.html#moreAs mentioned, Joe Donovan is the printer for the offer. You can see his as well as David Farkas’ take on the same scene earlier in this thread. Thanks Joe for your printing help. And thanks David for your trip.
Jack - June 9, 2014 at 2:44 pm #4722
Very nice Jack, congrats!
You must be logged in to reply to this topic.

